

Is your espresso shooting out of one side and wasting beans?
Uneven flow right after you distribute and tamp usually means water found the easiest path through a weak spot in the puck, not that your machine is broken.
This quick guide shows simple visual checks and one-change fixes — distribution, tamp angle, grind clumps, or tamper fit — that stop channeling fast and save beans.
Start here: look straight down at the puck, note the flaw, and change only one thing before you pull the next shot.
Immediate Diagnostic Guide for Uneven Espresso Flow After Distribution and Tamp
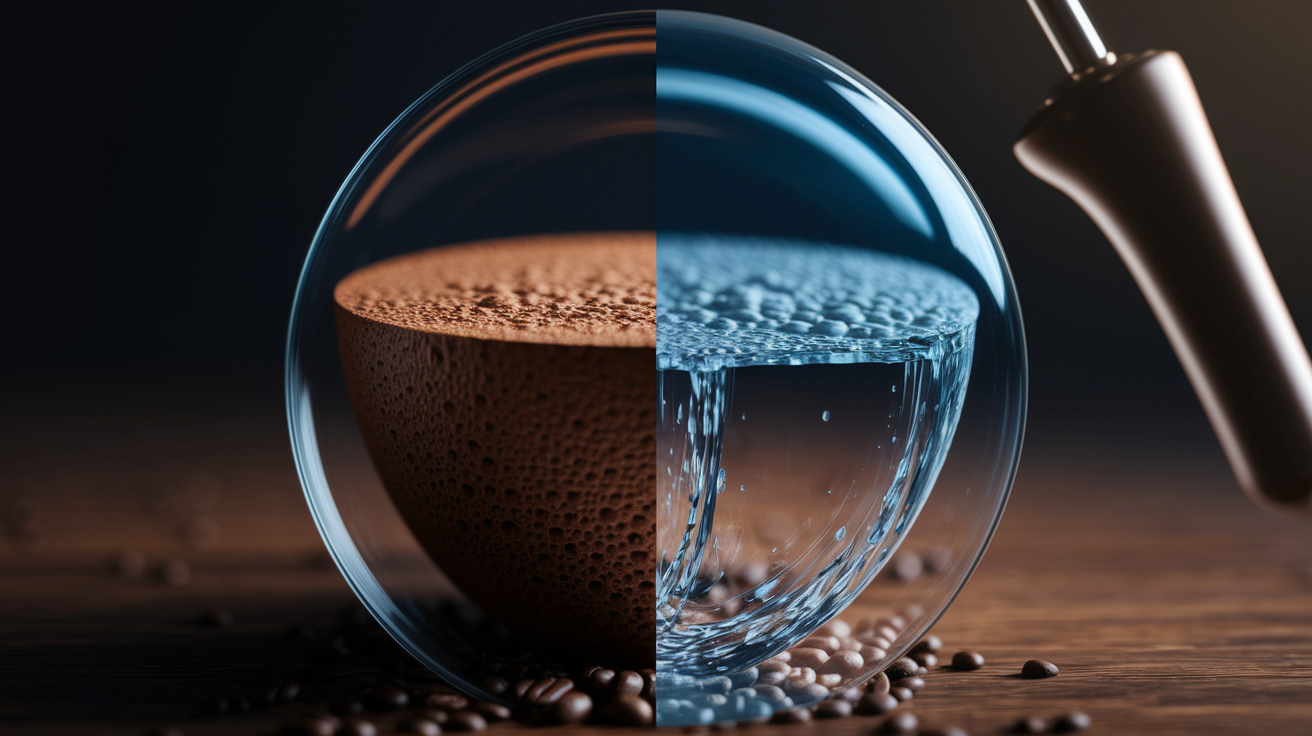
Uneven flow shows up right after you distribute and tamp because water’s lazy. It takes the easiest path through your coffee bed. When one spot’s less dense than another, water blasts through that weak zone and ignores the denser areas completely. You’ll see channeling as spurts from the portafilter, flow that starts heavy on one side while the other barely drips, or a stream that races out of one edge. These aren’t mysteries. They’re telling you something in your puck prep left a hole for the water to exploit.
The usual suspects at this point are clumpy distribution that locked in mounds, a tilted tamp that made a sloped puck, a tamper that’s too small for your basket (leaving a loose ring around the edge), or grind inconsistencies that create pockets of fines next to chunks. Each problem makes a different flow pattern. Catch it now and you’ll save beans. Start with what you can actually see and feel in the portafilter before pulling another shot.
Here’s what to check right after you tamp:
- Surface level check – Look straight down. The puck should be flat and level. No slopes, no peaks in the middle, no sunken edges.
- WDT check – If you skipped Weiss Distribution Technique or didn’t go deep enough with the needles, clumps are hiding below the surface and they’ll channel.
- Tamp angle – Make sure the tamper left a level mark. If one side looks deeper or more compressed, you tamped at an angle.
- Tamper/basket fit – Check the puck edge. See a ring of loose grounds near the basket wall? Your tamper’s too small.
- Grind consistency – Look for streaks of fines or visible clumping. Static or retention dumps uneven particle sizes into your basket.
- Extraction visual cues – During the shot, watch for early blonding (color goes pale before 20 seconds), spurting jets, or lopsided flow that favors one side.
If any of these checks fail, stop. Rebuild the puck before you brew. A bottomless portafilter makes this whole process faster because it exposes every flaw that a spouted one hides.
Distribution Technique Factors Behind Uneven Espresso Flow
Distribution decides whether water finds an even path or exploits weak spots in your coffee bed. Tamping pressure can’t fix bad distribution. Tamp just compacts what’s already there. It doesn’t redistribute clumps or level a mounded center. Tamp a lumpy bed and you lock in those lumps. That guarantees channeling. Fix distribution before you pick up the tamper.
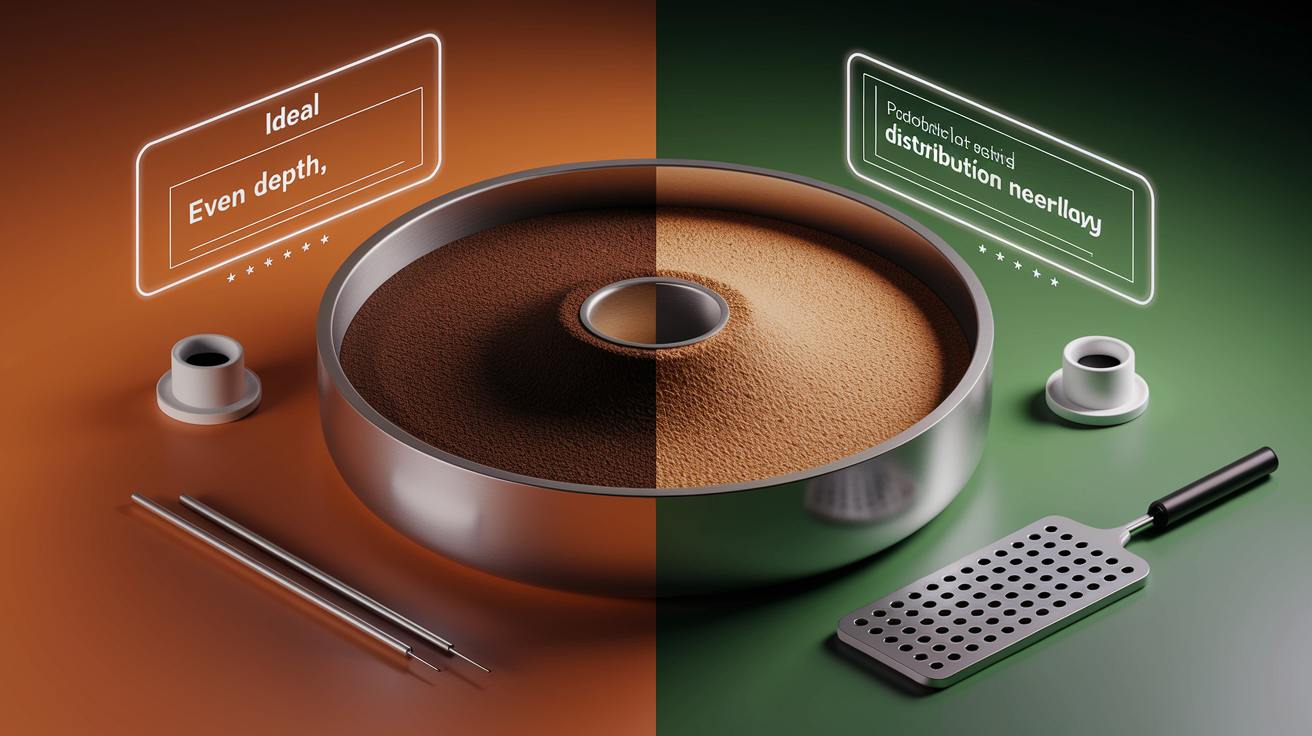
Good distribution starts with breaking clumps and creating even depth across the basket. Weiss Distribution Technique uses needles ≤0.4 mm to rake through the grounds, breaking clumps apart and making everything uniform. Follow WDT with a gentle vertical tap to settle it all. Stockfleth distribution uses circular or radial motions with a paddle or your finger to flatten high spots and fill low ones. Leveling tools set consistent depth before you tamp, but they can’t break internal clumps, so pair them with WDT.
Common distribution mistakes:
- Central mounding – Dosing straight from the grinder piles grounds in the center, leaving thin edges that under-extract.
- Tool size mismatch – A distribution tool smaller than your basket misses the edges. One that’s too large pushes grounds up the basket wall and creates an untamped gap.
- Shallow WDT – Stirring only the surface leaves dense pockets below that channel during extraction.
- Aggressive tapping – Hard taps compact grounds unevenly and can crack the bed internally before you tamp.
- Skipping the settle – Not tapping gently after distribution leaves air pockets and loose zones that collapse under pressure and channel.
Tamp Technique and Pressure Problems That Lead to Uneven Flow
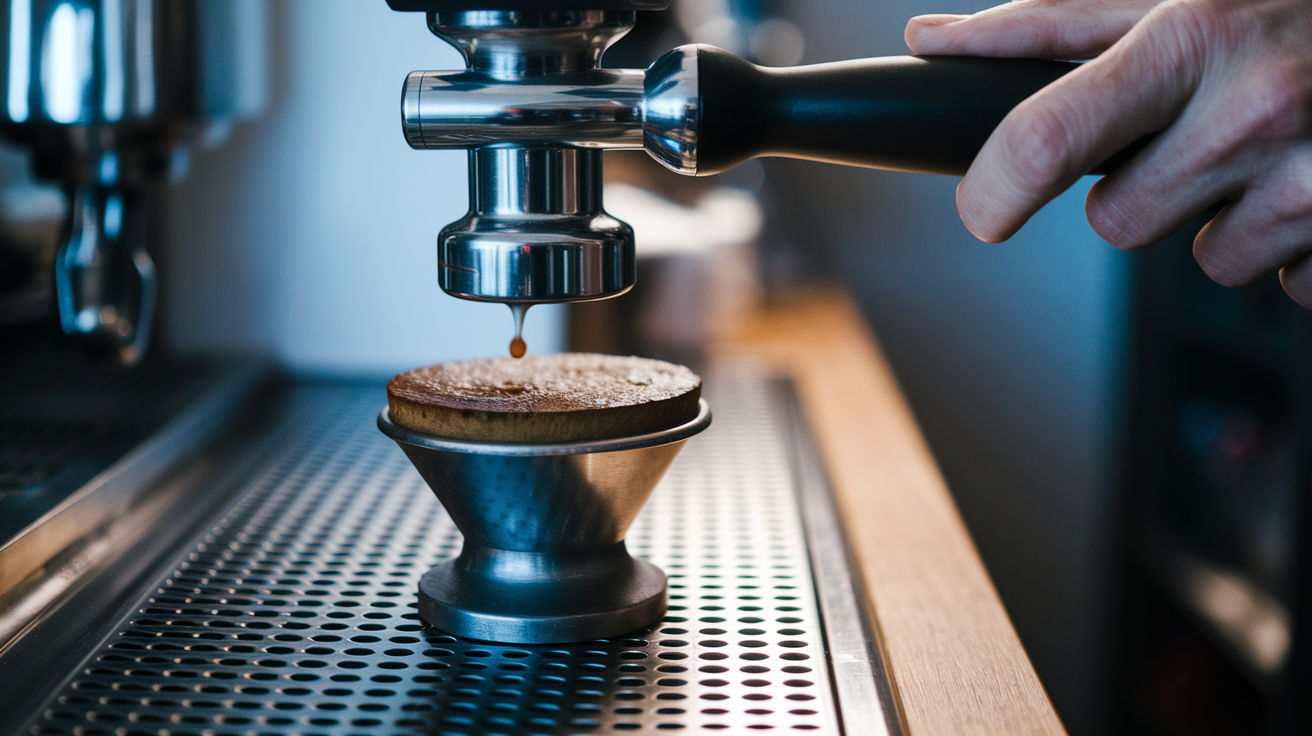
Tamp levelness controls flow symmetry. Any tilt creates a high side and a low side. Water flows faster through the thinner low side and bypasses the denser high side completely. Even a small angle, just a few degrees off, opens a low-resistance channel that wrecks extraction. You’ll get a shot that tastes both sour (from the under-extracted thin side) and bitter (from over-extracted areas where water sat too long). Keeping the tamper parallel to the basket matters more than how hard you press.
Pressure consistency matters, but the number isn’t rigid. Aim for 20 to 30 lbs of firm, repeatable pressure. Enough to stop the puck from compressing further. Practice the feel on a bathroom scale if you’re learning. Don’t tamp twice. A second hard press can fracture the puck and open micro-cracks. A light polish twist (10 to 15 degrees) is optional and can smooth the surface, but lift the tamper straight up in a controlled motion so you don’t disturb the level puck you just made. More detail on correct tamping pressure and posture is available in this guide on how to tamp coffee evenly when making espresso.
Tools like calibrated tampers (which click or stop near 30 lbs) help beginners build muscle memory. Self-leveling tampers use a floating base to automatically correct small tilts, removing human inconsistency. A small bubble level placed on the tamper head during practice shows whether you’re pressing straight down or leaning to one side.
| Issue | Result | Fix |
|---|---|---|
| Angled tamp | Sloped puck; water channels down the low side, visible as one-sided fast flow | Keep shoulder, elbow, and wrist aligned; press straight down using body weight; use a self-leveling tamper or bubble level for training |
| Under-tamp (too light) | Loose puck; channels open under machine pressure, fast flow, watery shot in ~15 seconds | Increase pressure to a firm, repeatable press (~20–30 lbs); practice on a scale to learn the correct feel |
| Over-tamp (too hard) | Overly compacted puck; slow or choked extraction, potential bitter over-extraction | Ease off pressure; focus on consistency and levelness rather than maximum force |
Grind Size, Dose Distribution, and Espresso Flow Imbalance
Grind uniformity directly affects how water moves through the puck. Inconsistent particle sizes create pockets of fines (tiny particles that pack tight and slow flow) next to boulders (large chunks that leave gaps and speed flow). Static cling and grinder retention make it worse by clumping grounds or dumping uneven charges into the basket. Even if you distribute and tamp perfectly, an inconsistent grind will channel because the internal structure’s already broken. Fast shots that finish in around 15 seconds often mean a grind that’s too coarse or inconsistent. Choked shots over 35 seconds can mean too many fines or clumping.
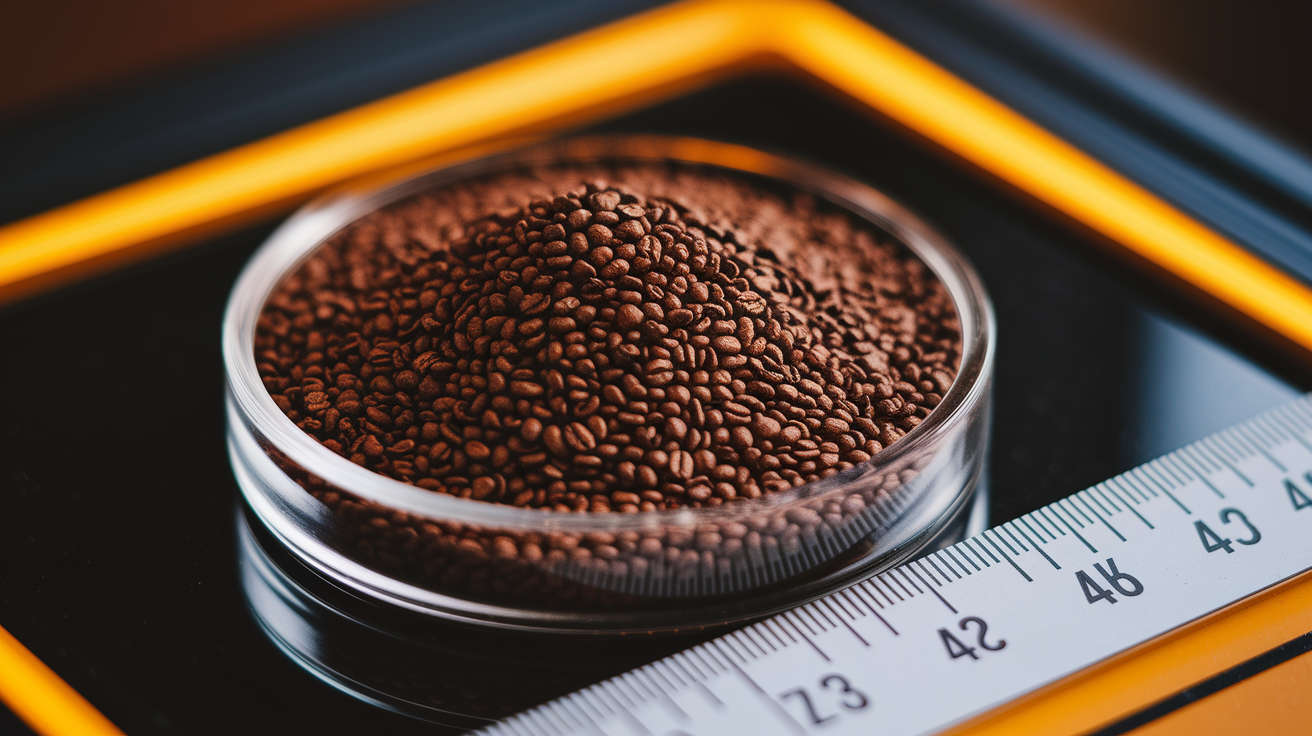
Dose inconsistencies create uneven density before you even distribute. Retention in the grinder or hopper means your actual dose varies shot to shot. Mounding (when grounds pile higher in one area) produces thick and thin zones in the basket. Always weigh your dose and adjust your grinder in small steps. 1 to 2 clicks on a stepped grinder or about 0.1 to 0.2 turn on a stepless model. Change only one variable at a time so you know what fixed the problem.
Signs of incorrect grind or dose:
- Inconsistent shot times – Shots that swing between 15 and 35 seconds with the same dose and tamp indicate grind or clumping variation.
- Clump streaks on the spent puck – Visible lines or patches of compacted grounds show where clumps stayed intact through extraction.
- One-side heavy flow – A bottomless portafilter reveals faster flow from one edge, often from uneven particle distribution in the basket.
- Hollow center flow – A doughnut pattern with flow around the edges but not the center signals central compaction or a mound that wasn’t leveled.
- Dose mounding – Grounds piled in the center or along one side create thick and thin zones that tamp can’t fix.
Basket, Portafilter, and Hardware Issues Affecting Flow
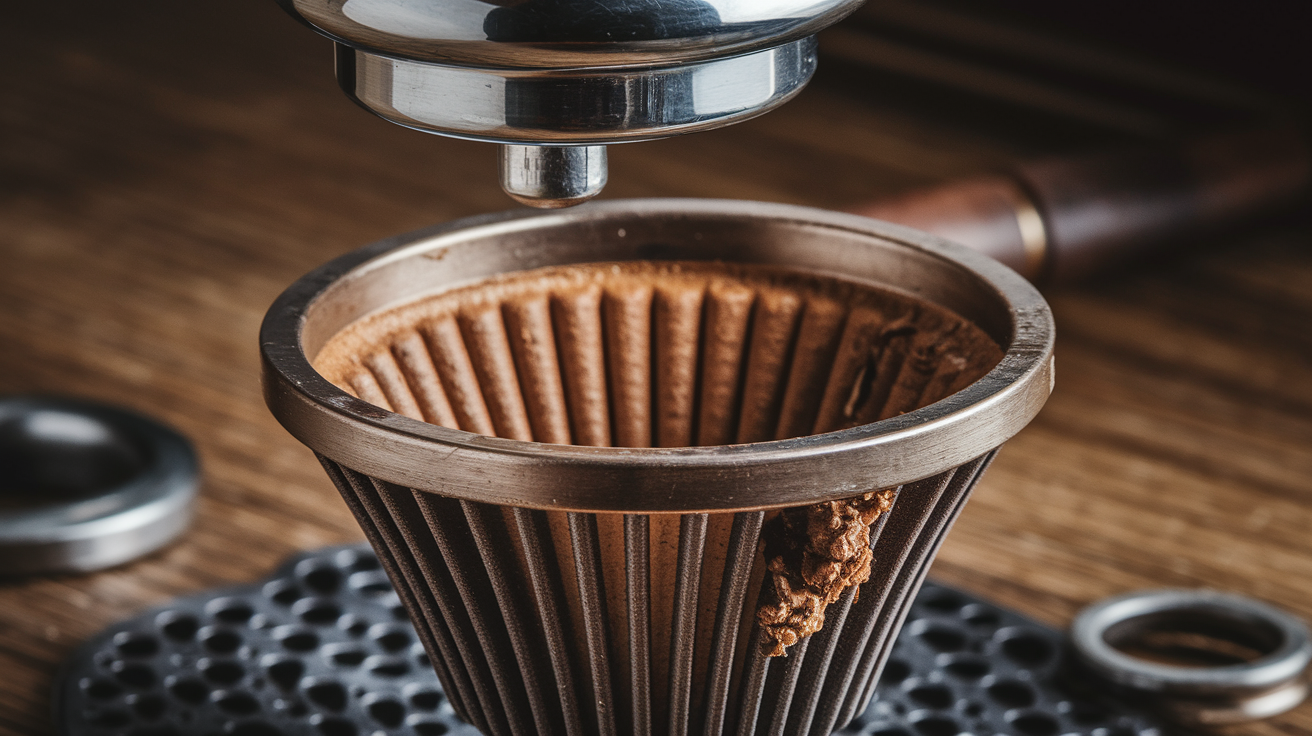
Basket condition and fit matter as much as technique. A warped or dented basket creates uneven depth, so even a perfect tamp leaves thin spots where water rushes through. Tamper diameter mismatches are quiet killers. Use a 58 mm tamper in a 58.5 mm basket and you leave a thin untamped ring around the edge that channels every time. Clogged basket holes from coffee oil buildup restrict flow in some areas while leaving others open, producing uneven extraction that looks like a puck prep problem but isn’t.
Shower screen cleanliness and gasket integrity also control flow symmetry. A dirty or partially blocked shower screen delivers uneven water coverage across the puck, creating fast and slow zones even when the puck’s perfect. Worn or misaligned gaskets let water bypass the puck entirely or concentrate pressure on one side. Check that your portafilter locks into the group head at the same position every time. If it rocks or seats unevenly, the entire extraction geometry’s off.
Common hardware issues:
- Warped or damaged baskets – Inspect the basket rim and bottom for dents or bends. Replace baskets that don’t sit flat in the portafilter.
- Clogged or partially blocked basket holes – Backflush regularly and soak baskets in espresso cleaner to remove oil buildup that blocks flow.
- Worn or damaged gaskets – If the portafilter feels loose or water leaks during extraction, replace the group gasket and retest.
- Misaligned group locking points – If the portafilter doesn’t lock at the same angle every time, the group threads or lugs may be worn or the basket isn’t seated right in the portafilter.
Visual Cues and Sensory Indicators When Troubleshooting Espresso Flow

Visual cues during extraction are your first real-time feedback. A good shot flows from the center in a steady, syrupy stream or twin streams (with a double spout), starting dark and gradually lightening over 25 to 30 seconds. Channeling shows up as spurting jets from one side, early blonding (the stream turns pale in under 20 seconds), or lopsided flow where one side drips while the other gushes. With a bottomless portafilter, you’ll see exactly where the weak spot is. Often a narrow concentrated stream shooting out from one edge instead of an even curtain of espresso.
Crema and color transitions reveal extraction balance. Uniform, thick crema with consistent color across the cup signals even extraction. Patchy crema (dark in some areas, pale or thin in others) means channeling extracted some zones heavily while leaving others under-extracted. Watch the transition from dark to lighter color. If one side blonds much earlier than the other, or if the entire shot blonds in the first 15 seconds, you’ve confirmed uneven flow.
Taste markers make the diagnosis clear even without visual tools. A shot that tastes sour and bitter at the same time is the signature of channeling. Under-extracted sour notes from fast-flow zones mixed with bitter over-extraction from slow-flow areas. Compare before and after. A properly prepped puck produces balanced sweetness and body, with distinct flavor notes instead of a confused, harsh cup.
Systematic Workflow to Fix Uneven Espresso Flow Step-by-Step
A repeatable workflow prevents uneven flow by removing guesswork from puck prep. Consistency beats brute force every time. When you follow the same sequence (distribute, settle, tamp level, lift cleanly, lock gently), you isolate variables and make diagnosis simple. If a problem appears, you know exactly which step failed because every other step stayed the same. This structured approach turns espresso from a frustrating gamble into a predictable process.
Change one variable at a time when troubleshooting. If you adjust grind size, dose, distribution method, and tamp pressure all at once, you won’t know which change fixed the uneven flow or whether you’ve introduced a new problem. Make a single small adjustment, pull a shot, observe the result, and document what you changed. Systematic iteration finds the root cause faster than random trial and error. For a deeper breakdown of structured puck-prep sequencing, see this guide on identifying and fixing uneven tamping.
Use a bottomless portafilter for immediate visual feedback. Spouted portafilters hide channeling until you taste the shot or inspect the spent puck. A bottomless portafilter exposes every flow issue in real time. You’ll see jets, uneven streams, or lopsided extraction the moment it starts, making corrections fast and obvious.
After you correct distribution, tamp technique, or grind settings, expect improvements in flow symmetry, extraction time, and flavor balance. Shots should hit the 25 to 30 second range with steady, centered flow and uniform blonding. Crema becomes thicker and more consistent. Taste moves from sour-bitter confusion to clear, balanced sweetness.
Here’s a complete sequential troubleshooting routine:
- Inspect the dry puck surface – Before extraction, confirm the coffee bed is level, smooth, and free of visible cracks, mounds, or sunken edges.
- Re-check distribution – If the surface isn’t flat, redistribute using WDT or a leveling tool, rake through clumps with fine needles, and settle with a gentle vertical tap.
- Verify tamp technique – Make sure the tamper’s parallel to the basket, apply firm consistent pressure (around 20 to 30 lbs), and lift straight up without twisting or tilting.
- Examine tamper and basket fit – Measure basket diameter and confirm your tamper matches within about 0.1 to 0.5 mm. Check for an untamped ring at the puck edge.
- Adjust grind in small increments – If flow’s still uneven after fixing distribution and tamp, make the grind finer (for fast, under-extracted shots) or coarser (for slow, choked shots) by 1 to 2 steps or about 0.1 turn.
- Check basket and group cleanliness – Backflush, inspect basket holes for clogs, and verify the shower screen is clean and delivering even water coverage.
- Pull a test shot and observe closely – Watch for spurting, early blonding, or one-sided flow. Taste for sour-bitter imbalance. Inspect the spent puck for cracks, wet spots, or uneven compression, then iterate.
Final Words
If your shot starts spritzing, pulling fast on one side, or shows early blonding, act fast: run the immediate checks—surface, WDT, tamp angle, tamper fit, grind, then watch extraction cues.
This post covered distribution methods (WDT, Stockfleth, tapping), tamp posture and pressure (20–30 lb, level), grind and dose tweaks, basket and machine checks, and a step-by-step workflow with a 25–30 second target.
Use the checklist, change one variable at a time, and keep practicing. Troubleshooting uneven flow after distribution and tamp gets easier — you’ll see steady shots soon.
FAQ
Q: How do I know if I’m tamping too hard?
A: You’re tamping too hard if shots pull very slowly (over 35 seconds), taste bitter or overextracted, and the puck feels rock‑hard or sticks in the basket. Try a single 20–30 lb press and retest.
Q: What happens if you over tamp coffee?
A: If you over tamp coffee you overcompress the puck, which slows flow, causes long bitter shots or partial clogging. Reduce pressure to 20–30 lb, try a slightly coarser grind, then retest extraction time.
Q: What causes channeling in espresso?
A: Channeling in espresso is caused by uneven puck density—clumps, angled tamp, inconsistent grind, or mismatched hardware—letting water find low‑resistance paths. Check distribution, use a WDT, level your tamp, and inspect the puck for cracks.
Q: What is the purpose of distributing coffee grounds evenly in the portafilter?
A: The purpose of distributing coffee grounds evenly in the portafilter is to create a uniform bed so water flows evenly, preventing channeling and inconsistent shots. Distribute first, settle grounds, then tamp once to lock the bed.