

Tamp first and you’re asking for ruined shots.
Distribution before tamping evens the puck so water can’t find shortcuts.
Do distribution first, using WDT or quick taps for about 10 to 30 seconds, then tamp for 1 to 3 seconds.
Tamping locks whatever you left in place, so tamping a messy bed seals in channeling.
This post shows simple timing and one-change-at-a-time steps that cut wasted shots, steady the flow visually, and get you into the 25 to 35 second sweet spot.
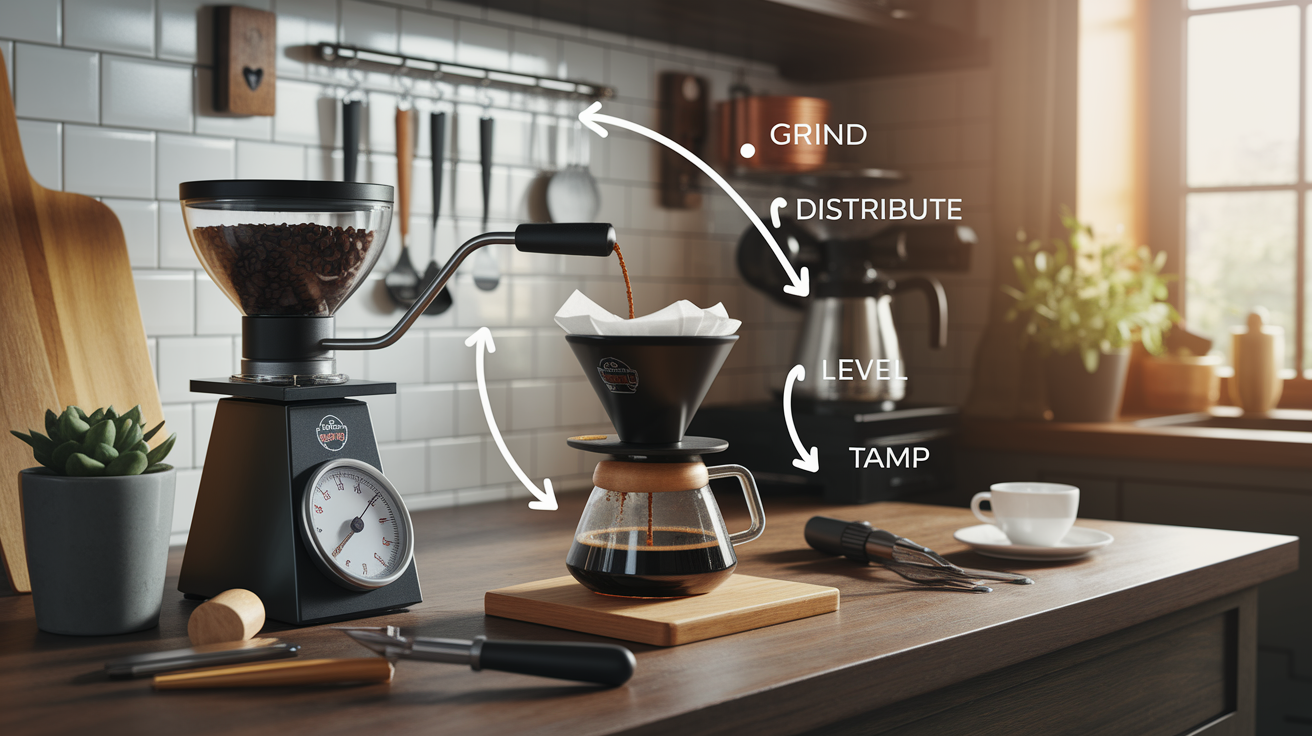
Start by leveling, then tamp. Repeatable, fast, measurable.
Core Sequence and Timing for Proper Distribution and Tamping
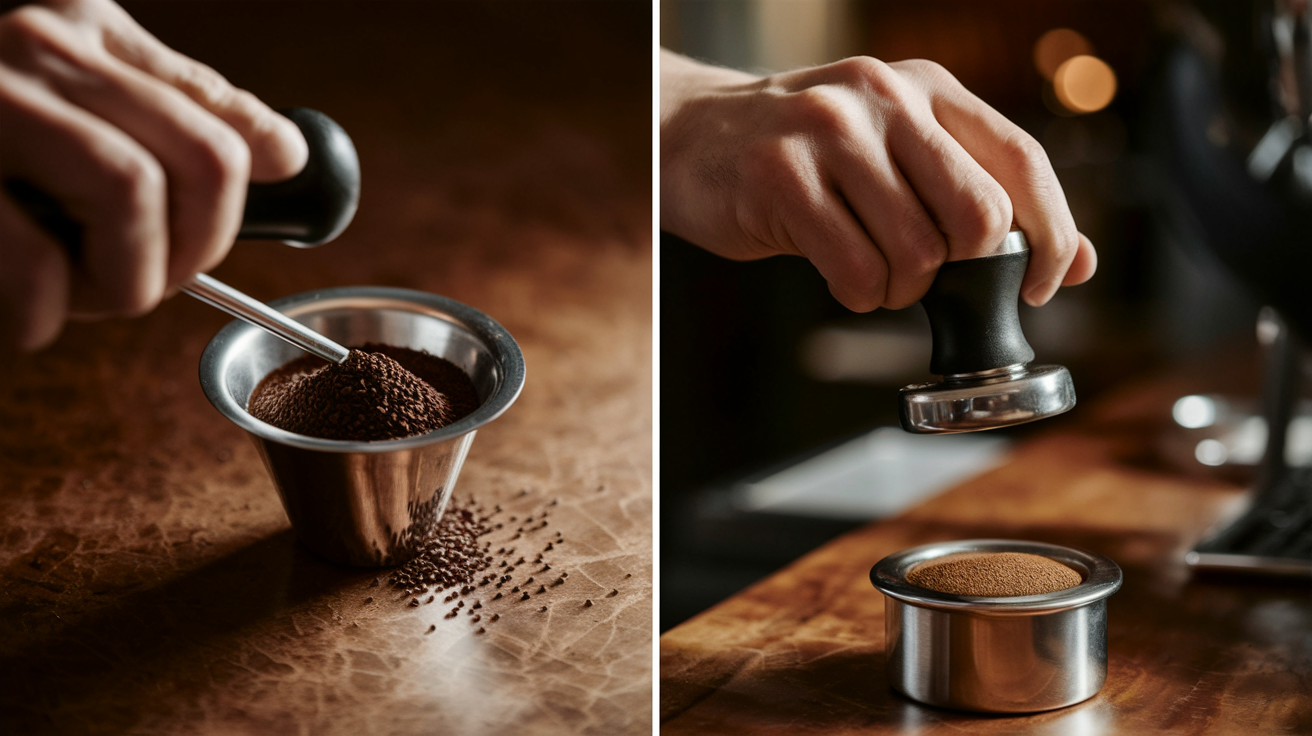
Distribution before tamping. Always. You need to even the puck first, then lock down what you’ve already evened. If you tamp a messy bed, you’re just sealing in channeling risk. The science backs this up: tamping freezes whatever density differences already exist, so a poorly distributed puck stays poorly distributed no matter how hard you press.
In practice, you’re looking at 10 to 30 seconds for distribution (WDT typically takes 5 to 15), then 1 to 3 seconds for the tamp itself. And here’s the thing: tamp pressure doesn’t matter nearly as much as you’d think. One test tracked a 10 lb difference and saw almost no predictable effect. Consistency beats force every time.
Start by dosing and leveling the surface. Distribution evens out lateral density so water can’t find an easy shortcut. Tamping compacts that evened mass into something stable. Flip the order and you’re compressing lumps, which means spurts and split streams when you pull the shot. Think of it like smoothing flour before you press cookies.
Timing benchmarks worth knowing:
- Distribution (leveling, finger work, taps): 10 to 30 seconds
- WDT stirring to break clumps: 5 to 15 seconds
- Leveler pass with a distributor tool: 1 to 3 seconds
- Tamping: 1 to 3 seconds
- Total prep time if you’re doing proper WDT: usually 15 to 25 seconds (longer without a dosing collar)
Distribution spreads density evenly. Tamping compacts it. Reverse that and you get locked in problems that show up as fast, weak shots or ugly spurting from a bottomless portafilter.
Distribution Methods and Their Role in Shot Consistency
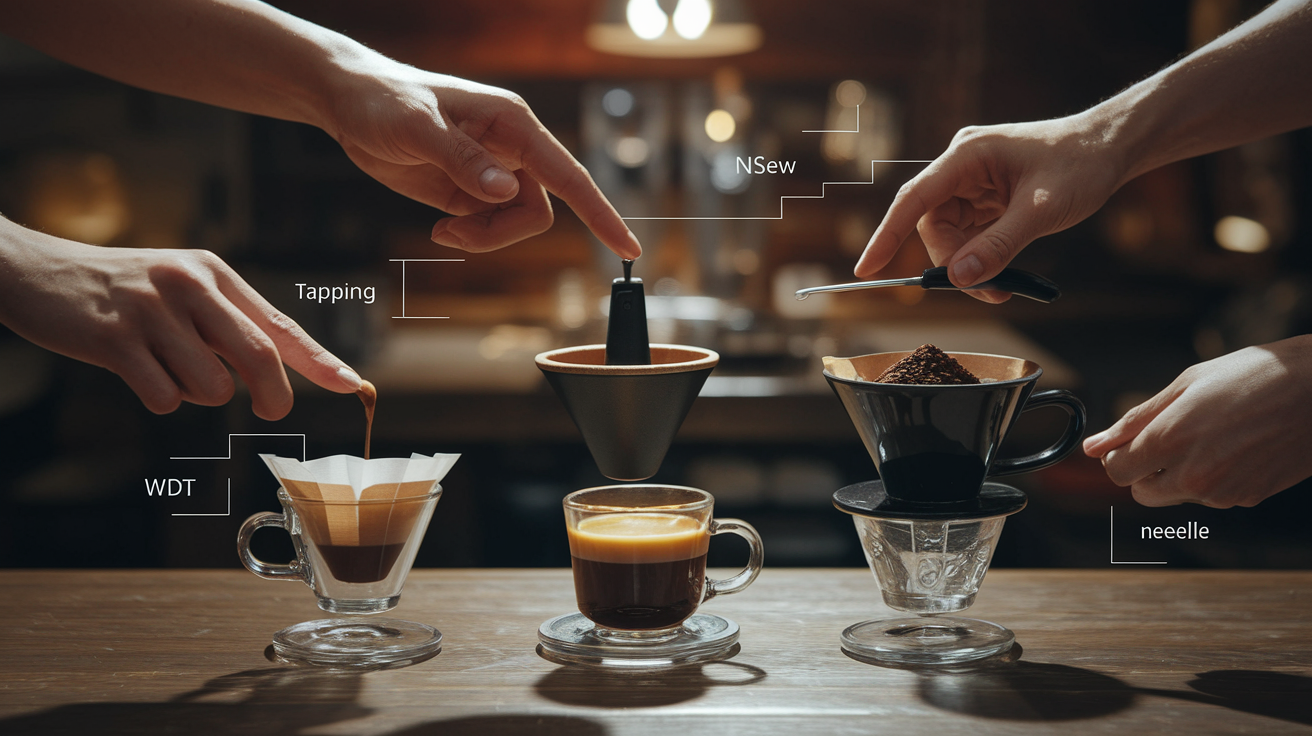
Manual methods often beat fancy tools. That’s what the data shows. Techniques tested include finger leveling, tapping, NSEW taps, Stockfleth, OCD/OCD2, BT, Twister, and WDT. In one dataset the OCD actually performed worse than simple tapping (p = 8.1384e-11, 30 samples each). WDT is the real workhorse if you need to break clumps and redistribute deep in the basket. It takes 5 to 15 seconds and reaches almost to the bottom without touching metal. Most surface tools can’t fix deep clumps.
If your grinder spits out clumpy doses, WDT matters. A lot. If your grind comes out fluffy and even, a quick finger sweep or light taps will get you there just as well. Small tip: use a paperclip to break stubborn clumps. Fast, quiet, reaches deeper than most rasps.
What to expect from different techniques:
- Finger or hand leveling: fast, works great for light clumping
- Tapping or NSEW: settles and evens the mass quickly
- WDT: breaks clumps and redistributes through the entire depth (5 to 15 seconds)
- Rotating levelers: smooth surface, but may not reach down where it counts
| Technique | Depth Effect | Typical Time | Notes |
|---|---|---|---|
| Finger / Hand Leveling | Surface to mid-depth | 1–5 s | Fast and reliable for light clumps |
| WDT (needle stir) | Deep — reaches near basket bottom | 5–15 s | Best for breaking clumps, needs dosing collar for speed |
| Distributor / Leveler Tools | Mostly surface-level | 1–3 s | Good for smoothing, less value if deep clumps exist |
| Tapping / NSEW / Stockfleth | Surface to mid-depth | 1–5 s | Often matches or beats complex tools in studies |
H3 – Deep vs Surface Distribution Impact
If your distribution only affects the top layer, deeper clumps or pockets stay put. When you tamp, those hidden voids get compressed right next to denser lumps. That creates preferential channels. Water follows the path of least resistance, so you end up with uneven extraction and weird tasting shots.
Tamping Techniques and Consistency Factors Affecting Extraction
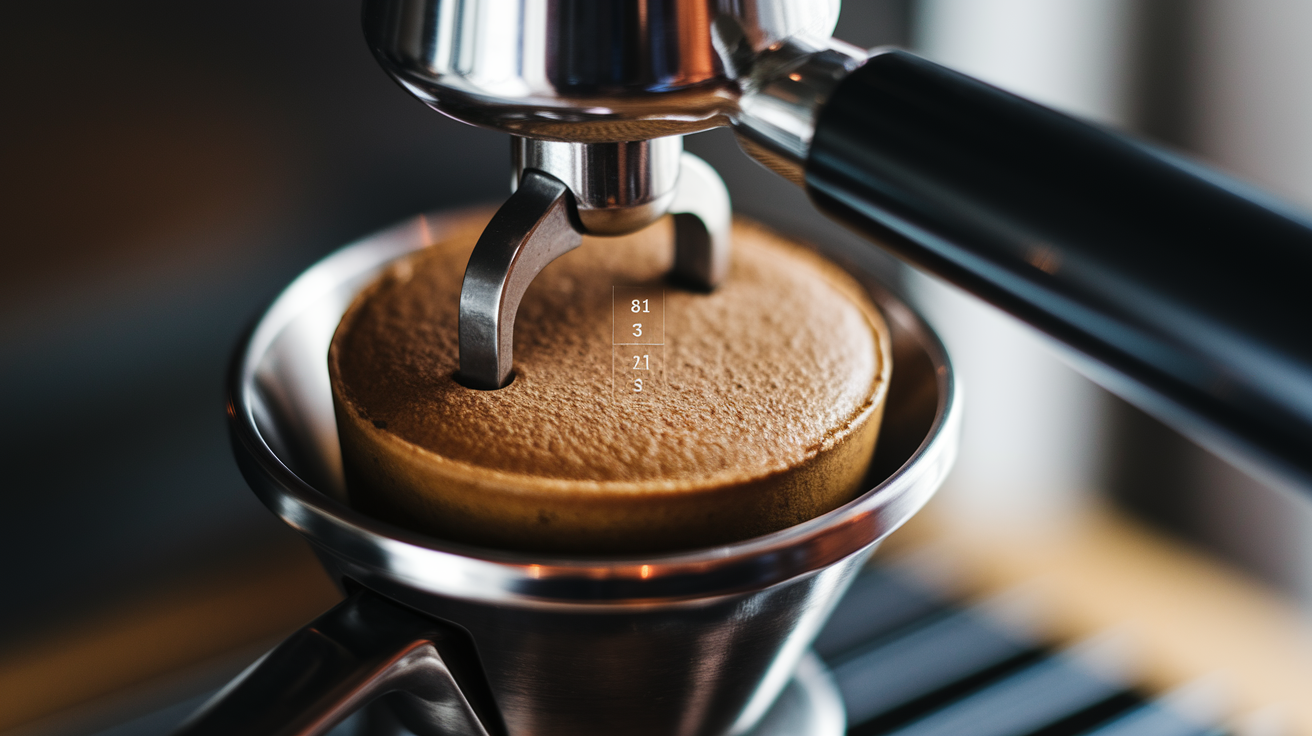
Tamping is about creating an even, sealed surface. Not crushing harder. The evidence is clear: tamp pressure changes don’t predict much of anything. Consistency and levelness matter way more. One dataset saw a tiny difference with a 10 lb tamp, but overall force was poorly correlated with extraction quality. Tamper design can matter, though. Pergtamp came out ahead in a 25 sample comparison (p = 0.0178).
Position and motion count. Stand square, use your forearm and shoulder to apply force, and keep the tamp perpendicular. Rest the tamper on the puck, check level with light fingertip pressure on the rim, then apply steady pressure for 1 to 3 seconds. A tiny polish is fine. Big twisting or angled force causes density gradients.
Proper tamping steps:
- Place tamper centered and make sure it’s perpendicular.
- Apply steady downward pressure using forearm and shoulder.
- Hold for 1 to 3 seconds until the puck feels compacted and stable.
- Optional light polish (a few degrees), but skip heavy twisting.
Think of tamping like sealing a lid evenly. No corner should stick up.
Scientific Rationale Behind the Order of Distribution vs Tamping
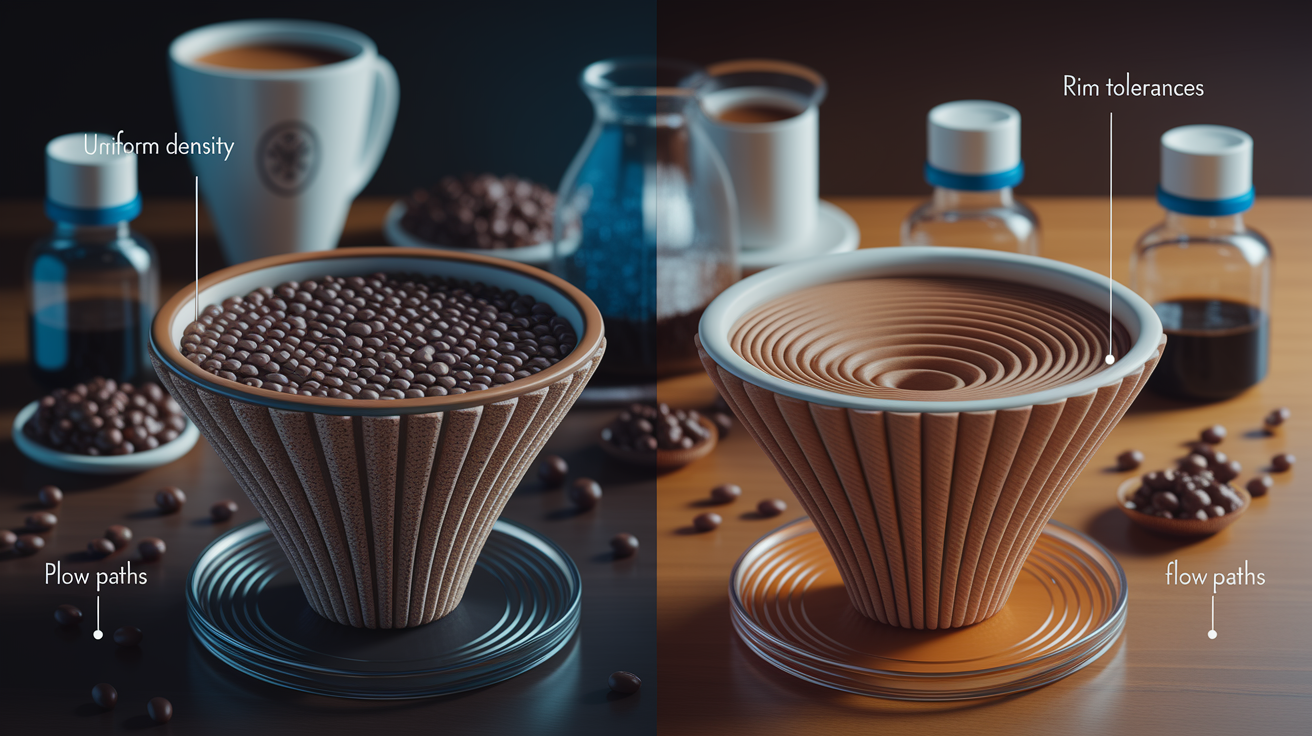
Distribution rearranges the powder and evens out the mass. Tamping locks that arrangement in place by compacting particles and reducing pore size. If you tamp first, clumps and low density streaks get fixed inside the puck and become very hard to correct. Water always follows the path of least resistance, so even small density gradients turn into major channels.
Precision baskets (VST, Pullman, Pesado/IMS) showed better uniformity in experiments, probably because their tighter tolerances reduce rim and hole irregularities that amplify density problems. When distribution works and tamping is level, flow spreads more evenly across the puck and extraction improves.
Cause and effect breakdown:
- Poor distribution creates uneven lateral density, which creates localized low resistance channels, which creates overextracted bitter spots and underextracted sour spots.
- Tamping before distribution locks clumps in place and increases channeling probability.
- Deep clumps not broken by surface tools create hidden flow paths at brew time.
- Better basket tolerances reduce rim and edge effects, which lets good distribution show more benefit.
Timing Tests, A/B Comparisons, and Measurable Extraction Differences
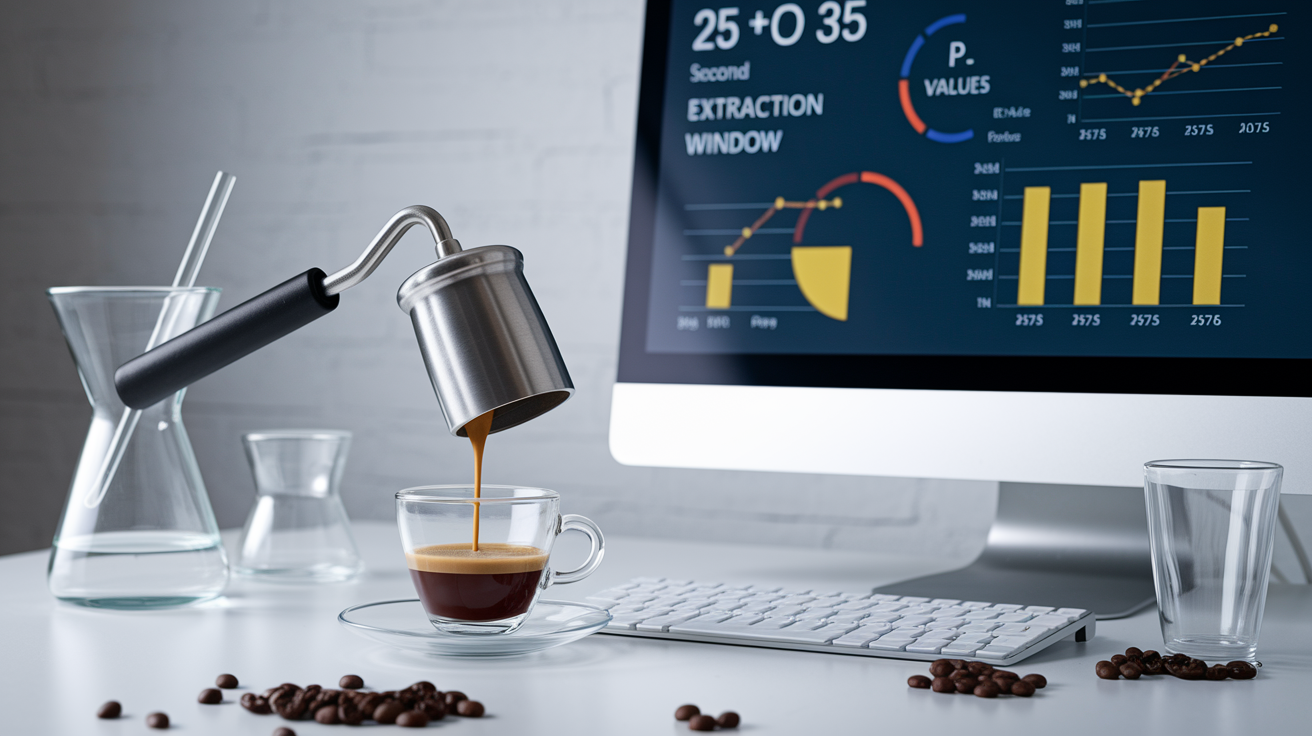
Comparative testing gives you numbers you can actually trust. In one set, OCD versus tapping across three grinders (30 samples per condition) produced a huge difference favoring tapping (p = 8.1384e-11). Tamper comparison across 25 samples favored Pergtamp (p = 0.0178). Basket tests showed VST often had the highest extraction in pooled comparisons. Typical target extraction window in these tests is about 25 to 35 seconds. Notable failures show up as very fast shots (under 15 seconds) or overly slow ones (over 45 seconds).
Bottomless portafilter video is a useful test. Look for even, steady streams from both spouts for 10 to 30 seconds. Spurting, split streams, or early gushes point to distribution or tamping errors. Yield and time differences line up with visual flow problems. Poor prep often drops yield and shortens time.
| Condition | Sample Size | Observed Effect |
|---|---|---|
| OCD vs Tapping | 30 per condition | Tapping significantly better (p = 8.1384e-11); OCD often degraded extraction |
| Tamper Comparison (Pergtamp vs others) | 25 combined samples | Pergtamp favored (p = 0.0178); tamper design affects consistency |
| Basket Types (Generic vs VST/Pullman/Pesado) | ~10 inferred samples per box-plot | Precision baskets generally show higher extraction; VST most consistent |
Example: a badly distributed then tamped shot will often sprint out under 15 seconds and taste thin. A well distributed and tamped shot sits in the 25 to 35 second window and tastes balanced.
Workflow Efficiency and Tool Choices for Reliable Distribution‑Then‑Tamp Routines
Design your flow so grinding happens last and distribution is quick and repeatable. WDT typically takes 5 to 20 seconds. Without a dosing collar it can take three times longer and add up to 60 seconds. A basic WDT setup runs around $35. Simple tools can be as cheap as $16. Sequence to practice: prep tools, grind immediately into portafilter or dosing collar, distribute (WDT, finger, or tap), level if using a tool, tamp, pull shot. Use a scale to measure yield and time for repeatability.
If you use WDT often, get a dosing collar or DIY one from a small cup to contain grounds. That cuts time and mess. For many home setups a combination of WDT for clump prone beans and quick finger or tap leveling for free flowing grinds is the fastest reliable routine.
Weiss Distribution Technique Steps reference: Weiss Distribution Technique Steps
Workflow optimization tips:
- Prep tools and tamp in hand before grinding to save seconds.
- Use a dosing collar to make WDT fast and tidy.
- Grind last to reduce CO2 loss and keep shots lively.
- Use a scale and timer for consistent stop weight and extraction time.
- Start with simple finger or tap if you’re short on time. Add WDT only for clumpy doses.
If a WDT run takes 15 extra seconds, you’ll trade that time for far fewer wasted shots and less guessing.
Troubleshooting Issues Caused by Incorrect Distribution–Tamp Order

Symptoms from the wrong order are consistent. Spritzing, split streams, very fast shots (under 15 seconds), or wildly inconsistent times. Those signs point to channeling from locked in density differences. Finger and Stockfleth methods often outperform surface only tools because they tend to move more coffee mass and settle the bed more evenly.
Fixes are simple and testable. Start by redoing the dose with WDT or a paperclip stir to break clumps, then level and tamp. If flow still looks uneven, check tamper fit (gaps cause edge channeling), grind setting, and basket cleanliness. A bottomless portafilter video after each change helps you confirm improvement.
Diagnostic cues:
- Fast thin shot (under 15 seconds): likely channeling or too coarse grind.
- Spurting or split streams: local channeling from uneven density.
- Very slow shot (over 45 seconds): overfine grind or overcompaction.
- Bitter and sour together: uneven extraction (some parts overextracted, others underextracted).
- Puck with visible craters or large lumps: poor distribution before tamping.
- Edge only flow or early rim wetting: tamper diameter mismatch or angled tamp.
If your shot sprints and tastes thin, ask yourself: did I force a lid down on a lumpy cake?
Final Words
Distribute first, then tamp. Equalize the coffee bed so water meets an even resistance; tamp only after the bed is level.
Aim for 10–30 seconds for distribution (WDT 5–15 seconds when you’re breaking clumps) and a quick, level tamp of 1–3 seconds.
Distribution evens density; tamping locks it. Do the steps backward and you’ll trap differences that cause channeling and split streams.
This wraps up the timing and order of distribution vs tamping explained — follow the simple sequence and you’ll get steadier, cleaner shots.
FAQ
Q: Do you distribute before tamping?
A: You should distribute before tamping: distribution evens density, then tamp locks it. Try distribution 10–30 seconds (WDT 5–15s), then tamp 1–3 seconds for steadier 25–35 second shots.
Q: Do you use a WDT tool before or after tamping?
A: You use the WDT before tamping: the WDT removes clumps and reaches deep without touching the basket bottom. Spend 5–15 seconds, then tamp level and consistent for best extraction.
Q: How to tell if you’re over tamping?
A: You can tell you’re over tamping if shots run very slowly (>45s), the puck feels rock-hard or cracks, or flow chokes. Fix: ease up and focus on a level 1–3 second tamp, not extra force.
Q: How to use coffee tamper and distributor?
A: To use a tamper and distributor, grind then distribute (WDT or leveler) to equalize the bed, then tamp level and consistent for 1–3 seconds. Target a steady, even 25–35 second extraction.