

What if your grinder setup is quietly stealing 3–7% of every bag?
A purpose-built distribution station stops that leak and turns waste into cups you can sell.
It puts grind, dose, funnel, and tamp in one repeatable line so loose grounds go to a tray, not the floor.
This guide shows the exact layout, tools, and checks, plus a 20-shot test, to get waste under 1%.
For home baristas and small cafes.
No guesswork. Measure in grams and seconds.
Core Foundations for an Efficient Distribution Station to Reduce Shot Waste
A distribution station is where every shot starts. It’s the spot where beans become grounds, get weighed, dosed, distributed, and prepped for brewing. When this area is messy or inconsistent, waste piles up fast: stray grounds on the counter, portafilters you overfill and have to level off, retention stuck in the grinder that never makes it to the basket, guesswork that ends with dumping full shots. A purpose-built station pulls every step into one repeatable sequence, so coffee only goes where it needs to and nothing ends up in the trash that should’ve been in someone’s cup.
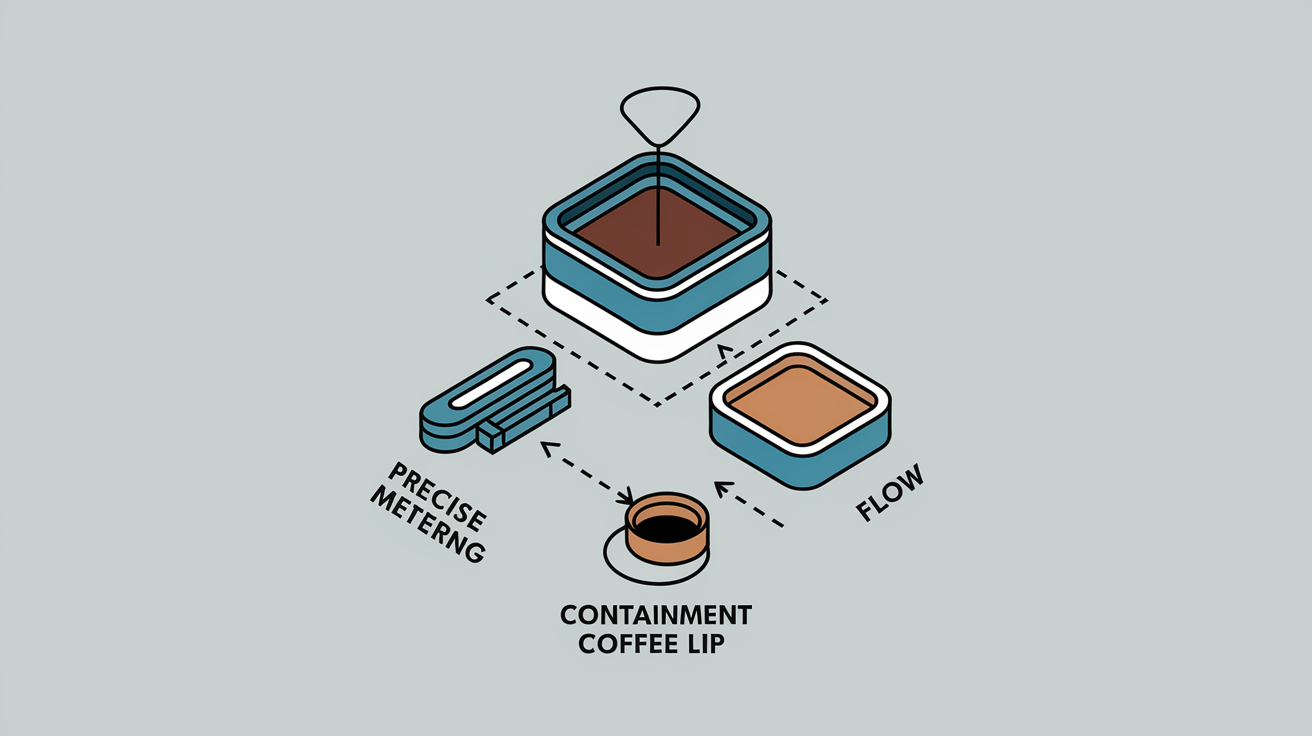
The core of a low-waste setup is accuracy, containment, and flow. Accuracy means hitting the same dose every time without overfilling or coming up short. Containment means using trays, funnels, or lips that catch loose grounds before they hit the floor or get wiped away. Flow means organizing tools so you never backtrack, reach awkwardly, or work around clutter that causes spills. Industrial waste stations routinely cut loss from 3–7% down to under 1% by focusing on these three ideas. Same logic works for coffee.
Industrial systems hit sub-1% waste using precise metering, hopper shapes that don’t clog, local containment sized to hold 110% of the biggest batch, and airflow that recaptures overspray. Bringing that thinking to a coffee station means treating every gram as measurable, recoverable, and something you track. When your setup is built around those goals, waste drops automatically instead of being something you remember to fix shot by shot.
What you need for a distribution station that cuts waste to under 1%:
Precise metering. Grinder or doser that hits within ±0.3–0.5 g every time.
Ergonomic placement. All tools positioned in a single 1-meter reach arc so you don’t move the portafilter around constantly.
Containment capacity. Tray or mat with a raised lip to catch 100% of stray grounds during dosing and distribution.
Airflow and dust control. Negative pressure or capture hood if you’re grinding high-volume batches to stop fine dust from drifting away.
Rapid turnaround design. Station supports back-to-back prep without stopping to clean between every dose.
Recycle and capture path. System for sweeping, weighing, and deciding if captured grounds are fresh enough to reuse or need to go.
Designing a High-Accuracy Distribution Station Layout
Layout dictates how much coffee escapes. Position your grinder, dosing funnel, distribution tools, tamper, and portafilter cradle inside a 3–6 meter zone that keeps every step connected. If the grinder sits on one counter and the tamp station is across the room, coffee spills during the walk. If the knock box is wedged behind the machine, you rush puck prep and scatter grounds. Keep it compact. Every tool within a single step, every action flowing one direction: grind, dose, distribute, tamp, pull.
Maintain 0.5–1.0 meters of clearance around the station for service and cleaning. A station shoved into a corner becomes a dust trap. Use surfaces you can wipe down fast or pull out for deep cleaning. For containment, the work tray should hold 110% of your largest dose. If you typically run 20 grams and occasionally hit 22, size the tray to catch 24 without overflowing. Stainless steel or high-density plastic trays with 10–20 mm raised lips work well. Polycarbonate panels or splash guards behind the grinder stop fine dust from landing on other prep surfaces.
| Component | Best Placement | Reason |
|---|---|---|
| Grinder | Within 0.5 m of portafilter holder | Minimize travel distance and spill risk during dose transfer |
| Distribution tray or funnel | Directly under grinder chute, centered over portafilter | Catch 100% of dose; containment sized to 110% of max batch |
| Tamping station | 0.3–0.6 m from grinder, same counter height | Single-motion handoff from dose to tamp without repositioning basket |
Equipment and Tools Required for Low-Waste Distribution
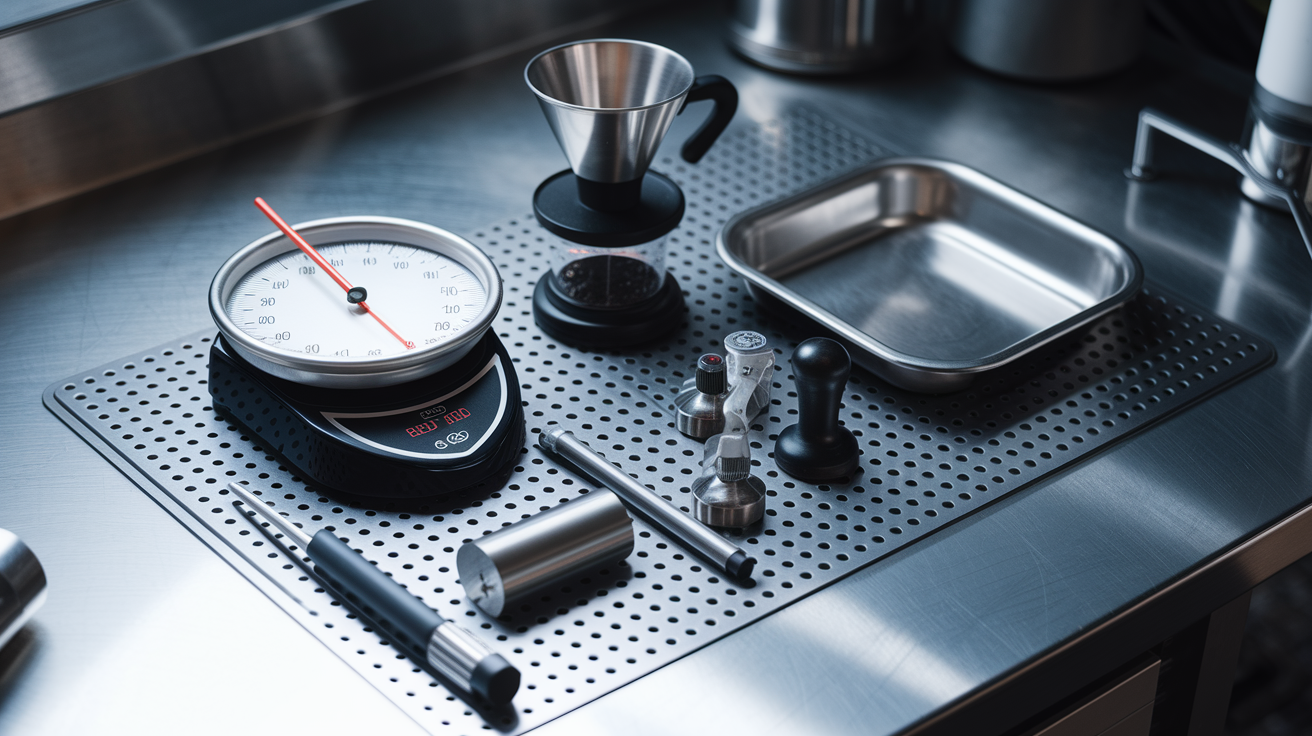
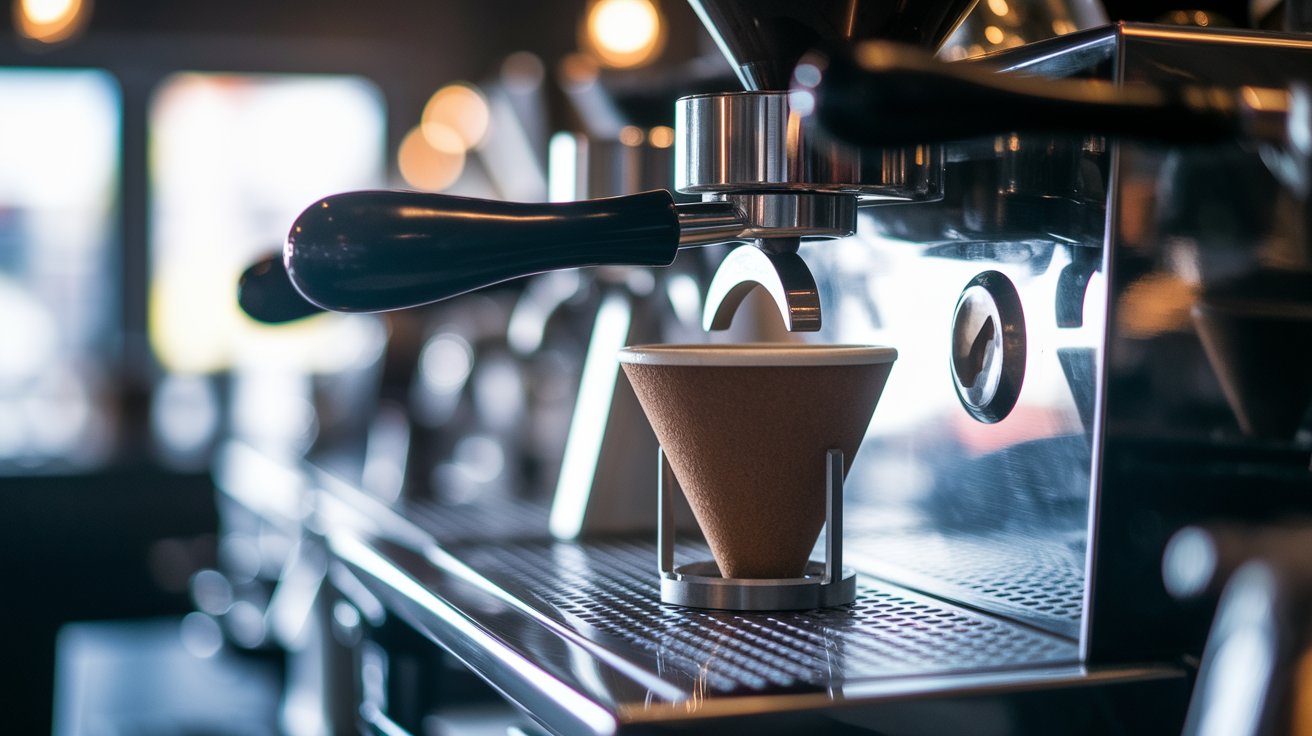
High-precision dosing starts with the grinder. Look for models with programmable shot timers or weight-based dosing that can hit the same output within ±0.3 grams shot to shot. If yours doesn’t dose by weight, add a small 0.1-gram precision scale directly into the workflow. Pair the grinder with a dosing funnel that sits on top of the portafilter basket and channels every particle into the basket without spillover. Funnels with magnetic bases or silicone grips stay put during grinding and stop the basket from shifting and scattering grounds. A good funnel kills the need to brush away mounded coffee, which is one of the biggest waste sources in busy setups.
Grind calibration and basket consistency are the accuracy layer. Calibrate your grinder weekly by pulling five consecutive doses onto a scale and checking the range. If you see more than a 1-gram spread across five doses, re-dial or clean the grinder to remove retention and clumping. Use the same basket size and style for each drink type so your target dose stays consistent. Single, double, and triple baskets each have different capacities and headspace. Switching randomly between them creates waste when you overdose one and have to knock out the excess or underdose another and add a second grind.
Containment and capture follow industrial thinking: every surface where coffee can land needs a collection method. Place a stainless tray with a 15–25 mm raised lip under the entire dosing zone. When you remove the funnel or knock a clump loose during distribution, the tray catches it instead of the counter. For grinders that produce fine dust or static cling, a small brush and dustpan stationed on the tray let you quickly sweep and return usable grounds to the hopper or a secondary container. Some setups add a small HEPA shop vacuum for fine dust capture, sized to pull 50–150 cubic meters per hour, which keeps the station clean and recovers grounds that would otherwise be wiped away and tossed.
Step-by-Step Setup Procedure for Minimizing Shot Waste
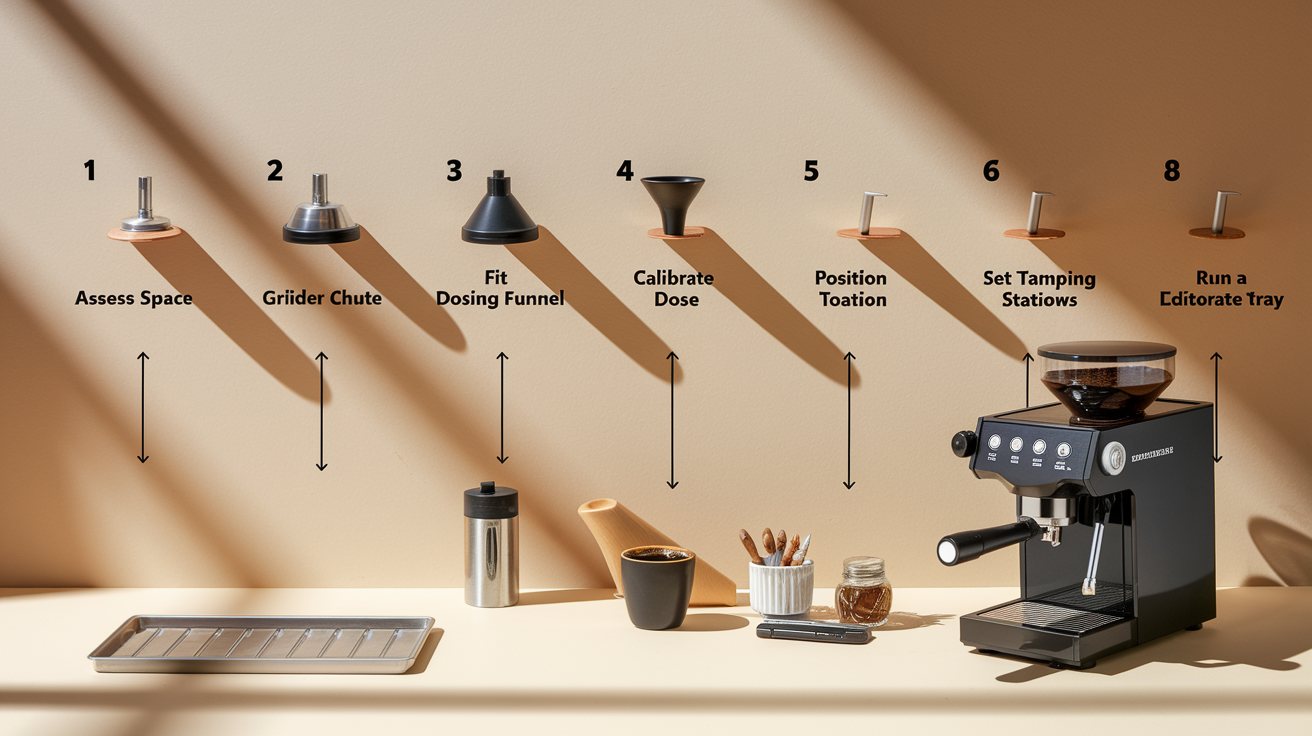
Setting up a low-waste distribution station means installing each piece in sequence and checking accuracy before you go live. Walk through these steps in order to confirm every part works together and nothing gets skipped during the rush.
-
Confirm your workspace dimensions and utilities. Measure a 3×2 meter footprint for a single-barista station or 6×4 meters for multi-barista. Verify you have adequate lighting (500+ lux at the work surface) and access to power for grinder, scale, and any dust capture devices. If installing a tamping mat or tray, make sure the counter can support 50–100 kg distributed load without flexing.
-
Install the grinder and align the chute with the dosing position. Mount or position the grinder so the output chute sits directly over the portafilter holder or funnel cradle. Adjust chute height so ground coffee falls no more than 5–10 cm into the basket to minimize bounce and scatter. Secure the grinder with non-slip feet or bolt it down if it’ll see heavy use.
-
Add a dosing funnel or collar and test fitment. Place the funnel onto your portafilter basket and confirm a snug, stable fit. Grind a test dose and watch for any gaps or wobble that lets grounds escape. If the funnel shifts during grinding, use a magnetic ring or tighter-fitting model. The funnel should capture 100% of the dose without you needing to hold it.
-
Set your target dose weight and calibrate for ±2% accuracy. Program your grinder or set a manual timer to deliver your target dose, say 18.0 grams for a double. Pull 10 consecutive test doses onto a 0.1-gram scale and record each weight. Calculate the range. If you see results between 17.6 and 18.4 grams (±2%), you’re good. If the range is wider, adjust grind time in 0.1-second steps or clean out retention until consistency improves.
-
Position the distribution tool station within 0.3–0.5 meters of the grinder. Place your WDT tool, leveling distributor, or manual rake on a small tray or magnetic strip so it’s always in the same spot. This stops you from hunting for tools mid-workflow and prevents knocking loose grounds off the counter during the reach.
-
Install the tamping station at the same counter height as the dosing area. Use a standalone tamp mat, a recessed tamping pad, or a spring-loaded tamper holder. The tamp should be directly in line with the grinder and portafilter path so you move in one direction: dose, distribute, tamp. Measure the distance. Keeping it under half a meter cuts the chance of tilting the portafilter and spilling grounds during handoff.
-
Add a containment tray with a 10–20 mm raised lip beneath the entire station. Size the tray to catch 110% of your largest single dose. For a 22-gram max dose, the tray should comfortably hold 24 grams of loose grounds. Use stainless steel or food-grade plastic that can be wiped or rinsed daily. Position the tray so it sits under the grinder chute, dosing funnel, and distribution area in one continuous surface.
-
Validate end-to-end workflow with a 20-shot test and measure total waste. Run 20 full prep cycles: grind, dose, distribute, tamp, and pull each shot. Weigh all grounds that end up in the containment tray, knock box (from rejected shots), or swept off surfaces. Divide total waste weight by total coffee used and calculate waste percentage. Target under 1.5% for a new station. Under 1.0% is doable with fine tuning. If waste is higher, revisit grinder calibration, funnel fit, and whether any step is causing scatter.
Measurement Techniques and Waste Tracking Systems for Shot Control
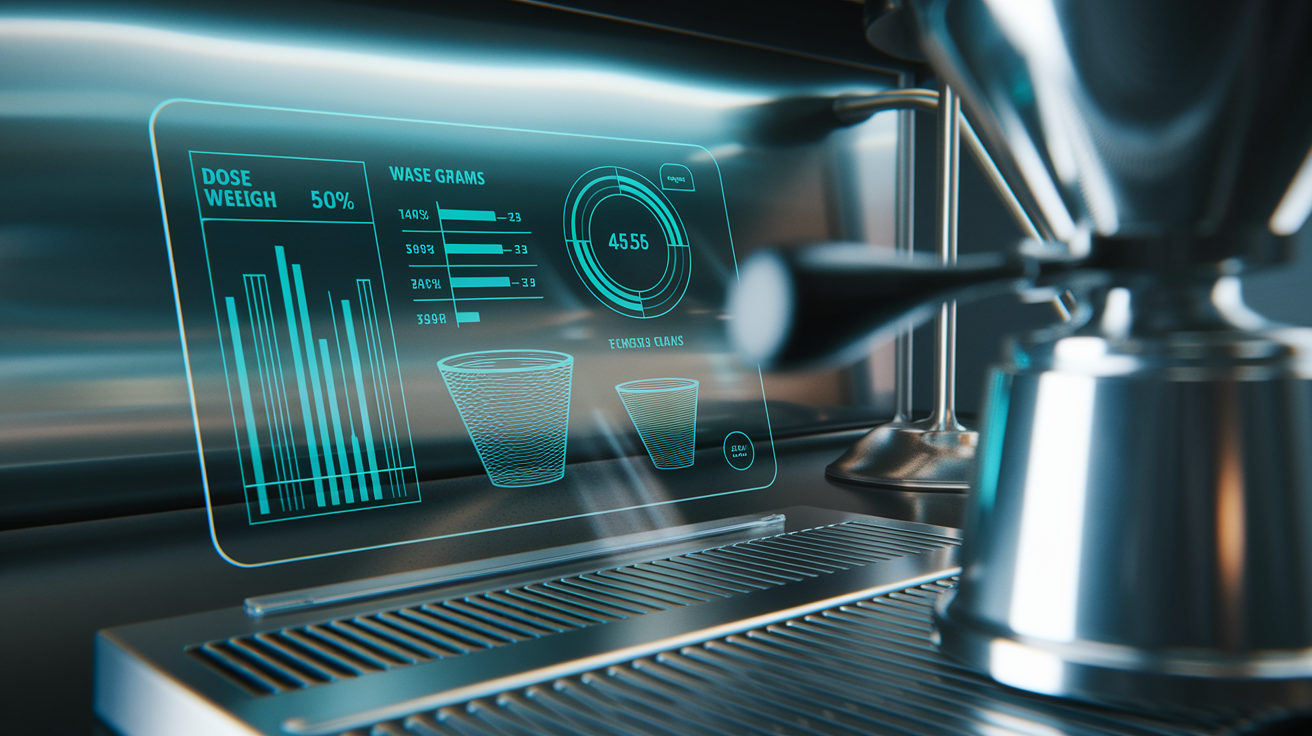
Tracking waste starts with weighing every input and capturing every output. Use a scale accurate to 0.1 grams placed directly in the workflow. Weigh the dose going into the portafilter, then weigh the liquid yield coming out. For waste tracking, weigh the contents of your containment tray at the end of each shift or after every 50 shots during high-volume periods. Record the weight, then divide by total coffee ground during that period to calculate your waste percentage. Sampling 100–500 shots per shift gives you a stable number and highlights any drift in grinder calibration or workflow consistency.
Set up a simple log with columns for date, shift, operator, total coffee used (grams), captured waste (grams), calculated waste percentage, and any corrective actions taken. If you see waste climbing above 1.5%, flag it right away and check grinder retention, funnel fitment, and whether anyone’s brushing excess grounds into the trash instead of the containment tray. Monthly dashboards should summarize total material used, total waste, waste as a percentage, and any trends week-over-week. This turns waste reduction from a feeling into a number you can actually manage and improve.
Key numbers to track daily:
Waste rate (%). Total grams wasted divided by total grams ground, target ≤1.0%.
Shot dose accuracy (± grams). Standard deviation of dose weights over 100 shots, target ±0.5 g or tighter.
Throughput (shots per hour). Number of shots prepped per barista per hour, tracking whether waste reduction slows or speeds up workflow.
Recycle rate (%). Grams of captured grounds returned to use divided by total captured, useful if you’re reusing lightly scattered dry grounds.
Downtime incidents. Number of times per shift the station had to stop for cleaning, grinder purging, or troubleshooting accuracy drift.
| Metric | Frequency | Tool |
|---|---|---|
| Dose weight accuracy | Every 100 shots or hourly | 0.1 g precision scale |
| Waste percentage | End of shift | Containment tray weight log |
Operational Best Practices for Reducing Waste During Shot Production
Daily checks keep the station accurate without becoming a maintenance project. Spend 5–15 minutes at the start of each shift doing a visual sweep: check that the dosing funnel is clean and seated right, the containment tray is empty and wiped down, and the grinder chute isn’t clogged with old grounds. Grind and weigh three test doses before the first customer shot and confirm they’re all within your ±0.5 gram target. If one’s off, purge the grinder by running 10–20 grams through and retest. This catches retention drift or humidity changes before they create waste during the rush.
Batch your shot prep when you can instead of grinding one dose at a time with gaps in between. Grinding five portafilters back-to-back keeps the grinder in a stable flow state and cuts the startup and shutdown scatter that happens when the burrs accelerate and decelerate repeatedly. Use a portafilter rack to hold prepped baskets in order so no one has to guess which was dosed first. When you prep in smooth runs, the workflow stays consistent and the containment tray only captures small edge-case spills instead of constant scatter from stop-start grinding.
Run a quick accuracy recheck halfway through any high-volume shift. Weigh three consecutive doses on the scale. If the range has drifted beyond ±0.5 grams, pause and adjust grind time or check for clumping and retention. Catching drift at the midpoint stops you from wasting an entire afternoon of shots. At the end of the shift, weigh everything in the containment tray, knock box, and any grounds swept from surfaces. Log it. This five-minute close creates accountability and shows whether one person or one time of day consistently generates more waste.
Ways to cut waste during production:
Never brush grounds off the top of a dosed basket. If the dose is too high, your grinder’s out of calibration. Fix that instead of tossing the excess.
Keep the portafilter stationary during grinding. Moving it around under the chute increases scatter. Let the funnel do the containment work.
Use a single quick sweep of the containment tray per hour, not constant tiny wipes. Frequent small cleanups scatter more grounds than one controlled collection.
Pre-position all tools before you start the dose. Reaching for a distributor mid-dose ups the chance of knocking the basket and spilling grounds.
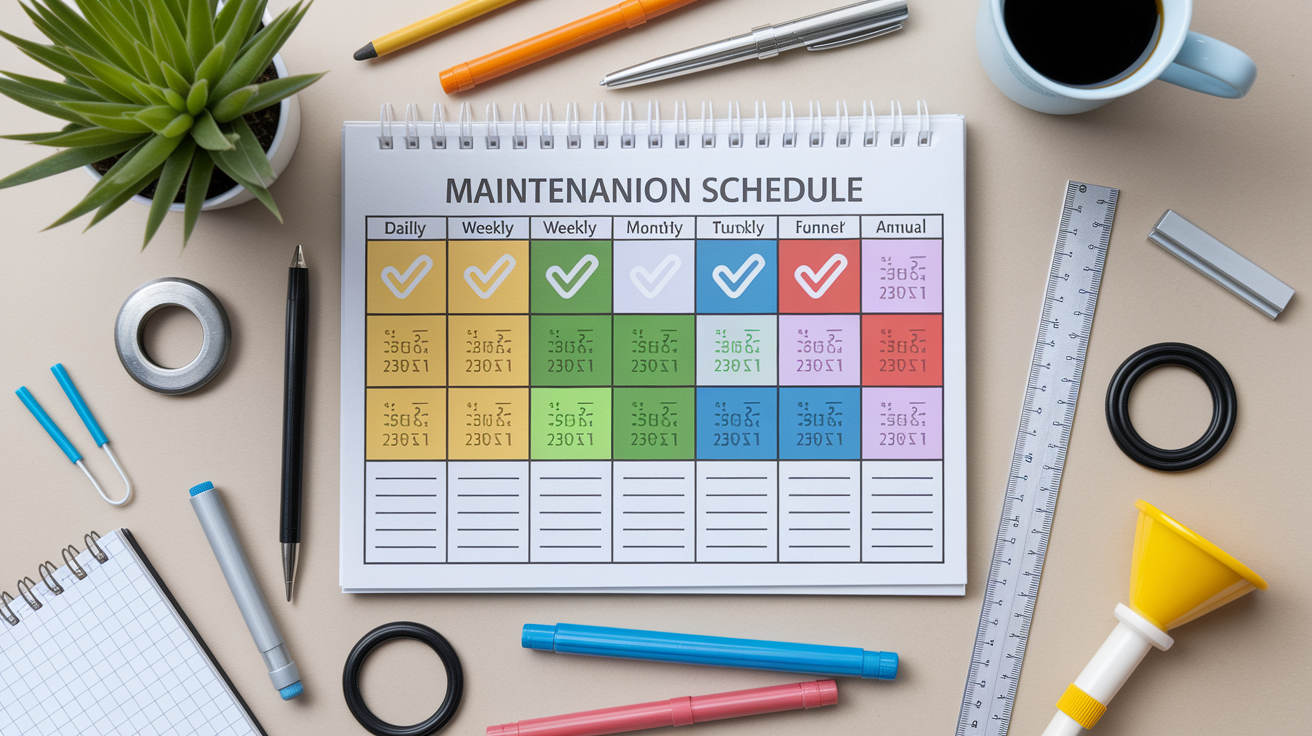
Maintenance and Calibration Schedule for a Low-Waste Station
Daily cleaning is the foundation. Wipe down the containment tray, vacuum or brush any fine dust from around the grinder chute, and check that the dosing funnel is free of stuck grounds or oils. This takes 5–15 minutes and stops buildup that causes clumping, retention, and inaccurate dosing. Empty and rinse the containment tray if it’s collected any liquid or wet grounds. Dried coffee stuck to the tray makes it harder to measure waste accurately later.
Weekly tasks include a dose accuracy test and a check of moving parts. Pull 10 consecutive doses onto the scale and confirm the range stays within ±0.5 grams. If drift has appeared, recalibrate the grinder timer or check burr alignment and clean out any retention in the chute and chamber. Inspect the dosing funnel for cracks, worn edges, or loose magnetic rings that let grounds escape. Check that the tamping mat or station hasn’t shifted or become uneven. An unlevel tamp causes channeling, which leads to tossed shots and wasted coffee.
Monthly calibration keeps the system tight. Use a calibration weight to verify your scale is still accurate to 0.1 grams. If it’s drifted, recalibrate per the manufacturer’s procedure or replace the scale. Deep-clean the grinder, including burr removal and full chute cleaning, to eliminate old oils and micro-clumps that mess with dose consistency. Replace any worn parts like grinder gaskets, funnel seals, or tray liners. Annual costs for high-wear parts typically run 3–8% of the original station setup cost.
Schedule breakdown:
Daily (5–15 min). Wipe tray, brush grinder chute, confirm funnel fit, log waste from previous shift.
Weekly (30–60 min). Run 10-dose accuracy test, check tamping station level, inspect funnel and tray for wear, record any calibration adjustments.
Monthly (10–30 min). Calibrate scale with test weight, deep-clean grinder burrs and chute, replace worn small parts (gaskets, funnel magnets).
Quarterly. Full station audit with waste trend review, check all tool positions and ergonomics, update logs and dashboards.
Annual. Replace high-wear items, professional grinder service if needed, review total cost of waste vs station maintenance and adjust practices.
Troubleshooting Common Causes of Shot Waste
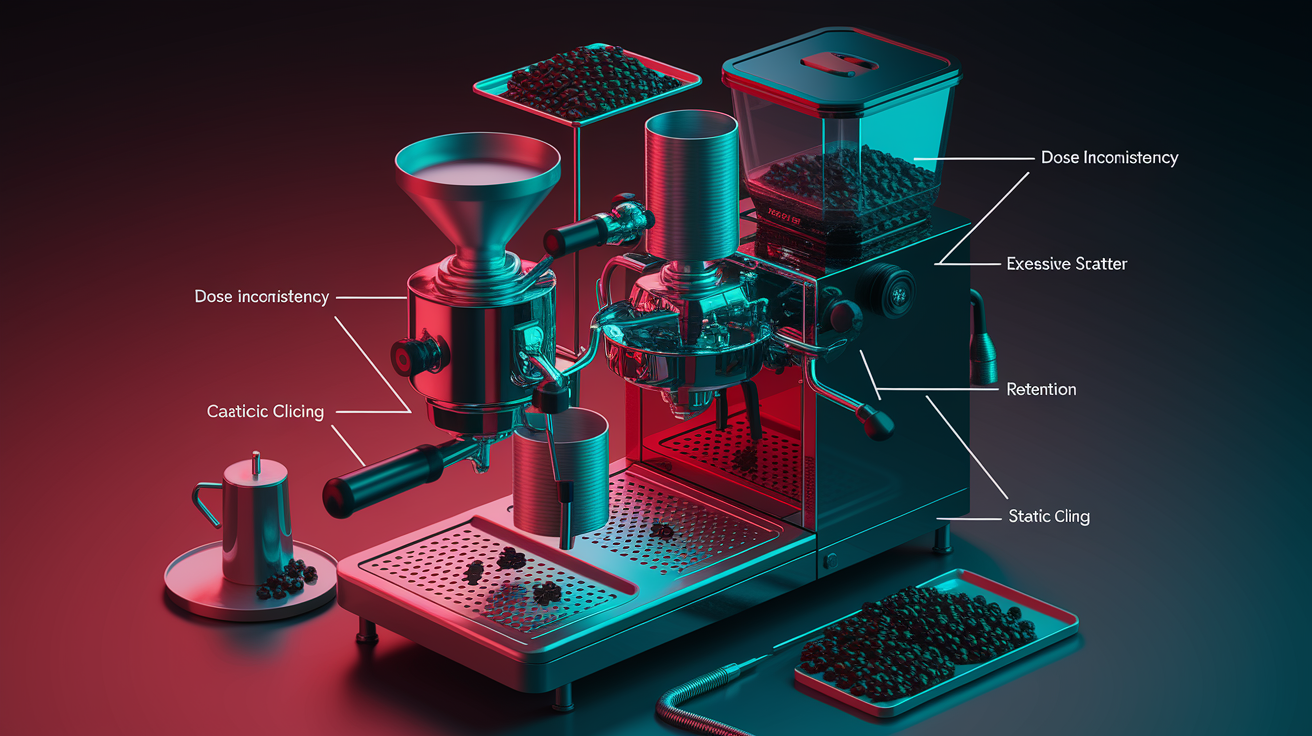
When waste climbs above 1.5% or dose consistency suddenly breaks, start with the most common failure points before assuming the equipment’s broken. Most waste problems trace back to grinder behavior, workflow disruption, or containment gaps that let grounds escape the system. Use numeric thresholds to decide when a symptom has crossed from normal variation into a real problem that needs fixing.
| Problem | Numeric Trigger | Corrective Action |
|---|---|---|
| Dose inconsistency | Range >1.0 g across 10 shots | Purge grinder with 20 g, check for clumping or humidity, recalibrate timer in 0.1-second steps |
| Excessive scatter during grind | Containment tray catching >3% of dose weight | Confirm funnel fit, lower chute height to <10 cm drop, reduce grind speed if adjustable |
| Grinder retention climbing | First dose of shift >1.5 g under target | Deep-clean burrs and chute, check for oil buildup, consider single-dosing workflow to eliminate retention |
| Static cling and dust loss | Fine dust visible on surfaces >1 meter from grinder | Add RDT (spritz beans lightly before grinding), use anti-static spray on funnel, increase tray containment lip height |
Bridging or clumping inside the grinder chute shows up as dose weight that drops suddenly by more than 20% or erratic flow that needs tapping the grinder. Clean the chute, check bean moisture content (dry beans clump less), and verify the grinder’s internal baffles or agitators are working. If your grinder has adjustable RPM, slowing it by 10–15% can reduce clumping in high-humidity spots. Over-dispensing happens when calibration drifts and every dose comes out 2% or more over target across a 100-shot sample. Recalibrate the timer, inspect the dosing mechanism for wear, and replace any worn chutes or gates that no longer meter accurately.
ROI Modeling and Cost Savings from Reduced Shot Waste

Waste reduction pays for the station setup through saved coffee cost. Start by calculating your current waste rate. Weigh total coffee used in one month and total waste captured or discarded. Divide waste by total used to get your baseline percentage. Most setups without a dedicated distribution station run 3–7% waste. A properly designed station typically brings that down to 0.5–1.5%, with best setups hitting under 1%. The difference between baseline and target is your monthly savings in pounds or kilograms, which you multiply by your cost per pound to get dollar savings.
Say you use 10,000 grams of coffee per month at $30 per kilogram. Your monthly coffee spend is $300. At 5% waste, you’re losing 500 grams per month, worth $15. Cutting waste to 1% drops loss to 100 grams, worth $3. Monthly savings are $12, or $144 per year. If your station setup (scale, funnel, tray, grinder recalibration, and labor) costs $250, payback is under two years. For higher-volume or pricier coffee, payback shrinks fast. A café using 50 kilograms per month at $40 per kilogram sees $2,000 monthly coffee cost. Cutting waste from 5% to 1% saves $80 per month, or $960 per year, paying back a $1,200 station investment in 15 months.
Industrial examples show faster returns in high-throughput spots. One operation cut shot waste from 4.8% to 0.9% on 1,200 kilograms per month of material costing $4.50 per kilogram. Baseline waste was 57.6 kilograms per month at $259. Post-install waste dropped to 10.8 kilograms at $49 per month. Annual savings were $2,520, and the $18,500 station installation paid back in 7.3 years. Additional perks included a 35% drop in disposal costs (less waste hauled away) and a 25% cut in rejected product due to improved consistency. A second example in liquid dosing cut overpour from 1.8% to 0.2% on 120,000 doses per month at $0.12 per dose, saving $230 per month or $2,760 annually, with payback in under 11 months on a $12,000 upgrade.
Five steps to calculate your own ROI:
-
Measure baseline waste. Weigh all coffee used and all waste captured over a full week. Divide waste by total to get baseline percentage (say, 4.5%).
-
Set a realistic target. Use 1.0–1.5% as your goal if starting from 3–7% baseline. Document the target in grams per month.
-
Calculate monthly and annual savings. Multiply the reduction in waste grams by your cost per gram. Example: 400 grams saved per month × $0.035/gram = $14/month or $168/year.
-
Add up station costs. Include scale ($50–$150), funnel ($20–$60), containment tray ($30–$100), grinder calibration labor (2 hours at shop rate), and any extra tools. Total might be $300–$800 for a basic station.
-
Divide total cost by annual savings to find payback period. Example: $500 station cost ÷ $168 annual savings = 3.0-year payback. Faster payback happens with higher volume, premium beans, or larger waste cuts.
Case Studies Demonstrating Reduced Shot Waste Through Station Setup
A specialty café in the Midwest installed a dedicated distribution station in early 2023 after noticing their monthly waste hovered near 4.8%. They were grinding about 60 kilograms of coffee per month at an average cost of $32 per kilogram. Baseline waste was 2.88 kilograms per month, costing roughly $92. After adding a 0.1-gram scale, magnetic dosing funnel, stainless containment tray, and recalibrating their grinder to dose within ±0.4 grams, waste dropped to 0.9% over the next three months. New waste totaled 0.54 kilograms per month at $17 cost. Monthly savings were $75, or $900 annually. The station components and setup labor cost $650, giving a payback period of 8.7 months. Beyond direct savings, the café reported a 35% drop in trash hauling fees because less coffee ended up in the bin, and barista consistency improved, leading to a 25% cut in remade drinks due to dosing errors.
A second example comes from a high-volume downtown espresso bar that processes about 200 kilograms of coffee per month. Before the station redesign, they measured waste at 3.2%, or 6.4 kilograms monthly, worth $205 at their $32/kg cost. They upgraded to a weight-based grinder doser, installed a full containment workbench with a 25 mm lip tray, and put in a daily calibration check. Over six months, waste stabilized at 0.8%, or 1.6 kilograms per month costing $51. Monthly savings jumped to $154, annual savings $1,848. The upgrade cost $1,950 including the new doser and custom tray, resulting in a 12.7-month payback. The station also supported faster throughput because baristas no longer had to stop mid-rush to brush scattered grounds or recalibrate on the fly.
Comparing the two outcomes:
Baseline waste percentages: 4.8% (café A) and 3.2% (café B).
Post-install waste: 0.9% and 0.8%, both under the 1% target.
Payback periods: 8.7 months and 12.7 months, both under 18 months despite different volumes and station costs.
Final Words
Build the station first: pick the layout, set precise metering, add containment and a shot-capture path. Follow the step-by-step setup so everything flows and you cut transfer loss.
Track results with scales, waste KPIs, and regular calibration. Use the troubleshooting checklist when flow or accuracy drifts.
If you’re ready, map your counter and run a 100-shot sample. setting up a distribution station to reduce shot waste pays off fast and makes your shots more consistent.
FAQ
Q: What country sends only 1% of its waste to landfills?
A: The country that sends only about 1% of its waste to landfills is Sweden. It achieves this through strict landfill limits, high recycling rates, and widespread waste-to-energy incineration with energy recovery.
Q: What is the most efficient way to decrease waste?
A: The most efficient way to decrease waste is to prevent it at the source: redesign products, cut packaging, reuse items, and measure results. Prevention usually beats recycling for cost and impact.
Q: Why doesn’t the US incinerate waste?
A: The US doesn’t incinerate waste as widely because landfilling is often cheaper, public opposition and strict air rules raise costs, and modern waste-to-energy plants need high capital and lengthy permits.
Q: What is a disposal station?
A: A disposal station is a dedicated spot to collect, sort, and temporarily hold waste or used materials before recycling, composting, incineration, or landfill. It helps contain mess and track material flows.