

Think gasket wear is just part of owning an espresso machine? It doesn’t have to be.
Heat, pressure, coffee oils and trapped grounds do most of the damage.
But a few quick, no-cost habits stop most of that wear.
Flush the group head after each shot, wipe the basket rim, and backflush weekly.
Do a simple monthly check for cracks or stiffness.
This post shows those steps and why they work so you get fewer leaks, steadier pressure, and fewer replacements.
Essential Prevention Methods for Reducing Gasket Wear

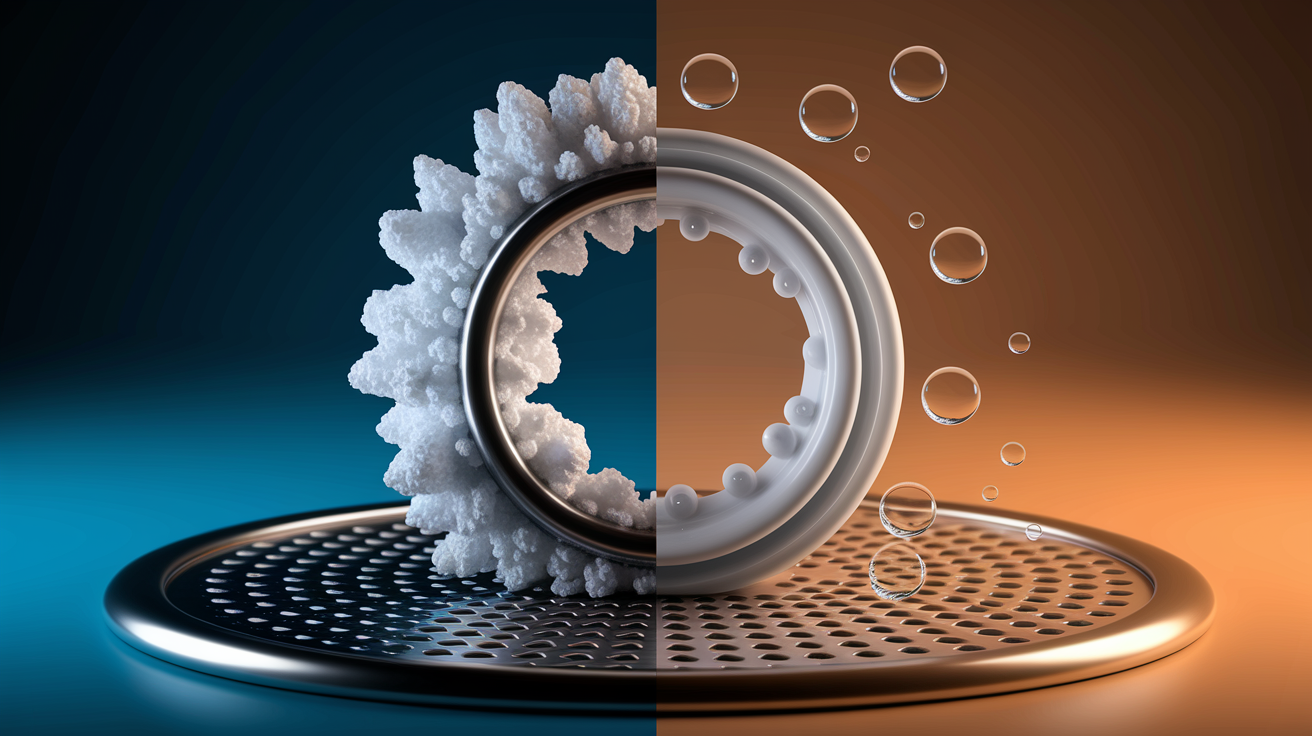
Espresso gasket wear is pretty straightforward. Heat, pressure, coffee oils, mineral scale, and trapped grounds break down that rubber or silicone seal bit by bit. Every shot heats the gasket to brew temperature and pushes it under about 9 bar of pressure while coffee oils coat the surface. When you pull the portafilter out, the gasket cools down and relaxes. That constant expansion and contraction? It stresses the material. Coffee grounds get lodged in there and mess up the seal, creating tiny escape routes for water. Scale does the same. Eventually, all these forces flatten the gasket, crack it, or make it brittle.
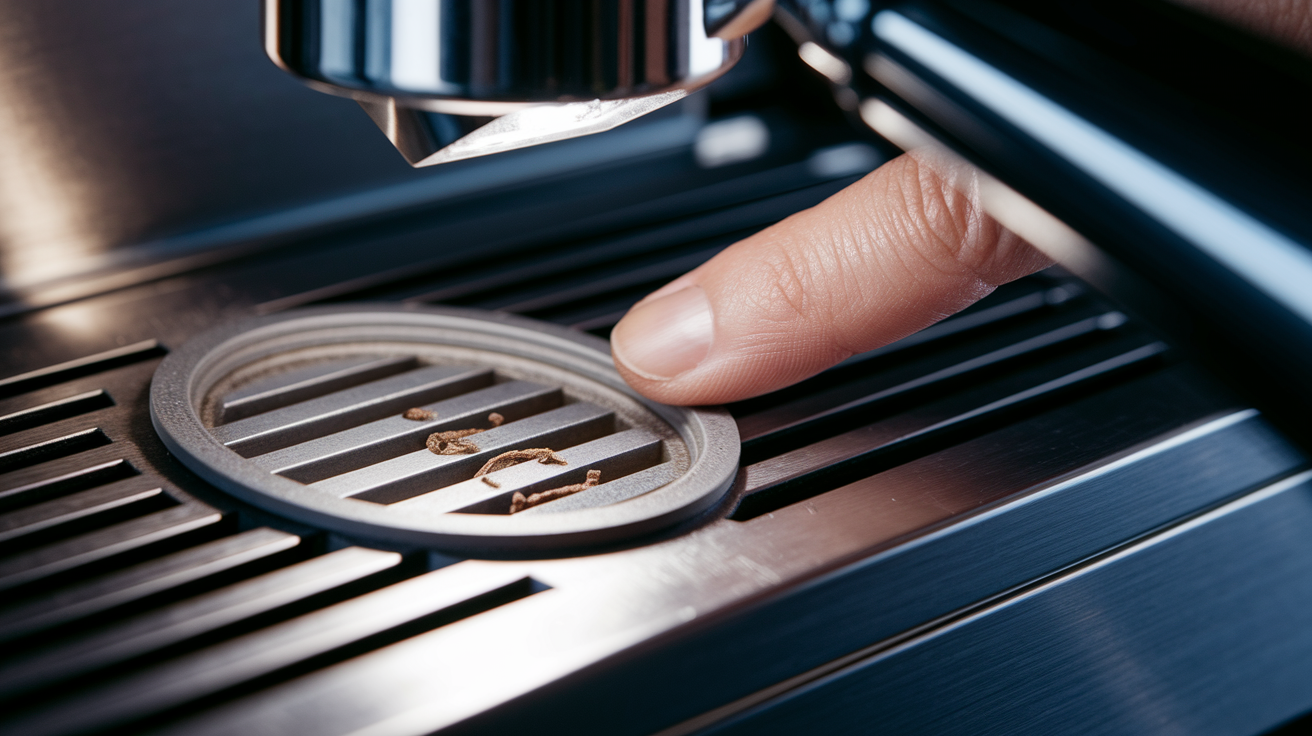
Most wear is preventable, though. Simple daily stuff and correct portafilter technique go a long way. Flushing the group head with hot water right after each shot washes away oils and fine grounds before they get embedded into the gasket. Wiping the portafilter basket rim removes wet grounds that would otherwise press into the seal. Hand-tighten the portafilter to a snug stop, but don’t force it past that point. Gaskets that stay clean and experience normal pressure last way longer.
Catching wear early stops it before leaks or pressure loss show up. Look for a flattened gasket profile, visible cracks, or stiffness when you press the rubber with your finger. Light grey silicone gaskets make spotting trapped coffee grounds easier since they show up as dark flecks pressed into the seal. If water or steam leaks around the portafilter during extraction, or shots pull noticeably faster with weaker crema, the gasket’s probably already worn. Replacing it at the first sign of trouble prevents under-extracted shots and reduces strain on the group head.
After-shot preventive steps that reduce gasket wear:
- Flush the group head for 3 to 5 seconds right after removing the portafilter to rinse oils and fines from the gasket surface.
- Wipe the portafilter basket rim with a damp cloth to remove wet grounds that press into the seal during the next lock-in.
- Knock spent pucks cleanly into a knock box. Avoid repeated tapping that can splash oils back onto the portafilter and group.
- Purge the steam wand and wipe it dry so milk residue doesn’t migrate toward seals during cleaning.
- Leave the portafilter out of the group between shots to let the gasket cool and return to its original shape.
Understanding What Causes Espresso Machine Gasket Wear
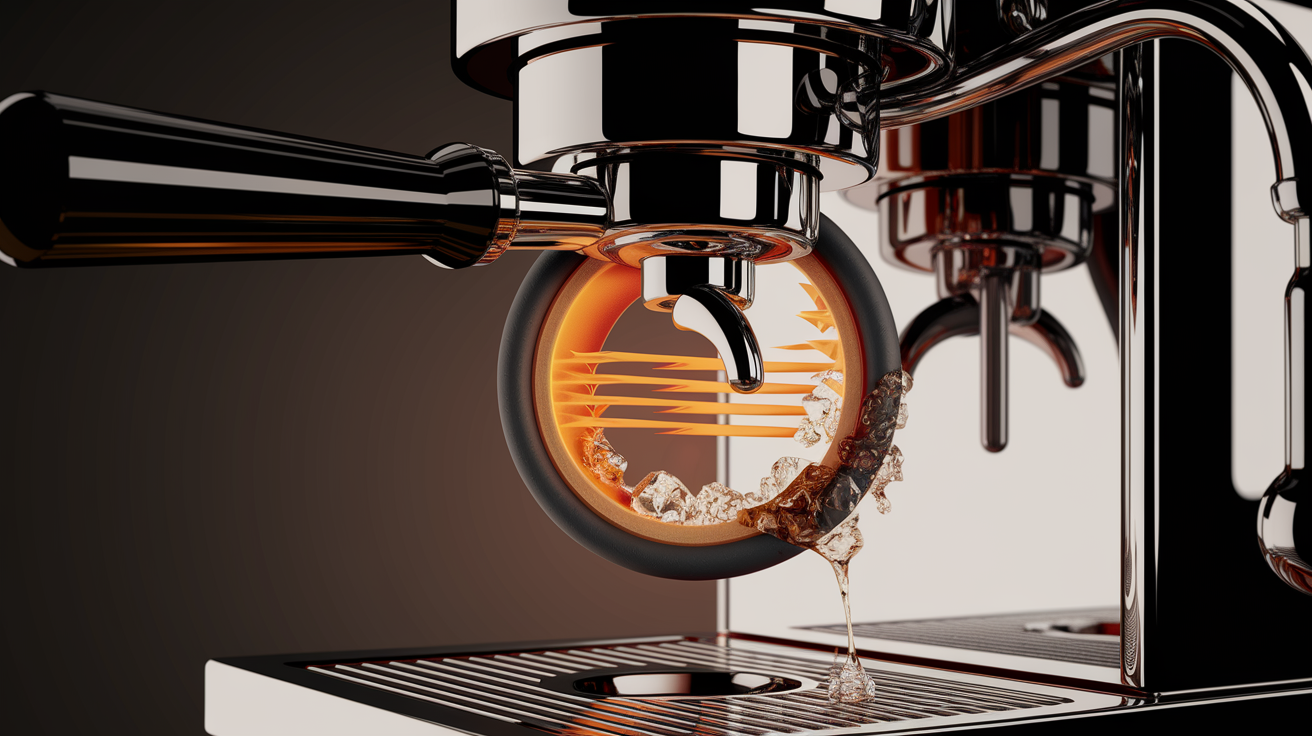
Espresso gaskets take mechanical stress every time you pull a shot. The pump forces water through the group at around 9 bar of pressure, and the gasket has to hold that seal against the portafilter flange. At the same time, brew water heated to 88 to 96°C passes through the rubber or silicone, causing the material to expand. When you remove the portafilter, the gasket cools and contracts. Machines that cycle on and off during the day repeat this expansion and contraction many times, and each cycle slowly degrades the elasticity of the material. Heat also speeds up chemical breakdown in rubber, making it stiff and brittle over time.
Gasket material matters. Older machines and early equipment models used MBR rubber because it was cheap and widely available, but MBR becomes brittle faster than silicone when exposed to repeated heat and pressure. Silicone gaskets are now preferred for home espresso machines because they stay flexible longer, resist high temperatures better, and tolerate coffee oils without breaking down as quickly. Silicone also makes spotting embedded debris easier. Light grey silicone shows trapped coffee grounds as dark flecks, so you know when to clean the gasket before buildup causes leaks or channeling.
Trapped debris speeds up wear. Coffee grounds that press into the gasket during portafilter insertion create tiny gaps in the seal, forcing the material to compress unevenly. Scale deposits do the same thing, forming hard spots that prevent the gasket from sitting flush. Both problems increase the mechanical load on the rubber and reduce gasket life.
Cleaning Techniques That Protect Espresso Machine Gaskets
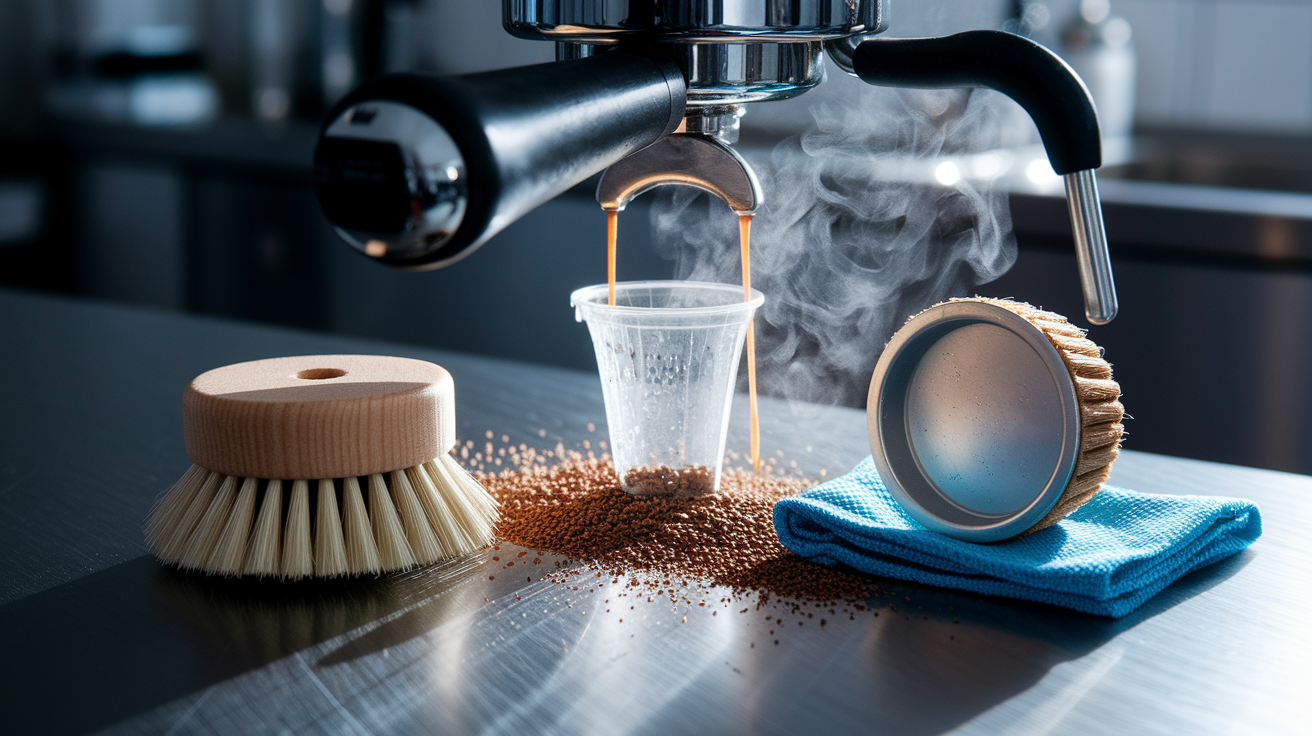
Using the right cleaning agents prevents chemical damage to gaskets. Espresso-specific alkaline detergents dissolve coffee oils without attacking rubber or silicone seals. General-purpose kitchen degreasers, bleach, and solvents can dry out gaskets, cause cracking, or leave residues that contaminate the next shot. Food-safe detergents formulated for espresso backflushing work by breaking down oils at a molecular level, lifting them away from surfaces without scrubbing or abrasion. Always rinse thoroughly after using detergent. Residual cleaner left in contact with the gasket between uses speeds up deterioration.
Backflushing removes oils that daily flushing can’t reach. When you backflush with a blind filter basket and espresso detergent, pressurized water forces cleaning solution through the three-way valve and across the entire group head surface, including the gasket. This process flushes out oils embedded in the seal’s texture and cleans the metal surfaces that press against the gasket. Weekly or biweekly backflushing keeps the gasket clean and flexible. Machines without a three-way solenoid valve should never be backflushed because they lack a path for pressurized water to exit, and forcing pressure against a blind filter can damage internal components.
Cleaning mistakes that shorten gasket life:
- Scrubbing the gasket with stiff-bristled brushes that score the surface and create pockets for grounds to lodge.
- Using metal scrapers or picks to remove stuck grounds, which can tear or gouge the rubber.
- Applying general-purpose degreasers or solvents that dry out silicone and rubber.
- Leaving detergent residue on the gasket without a final hot water rinse.
- Using abrasive powders or scouring pads on the group head or portafilter flange, which roughen the sealing surfaces.
- Cleaning gaskets with bleach, which degrades rubber and silicone over time.
Correct brushing protects the gasket. Use a soft nylon group head brush to sweep away loose grounds from the gasket surface, working gently in a circular motion. Follow with a hot water flush to rinse oils and fines down the drain. Wipe the portafilter basket rim and flange with a damp microfiber cloth before reinserting the portafilter to avoid pressing wet grounds into the seal. Light grey gaskets make it easier to see when grounds are still present, so you can remove them before they embed.
Maintenance Schedules to Prevent Early Gasket Wear
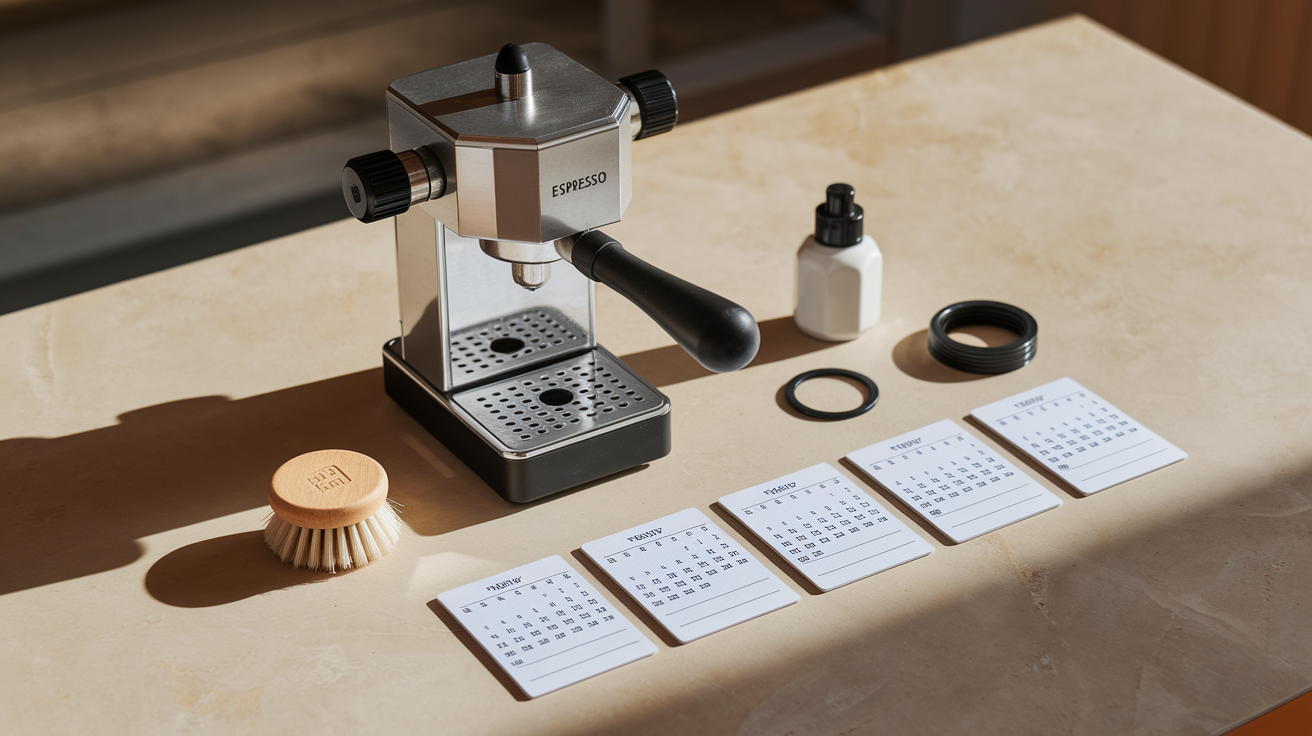
Daily flushing after each shot prevents most gasket wear. Rinsing the group head with hot water for 3 to 5 seconds right after removing the portafilter washes coffee oils and fine grounds off the gasket surface before they harden or embed. Wiping the portafilter basket rim and emptying the drip tray each session keeps debris from migrating back to the group. These steps take less than a minute and stop the buildup that causes premature gasket failure.
Weekly or biweekly backflushing removes embedded oils that daily flushing can’t reach. Insert a blind filter basket into the portafilter, add the recommended dose of espresso-specific alkaline detergent, lock the portafilter into the group, and run a brew cycle for 10 seconds. Release the portafilter to vent pressure, then repeat the cycle 3 to 5 times. Finish with several plain water backflush cycles to rinse all detergent residue. This routine keeps the gasket clean and flexible. Only backflush machines equipped with a three-way solenoid valve.
Monthly inspections catch early wear. Remove the portafilter and check the gasket for cracks, flattening, or stiffness. Press the gasket gently with your finger. It should feel springy and return to shape quickly. Light grey gaskets show trapped grounds as dark flecks, which you can clean with a soft brush and a hot water rinse. If the gasket feels hard or shows visible cracks, plan to replace it soon. Apply a thin film of food-grade silicone grease to the gasket surface if it looks dry.
Bi-annual descaling and gasket replacement keep the machine sealed and efficient. Descale the boiler and group head every 2 to 3 months if you use hard water, or every 4 to 6 months with filtered water. Use a manufacturer-approved descaler and follow the product instructions for dose and contact time. Replace gaskets every 6 to 12 months depending on daily shot volume. Heavy users who pull multiple shots daily should replace gaskets closer to the 6-month mark. Light users can extend replacement to 12 months if the gasket shows no visible wear.
| Task | Recommended Frequency |
|---|---|
| Flush group head after each shot | Daily (after every shot) |
| Backflush with espresso detergent | Weekly or biweekly |
| Inspect gasket for cracks and flattening | Monthly |
| Descale boiler and group head | Every 2 to 6 months (depending on water hardness) |
| Replace gasket | Every 6 to 12 months |
Lubrication and Seal Conditioning for Longer Gasket Life
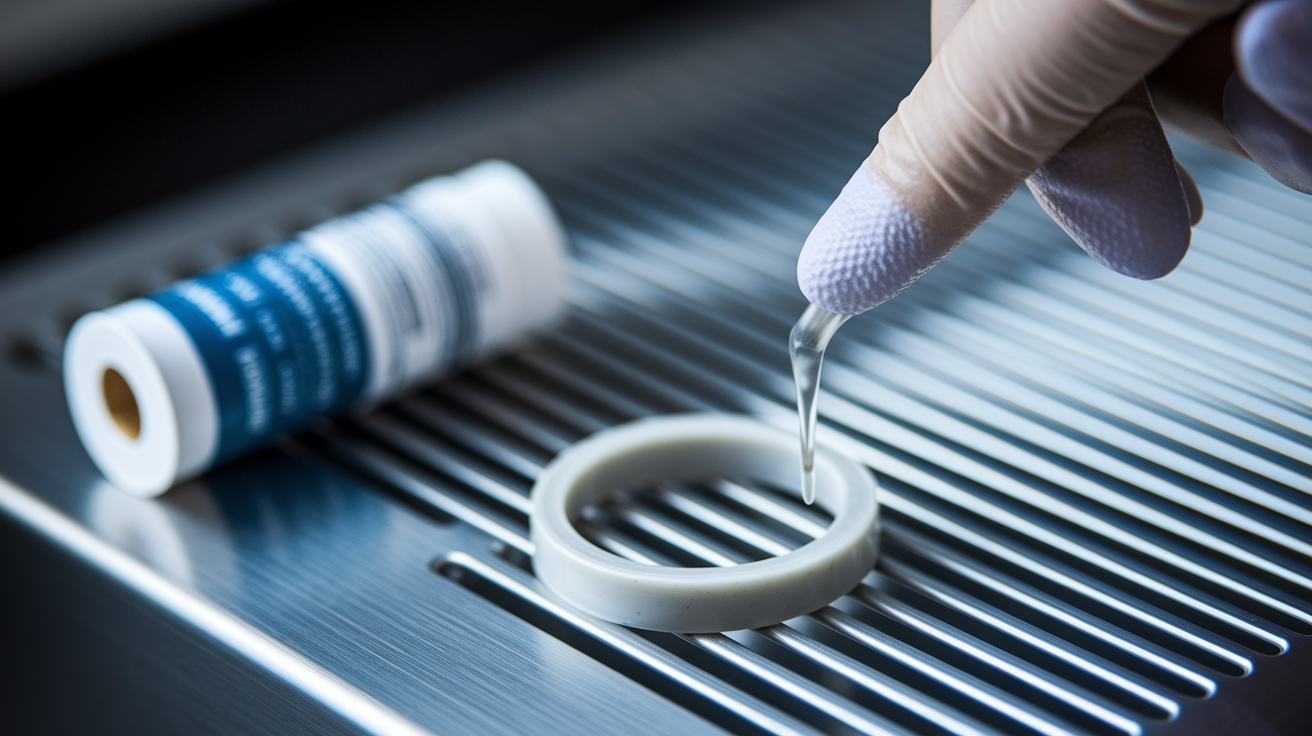
Food-grade silicone or PTFE grease protects gaskets from friction and drying. Apply a thin film to the gasket surface during installation and again during monthly inspections if the material looks dry or feels stiff. NSF H1-rated greases are safe for food contact and don’t degrade rubber or silicone. They also resist high temperatures without breaking down or contaminating brew water. Avoid petroleum-based greases, which attack rubber seals and cause cracking. A small tube of food-safe grease lasts years because you only need enough to coat the surface lightly.
Over-lubricating creates more problems than it solves. Excess grease can migrate into the group head, mix with coffee oils, and leave a slick residue on the portafilter basket rim. This residue then transfers to the next puck and affects shot flavor. Apply grease sparingly, using a clean fingertip or a lint-free cloth to spread a barely visible layer across the gasket. Wipe away any excess that squeezes out when you insert the portafilter. Correct lubrication makes the gasket last longer without introducing off-flavors.
Where to Apply Grease
Apply grease directly to the gasket surface that contacts the portafilter flange. Spread a thin, even layer around the entire circumference of the gasket, covering the part that seals against metal. Don’t apply grease to the inside edge of the gasket that faces the group head or to the metal shower screen. When installing a new gasket, coat it lightly before pressing it into the group head groove. This helps the gasket seat evenly and prevents it from sticking or tearing during the first few uses. Wipe the portafilter flange clean before locking it in to avoid mixing grease with coffee grounds.
Proper Portafilter Technique to Avoid Gasket Stress

Correct portafilter insertion prevents compression damage. Align the portafilter handle with the machine’s unlock position, press it gently into the group head until it contacts the gasket, then rotate the handle smoothly to the locked position. You should feel resistance as the lugs engage, followed by a firm stop. Forcing the handle past that stop over-tightens the seal and flattens the gasket prematurely. Hand-tight is enough. The gasket doesn’t need excessive torque to hold 9 bar of brew pressure.
Over-tightening compresses the gasket unevenly and speeds up wear. Each time you crank the portafilter past the natural stop, you squeeze the gasket thinner. Repeated over-tightening flattens the material permanently, reducing its ability to spring back and seal cleanly. You’ll notice this as increased effort required to remove the portafilter or as leaks that appear even with a relatively new gasket. Correct technique keeps the gasket’s original profile intact and extends its working life.
Steps for correct portafilter insertion:
- Wipe the portafilter basket rim and flange to remove wet grounds before inserting it into the group.
- Align the portafilter handle with the unlock position and press it straight into the group until it contacts the gasket evenly.
- Rotate the handle smoothly to the locked position, stopping when you feel firm resistance. Don’t force it further.
- After extraction, unlock the portafilter promptly and let the gasket cool and return to its original shape before the next shot.
Water Quality and Its Impact on Espresso Gasket Longevity
Water hardness affects gasket wear by depositing mineral scale on sealing surfaces. Hard water contains dissolved calcium and magnesium that precipitate as scale when heated. This scale builds up on the group head face, the portafilter flange, and the gasket itself. Scale creates rough, uneven surfaces that prevent the gasket from sealing flush, forcing the material to compress into gaps and deform. Ideal water for espresso sits between roughly 35 and 85 parts per million total dissolved solids, which limits scale formation without stripping flavor minerals.
Descaling removes mineral deposits before they damage seals. Use a manufacturer-approved descaler every 2 to 3 months if you use hard tap water, or every 4 to 6 months if you filter your water. Follow the product instructions for dose, contact time, and rinsing. Thorough rinsing is critical because descaler residue left in contact with gaskets speeds up chemical breakdown. Never use white vinegar unless your machine manufacturer explicitly allows it, as vinegar can corrode internal metal parts and degrade rubber seals.
Filtered or softened water reduces descaling frequency and extends gasket life. Carbon block filters remove chlorine and organic compounds that can degrade rubber. Water softeners replace calcium and magnesium with sodium, preventing scale but potentially introducing too much sodium for espresso flavor. Reverse osmosis systems strip nearly all minerals, so you must remineralize the water to avoid flat-tasting shots and to prevent corrosion. A simple carbon filter with a target hardness of 50 to 70 ppm offers the best balance for home machines, protecting gaskets from scale without over-softening.
Inspecting Espresso Gaskets for Early Failure Signs
Visual inspection catches wear before it causes leaks or pressure loss. Remove the portafilter and look at the gasket under good light. A healthy gasket has a smooth, even surface with consistent thickness around the entire circumference. Press the gasket gently with your finger. It should feel springy and return to shape immediately. Light grey silicone gaskets show trapped coffee grounds as dark flecks, making it easy to spot debris that needs cleaning. If the gasket looks shiny or wet with oils even after flushing, it needs a backflush cleaning cycle.
Mechanical checks confirm sealing performance. Lock an empty portafilter into the group and run a short brew cycle. Watch the portafilter-to-group junction for leaks. If water or steam escapes around the edge, the gasket is either dirty, compressed, or cracked. Remove the portafilter and inspect the gasket again. A flattened gasket often shows a visible groove where the portafilter flange presses. Cracks usually start at the inside edge and radiate outward. Brittleness is harder to see but easy to feel. A brittle gasket resists finger pressure and doesn’t bounce back.
Inspection checklist:
- Check for visible cracks, especially around the inside edge of the gasket where heat stress is highest.
- Press the gasket gently to confirm it feels springy and returns to shape quickly. Stiffness or slow rebound indicates material breakdown.
- Look for a flattened profile or a visible groove where the portafilter flange contacts the seal.
- Inspect for trapped coffee grounds (easier with light grey gaskets) and clean them with a soft brush and hot water.
- Run a test extraction with an empty portafilter and watch for leaks or steam escaping around the group head seal.
Safe Removal and Installation Practices to Prevent Damage

Removing a gasket without tearing it requires the right tool and technique. Many gaskets now include a small notch on the inside edge and a light chamfer to accept a removal tool. A double-ended plastic pick or a blunt O-ring removal tool works best. Insert the tool into the notch, lift gently to unseat one section of the gasket, then work around the circumference until the gasket releases. Metal tools can gouge the group head groove or tear the gasket, so avoid them. If your gasket doesn’t have a notch, slide a plastic pick under the edge at the thinnest point and lift carefully. Work slowly to prevent stretching the material.
Preparing a new gasket before installation ensures proper seating. Inspect the gasket for the “UP” orientation marking, which indicates the side that faces the portafilter. Some gaskets are symmetrical, but those with directional markings must be installed correctly to seal properly. Wipe the group head groove clean with a damp cloth to remove old grease, coffee oils, and debris. Apply a thin film of food-grade silicone grease to the new gasket before pressing it into the groove. This lubrication helps the gasket slide into place without catching or tearing and makes future removal easier.
Press the gasket evenly into the group head groove, starting at one point and working around the circumference. Use your fingers to push the gasket into place, checking that it sits flush and doesn’t twist. A twisted gasket creates an uneven seal and wears prematurely. Once seated, run your finger around the entire gasket to confirm it feels smooth and uniform. Insert the portafilter and lock it gently to compress the gasket for the first time. Unlock it, inspect the gasket again, and wipe away any excess grease that squeezed out. The gasket’s now ready for normal use.
The design improvements found in newer gaskets make installation safer and faster. For example, the article “Improving the humble Espresso Gasket” describes how an internal notch and chamfer let removal tools engage cleanly without damaging the seal. Standard gasket dimensions for 58 mm group heads measure 8.5 mm thick and 58 mm in outer diameter, ensuring compatibility with most home espresso machines and E61 group designs.
Correct Orientation and Seating
Look for the “UP” marking printed on one side of the gasket. This side faces the portafilter and takes the direct pressure and heat of extraction. Installing the gasket upside down reverses the sealing geometry and can cause premature wear or leaks. If your gasket has no marking, check for a smoother finish on one side. That smoother side typically faces the portafilter flange. Press the gasket into the groove evenly, working your way around the circumference to avoid twisting. A twisted gasket seats unevenly, creating high-pressure points that flatten the material faster. Standard 8.5 mm thickness and 58 mm diameter gaskets fit most commercial-style home machines and E61 groups. Double-check your machine’s specifications before ordering to confirm compatibility.
Usage Habits and Pressure Management That Extend Gasket Life

Brew pressure directly affects gasket wear. Most espresso machines are factory-set to deliver roughly 9 bar of pressure at the group head during extraction. This pressure is high enough to force water through a tamped puck but not so high that it overstresses seals. Machines with adjustable over-pressure valves or pump pressure settings should be checked periodically to confirm they remain within the manufacturer’s recommended range. Systematic overpressure, even 1 to 2 bar above spec, compresses the gasket harder with every shot and shortens its life.
Leaving the machine idle under pressure speeds up gasket compression. After steaming milk or pulling a shot, the group head may remain pressurized until the three-way valve vents it. Machines without active pressure relief hold that pressure against the gasket until you unlock the portafilter. Purging the group head with a short flush after steaming or waiting a few seconds before removing the portafilter allows pressure to normalize and reduces strain on the seal. This habit is especially important on machines that run the pump frequently or hold pressure during standby.
Pressure-reduction habits:
- Confirm brew pressure stays near 9 bar. Adjust the over-pressure valve or consult a technician if pressure drifts high.
- Avoid leaving the portafilter locked into the group for extended periods between shots, which keeps the gasket under constant compression.
- Purge the group head briefly after steaming or after extended idle time to vent residual pressure before unlocking the portafilter.
- Use correct grind size and dose to avoid choking the machine, which can spike pressure and force the gasket to hold excessive load.
Long-Term Storage and Environmental Factors Affecting Espresso Gasket Wear
Environmental exposure degrades gaskets even when the machine isn’t in use. Ultraviolet light from sunlight breaks down rubber and silicone over time, causing brittleness and surface cracking. Ozone produced by electric motors and high-voltage components also attacks rubber seals. Machines stored in damp environments can develop mold or mildew on gaskets, and those stored in very dry conditions may see gaskets stiffen and lose elasticity. Keeping the machine in a stable indoor environment away from direct sunlight and temperature extremes protects seals during both active use and storage.
Heat cycling from repeated on-off use speeds up material fatigue. Machines that warm up from room temperature to brew temperature multiple times a day put gaskets through more expansion and contraction cycles than machines that stay at temperature continuously. If you use your machine daily, leaving it powered on or in standby mode reduces the number of heat cycles the gasket experiences. If you use it only occasionally, allowing it to cool completely between sessions and flushing the group before and after each use keeps the gasket clean and minimizes wear.
Long-term storage steps:
- Flush the group head thoroughly with hot water, then run a final cold water rinse to remove all coffee oils and residues.
- Remove the portafilter from the group and leave it out during storage so the gasket can relax and return to its original shape.
- Wipe the gasket dry with a clean cloth to remove moisture that could support mold growth.
- Store the machine in a cool, dry location away from direct sunlight and sources of ozone, such as laser printers or air purifiers.
- Before restarting after long storage, inspect the gasket for cracks or stiffness and replace it if it shows signs of degradation.
Final Words
Start with the basics: flush the group head after each shot, backflush on schedule, and keep grounds out of the seal. Small daily habits stop most wear.
Watch for early signs—leaks, a flattened or cracked gasket, and unexpected pressure loss—and replace a failing seal within 6–12 months or sooner.
For a quick action plan on how to prevent gasket wear on home espresso machines, stick to daily flushes, a gentle brush, correct portafilter insertion, water care, and light food‑grade grease. Do one change at a time. Your machine will thank you with steadier shots.
FAQ
Q: How long do espresso gaskets last?
A: Espresso gaskets last about 6 to 12 months in normal home use; heavy use or hard water can shorten life. Replace earlier if you see leaks, flattening, cracks, or pressure loss.
Q: What is the 30 second rule for espresso?
A: The 30 second rule for espresso is aiming for a 25–30 second extraction; if the shot pours faster, grind finer or increase dose, and if it’s slower, grind coarser or reduce dose.
Q: How to prolong the life of a head gasket?
A: To prolong the life of a head gasket, flush the group after each shot, backflush weekly, clean trapped grounds, avoid over‑tightening the portafilter, use filtered water and light food‑grade silicone grease as needed.
Q: What is the average lifespan of an espresso machine?
A: The average lifespan of an espresso machine is 5–10 years for home units with regular maintenance; commercial machines last longer. Water quality, maintenance, and usage determine how long it lasts.