

Are you quietly shortening your gasket’s life every time you lock in a bottomless portafilter?
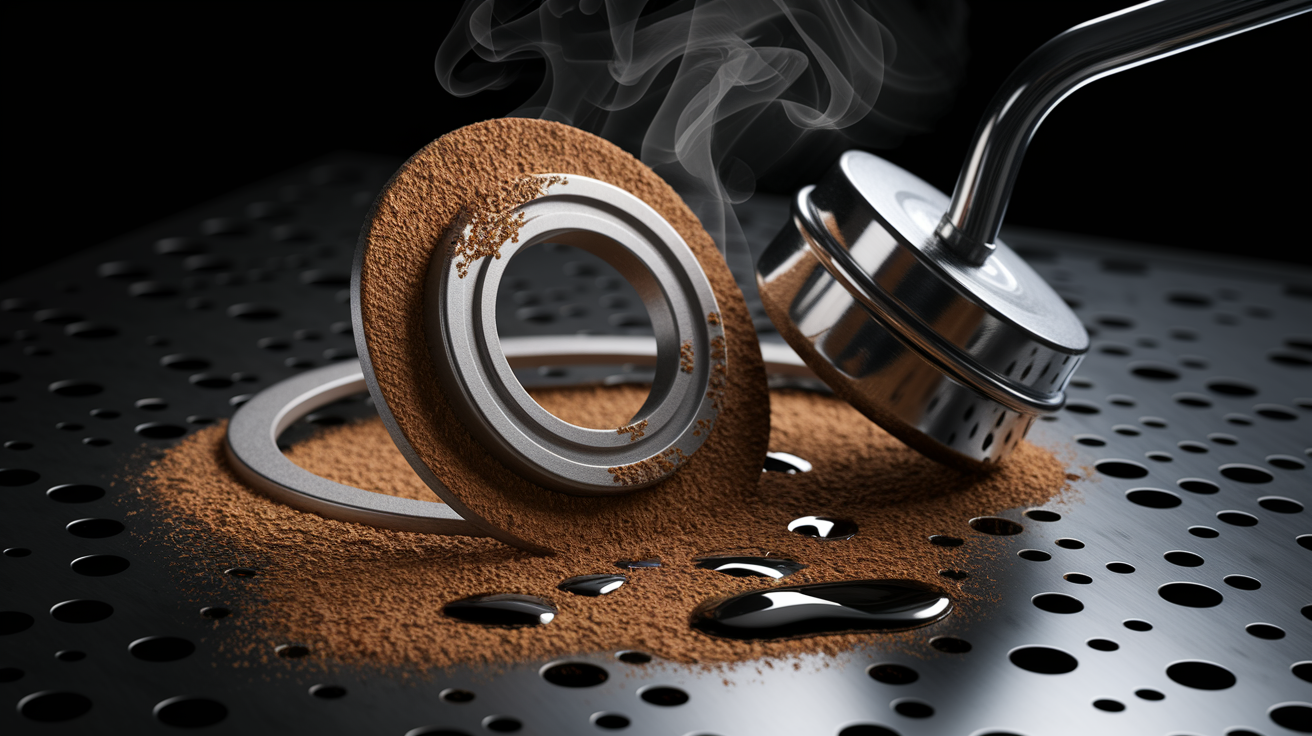
Bottomless shots send oils, fines, and hot spray right at the grouphead.
That grime plus heavy turning flattens and tears the rubber faster than you think.
This post shows two simple, repeatable fixes: smart torque—snug plus an eighth to a quarter turn—and quick daily cleaning habits that stop oil and grit from embedding.
Do those and you’ll see fewer leaks, fewer replacements, and steadier shots.
Understanding Gasket Wear When Using a Bottomless Portafilter

Bottomless portafilters strip away the spouts and leave your basket completely exposed. Great for diagnosing channeling. Not so great for your gasket.
Every messy shot sends spray, oils, and coffee fines straight up at the grouphead. A spouted portafilter would’ve caught most of that. But with a naked portafilter, your gasket gets the full blast.
The gasket lives in a tight groove on the grouphead face. It’s what holds 9 bars of pressure when you lock in. Every shot heats it. Every lock compresses it. Coffee oils break down the rubber slowly, cycle by cycle. Bottomless portafilters don’t change what the gasket does, they just expose it to more heat, moisture, and gunk during bad extractions.
You can slow the wear down:
- Seat the portafilter gently. Snug plus an eighth to a quarter turn, no more.
- Keep 1 to 2 mm of clearance between your basket rim and the shower screen.
- Wipe the grouphead face and gasket every day to clear oils and grounds.
- Replace gaskets on a schedule, don’t wait for leaks.
Comprehensive Causes of Gasket Abrasion, Stress, and Early Failure
Gaskets fail when you combine mechanical abuse with chemical exposure and abrasive junk. Over-torquing the handle past that quarter turn flattens the gasket faster than it should and creates shear when you unlock. Jamming the portafilter in at an angle? That tears the inner edge over time. Both feel harmless. Both cost you intervals.
Channeling does more damage than you’d think. Water finds a crack in the puck and rockets through, spraying hot liquid, oils, and fines right onto the gasket and grouphead. Those oils chemically attack EPDM and NBR rubber. The fines act like sandpaper the next time you lock in. If your basket sits too high or your portafilter protrudes, the basket rim scrapes the screen and gasket every time you twist. Friction points, every single shot.
Five things to fix:
- Over-torquing: cranking past 45 degrees loads the gasket too hard and speeds up flattening.
- Basket clearance problems: less than 1 mm or metal-on-metal contact grinds the seal during insertion.
- Channeling and spray: clumpy puck prep dumps oils, grounds, and heat onto the gasket surface.
- Chemical breakdown: coffee oils and detergent residue eat standard rubber, especially EPDM and NBR.
- Rough insertion: angling or dragging the lugs across debris shears the gasket and tears it early.
Reducing Gasket Wear Through Correct Seating and Insertion Technique

Seating correctly is the easiest way to keep your gasket alive longer. Hold the portafilter level as you slide the lugs into the grouphead slots. Push up gently until the basket meets the gasket. You’ll feel it. Rotate smoothly until the handle feels snug. Stop.
Add an eighth to a quarter turn past snug. That’s about 45 degrees, max. That final twist compresses the gasket just enough to seal 9 bars without crushing it flat.
Don’t crank it as far as it’ll go. Wrenching tight doesn’t improve anything. It just smashes the gasket and makes unlocking brutal. If you’re yanking hard to break the seal after a shot, you’re locking too far. Same goes for angling the portafilter as you insert. Any sideways motion drags the lugs across the gasket and creates shear stress. Keep it vertical and smooth.
When you pull the portafilter out, twist gently and pull straight down. Don’t wiggle it. Rough removal stresses the gasket at the inner edge and can pop it out of the groove. If your gasket sticks to the portafilter instead of staying in the grouphead, you’re over-compressing it or you’ve got too much oil buildup. Both fixable.
Step by step:
- Wipe the portafilter lugs and gasket area with a dry towel before you insert.
- Hold the portafilter level and engage both lugs at the same time.
- Push up gently until the basket touches the gasket. You’ll feel slight resistance.
- Rotate smoothly to the right until it feels snug, then stop.
- Add only an eighth to a quarter turn beyond snug, about 45 degrees maximum.
- After extraction, twist gently to unlock and pull straight down without wiggling.
Protecting the Gasket by Optimizing Basket Height and Puck Prep

Basket design controls how close your puck sits to the shower screen and gasket. A properly sized basket keeps the puck surface recessed below the rim, which gives you the 1 to 2 mm clearance you need. If your basket’s too shallow or you’re overdosing, the puck can swell during preinfusion and hit the screen. Or the basket rim rubs the gasket during insertion. Either way, you’re wearing the seal mechanically every time.
Puck prep isn’t just about flavor. Channeling sprays the gasket. When your distribution is clumpy or your tamp is uneven, water finds weak spots and blasts through as high-velocity jets. Those jets carry dissolved oils and suspended fines straight into the gasket and grouphead crevices. Consistent puck prep cuts spray, which cuts contamination, which extends gasket life. Use WDT to break up clumps, level your dose, and tamp with even pressure.
| Basket Type | Typical Depth | Gasket Safety | Notes |
|---|---|---|---|
| Standard double (VST-style) | ~24–25 mm | Good | Recessed puck at typical 18–20 g doses; maintains clearance |
| Shallow double | ~20–22 mm | Moderate | Risk of puck contact at high doses; check clearance before routine use |
| High-extraction / precision | ~26–28 mm | Best | Extra depth keeps puck well below rim; ideal for bottomless workflow |
| Mismatched OEM basket | Varies | Poor | Portafilter shell or basket rim may protrude and rub screen/gasket |
Maintenance and Cleaning Routines That Extend Gasket Life
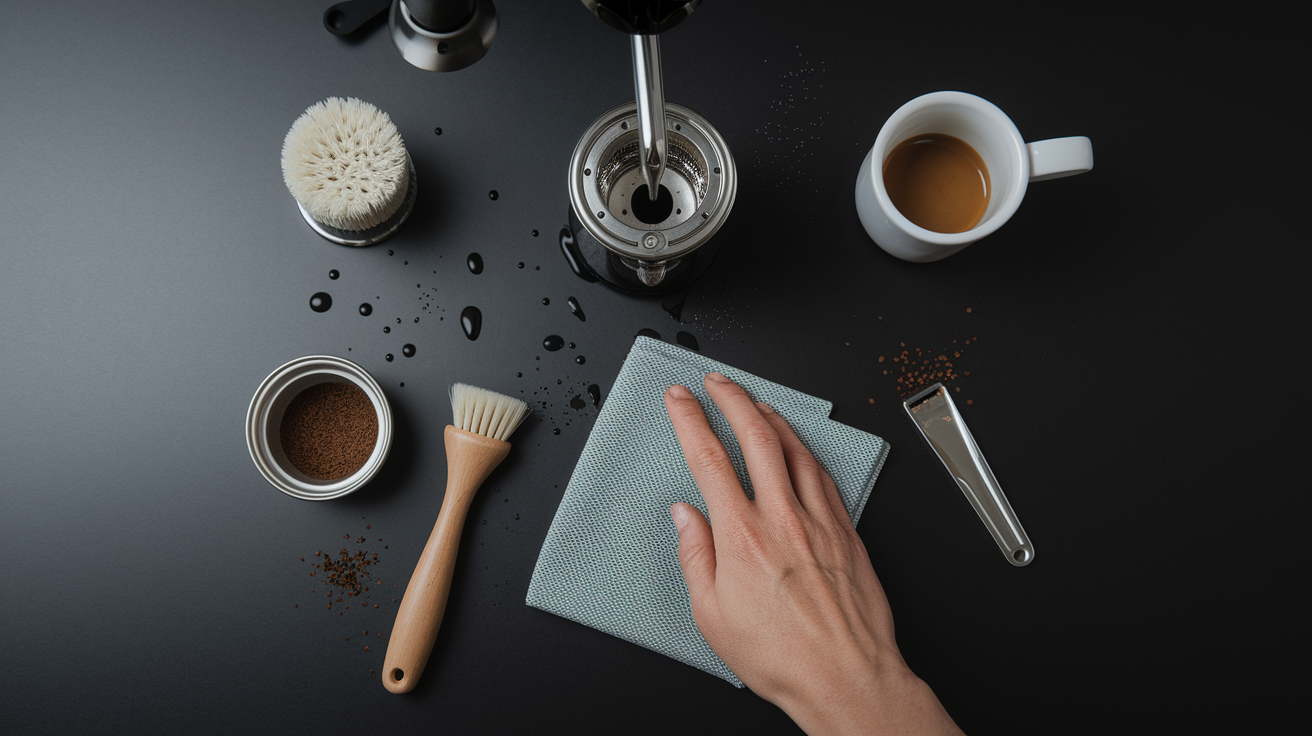
Daily cleaning is the single best way to slow gasket wear. After your last shot, wipe the grouphead face and gasket with a damp cloth. Removes loose grounds and surface oils. Takes ten seconds. Keeps abrasive particles from getting pressed into the gasket the next time you lock in. If you’re running a bottomless and pulling multiple shots, a quick wipe between drinks keeps the seal clean and stops oils from starting to break down the rubber.
Water backflushing should happen daily if you’re pulling medium to heavy volume at home—three or more drinks a day. Lock a blind basket into the portafilter, start a brew cycle, let pressure build for a few seconds, then release. Repeat three to five times. Flushes loose grounds and oils out of the grouphead and off the gasket without exposing the seal to detergent. For lighter use, every other day works.
Detergent backflushing clears oils that water can’t touch. Run it once a week if you’re brewing daily, or once every two to four weeks for lighter use. Use a manufacturer-approved espresso cleaner, follow the dosage, and finish with several plain water backflushes to rinse all residue. Leftover detergent can chemically degrade gasket material, so be thorough. Once a month, pull the shower screen and clean the shower plate, grouphead, and gasket directly with a brush and detergent solution. That’s when you inspect the gasket for cracks, flattening, or embedded particles.
Cleaning checklist:
- After every session: wipe the grouphead face and gasket with a damp cloth; clear visible grounds and oils.
- Daily (medium/heavy use): water backflush with a blind basket, 3 to 5 cycles, a few seconds each.
- Weekly (regular home use): detergent backflush using manufacturer-approved cleaner; rinse thoroughly afterward.
- Monthly: remove the shower screen; clean the plate, grouphead, and gasket with a brush and detergent; inspect gasket for wear.
- Between shots (optional): quick 1 to 3 second water flush to clear loose grounds if you’re pulling multiple drinks in a row.
- Never: use abrasive pads or scouring tools directly on the gasket surface. Stick to soft cloths and brushes.
Choosing Low-Wear Gasket Materials for Bottomless Portafilter Use
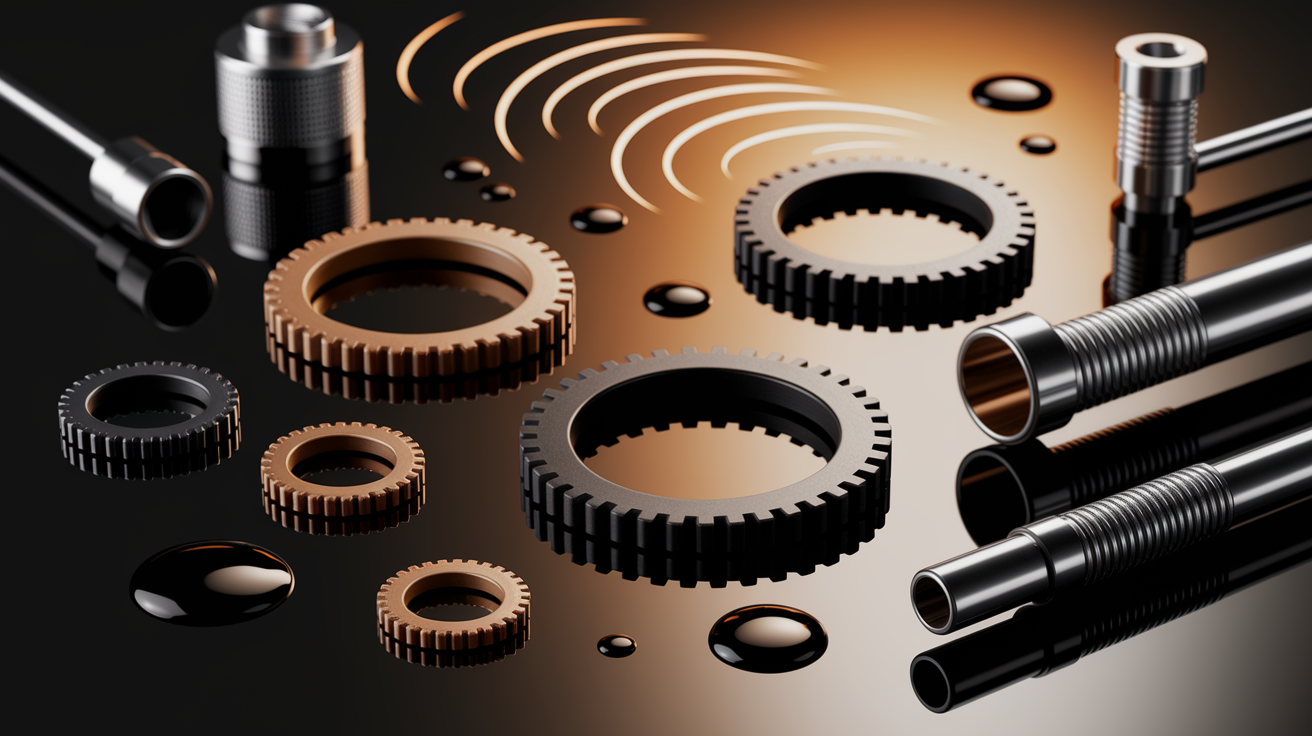
Gasket material determines how well the seal resists heat, pressure, and coffee oils over time. Viton (FKM) offers the best resistance to both heat and chemical breakdown, which makes it the top choice if your machine supports it. Viton gaskets cost more—typically in the upper half of the $5 to $25 range—but they last longer in high-temperature, high-oil environments and hold their compression set better than standard rubber. If you’re running a bottomless portafilter daily and cleaning hard, Viton pays for itself in longer intervals.
EPDM and NBR are the most common gasket materials. Good general-purpose performance. They handle brew temps and pressure fine, but coffee oils do break them down over time, especially if you slip on cleaning frequency. EPDM is slightly more heat-resistant than NBR, but both flatten faster under repeated compression than Viton. Expect to replace EPDM or NBR gaskets every 3 to 6 months in regular home use, or every 1 to 3 months if you’re pulling high shot volumes or using aggressive pressure profiling.
Silicone gaskets are softer and more flexible, easier to install and remove. That softness is also a weakness. Silicone deforms more quickly under shear and compressive stress, and it doesn’t resist oils as well as Viton or EPDM. Works fine in low-stress, low-volume environments, but it’s not ideal for daily bottomless use where spray, heat, and frequent insertions speed up wear. Some aftermarket manufacturers offer light grey or colored silicone gaskets to make trapped grounds visible during inspection. Helpful feature, but doesn’t offset the material’s lower durability.
| Material | Heat Resistance | Oil Resistance | Compression Durability | Typical Cost |
|---|---|---|---|---|
| Viton (FKM) | Excellent | Excellent | Best | $15–$25 |
| EPDM | Good | Moderate | Good | $8–$15 |
| NBR | Good | Moderate | Good | $5–$12 |
| Silicone | Moderate | Fair | Fair | $8–$18 |
| MBR (older standard) | Good | Moderate | Moderate | $6–$14 |
Torque, Pressure, and Mechanical Checks to Protect the Gasket

Locking the portafilter beyond 45 degrees past snug increases compressive load on the gasket without improving the seal. Extra torque flattens the gasket faster and makes it harder to remove, which leads to rough unlocking that tears the inner edge. If you’re running pressure profiling with peak pressures above 9 bars, the gasket’s already working harder than it would at static pressure. Adding unnecessary torque on top of that amplifies stress and shortens replacement intervals.
Grouphead spring tension influences how much resistance you feel when seating the portafilter. Machines with stiffer springs need slightly more rotation to get the same compression, but the 1/8 to 1/4 turn guideline still applies. If your machine has adjustable spring tension, set it to the manufacturer’s spec. Don’t crank it higher just to make the portafilter “feel tight.” Tighter springs don’t seal better. They just wear gaskets faster and make the workflow harder.
Compression checks are simple. If the portafilter locks with minimal effort and doesn’t wobble or leak during extraction, the gasket’s compressed correctly.
Mechanical adjustments:
- Lock the portafilter to snug, then add only 1/8 to 1/4 turn, roughly 45 degrees of additional rotation at most.
- If you’re pressure profiling above 9 bars, inspect gaskets monthly and replace at the first sign of flattening or cracking.
- Check grouphead spring tension against manufacturer specs; don’t over-tighten springs to compensate for worn gaskets.
- Test compression by locking an empty portafilter. It should seat firmly without excessive force and unlock smoothly without wobbling.
- Never use tools or leverage to force the portafilter tighter. Hand pressure is sufficient for a proper seal.
Preventing Recurring Gasket Wear Through Ongoing Maintenance Schedules
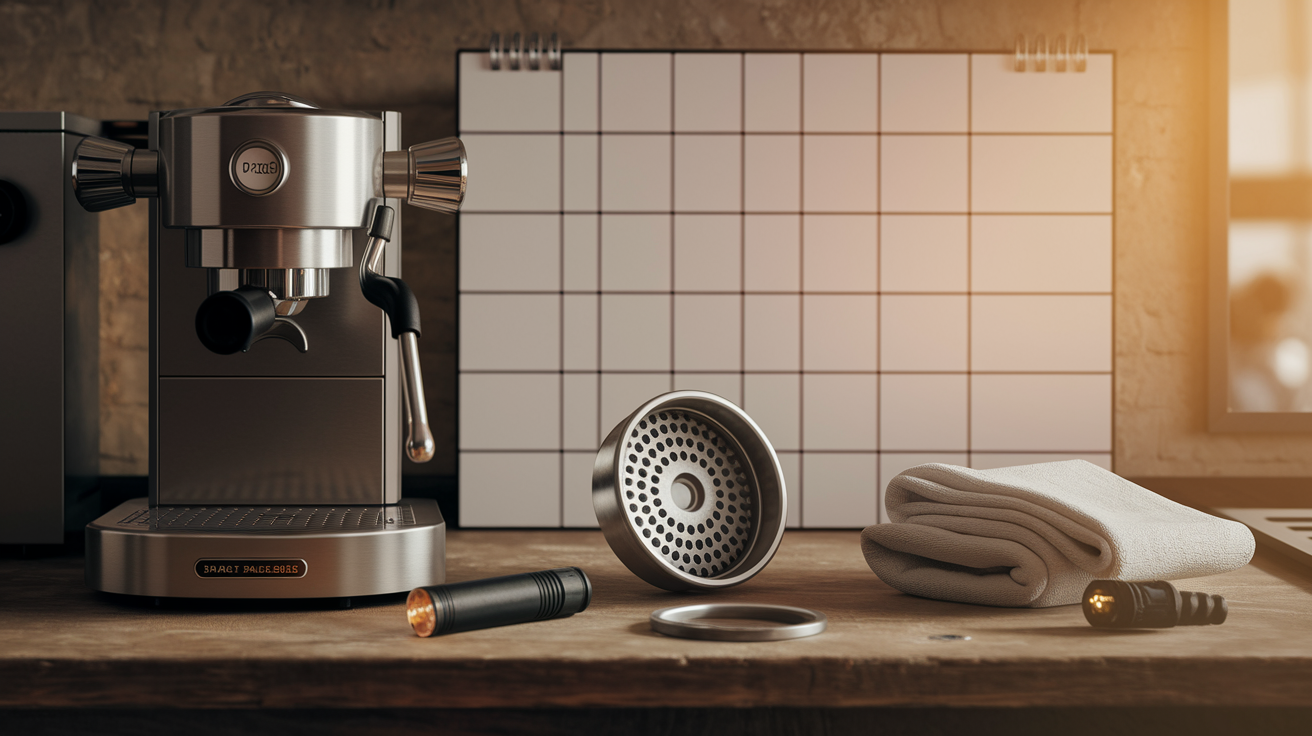
Replacement intervals depend on shot volume, pressure profiling habits, and cleaning frequency. Light home use—one or two drinks per day with consistent cleaning—replace the gasket every 6 to 12 months. Medium home or enthusiast use, roughly three to six shots per day, pushes that interval to every 3 to 6 months. Heavy or semipro use, especially in shared household setups or small offices, requires replacement every 1 to 3 months.
Don’t wait for visible leaks to replace a gasket. By the time water’s spraying from the grouphead, the seal’s already compromised and may have damaged the shower screen or grouphead threads.
Monthly inspections catch wear before it becomes a problem. Remove the shower screen, wipe the grouphead face, and check the gasket for cracks, flattening, glazing, or embedded particles. A healthy gasket is round in cross-section, soft but not sticky, and sits evenly in the grouphead groove. If the surface looks shiny or feels hard, oils have started breaking it down. If you see black rubber particles in the drip tray or cup, the gasket’s shedding and needs immediate replacement.
Quarterly servicing makes sense for high-volume environments or machines running aggressive pressure profiles. A technician can check grouphead alignment, measure gasket compression, inspect the shower screen for wear, and confirm that basket clearance is still within spec. Keep a spare gasket on hand so you’re not waiting on shipping when a gasket fails mid-session. Most OEM and aftermarket gaskets are cheap enough that stocking two or three spares costs less than one ruined morning of coffee.
Prevention habits:
- Schedule gasket replacement based on shot volume, not just visible wear. Every 6 to 12 months for light use, 3 to 6 months for medium use, 1 to 3 months for heavy use.
- Perform monthly inspections. Remove the screen, check for cracks, flattening, or particles, and replace at the first sign of compromise.
- Keep at least one spare gasket in your parts drawer so you’re ready when replacement is needed.
- Consider quarterly professional servicing if you’re running high shot volumes, pressure profiling above 9 bars, or operating a shared machine.
When to Seek Professional Help for Gasket or Portafilter Issues

Early gasket failure shows up as leaks, wobble, or difficulty locking the portafilter. If water sprays from around the portafilter during extraction—not dripping from the basket, but leaking from the seal—the gasket’s either worn, misaligned, or compressed unevenly. Wobble after locking means the gasket has flattened or the grouphead groove is fouled with debris. Difficulty seating the portafilter or needing noticeably more force than usual indicates the gasket has swollen, hardened, or shifted out of position.
Stop using the bottomless portafilter as soon as you notice any of these signs. Switch to a spouted portafilter temporarily to reduce spray and contamination while you diagnose the issue. Clean the grouphead face thoroughly, inspect the gasket for cracks or embedded particles, and remove it if you see visible damage. If the gasket looks fine but problems persist, the issue may be grouphead alignment, shower screen wear, or portafilter lug damage. All need a technician’s attention.
When to call a professional or replace components immediately:
- Water leaks or sprays from the portafilter seal during extraction, even after cleaning and reseating.
- Portafilter wobbles noticeably after locking, or requires excessive force to seat properly.
- Gasket surface shows cracks, glazing, flattening, or black rubber particles in the drip tray or cup.
- Frequent blow-by of grounds or oils from the grouphead into the cup, despite clean puck prep and basket fit.
- Persistent difficulty locking or unlocking the portafilter, even after gasket replacement and lubrication of the grouphead threads.
Start at the machine: check seating, basket height, torque, and a quick clean—these moves stop spray, rubbing, and early damage.
Next step: measure the gap (about 1–2 mm), seat with only an eighth to a quarter turn past snug, and run a daily rinse. If you see spray or leaks, stop and inspect the gasket.
These habits cut failures and save money. Focusing on preventing gasket wear with bottomless portafilters will keep seals lasting longer and shots more consistent. You’ll see the difference fast.
FAQ
Q: How to avoid spraying with bottomless portafilter?
A: To avoid spraying with a bottomless portafilter, focus on puck prep: distribute or WDT, dose correctly, grind to stop fast flow, and ensure basket fits with 1–2 mm clearance to reduce spray.
Q: Is there an advantage to using a bottomless portafilter?
A: A bottomless portafilter shows exactly how a shot extracts, making channeling and distribution faults obvious; use it to diagnose technique and improve consistency, not just for looks.
Q: Do bottomless portafilters make a mess?
A: Bottomless portafilters can make a mess if puck prep, basket fit, or tamp are poor; fix distribution, check basket clearance, and keep a cloth handy to stop spray and save cleanup time.
Q: Why is my bottomless portafilter leaking?
A: A bottomless portafilter is leaking because the seal or seating is wrong—inspect the gasket for wear, check alignment and torque, and confirm basket height; replace or reseat parts if leaks persist.