

Think you need an expensive frother to get coffee-shop cold foam?
You don’t.
This two-minute jar-shake method makes one serving of thick, soft foam that sits on top of any iced coffee instead of sinking.
I’ll give the exact ingredients (3 tablespoons heavy cream, 2 tablespoons 2% milk, 1 tablespoon vanilla syrup), the best tools and one-change-at-a-time fixes so you can repeat the same great result every time.
Less waste, more consistent flavor.
Complete At-Home Method for Making Cold Foam for Iced Coffee

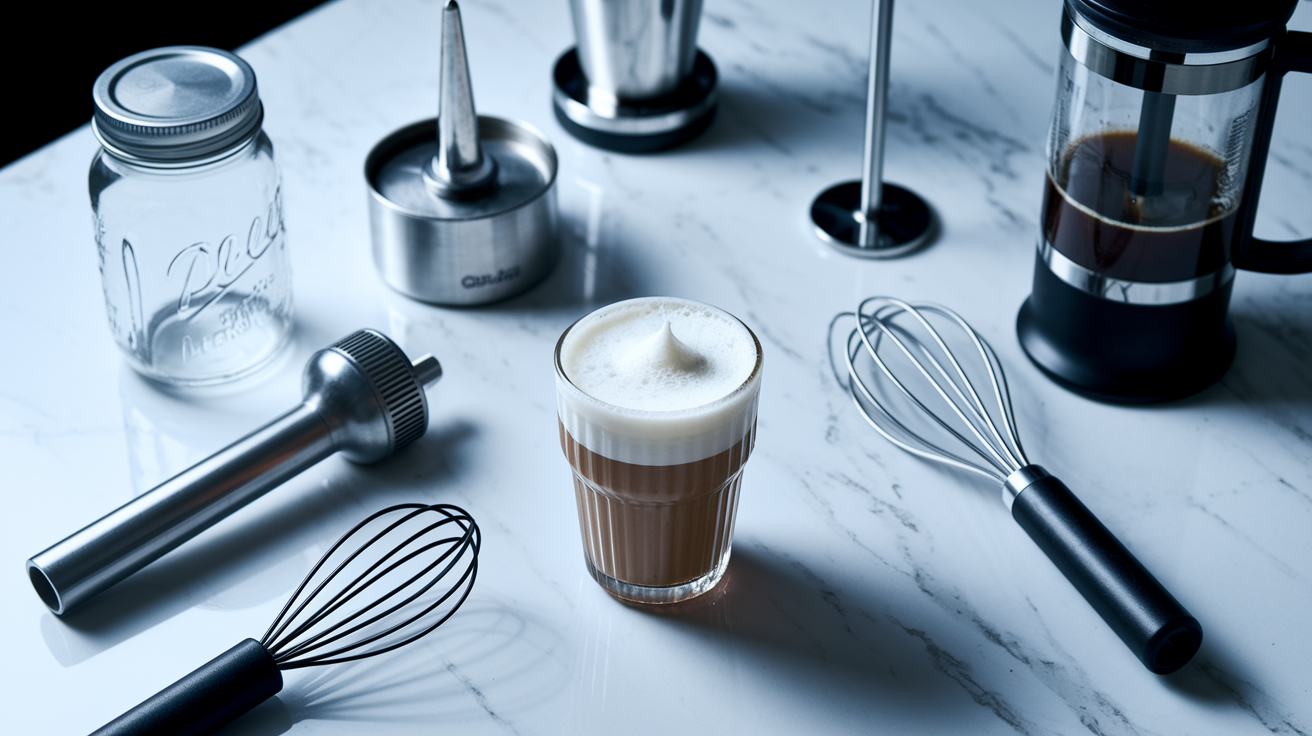
This is a simple coffee shop quality cold foam recipe that works on any iced coffee. It makes exactly one serving and takes about two minutes of active prep. You’ll end up with thick, soft, creamy foam that sits on top of your drink instead of sinking into it.
The recipe uses three ingredients: 3 tablespoons heavy cream (43 grams), 2 tablespoons 2% milk (28 grams), and 1 tablespoon vanilla syrup (14 grams). The heavy cream provides stability and structure so the foam holds together. The milk adds body and keeps the mixture from turning into whipped cream. The vanilla syrup adds sweetness and flavor.
For tools, you need a small jar with a tight lid. A 13 ounce mason jar or jam jar works perfectly. You can also use a handheld frother or mini blender, but they’re easy to overwhip and may cause the foam to separate into a custard-like texture that doesn’t sit on top of your drink. Manual jar shaking is slower but more forgiving and produces a softer, creamier foam.
Here’s the full step by step:
-
Combine the cold ingredients. Pour 3 tablespoons cold heavy cream, 2 tablespoons cold 2% milk, and 1 tablespoon vanilla syrup into a small jar.
-
Seal the jar tightly. Make sure the lid’s secure so nothing leaks during shaking.
-
Shake vigorously for 1 to 2 minutes. Keep shaking until the mixture thickens and you can see it turning into soft, fluffy foam through the jar.
-
Check the texture. It should be thick but still soft and creamy, not stiff or grainy. If it looks like mousse or pudding, you’ve gone too far.
-
Pour over your iced coffee immediately. Spoon or pour about 3 tablespoons of the foam onto the top of your drink.
-
Serve right away. The foam loses its airy texture if it sits, so don’t make it in advance.
Best Milk Options for Cold Foam and Why They Matter

Milk choice matters because different fats and proteins foam differently. Nonfat milk has more protein and less fat, so it traps air easily and produces light, stable bubbles. Whole milk and cream have more fat, which creates a richer mouthfeel but less volume. For cold foam, you need a mix that holds air but still tastes creamy, which is why most recipes combine cream and milk instead of using just one.
Dairy free versions are trickier. Oat milk and almond milk don’t have the same fat structure as dairy, so they won’t hold foam on their own. To get a similar texture, you need to add a dairy free cream substitute like coconut cream. Without it, you’ll end up with a thin, flat layer that sinks into your coffee within seconds.
Here’s how each option performs:
Nonfat milk foams the easiest and produces the lightest texture. Used in most coffee shop plain cold foams. Less rich than recipes with cream.
2% milk balances foam stability with sweetness and body. Closest match to the vanilla sweet cream cold foam served at coffee chains. Works well in combination with heavy cream.
Whole milk is richer and creamier than 2%, but slightly harder to foam. Mixing equal parts whole milk and heavy cream produces thick, luxurious foam with good stability.
Oat milk and almond milk foam poorly on their own. They lack the fat structure needed to hold air. Use a small amount combined with coconut cream or another dairy free cream substitute to approximate the texture.
Coconut cream is the best dairy free stabilizer. Use it in place of heavy cream when making dairy free cold foam. It froths well and holds its shape over ice.
Frothing Tools and Techniques for Perfect Cold Foam
The tool you use changes how much air gets into the foam and how long that air stays trapped. A jar with a lid is the most forgiving option. You shake it manually, so you can feel the texture change and stop before it overwhips. The foam stays soft and creamy, and you’re less likely to split the mixture into a grainy, separated mess.
Handheld frothers work fast but require a light touch. Set the frother to medium and move it around the jar in small circles. Froth until the mixture just starts to thicken, then stop. If you keep going, the fat in the cream will break and you’ll end up with a curdled, custard-like texture that doesn’t sit on top of your drink.
Blenders and small immersion blenders foam dairy in about 3 to 5 seconds. That speed’s convenient, but it’s also easy to overdo it. One extra second can turn smooth foam into split, broken cream. A French press can produce foam by pumping the plunger vigorously, but you need to watch it closely because the texture can change fast. A hand whisk is the slowest method and gives you an arm workout, but it does work if you whisk hard and fast.
| Tool | Time Needed | Texture Result |
|---|---|---|
| Jar with lid (shaking) | 1–2 minutes | Soft, creamy foam with consistent texture |
| Handheld frother | 15–30 seconds | Light and airy, but easy to overwhip into grainy foam |
| Blender or immersion blender | 3–5 seconds | Fast and fluffy, but very easy to split the cream |
Flavor Variations to Enhance Your Cold Foam for Iced Coffee

The base recipe calls for vanilla syrup, but you can swap or add other flavors to match your drink. For vanilla, Fontana vanilla syrup is what many coffee shops use. Monin and Torani are good alternatives you can find in grocery stores. If you want to make your own, use a simple syrup and stir in Nielsen Massey vanilla bean paste for a cleaner, more natural vanilla flavor.
For a sugar free version, skip the syrup and use 1/4 teaspoon vanilla extract plus 1/2 to 1 teaspoon of allulose, monk fruit sweetener, or stevia. Start with less and taste as you go, since those sweeteners are stronger than sugar. Caramel and chocolate variations work the same way. Replace the vanilla syrup with caramel syrup or add 1 teaspoon of cocoa powder plus a small pinch of sugar to sweeten it. Salted caramel cold foam uses caramel syrup and a tiny pinch of sea salt mixed into the cream before frothing.
Here are seven flavor options you can try:
Classic vanilla: 1 tablespoon vanilla syrup or 1/4 teaspoon vanilla extract plus sweetener.
Sugar free vanilla: 1/4 teaspoon vanilla extract plus 1/2 to 1 teaspoon allulose or monk fruit sweetener.
Salted caramel: 1 tablespoon caramel syrup plus a small pinch of sea salt.
Chocolate: 1 teaspoon cocoa powder plus 1 teaspoon sugar (mix well before frothing).
Cinnamon: 1 tablespoon vanilla syrup plus 1/4 teaspoon ground cinnamon.
Almond: 1/4 teaspoon almond extract plus 1 tablespoon simple syrup or vanilla syrup.
Pumpkin spice: 1 tablespoon pumpkin syrup or 1/4 teaspoon pumpkin pie spice plus 1 tablespoon simple syrup.
Troubleshooting Flat or Overwhipped Cold Foam
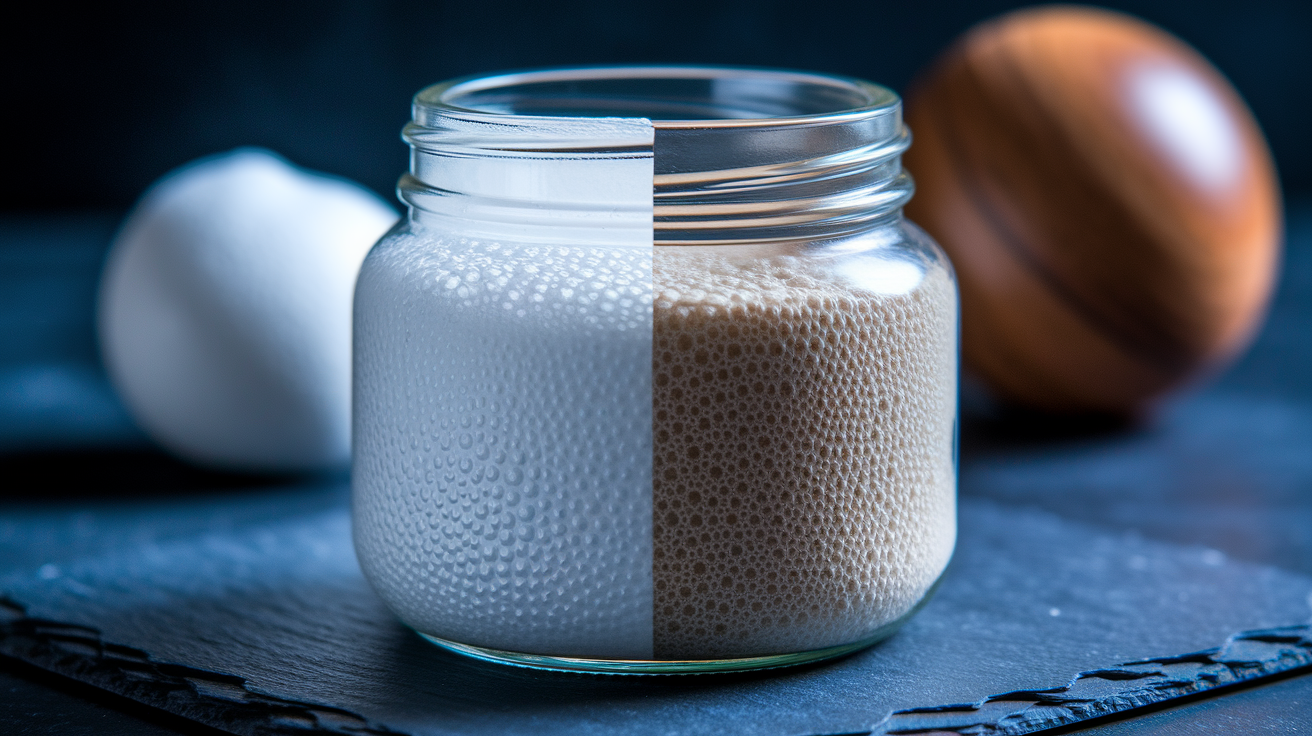
Overwhipping is the most common mistake. When you froth too long, the fat in the heavy cream breaks down and separates from the liquid. The foam turns into a split, custard-like texture that looks grainy and doesn’t hold air. If you see it start to look thick and clumpy instead of smooth and creamy, stop immediately. The fix is to start over with fresh ingredients and froth for less time.
Flat, thin foam usually means your ingredients were too warm or you didn’t use enough heavy cream. Cold foam needs cold dairy to trap air and hold it. If your milk or cream sat out on the counter, the foam won’t stay fluffy. Keep everything in the fridge until you’re ready to use it. If the foam’s still too thin, try increasing the heavy cream slightly or using whole milk instead of 2% for more fat structure.
Foam that collapses quickly is almost always a timing issue. Cold foam doesn’t store well because the air bubbles start to pop as soon as you stop frothing. If you make it more than a minute or two before pouring it onto your coffee, the texture will deflate and you’ll lose the light, airy layer. That’s why all the instructions say to serve immediately. There’s no way to keep it fluffy once it sits, so always make it fresh right before you drink.
Storing, Serving, and Layering Cold Foam on Iced Coffee

Cold foam is best served the moment you make it. The bubbles that give it that fluffy, cloud-like texture start to disappear as soon as the foam sits. If you try to refrigerate it or save it for later, you’ll come back to a flat, separated liquid with no foam left. The texture just doesn’t hold, so there’s no practical way to batch make it or store leftovers.
When you pour cold foam over iced coffee, it should sit on top as a thick, creamy layer. That’s the visual appeal and the reason it tastes different from stirred in cream. As you sip, you get coffee and foam together, which creates a layered flavor experience. Stirring is optional. Some people like to mix it in, but even after stirring you’ll usually still see a thin layer of foam on top. The foam’s slightly denser than regular milk, so it floats naturally if your coffee is cold enough.
Here are three serving tips:
Pour the foam gently over the center of your iced coffee so it spreads evenly across the surface.
Use about 3 tablespoons of foam per drink, but adjust to taste if you want a thicker or thinner layer.
Sip through the foam first for the full layered effect, or stir it in if you prefer a creamier, blended texture.
Final Words
in the action, you’ve got a simple, coffee-shop-quality cold foam method: exact measurements (3 tbsp heavy cream, 2 tbsp 2% milk, 1 tbsp vanilla syrup), a 13‑oz jar, and a 1–2 minute shake until soft-peaked.
Next, pick milk for structure and watch tools. Frothers and blenders can overwhip, and cold ingredients keep foam stable. Serve immediately. Don’t make it ahead.
Try the jar method with the exact amounts above. That cold foam recipe for iced coffee is quick, repeatable, and gives a smooth, layered finish every time.
FAQ
Q: How to make a cold foam iced coffee at home?
A: To make a cold foam iced coffee at home, combine 3 tbsp heavy cream, 2 tbsp 2% milk, 1 tbsp vanilla syrup in a 13‑oz jar; shake 1–2 minutes until soft-thick, then spoon over iced coffee.
Q: What is the 3 2 1 rule for cold foam?
A: The 3 2 1 rule for cold foam is 3 tablespoons heavy cream, 2 tablespoons 2% milk, and 1 tablespoon vanilla syrup — a balanced base that gives stability, body, and sweetness.
Q: Is Starbucks iced coffee ok for diabetics?
A: Starbucks iced coffee being okay for diabetics depends on choices: black brewed iced coffee is low in carbs, while flavored drinks and syrups add sugar; pick unsweetened or sugar-free options and check nutrition.
Q: What’s the secret to perfect cold foam?
A: The secret to perfect cold foam is cold dairy, the 3-2-1 ratio, gentle shaking in a 13‑oz jar for 1–2 minutes until soft-thick, avoiding overwhipping, and serving immediately.