

Think tamping harder fixes bad shots?
It doesn’t.
Order matters more than brute force.
Start with an accurate dose, WDT (needle stir) to break buried clumps, light surface distribution, then a level tamp with a precision-fit tamper, inspect the puck, and brew within 30 to 60 seconds.
Follow that one change-at-a-time sequence and you’ll stop chasing random spray and sour-fast or bitter-slow swings.
This post gives the exact steps, simple checks, and what to measure so your shots repeat, no guessing, just consistent extraction.
Complete Workflow for a Step-by-Step Puck Distribution and Tamp Sequence
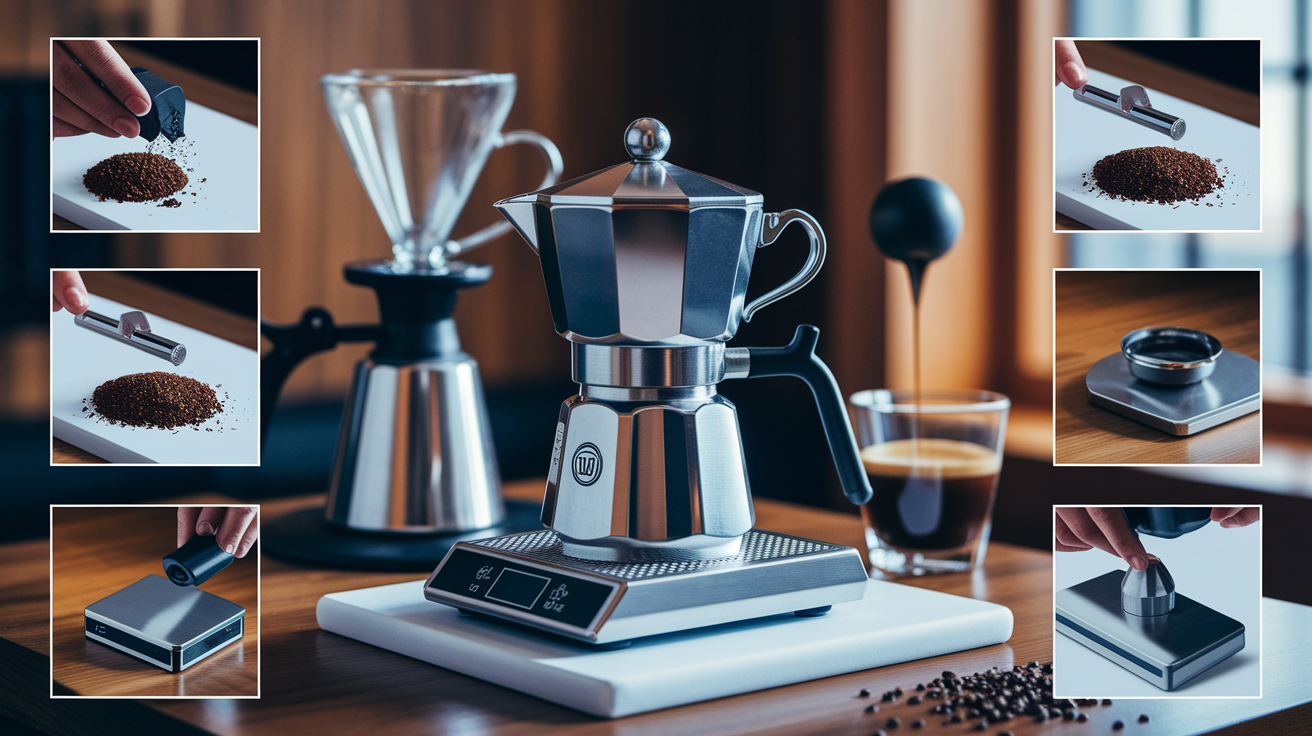
Your workflow order controls how evenly water flows through the puck. Grind gives you the raw material, WDT breaks clumps and resets what’s happening inside, distribution levels things out, tamping locks it all in place, inspection catches problems before you commit, and brewing right away keeps micro-fractures from sneaking in. Skip a step or mix up the order and you’re leaving weak spots for water to exploit.
WDT has to happen before you touch the surface. Clumps and weird density patterns form deep in the basket when you dose, not at the top. A distributor skimming across the surface can make everything look perfect while buried clumps sit there waiting to ruin your shot. When water hits the puck, it finds those weak spots and goes straight through. WDT with needles that actually reach the basket floor (0.3 to 0.4 mm wire works best) resets the whole bed from bottom to top. Surface distribution just smooths what WDT already fixed.
Tamping needs to be dead level. A 2 or 3 degree tilt creates a density gradient water can read like a roadmap. It’ll take the path of least resistance, which is the thin side of your tilted bed. Tamper fit matters just as much. Lots of baskets labeled 58 mm actually measure closer to 58.3 or 58.5 mm inside. A tamper that’s even 0.3 mm too small leaves a ring of loose grounds at the edge, and you’ll get edge channeling every single time. Pressure consistency? It’s secondary. Hit 15 to 20 kg and you’re good, as long as the tamp is level and fully seated.
Timing matters because leaving a prepped puck sitting around for more than 30 to 60 seconds lets micro-fractures develop. Fine grinds and light roasts make this worse. Brew right after you inspect, or you’re throwing away the uniform bed you just built.
- Weigh your dose on a scale accurate to ±0.2 g. Grind straight into the basket or a dosing cup.
- Do WDT with fine needles. Reach the basket floor and use gentle circles from bottom to top until clumps stop fighting back.
- Distribute the surface with a 3-blade tool (1 to 2 light spins) or tap gently to level without squashing anything down early.
- Tamp straight down with a precision-fit tamper. Keep your wrist level, eyes directly above the basket, and press until the bed stops moving.
- Check the puck from the side for levelness and surface cracks. Clean the basket rim.
- Lock in and start brewing within 30 to 60 seconds of tamping.
Do this every time and you’ll get uniform extraction, balanced flavor, and shots that repeat.
Dosing and Grind Preparation for a Reliable Puck Distribution Sequence
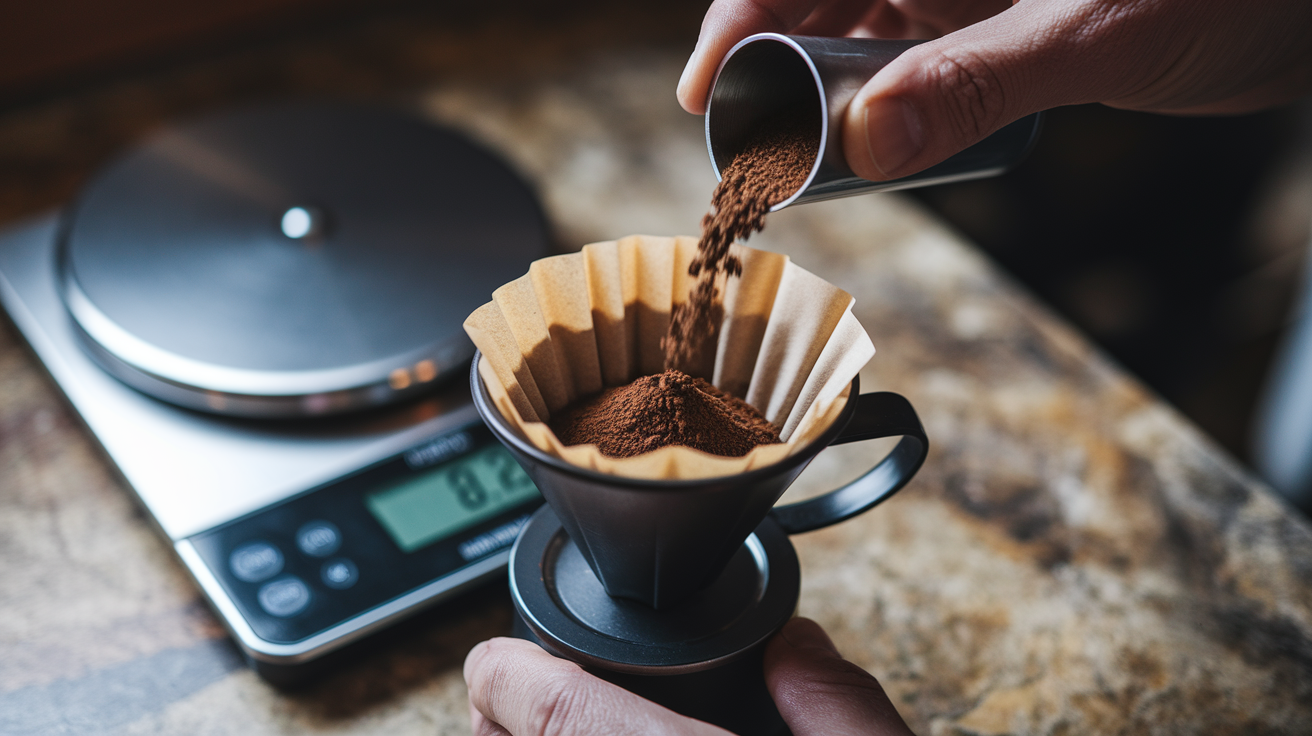
Accurate dosing is where repeatability starts. Grind straight into the portafilter when you can. Use a dosing funnel to keep things clean and avoid messing up the grounds during transfer. If your grinder throws static everywhere or you’re single-dosing into a separate cup, make sure the portafilter is dry and room temp when it receives the dose. That keeps clumping from moisture or temperature shock to a minimum. Weigh every dose to within ±0.2 g. Go beyond that and extraction time and strength start moving around unpredictably, making it impossible to figure out if your grind or technique needs adjustment.
Clumping is the thing that wrecks even distribution before you’ve even started. Big clumps show up when burrs are worn, when static yanks particles together, or when particle size is all over the place. Overfilling the basket makes it worse by smashing grounds against the shower screen before you tamp, leaving screw imprints and uneven density. Match your dose to what the basket’s rated for and leave about 2 to 3 mm of headspace after you tamp. If you’re trying to diagnose flow weirdness, adjust dose in 0.5 to 1 g steps and only change one thing at a time.
Room temp portafilters stop condensation from forming on the basket walls, which can make grounds stick unevenly and create voids. Dosing funnels don’t just save your counter. They stabilize the portafilter during grinding and cut down the chance you’ll bump the mound before WDT.
- Grind output piles up in a steep mound with visible clumps on top.
- Fine particles stick to the basket walls or bunch up in corners.
- Shot extracts unevenly even when your tamp looked solid. One side runs fast.
- Bottomless portafilter shows sprays or spritzing coming from random spots.
- WDT needle hits uneven resistance or blocky spots in certain areas.
Using WDT Needles to Create an Even Base for the Tamping Sequence

WDT breaks clumps and resets the internal structure so distribution and tamping can actually work on something uniform. Use a tool with lots of fine needles. 0.3 to 0.4 mm diameter is what you’re after. Thicker stuff like paperclips, toothpicks, or forks just shoves grounds around instead of slipping between particles. You end up creating channels instead of getting rid of them. Hold the WDT tool loose and use small overlapping circles, moving steadily from center out and back in.
WDT happens in two stages. First stage (deep rake) means inserting the needles all the way to the basket bottom. This gets to the densest clumps that formed during dosing and breaks up the internal structure where channeling usually kicks off. Move the tool slowly and gently until you stop feeling resistance from big clumps. Going aggressive or fast compacts grounds instead of separating them, so keep it controlled and light.
Second stage (shallow leveling) starts after clumps are gone. Lift the needles to about halfway into the bed and use quicker circles across the surface, finishing with gentle side-to-side or zigzag strokes. This creates a fluffy, level top layer with no gaps or mounds, getting things ready for surface distribution and tamping. Over-stirring here can create new density bands, so stop once the surface looks uniform.
Deep vs. Shallow WDT Technique
Deep WDT tackles density problems that settle at the bottom and middle of the puck, where grounds land heaviest during dosing. Insert needles until they just touch the basket floor and make small overlapping circles covering the whole basket diameter. You’re not trying to fluff yet. You’re resetting particle arrangement so water doesn’t have shortcuts when it comes in from above. This stage has the biggest impact on stopping channeling because it kills the buried weak spots that surface tools can’t touch.
Shallow WDT creates an even surface for distribution and tamping. At this depth, needles only interact with the top half, sweeping loose particles into voids and smoothing out peaks. The motion is faster and lighter than deep raking because you’re not fighting clumps anymore. You’re just leveling. Finish with a few straight passes across the diameter to catch any remaining high spots. When it’s done right, the bed should look almost fluffy, with no central mound and no visible gaps at the edges. That fluffy state doesn’t last, which is why you move straight to distribution and tamping.
Surface Distribution Methods Before the Tamp

Surface distribution levels the top and fills edge voids left after WDT. It doesn’t replace WDT. It refines what WDT already created. Most common tool is a 3-blade distributor, which uses spinning blades to push grounds sideways and settle them into a flat, even layer. Use light pressure and 1 to 2 full spins. More spins or pushing down hard pre-compresses the bed, creating density bands that fight tamping and mess up extraction.
Tapping is the simplest method. Lift the portafilter a few centimeters and tap it gently on the counter or a tamp mat once or twice. This collapses air pockets and flattens the surface without any tools. Tapping works well after WDT but gives you less control than a distributor, especially at the basket edges. Some people combine both. One or two taps to settle, then a quick distributor pass to make sure the rim is filled and level.
Over-distribution is a mistake people make all the time. Spinning a distributor too many times or pressing down hard creates compression before tamping, which locks in uneven density if your WDT wasn’t perfect. You want a level surface, not a compressed one. Distribution should feel light and quick. If you’re working hard to push the tool through, you’ve already compressed too much.
Skipping WDT and relying only on surface distribution leaves internal clumps sitting there. The top looks great, the tamp feels solid, but water finds the buried weak spots seconds after contact. Distribution is the finishing step, not the fix.
| Tool Type | What It Does | When To Use It |
|---|---|---|
| 3-blade distributor | Pushes grounds sideways to fill voids and create a level surface | After WDT, before tamping. 1 to 2 light rotations with minimal downward force |
| Tapping / settling | Collapses air pockets and flattens peaks using gravity | After WDT as a fast, tool-free leveling method. Best combined with visual check |
| OCD-style leveler | Spins on adjustable depth setting to level and lightly compress | When you need repeatable depth control. Set shallow to avoid pre-compression |
Tamping Technique for a Stable, Uniform Espresso Puck

Tamping compresses the level bed WDT and distribution created into a stable, uniform puck that resists channeling under pressure. Two most important things are levelness and tamper fit. Pressure consistency matters, but it’s secondary. Once you hit about 15 to 20 kg of force, extra pressure doesn’t do much. A level tamp with good edge contact beats a strong crooked tamp every time.
Tamper fit is critical because baskets labeled 58 mm often measure 58.3 to 58.5 mm inside. A tamper that’s 0.3 to 0.5 mm too small leaves a ring of loose grounds around the edge, and water rushes through that ring instead of the center of the puck. Measure your basket’s internal diameter and match your tamper to within 0.1 mm if you can. Precision-fit tampers get rid of edge gaps and give you noticeably more even extraction, especially with bottomless portafilters where edge channeling shows up clear as day.
Spring-loaded or calibrated tampers take pressure guesswork out of the equation by clicking or stopping at a preset force, usually around 15 to 20 kg. Makes shot-to-shot consistency easier and lets you focus entirely on keeping the tamp level. If you’re using a standard tamper, press firmly and steadily until the grounds stop moving. That’s your signal you’ve hit effective compression. Don’t twist or “polish” the puck after tamping. It can fracture the surface and create new channels.
- Using an undersized tamper that leaves a visible or measurable edge gap.
- Tilting the tamp even a little. 2 to 3 degrees is enough to cause density gradients.
- Twisting the tamper while you’re applying downward pressure, which shears the puck surface.
- Double-tamping or doing multiple light presses instead of one firm, complete compression.
- Inconsistent wrist angle shot to shot, making it impossible to isolate other variables.
- Tamping on an uneven counter or without a stable base under the portafilter.
Body Mechanics for a Level Tamp
Keep your wrist straight and aligned with your forearm the whole time you press. Bending your wrist even a little changes the tamper angle and creates an uneven puck. Rest your elbow on the counter or brace it against your body for stability. This takes out wobble and keeps the motion vertical. Position your eyes directly above the portafilter so you’re looking at the tamper base straight on, not from an angle. If you’re checking from the side, you can’t tell if it’s level.
Use your fingers as a level guide by resting your thumb and index finger lightly on the basket rim as you press. If one side of the tamper rises or dips, you’ll feel it right away. Press straight down in one smooth motion until the grounds stop compressing, then release without twisting. The whole thing should take about two seconds. Seat the tamper, apply firm pressure, release. Practice this posture and sightline and levelness becomes automatic across hundreds of shots.
Visual Inspection and Timing After the Tamp Sequence

Check the puck right after tamping and before you lock the portafilter into the group head. Look at the surface from the side to check for levelness. Even a slight tilt shows up when you view the puck edge on. Check the surface for visible cracks, which mean incomplete compression or a fractured bed. If you see cracks or tilt, redistribute and re-tamp. Faster to fix it now than waste the shot.
Clean the basket rim with a dry finger or cloth to get rid of any loose grounds. Grounds on the rim stop the portafilter gasket from sealing properly against the group head, which can cause leaks or uneven pressure during extraction. This step takes two seconds and gets rid of a common but invisible source of inconsistency.
Brew the shot within 30 to 60 seconds of tamping. Leaving a prepped puck sitting lets micro-fractures develop, especially with fine grinds and light roasts. The longer you wait, the more the puck can settle unevenly or develop weak spots from vibration, humidity changes, or just gravity. If you need to wait (because you’re steaming milk or cleaning the group head), prep the puck last, right before you’re ready to pull.
- View the puck surface from the side to confirm it’s level across the entire diameter.
- Check for visible cracks or gaps in the surface. Re-tamp if you see any.
- Clean the basket rim so you get a tight seal when locked into the group head.
- Lock in and start brewing within 30 to 60 seconds to stop micro-fracture formation.
Bottomless Portafilter Diagnostics for Distribution and Tamp Errors

A bottomless portafilter removes the spout and exposes the entire bottom of the basket, so you can see exactly where water exits and diagnose puck prep mistakes in real time. Even, uniform extraction looks like a single stream forming in the center and expanding smoothly to cover the basket. Channeling shows up as spritzing, sprays shooting out at angles, pale streaks in the flow, or one-sided gushers that start early and run thin.
Spritzing at the start (small jets of water shooting out before the main stream forms) means incomplete WDT or poor distribution. Water found a weak spot, usually a clump or void, and pushed through before the rest of the puck could resist. Fix is better WDT coverage and more thorough breaking of clumps during the deep rake stage. One-sided flow or a gusher on one edge points to tilt during tamping or an edge gap from an undersized tamper. Re-check your tamp levelness and measure your tamper fit.
Pale streaks or uneven color in the flow mean some parts of the puck are extracting faster than others. This usually traces back to density variation, either from skipping WDT, over-distributing and creating compression bands, or uneven tamping. Solution is to lock down your workflow and make sure every step happens in the same order with the same motions every time. Bottomless diagnostics work because they make invisible problems visible, letting you connect what you see in the cup to what happened during prep.
- Spritzing or spray at shot start means buried clumps or voids. Improve WDT deep rake and coverage.
- One-sided gusher or early thin stream on one edge points to tilt during tamping or edge gap from undersized tamper. Check levelness and tamper fit.
- Pale streaks or uneven color in flow shows density variation. Lock down WDT, don’t over-distribute, make sure tamp is level.
- Delayed center flow with early edge drips suggests over-compression in the center or under-distribution at edges. Lighten distributor pressure and check WDT at basket perimeter.
- Chaotic multi-directional spray throughout extraction means severe clumping or skipped WDT. Re-do entire prep with finer needles and slower motions.
Common Mistakes in the Step-by-Step Puck Distribution and Tamp Sequence

Skipping WDT and assuming a surface distributor will fix internal clumps is the most common mistake. Distribution tools only touch the top layer. They can’t reach clumps buried at the basket bottom. Result is a flat surface hiding dense pockets underneath, and water finds those pockets in seconds. Always WDT first, reaching the basket floor, before any surface leveling.
Over-rotating the distributor or pressing down hard during distribution pre-compresses the bed and creates new density bands. The distributor’s job is to level, not compress. Use light pressure and stop after 1 to 2 rotations. If you’re working hard to push the tool through, you’ve already gone too far. An undersized tamper is another invisible problem. Lots of people don’t realize their basket measures 58.3 to 58.5 mm and their 58.0 mm tamper is leaving a gap. Measure the basket and match the tamper, or accept that edge channeling is going to keep happening.
Letting the prepped puck sit for more than 30 to 60 seconds lets micro-fractures form, especially with fine grinds and light roasts. Prep the puck last, right before you lock in and pull. Other common errors include using stale or over-roasted beans that no amount of technique can save, working with a cold portafilter that causes condensation and uneven sticking, and changing multiple variables at once so you can’t tell which adjustment actually helped.
Fast Corrections for Workflow Inconsistency
Lock down your motions and make them identical every time. Use the same WDT stroke pattern, the same distributor rotation count, the same tamp posture and sightline. When every shot follows the same sequence, you can spot when something changes and trace it back to a specific step. Inconsistent workflow makes diagnosis impossible because you never know if the problem is your grind, your distribution, your tamp, or just random variation in how you moved your hands.
Track one variable at a time. If you change your dose, don’t also change your grind and tamping pressure in the same session. Make one adjustment, pull three to five shots to see the effect, then decide whether to adjust further or try something different. Write down your starting points (dose, grind setting, distributor rotations, tamp feel) so you can get back to baseline when experiments go sideways. Workflow consistency is the foundation of repeatability, and repeatability is the only way to get better.
Tools That Support the Puck Distribution and Tamp Sequence

A WDT tool with fine needles is the biggest impact accessory for most home setups. Look for 0.3 to 0.4 mm diameter needles in a loose, fan-like arrangement that lets you reach the basket floor without pushing grounds around. Purpose-built WDT tools are cheap and way more effective than improvised stuff like toothpicks or thick pins. If your grinder makes clumps or you’re seeing channeling with a bottomless portafilter, add WDT before anything else.
A 3-blade distributor or leveler helps create a repeatable flat surface and fills edge voids that tapping alone might miss. Set it to just touch the grounds. Don’t compress. Pair it with a precision-fit tamper matched to your basket’s measured internal diameter. Lots of baskets labeled 58 mm actually measure 58.3 to 58.5 mm, so a tamper advertised as 58.4 or 58.5 mm gets rid of edge gaps and gives you noticeably more uniform flow.
Calibrated or spring-loaded tampers take pressure guesswork out by clicking at a preset force, usually 15 to 20 kg. Makes shot-to-shot consistency easier and lets you focus entirely on keeping the tamp level. A scale with 0.1 g resolution keeps dose consistent, and a dosing cup or funnel cuts down mess and ground disturbance during transfer from grinder to portafilter. These tools don’t replace good technique. They make good technique repeatable.
- Fine-needle WDT tool with 0.3 to 0.4 mm diameter needles, loose arrangement, reaches basket floor without compacting.
- Precision-fit tamper matched to measured basket diameter (often 58.3 to 58.5 mm), gets rid of edge gaps.
- Spring-loaded or calibrated tamper clicks or stops at preset force (15 to 20 kg), takes out pressure variability.
- 3-blade distributor with light pressure, 1 to 2 rotations, levels surface without pre-compressing.
- Scale with 0.1 g resolution keeps dose consistent within ±0.2 g, removes major variable from diagnosis.
Final Words
In the action, you followed the full workflow: grind → WDT → distribute → tamp → inspect → brew. That order builds an even base and makes channeling easier to spot and fix.
WDT (0.3–0.4 mm needles) breaks clumps. Distributor evens the surface with 1–2 light rotations. Tamp level and fit matter—use a tamper that matches the basket and press straight at about 15–20 kg. Inspect for cracks, clean the rim, and brew within 30–60 seconds.
Follow the step-by-step puck distribution and tamp sequence and you’ll get steadier flow and more repeatable, better-tasting shots.
FAQ
Q: What is the complete ordered workflow for a step-by-step puck distribution and tamp sequence?
A: The complete ordered workflow is grind → WDT → distribute → tamp → inspect → brew, with weighing the dose first; follow this order and brew within 30–60 seconds for consistent extraction.
Q: Why should WDT come before surface distribution?
A: WDT comes before surface distribution because it breaks clumps and removes air pockets inside the bed, letting surface tools level grounds without leaving internal channeling risks.
Q: What WDT needle specs and motions should I use?
A: WDT needle specs: use fine needles 0.3–0.4 mm. Perform a deep rake to the basket floor, then a shallow leveling pass with gentle circular strokes; avoid thicker needles and over-stirring.
Q: Which surface distribution methods work best before tamping?
A: Surface distribution methods: 3‑blade distributors move grounds sideways; aim for 1–2 light rotations or use taps/slaps to collapse air pockets; avoid pre‑compression and over‑rotating that creates density bands.
Q: How should I tamp for a level, uniform puck and what pressure fits?
A: Tamping should be level and centered with a precision-fit tamper (match baskets ~58.3–58.5 mm), press firmly without twisting, and target 15–20 kg; levelness prevents density gradients and channeling.
Q: How accurate should dosing and grind prep be for reliable distribution?
A: Dosing should be within ±0.2 g tolerance, grind directly into a dry, room-temperature portafilter or dosing cup, and use a funnel to reduce mess; adjust dose in 0.5–1 g steps when troubleshooting.
Q: What should I check visually and how quickly should I brew after tamping?
A: You should inspect levelness from the side, check for cracks and clean the rim; brew within 30–60 seconds to avoid micro-fractures and edge gaps that cause channeling.
Q: What do bottomless portafilter sprays and streaks tell me and how do I fix them?
A: Bottomless sprays, pale streaks, or one-sided flow show poor WDT/distribution, tilt tamping, or edge gaps; fix by redoing WDT, re-distributing, ensuring level tamp, and confirming tamper fit.
Q: What common mistakes cause distribution and tamping problems and how do I correct them?
A: Common mistakes are skipping WDT, over-rotating the distributor, using an undersized tamper, tilting tamp, letting the puck sit, stale beans, or a cold portafilter; correct by following the full sequence and standardizing checks.
Q: Which tools truly support a repeatable puck prep workflow?
A: Useful tools: fine-needle WDT (0.3–0.4 mm), 3‑blade distributor, precision-fit tamper with click feedback, scale with 0.1 g resolution, and a dosing cup to reduce disturbance.
Q: How can I quickly fix inconsistent workflow habits?
A: Quickly fix inconsistency by standardizing one motion set each shot, use a scale and timer, track dose and grind changes, and practice the same sequence until it becomes automatic.