

Think your espresso machine behaves the same every day?
Most don’t — timing drifts by seconds and taste follows.
A baseline timing test captures pre-infusion, extraction, and total pull times while locking dose, basket, tamp, and grinder so results repeat.
This protocol tells you exactly what to measure, how to run repeatable pulls, and which numbers signal trouble.
Do the test, log dates and temps, and you’ll have a clear “normal” to compare against when shots go off.
Establishing a Baseline Timing Protocol That Defines Your Machine’s Default Performance
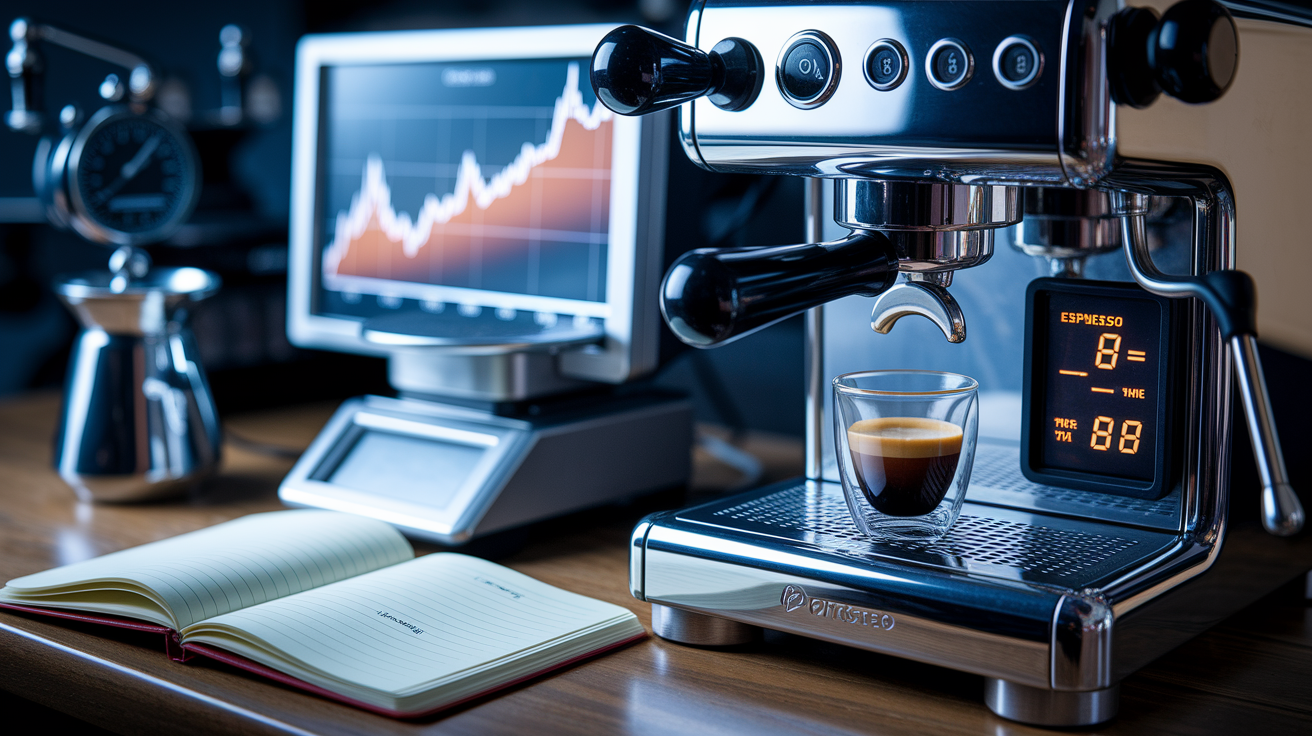
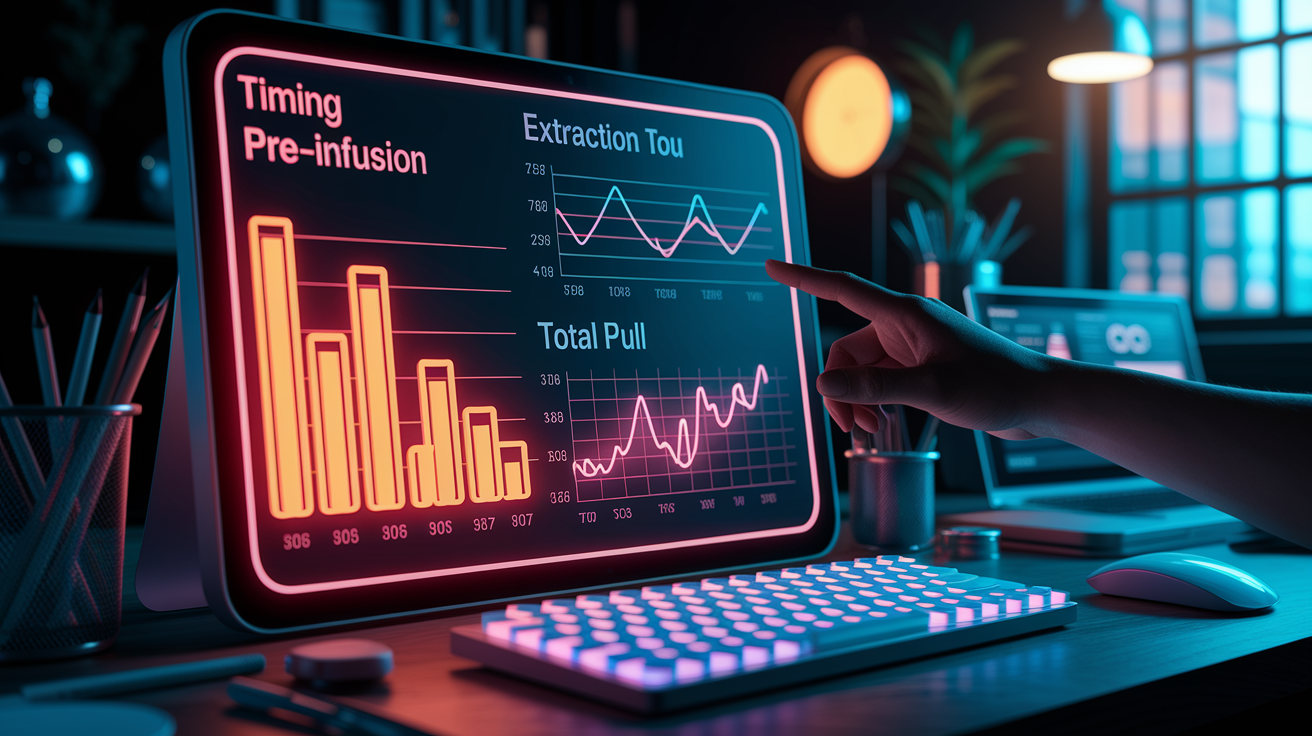
A baseline timing protocol documents how your espresso machine behaves before you touch anything. You’re capturing three phases: pre-infusion time, extraction time, and total pull time. With dated records of these numbers, you can spot performance drift, diagnose problems early, troubleshoot flavor shifts, and back up warranty claims with real data.
To get a repeatable baseline, you need to lock down every variable that affects timing. That means fixing your dose (18 g is common for a double basket), using the same basket every time, tamping with consistent force (20 to 30 lb), and keeping your grinder’s burr setting unchanged. Even small shifts in room temperature or bean age can move extraction by several seconds, so write those down too. You’ll test a few brew ratios (1:1, 1:2, 1:2.5 are typical) and measure how long the machine takes at each yield.
Your results get checked against numeric thresholds. Pre-infusion should land between 0 and 8 seconds depending on your machine. Extraction time for a balanced shot usually runs 20 to 35 seconds. Shot-to-shot weight should stay within ±1 to 2%, and your time measurements should show a standard deviation under 2 seconds across averaged pulls. Anything outside those windows tells you something in the machine, grinder, or puck prep needs attention.
The essential timing protocol has six stages:
- Machine warm-up. Let the boiler and group head reach steady temperature for 20 to 40 minutes. Leave the portafilter locked in for the last 10 to 20 minutes.
- Dose preparation. Weigh beans to 0.1 g precision. Grind at a locked setting. Warm up your grinder for 10 to 30 seconds before dosing.
- Pre-infusion timing. Start your timer when the pump engages. Record the moment steady flow begins exiting the portafilter spout.
- Extraction timing. Measure from the first consistent drop to the instant your scale hits target yield. Typical window is 20 to 35 seconds.
- Yield capture. Use a scale under the cup and record final brew weight to 0.1 g. Calculate your actual brew ratio.
- Data logging. Write down date, ambient temperature, water TDS, bean roast date, dose, yield, all three timing phases, and any visible flow anomalies.
Required Tools for Precise Espresso Timing Measurements at Home
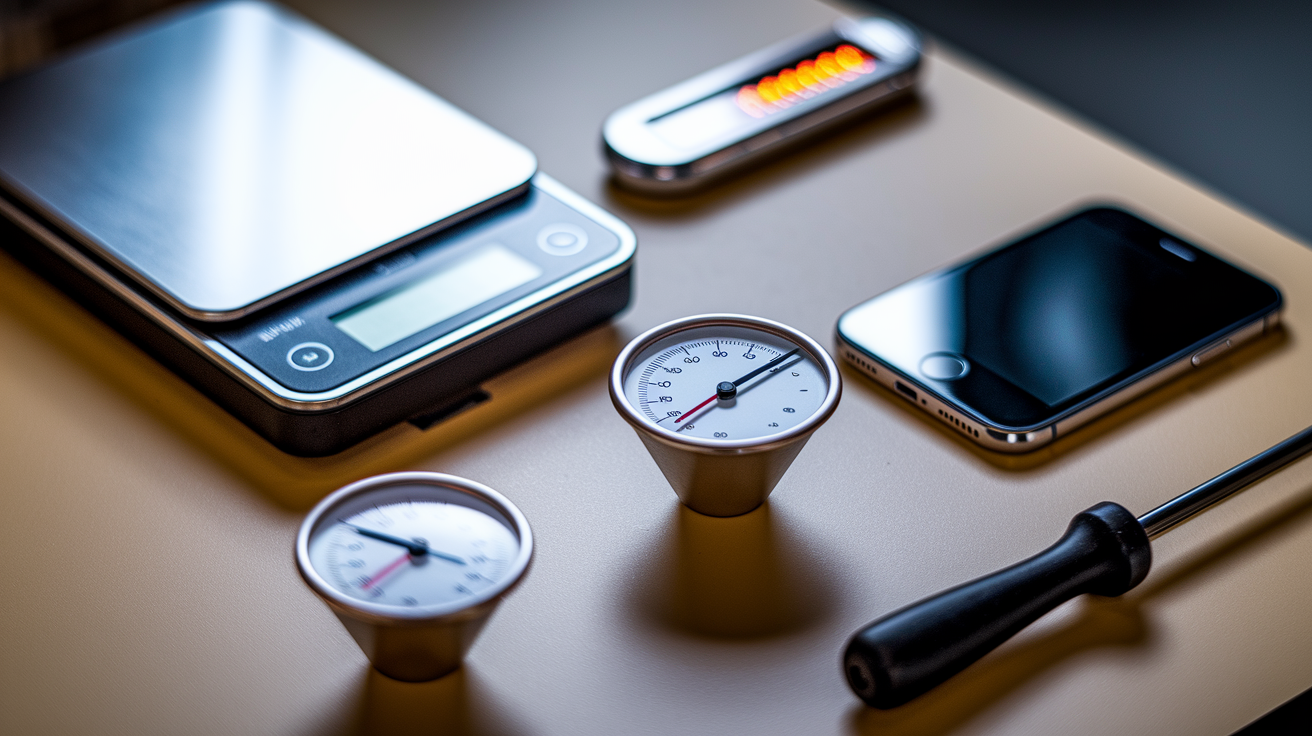
You don’t need lab-grade instruments, but you do need tools accurate enough to catch small timing shifts. A digital scale with 0.1 g resolution is essential. Cheap models start around $10 and reliable units run up to $80. You’ll weigh both dose and yield on this scale, so zero it before every measurement. For temperature checks, use a thermometer or thermocouple probe accurate to ±0.5°C. These range from $20 for a basic digital thermometer to $200 for a fast-response thermocouple. A smartphone camera shooting at 60 frames per second works as a stopwatch and lets you review the exact moment flow begins or ends. If you want to track brew pressure, add a portafilter pressure gauge ($30 to $200) or a simple manometer.
Optional tools include a refractometer ($60 to $350) to measure total dissolved solids and calculate extraction yield, a blind basket for backflushing and pressure checks ($5 to 15), and calipers ($10 to $20) to verify basket depth or puck height. Each tool serves one purpose: reduce guesswork. When your scale reads within ±0.1 g and your thermometer is within ±0.5°C, you can trust the differences between test runs.
Tool list with precision requirements:
0.1 g resolution scale. Essential. Accuracy ±0.1 g. $10 to $80.
Thermometer or thermocouple probe. Accuracy ±0.5°C. $20 to $200.
Digital timer or smartphone camera. 60 fps video for frame-accurate timestamps. Free to $100.
Portafilter pressure gauge or manometer. Optional. Range 0 to 15 bar. $30 to $200.
Refractometer. Optional. Measures TDS for extraction-yield calculation. $60 to $350.
Tamper. Consistent force delivery, 20 to 30 lb (9 to 14 kg). $10 to $60.
Blind basket and calipers. Backflush disk for cleaning tests. Calipers for basket measurements. $5 to $30 combined.
Pre-Test Preparation Steps That Stabilize Home Espresso Machine Timing

Environmental and consumable variables shift extraction time just as much as grind size does. Start by recording room temperature and aim for 20 ± 3°C. A cold kitchen can slow flow and extend timing by several seconds. Measure your water’s total dissolved solids (TDS) and keep it consistent across tests. 50 to 150 ppm is the recommended range for reproducibility. Coffee beans matter too. Use the same lot and roast date, and stay within the 3- to 14-day post-roast window where crema and timing behavior are stable. Record the roast date and bean age in days every time. If your beans are stale or inconsistent, your timing baseline becomes unreliable.
Machine stabilization requires patience. Let your espresso machine warm up for 20 to 40 minutes, depending on boiler mass and PID design. Larger dual-boiler machines need more time. Lock the portafilter into the group head for the final 10 to 20 minutes so the brass or steel reaches the same temperature as the group. Then run 1 to 3 blank flushes or pulls (water only, no coffee) to stabilize pressure and flush out any residual temperature swings. Discard these as warm-up. They don’t count in your baseline data. Use the same basket type and capacity for every test. Switching from a standard basket to a precision basket mid-test changes flow resistance and invalidates your comparison.
Grinder warm-up is often overlooked. Run your grinder for 10 to 30 seconds before you dose the first test shot. This heats the burrs slightly and clears out any settled fines. Lock your grind setting and don’t touch it during the baseline session. Tamp pressure should be standardized to 20 to 30 lb (9 to 14 kg). Use the same tamper and the same technique every pull. Even a 5 lb difference in tamp force can shift extraction time by a second or two, especially in smaller baskets.
Step-by-Step Espresso Timing Procedure to Capture Pre-Infusion, Extraction, and Total Pull
Timing phases are defined by observable flow events, not arbitrary clock marks. Pre-infusion is the interval from pump start to the moment steady, full-pressure flow begins exiting the portafilter spout. Extraction time runs from the first consistent drop to the instant your scale reads target yield. Total pull time is simply pump-on to pump-off. You’ll use a stopwatch or smartphone video to capture these transitions, and a scale under the cup to log weight versus time. If your machine produces weight traces (grams recorded every tenth of a second), those traces reveal flow irregularities like channeling or pressure pulses that a stopwatch alone would miss.
Step-by-step timing procedure:
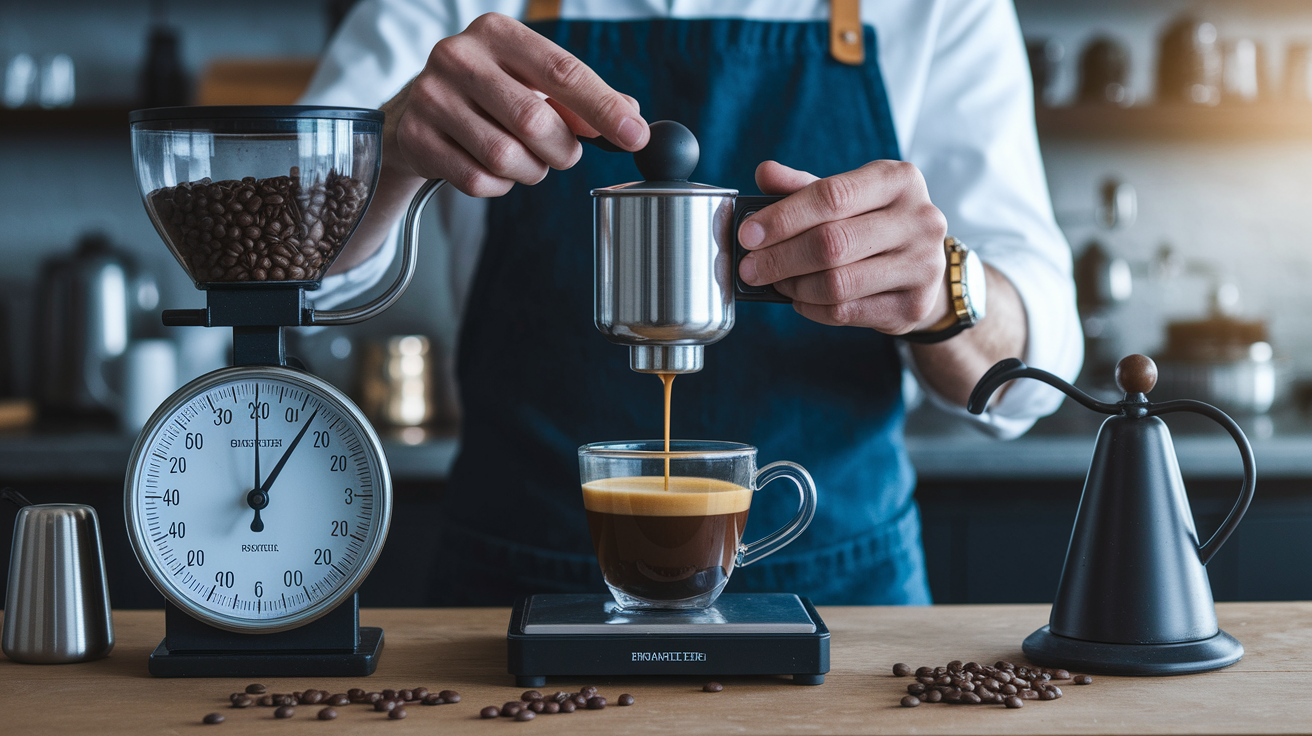
- Prepare your workspace. Place the scale under your cup and zero it. Have your stopwatch or camera ready. Confirm portafilter is warm and basket is clean.
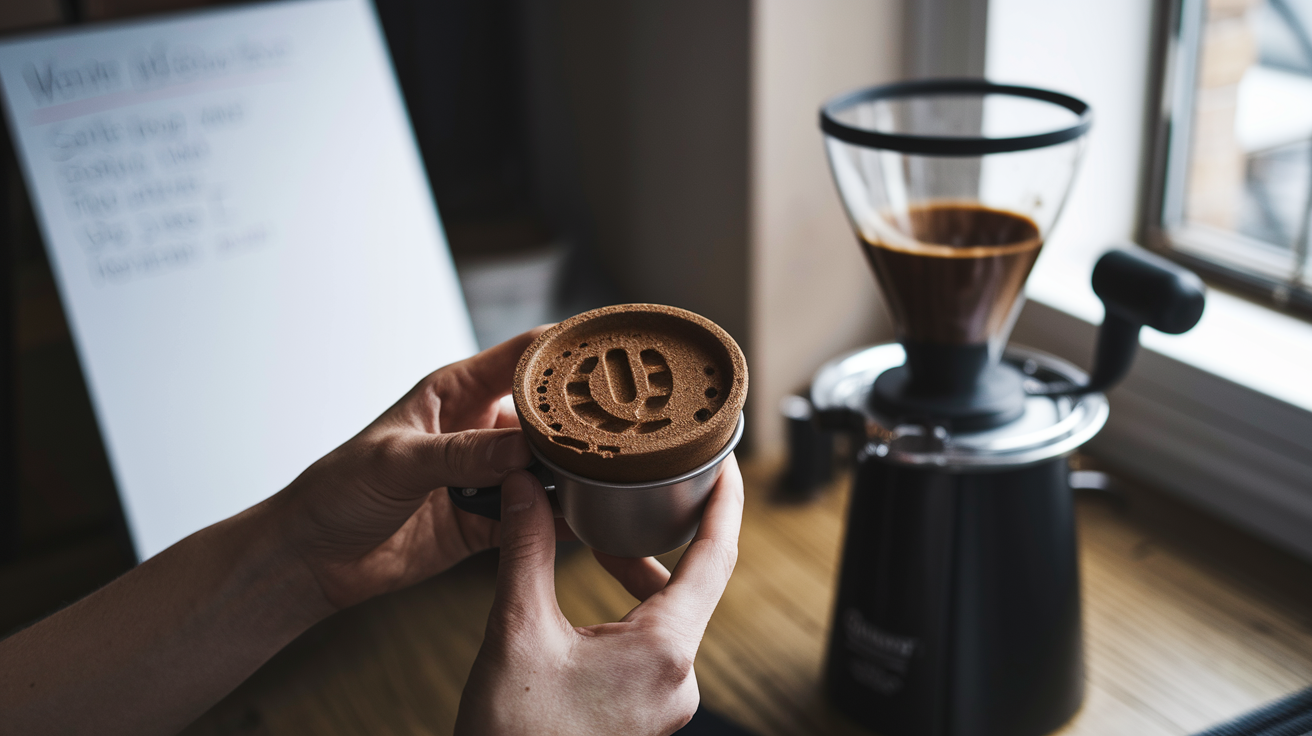
- Weigh and dose. Grind coffee and weigh exactly 18.0 g (or your chosen dose) to 0.1 g precision. Transfer into the basket.
- Distribute and tamp. Distribute grounds evenly using WDT or a leveler. Tamp with 20 to 30 lb force. Wipe the basket rim clean.
- Lock portafilter. Insert and lock into the group head. Position the cup on the scale directly under the spout.
- Start timer at pump-on. Press brew. Start your stopwatch the instant you hear or see the pump engage.
- Mark pre-infusion end. Watch the spout. Note the time when steady flow begins (not first drip, steady stream). Typical range 0 to 8 seconds.
- Monitor extraction flow. Keep the timer running. Watch your scale display. Stop timing when the scale reaches your target yield (for example, 36.0 g for a 1:2 ratio).
- Record extraction time. Subtract pre-infusion time from total elapsed time to isolate extraction phase. Typical extraction window 20 to 35 seconds for conventional ratios.
- Record total pull time. Note pump-on to pump-off. This includes pre-infusion, extraction, and any post-infusion if your machine has it.
- Log yield and observations. Write down final weight, calculated brew ratio, and any visible flow anomalies (channeling, spurting, uneven streams).
Consistency is everything. Run 5 consecutive pulls under identical conditions. Discard the first pull as a final warm-up stabilizer, then average the next three pulls. If shot-to-shot timing varies by more than ±2 to 3 seconds or weight drifts by more than ±5%, increase your sample to 5 valid pulls and investigate the source of variability before accepting the baseline.
Data Logging and Documentation Standards for Baseline Espresso Timing Tests
Every baseline test session generates a snapshot of your machine’s performance under controlled conditions. Capture date and time, ambient temperature, humidity if measurable, and water TDS. Record your machine model and serial number if you plan to use this data for warranty support. Log your bean lot, roast date, and age in days. Write down your grinder model, burr type, and the exact grind setting or dial position. Include dose in grams, basket type and capacity, and tamp pressure in pounds or kilograms. For each pull, record pre-infusion time and pressure (if you have a gauge), extraction start and end times, total pull time, and final yield. Note any flow irregularities (steady, pulsing, channeling, spurting) and measure group-head or cup-surface temperature if you have a thermocouple. Photos of the puck after extraction and short videos of the flow help diagnose mechanical issues without relying on flavor alone. Add operator initials and test iteration number so you know who pulled the shot and which attempt it was.
Baseline statistics matter. Calculate the mean and standard deviation for timing and weight across your averaged pulls. A standard deviation under 2 seconds for time and weight variability within ±1 to 2% tells you the baseline is stable and repeatable. If your numbers scatter more than that, something in your workflow (grinder, tamp, distribution, or machine) is inconsistent, and you need to troubleshoot before the baseline is useful.
| Field | Description |
|---|---|
| Test Date/Time, Ambient Temp, Water TDS | Environmental snapshot. Aim for 20±3°C room temp and 50 to 150 ppm TDS for reproducibility. |
| Machine Model/Serial, Bean Lot/Roast Date, Grinder Model/Setting | Equipment and consumable identifiers. Ensures test is tied to specific hardware and coffee batch. |
| Dose (g), Basket Type, Tamp Pressure (lb/kg) | Puck-prep parameters. Lock these to eliminate workflow variables. |
| Pre-Infusion Time/Pressure, Extraction Time, Total Pull, Yield (g), Flow Notes | Core timing and yield data. Record mean ± SD. Acceptable SD <2 s, weight variability ±1 to 2%. |
Interpreting Baseline Timing Results and Identifying Variability Thresholds
Acceptable extraction time for a balanced shot falls between 20 and 35 seconds, measured from first consistent flow to target yield. If your average lands outside the 15- to 45-second window, something’s wrong. Grind, dose, flow restriction, or machine pressure. Pre-infusion time should be consistent across pulls. A sudden shift of more than 2 to 3 seconds from your baseline suggests a valve, solenoid, or pump problem. Brew pressure during steady extraction should sit at 8 to 10 bar. Sustained deviations beyond ±1 bar warrant a pump check, OPV adjustment, or service call. Group-head or boiler temperature should stay within ±2°C of your setpoint. Larger drifts indicate PID tuning issues, thermostat failure, or heating-element problems.
Shot-to-shot weight variability is your first clue to grinder or puck-prep inconsistency. Aim for ±1 to 2% variation between pulls. Anything over ±5% points to dosing errors, grinder clumping, or channeling. Time variability should produce a standard deviation under 2 seconds across your three averaged shots. If your SD is larger, check tamp pressure, distribution technique, and grinder output consistency before blaming the machine.
Common interpretation signals:
Extraction under 20 seconds. Too fast. Grind is too coarse, dose is too low, or basket is clogged with oils and needs cleaning.
Extraction over 35 seconds. Too slow. Grind is too fine, dose is too high, or basket/screen flow is restricted by scale or buildup.
Pre-infusion time jumps >3 seconds from baseline. Solenoid, three-way valve, or pump issue. Machine may need service.
Brew pressure outside 8 to 10 bar during steady flow. OPV needs adjustment or pump output is drifting. Check with a portafilter gauge.
Temperature shift >±2°C from setpoint. PID tuning error, failing thermostat, or heating element. Run calibration or contact service.
Shot weight variability >±5%. Grinder inconsistency, channeling, or uneven tamp. Weigh each dose and inspect puck after extraction.
Troubleshooting Timing Inconsistencies in Home Espresso Machines
When extraction time drifts or becomes erratic, start with the simplest checks. If shots suddenly run long and taste bitter, your grind’s probably too fine. Adjust coarser by half a step or one full step and re-test. If shots run fast and taste sour, grind finer. Make one change at a time and pull three shots to confirm the effect. Inconsistent timing between pulls usually comes from the grinder or your puck-prep routine. Weigh every dose to 0.1 g and confirm you’re hitting your target. Check that your WDT or distribution method is breaking up clumps and leveling the bed. Inspect your tamp. Press straight down with consistent force and avoid tilting.
Channeling creates sudden mid-pull flow changes that show up as timing jumps or uneven streams from a bottomless portafilter. After extraction, look at the puck. One large crater or multiple tunnels mean water found a weak spot and rushed through. That fast channel skews your timing and makes yield unreliable. Improve distribution, confirm even tamping, and verify your grind isn’t producing too many fines that migrate and clog the bottom of the puck. If channeling persists despite good puck prep, check the basket for damage, the group gasket for wear, or the shower screen for uneven flow.
Temperature instability shifts extraction time between pulls and changes flavor without any grind adjustment. If your machine lacks a PID or the PID isn’t tuned, the boiler may swing by several degrees between shots. Use a thermocouple in the portafilter or measure water exiting the group to confirm setpoint. Long warm-up times or short recovery windows can also cause drift. If timing is stable for the first two shots then lengthens on the third, your boiler isn’t keeping up. Wait longer between pulls or troubleshoot your heating element and flow rate. Scale obstruction in the shower screen, dispersion plate, or group path slows flow and extends timing even when grind and dose are correct. Backflush weekly, descale according to your water hardness, and inspect the screen for coffee oil buildup.
Establishing Long-Term Baseline Timing References for Consistency and Machine Health

Create a dated baseline entry immediately after your first stable test session. Store the raw numbers (mean and standard deviation for pre-infusion, extraction, and total pull) along with photos of the puck, scale traces, and any video clips. Re-run the same protocol monthly or after any maintenance, cleaning, or component replacement. If your machine’s timing or temperature shifts by more than ±10% for time or ±2°C for temperature, open a troubleshooting log or schedule service. Consistent reference points let you separate normal variation from real drift.
Use the same operator whenever possible. Different people tamp with different force and distribute with different care. If you must switch operators, document who pulled each test and note any technique differences. Keep using the same bean lot and basket type for all comparison tests. Switching beans or baskets mid-series adds variables that make it harder to isolate machine changes. Every time you run the protocol, average at least three shots and record the standard deviation. A rising SD over time signals declining grinder consistency, worn burrs, or puck-prep fatigue.
Five long-term maintenance practices:
Monthly re-test. Run the full protocol once a month using identical beans, dose, and basket. Compare means and note any drift beyond ±10% timing or ±2°C temperature.
Post-maintenance verification. After backflushing, descaling, gasket replacement, or any repair, re-establish baseline to confirm performance returned to spec.
Dated logbook or spreadsheet. Store every test with a date stamp, machine serial, and operator initials. Include ambient conditions and water TDS for each session.
Trigger thresholds. Set action rules: if timing changes >±10%, if temperature shifts >±2°C, or if shot-to-shot SD exceeds 3 seconds, investigate immediately.
Archive visual evidence. Keep photos of pucks, scale traces, and short videos. These help technicians diagnose mechanical issues without tasting your shots.
Final Words
Run the baseline timing test now: warm the machine 20-40 min, keep the portafilter in for 10-20 min, settle your grinder and dose. Pull five shots, discard the first, average the next three.
Log pre-infusion, extraction, total pull, yield, temps, TDS, and bean age. Check targets: extraction 20-35 sec, SD <2 sec, weight variance ±1-2%. Change one thing at a time.
Use this baseline timing test protocol for home espresso machines regularly — you’ll catch drift sooner and pull steadier shots.
FAQ
Q: What is the 15-15-15 rule for coffee?
A: The 15-15-15 rule for coffee is an informal starting guideline—three 15-second stages some brewers use (bloom, initial pour, final pour). Use it as a baseline, then taste and adjust timing or ratio.
Q: What is the 80 20 rule for coffee?
A: The 80 20 rule for coffee applies the Pareto idea: about 80% of better results come from 20% of changes—focus on grinder consistency, bean freshness, water, and dose first to improve shots fastest.
Q: What is the 30 second rule for espresso?
A: The 30 second rule for espresso is a timing target: many shots land around 25–30 seconds pump-on to pump-off for typical 1:1.5–1:2.5 ratios. If outside that, recheck grind or dose.
Q: What is the 1 2 rule for espresso?
A: The 1 2 rule for espresso refers to a 1:2 brew ratio—one part dry dose to two parts liquid yield (for example, 18 g in → about 36 g out). It’s a common balanced target.