
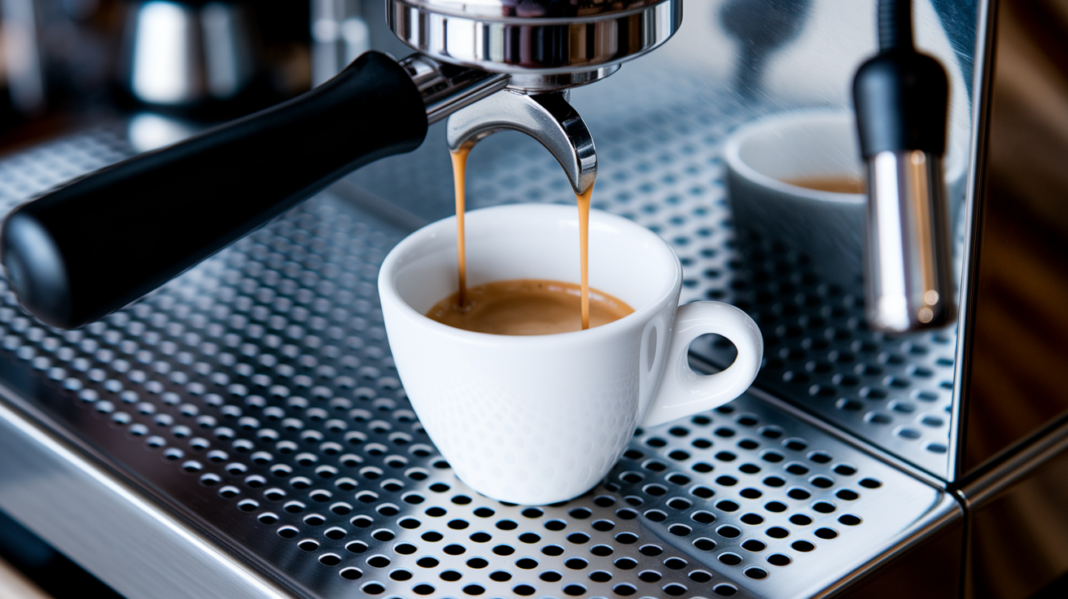

Think a fast, pale pour means a trendy light roast? Not usually.
If your shot finishes before 20 seconds, you’re probably under‑extracting.
Pale, blond crema, a watery, translucent stream, or instant blonding are the visual red flags.
This post shows exactly what to look for at 3, 10, and 20 seconds, how the spent puck confirms it, and the single first change to try so you stop wasting beans.
Read on to spot the problem at a glance and fix it with one repeatable move.
Key Visual Indicators of a Too‑Fast, Under‑Extracted Espresso Shot
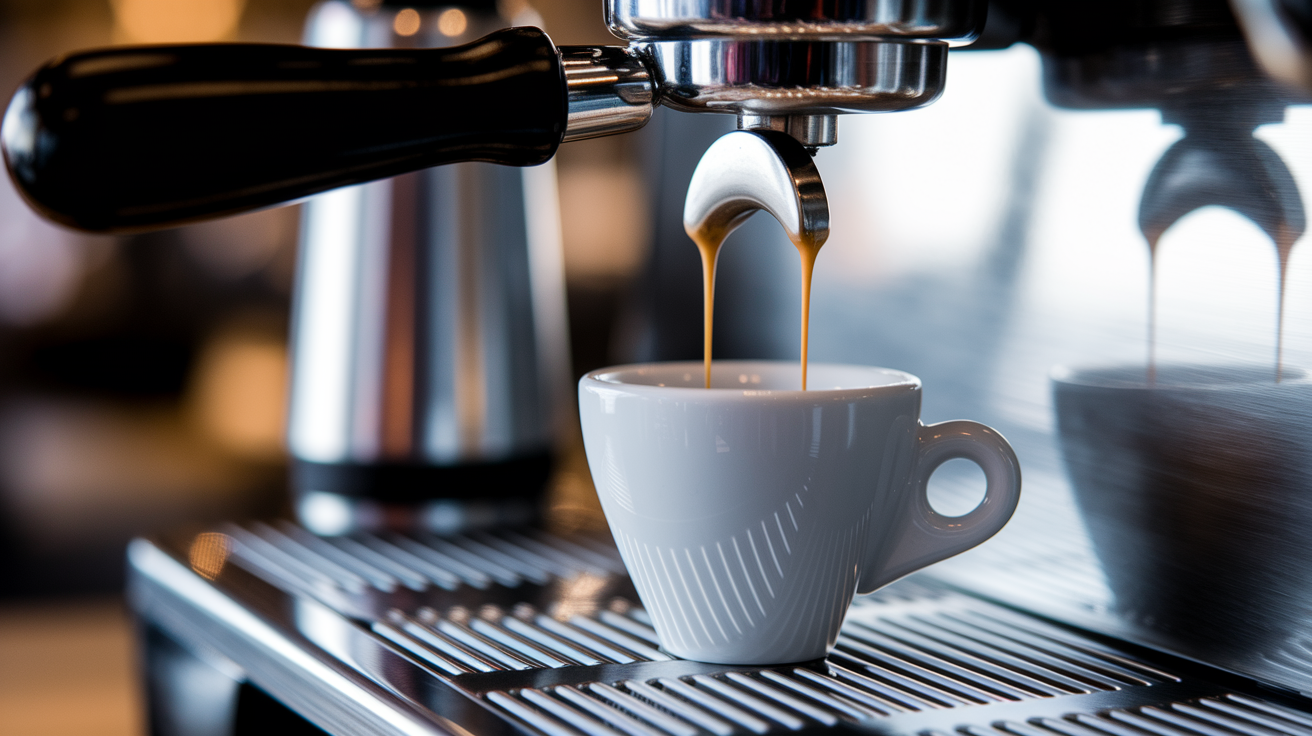
Under‑extraction happens when water tears through the puck so fast that it grabs a few sour acids and not much else. The full range of soluble stuff—the sugars, balanced aromatics, body—gets left behind. If your shot finishes before 20 seconds, something’s wrong. And the visuals will confirm it.
Two things jump out right away: crema color and how the stream behaves. You’re looking for rich, chestnut‑brown crema and a thick, syrupy flow. What you’ll see instead is pale yellow or blonde crema that looks more like dish bubbles than velvet. The stream? Watery. Almost see‑through. No honey‑like drip, just a fast, light gush that ends abruptly.
Here’s what confirms the shot ran too fast:
- Pale, blonde, or very light yellow crema instead of hazelnut or caramel brown
- Thin crema layer with big, fragile bubbles that pop right away
- Watery, translucent stream with zero viscosity
- Early blonding—flow turns pale yellow within the first 5 to 10 seconds
- Uneven flow from a bottomless portafilter, often showing multiple thin jets or spray
- Rapid color lightening—stream goes from dark to blonde in seconds
- Gushing or splashing flow that looks more like faucet water than espresso
- Shallow crema layer that just sits on top without integrating
- Translucent or see‑through patches in the crema surface
- Fast thinning—crema disappears completely within 10 to 20 seconds after the shot finishes
These visuals line up perfectly with the sour, salty, or sharp taste you get from under‑extraction. The low total dissolved solids (well under 18%) mean the cup’s missing body, sweetness, and complexity. Exactly what you taste when you see pale crema and a watery pour.
Understanding the Visual Progression of an Ideal Espresso vs a Too‑Fast Shot
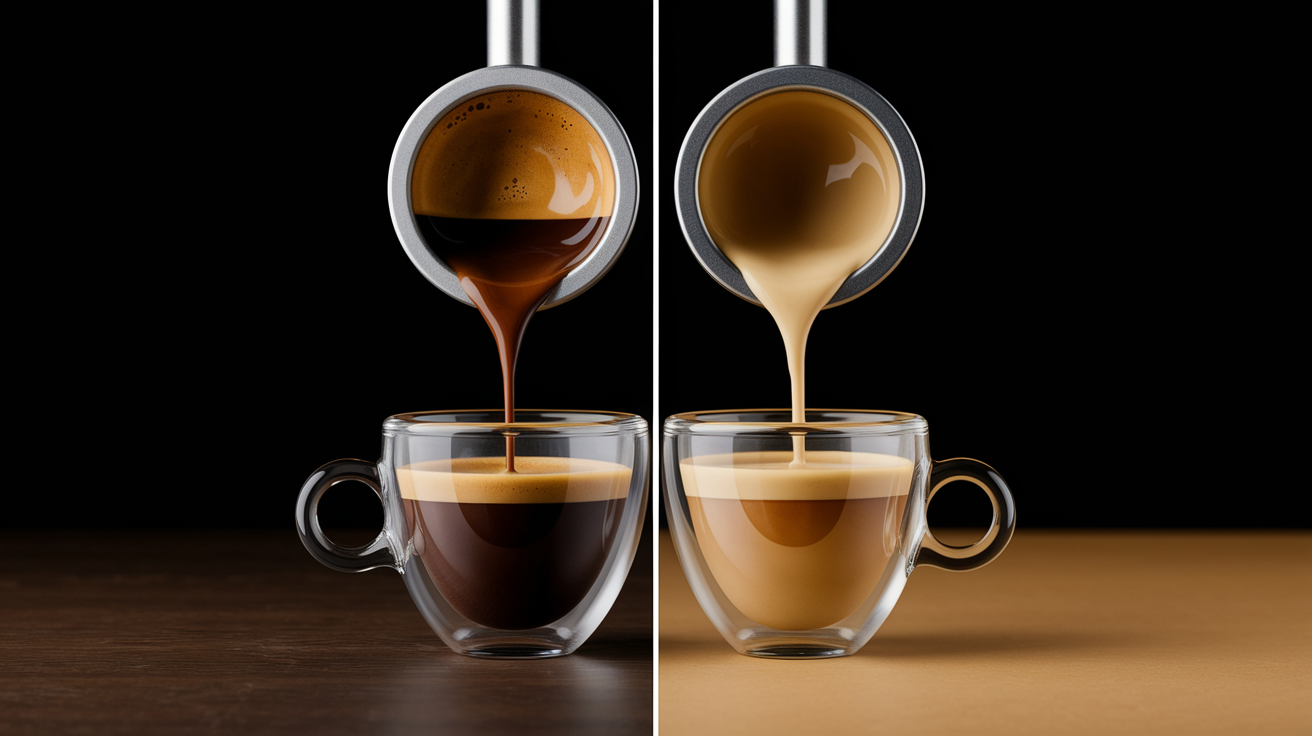
A properly extracted double shot shows a predictable color evolution. In the first 3 to 5 seconds, you should see thick, dark syrup forming at the basket spouts or cone. Almost black or deep mahogany. By 10 to 15 seconds, the stream lightens a bit to medium brown with rich, marbled crema swirling on the surface. From 16 to 30 seconds, the flow stays a warm chestnut color and begins to slow as resistance builds, finishing with a thick, stable crema layer in the cup.
A too‑fast, under‑extracted shot goes sideways immediately. Within the first 5 seconds, the stream’s already translucent or pale yellow instead of dark syrup. By 10 seconds, the flow has turned blonde or straw‑colored. And instead of slowing down, the stream stays thin and fast. Shot finishes before 20 seconds, often with the tail end looking almost like dirty water. No rich brown tones, no viscosity, no sign of the sugars or oils that give espresso its body and sweetness.
| Time Stamp | Ideal Visual | Under‑Extracted Color Pattern |
|---|---|---|
| 0–5 seconds | Thick, dark mahogany syrup; slow drip or cone formation | Instant pale yellow or translucent stream; gushing flow |
| 6–15 seconds | Medium brown stream with marbled crema; gradual lightening | Blonde, watery stream; no viscosity or marbling |
| 16–30 seconds | Warm chestnut color; flow begins to slow; thick crema forms | Shot already finished or showing dirty‑water tail; thin crema |
Visual Signs of Channeling and Turbulent Flow
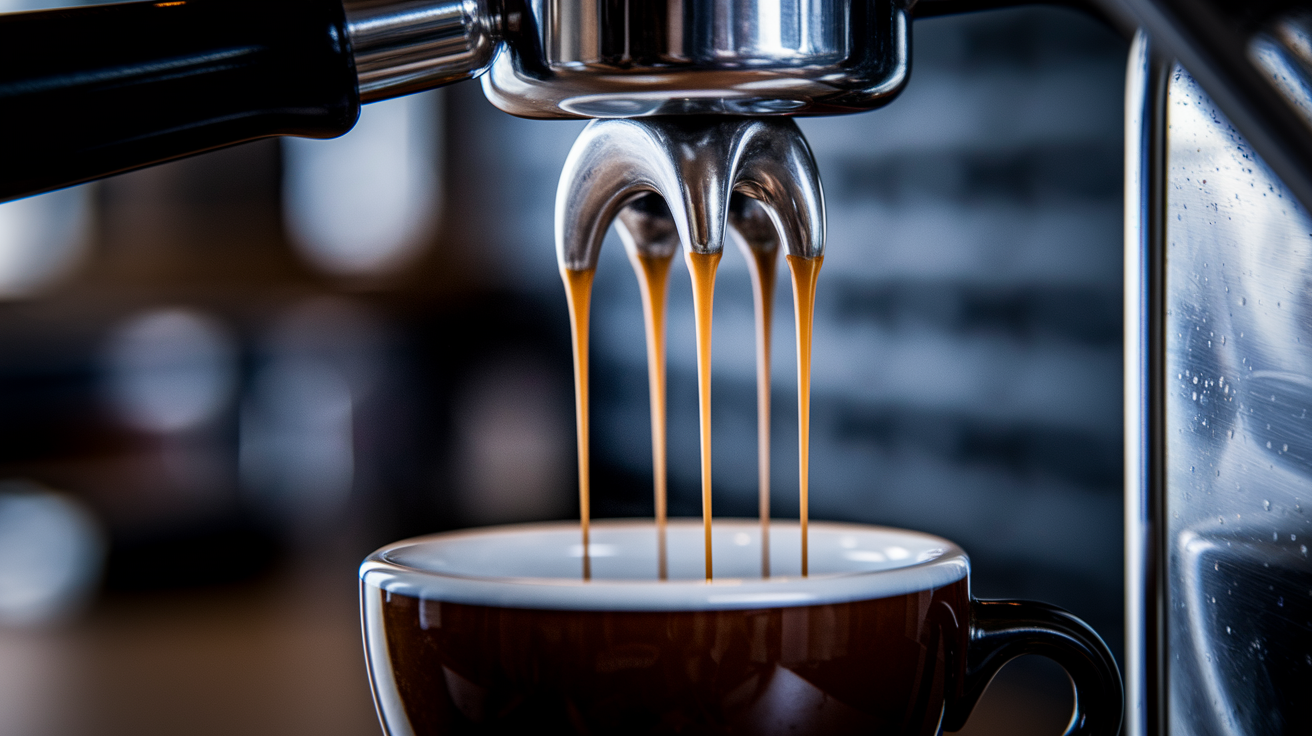
Channeling is one of the most common reasons shots run too fast. And a naked portafilter makes it impossible to miss. Instead of a single, even cone of espresso forming at the basket bottom, you’ll see multiple thin jets shooting out at weird angles, or a sudden spray that looks like water from a busted garden hose. These jets show up when water finds the easy path—usually a crack, clump, or unevenly tamped zone—and rushes through, leaving the rest of the puck dry.
The visual behavior of a channeling shot is pure chaos. You might see a thick stream start to form, then suddenly break apart into two or three separate spouts. Or the flow sputters and sprays sideways, hitting the inside of the cup or the drip tray. The stream never stabilizes into a smooth, continuous pour. And the color often shifts unpredictably. One jet might run darker while another looks pale and thin from the start.
After the shot, check the spent puck for these channeling clues:
- Holes or craters punched through the puck surface, sometimes deep enough to see the basket screen
- Tunnels or cracks running through the coffee bed, often radiating from a central point
- Wet patches next to bone‑dry zones, showing uneven water contact
- Puck surface that looks excavated, with sharp‑edged depressions or blown‑out sections
- Loose, crumbly puck structure instead of a firm, cohesive disc
Crema Texture and Color as Diagnostic Visual Tools
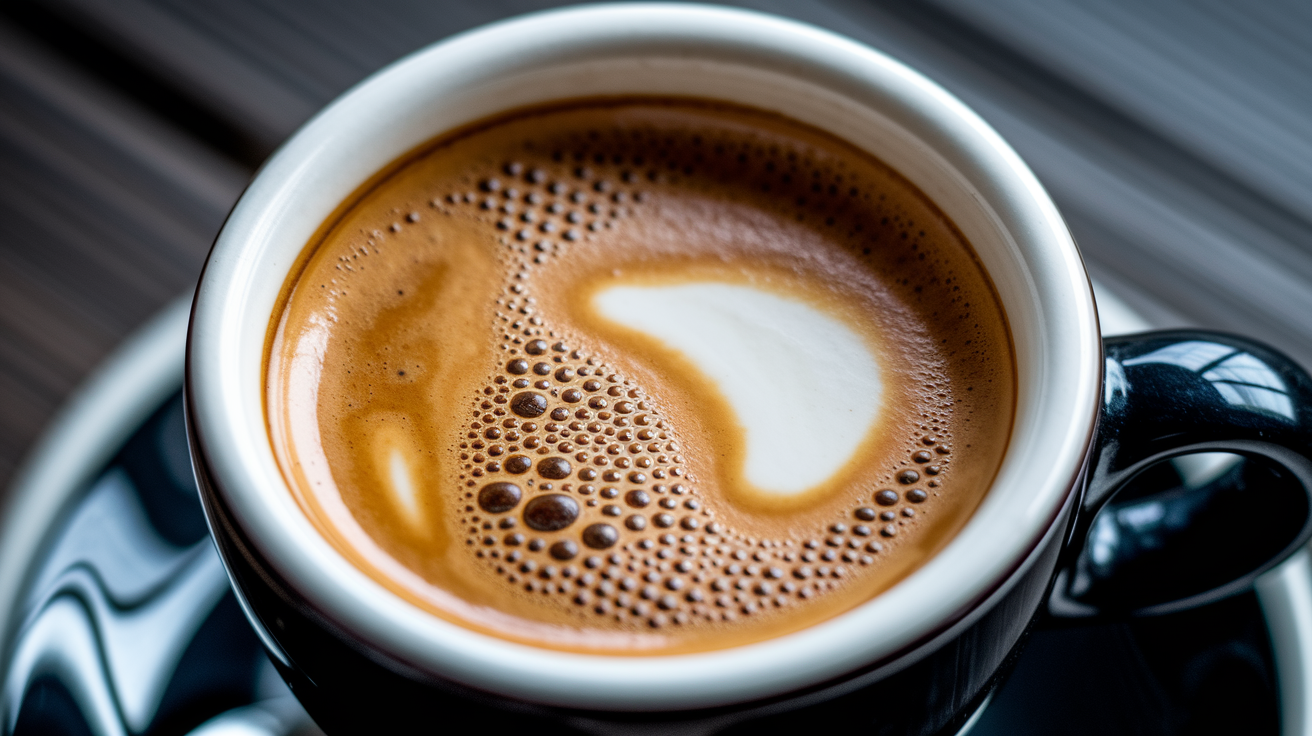
Crema color comes from Maillard reaction compounds, caramelized sugars, and emulsified oils extracted during the brew. When extraction is balanced, these compounds dissolve at a rate that produces a hazelnut to caramel brown layer with enough structure to support latte art or float on the surface for minutes. Under‑extracted shots skip most of that chemistry. Water moves too fast to pull sugars and oils, so the crema ends up pale yellow or blonde, dominated by CO₂ bubbles and a thin film of early‑stage solubles.
The micro‑texture of under‑extracted crema is noticeably different. Instead of a dense, velvety surface with fine, tightly packed bubbles, you see large, irregular air pockets that look more like dish soap foam. The surface feels fragile. If you tilt the cup or blow gently, the crema breaks apart instead of stretching. You might also notice translucent or see‑through patches where the crema’s so thin that the liquid underneath shows through, or areas where the bubbles have already popped, leaving bare espresso.
Crema longevity is a reliable secondary check. A well‑extracted double shot holds a stable crema layer for at least 30 to 60 seconds, sometimes longer, because the emulsified oils and dissolved solids give it structure. An under‑extracted shot’s crema dissipates in 10 to 20 seconds, collapsing into a thin ring around the cup edge or disappearing entirely. That rapid breakdown confirms low extraction. There simply aren’t enough oils and dissolved compounds to hold the foam together.
Visual Cues from the Puck After a Too‑Fast Shot
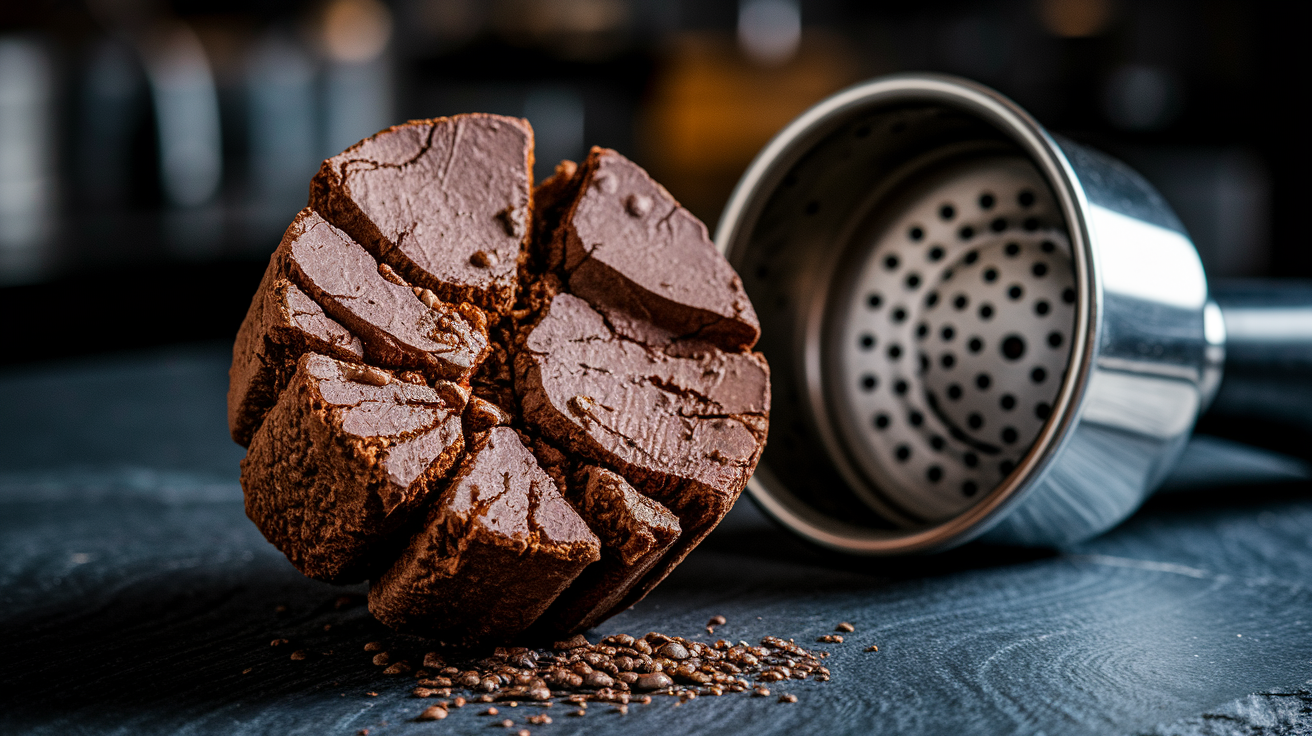
Once you knock out the portafilter, the spent puck tells the rest of the story. A properly extracted puck should be firm, evenly saturated, and intact when you tap it out. It might even hold its shape as a cohesive disc. An under‑extracted puck often looks incomplete: pale patches where water barely touched, holes or tunnels where it rushed through, and a loose, crumbly structure that falls apart as soon as you knock the basket.
The surface of the puck is especially revealing. Look for craters or divots that suggest channeling, or a mottled appearance with wet zones next to bone‑dry coffee. If the puck has a glossy, muddy shine only in certain areas, that’s a sign water concentrated its flow there and left the rest of the bed underused. Sometimes you’ll see radial cracks running from the center outward, showing where the puck collapsed under uneven pressure or where clumps created weak points.
Common puck defects that confirm a too‑fast shot:
- Holes or tunnels punched through the coffee bed, often near the center
- Craters with raised edges, showing where water blew through and excavated coffee
- Wet patches isolated next to dry, untouched zones
- Loose, sandy texture instead of a firm, cohesive puck
- Pale, under‑saturated color in sections of the puck that water bypassed
Visual Clues That Reveal Grinder, Dose, or Tamp Problems
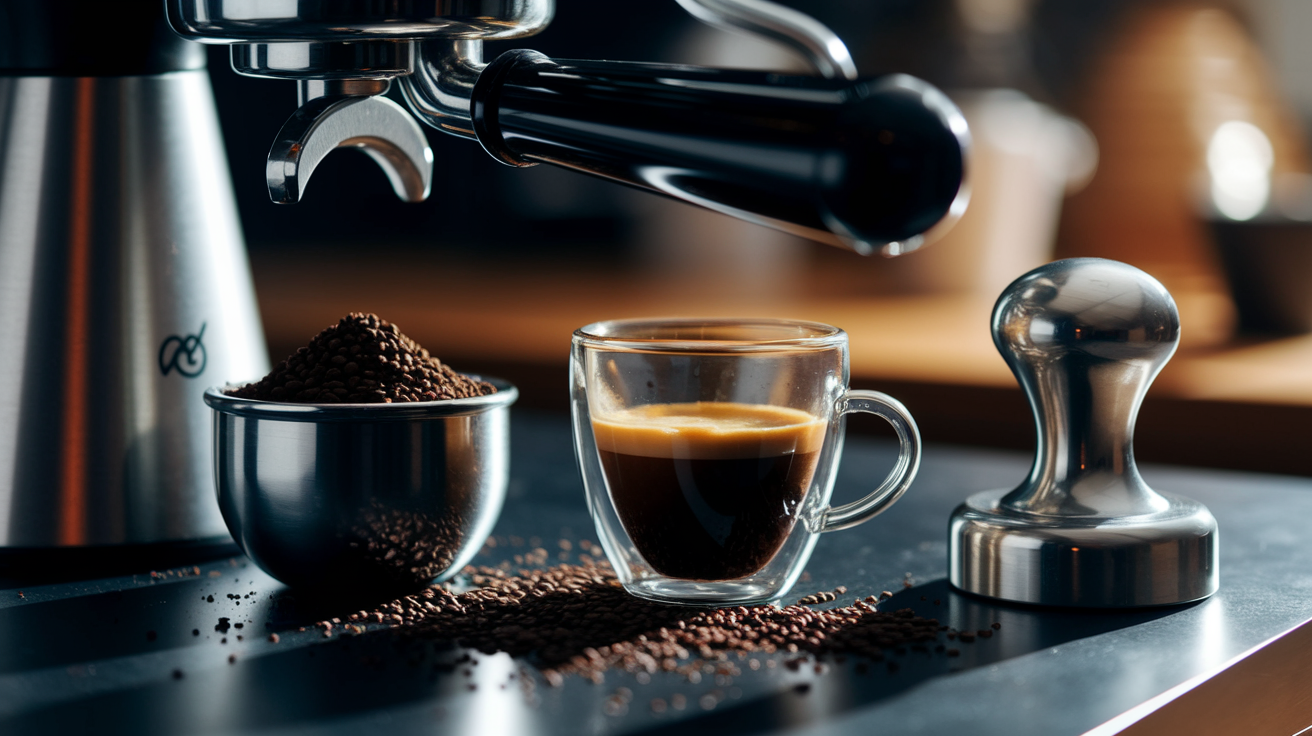
A gushing, pale shot with a translucent stream almost always points to grind that’s too coarse. When the grind is coarse, water flows through the gaps between particles with almost no resistance, skipping the slower diffusion process that extracts sugars and oils. The visual result is instant blonding. The stream turns pale yellow within 3 to 5 seconds. And a shot that finishes in 12 to 18 seconds instead of the target 25 to 30. If you see this pattern shot after shot, the grind is the first thing to adjust.
Dose issues show up differently. An underfilled basket (say, 15 grams in a basket designed for 18 to 20 grams) creates too much headspace, so the puck can’t build enough resistance to slow the water. The visual cue here is a thin, weak stream that lacks body from the start, combined with a loose or spongy puck after extraction. Sometimes you’ll see the puck “float” or shift during the shot if the dose is too low and the tamp didn’t compress it enough to stay anchored.
Tamp problems reveal themselves as channeling. If the tamp is uneven (tilted to one side or applied with inconsistent pressure), you’ll see jets, spray, or broken streams from a naked portafilter. A tamp that’s too light (well under 15 pounds of force) won’t consolidate the puck enough to prevent water from finding weak spots. The post‑shot puck will show the damage: holes, tunnels, or one side wetter than the other.
| Visual Clue | Likely Cause | First Fix |
|---|---|---|
| Instant blonding; gushing stream; finishes <18 seconds | Grind too coarse | Grind 1–3 steps finer |
| Thin, weak stream; loose puck; low yield | Dose too low (underfilled basket) | Increase dose by 0.5–2 g |
| Jets, spray, or broken stream; uneven wet puck | Uneven or light tamp | Re‑level grounds (WDT); tamp squarely at 15–30 lb |
Visual Signs of Machine or Pressure Problems That Mimic Under‑Extraction
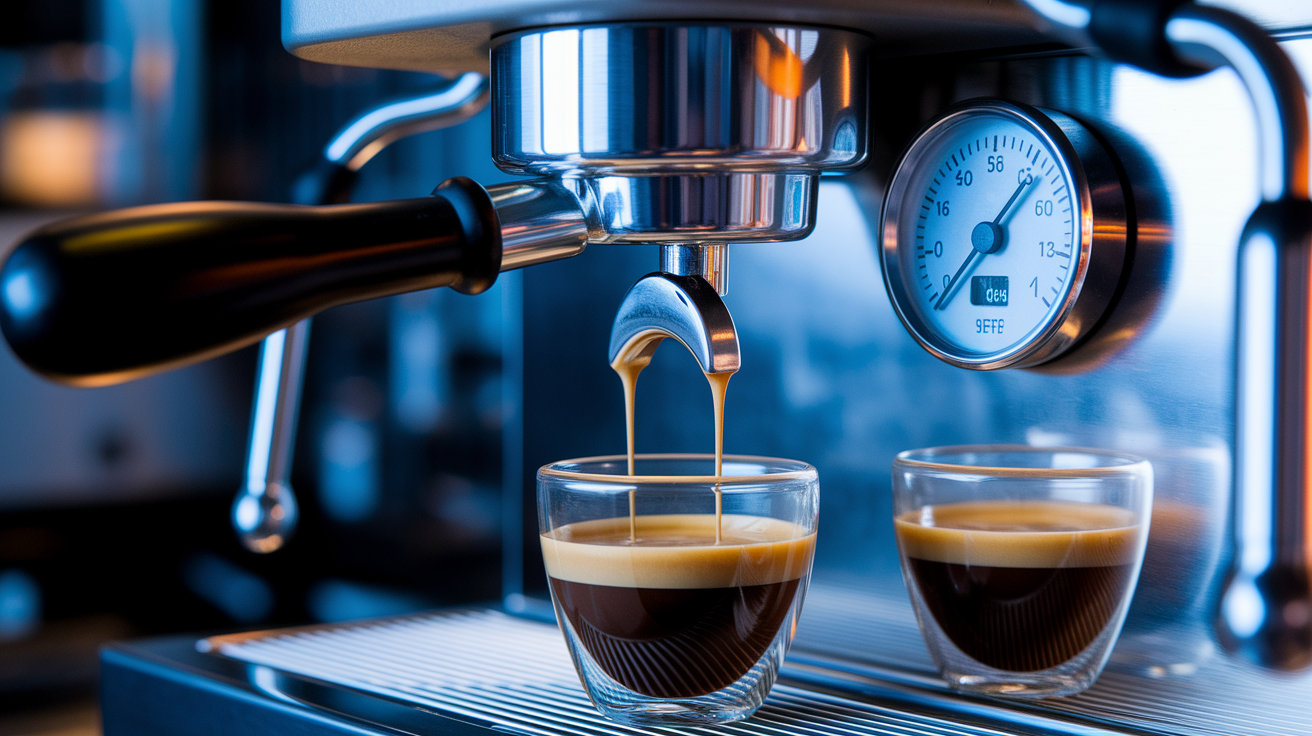
Sometimes the grind, dose, and tamp are all correct, but the shot still runs fast and pale. That’s when you need to check the machine. If the pump is delivering less than 8 to 9 bar of pressure during extraction, water won’t have enough force to diffuse properly through the puck, even if the grind is fine and the puck is well‑prepared. The visual symptom is a weak, thin stream that never thickens into syrup. It stays watery from start to finish, and the crema looks anemic no matter how fresh the beans are.
Pressure drops can also appear mid‑shot. You might see the stream start thick and dark, then suddenly thin out and turn pale around the 10 to 12 second mark as pressure sags. This can happen if the pump is struggling, the over‑pressure valve (OPV) is set too low, or there’s a blockage in the group head or shower screen. Cavitation (when the pump pulls air instead of water) produces a sputtering, inconsistent flow that looks more like a faucet with a damaged aerator than a steady espresso pour. If you see any of these behaviors and your puck prep is solid, the issue is mechanical, not technique.
How to Perform a Visual Diagnostic Test Using a Bottomless Portafilter
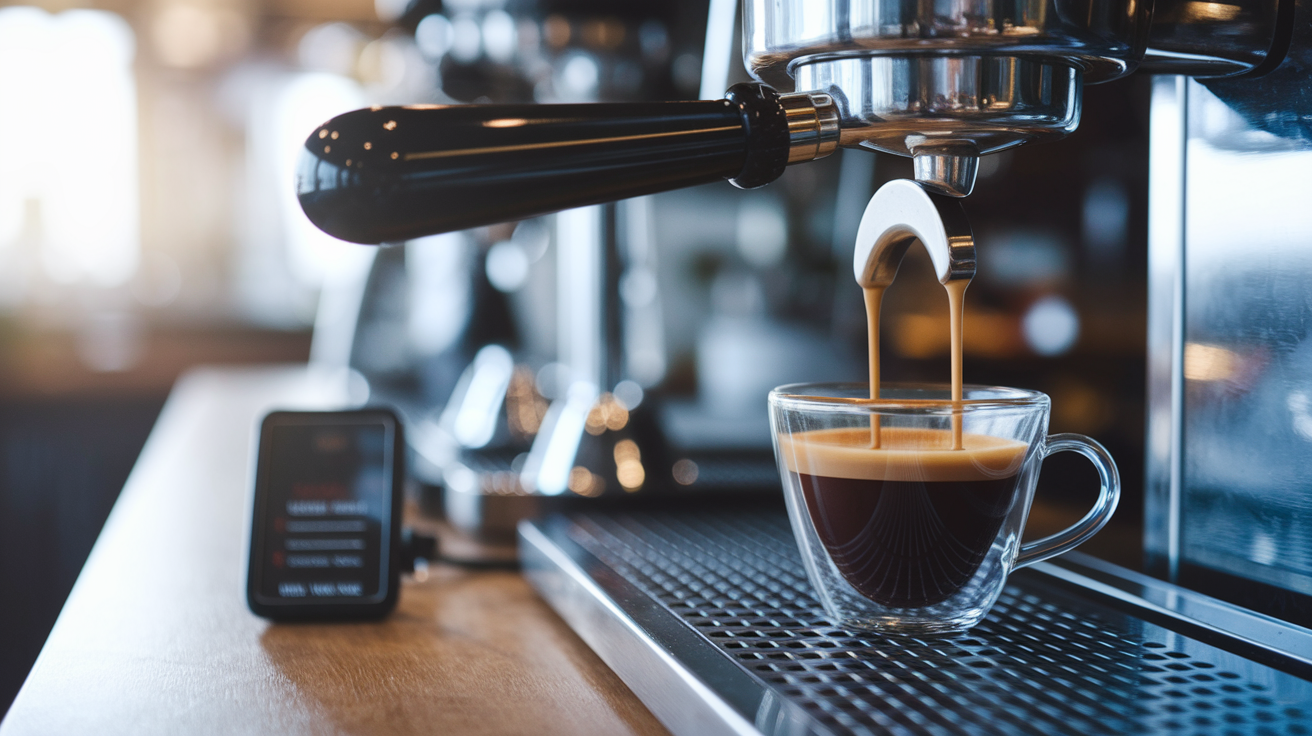
A naked portafilter is the fastest way to see exactly what’s happening during extraction. And recording the shot on your phone makes it easy to review frame by frame. Set up your phone on a small stand or prop it against something stable so the camera captures the underside of the portafilter and the cup. Start recording before you hit the brew button, and let it run for the full 30 to 40 seconds so you have a complete record of the shot from first drip to finish.
Follow this step by step visual test sequence:
- Dose, distribute, and tamp as you normally would, using your current grind setting and dose weight.
- Lock the portafilter in and start the timer as soon as you press the brew button.
- Watch the first 3 to 5 seconds closely. The initial flow should be dark syrup, not pale or translucent.
- Observe color changes every 5 seconds. Note when the stream lightens and whether it stays thick or turns watery.
- Look for jets, spray, or broken streams that signal channeling, and count how many separate spouts form.
- Stop the shot and inspect the puck immediately. Knock it out and check for holes, wet patches, or loose structure.
After the test, review the video in slow motion. Look for the exact second when the stream turns blonde, whether the flow is steady or turbulent, and how long it takes for the shot to finish. Slow motion playback often reveals subtle channeling or pressure fluctuations that are hard to catch in real time. If the video shows pale crema and a gushing stream within the first 5 seconds, you know the problem is grind, dose, or distribution. Not the machine or beans.
Visual‑Driven Corrective Actions for Too‑Fast Under‑Extracted Shots
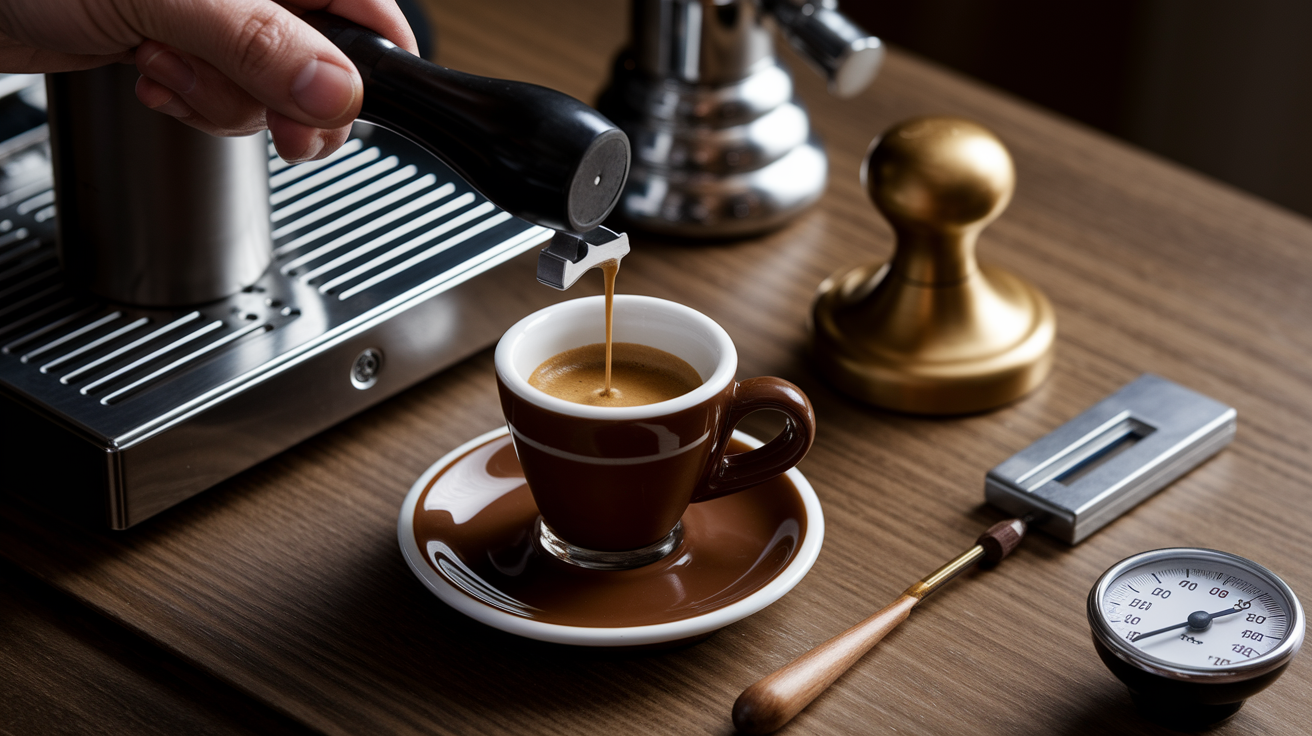
Once you’ve identified the visual cues (pale crema, watery stream, early blonding, or channeling jets), the next step is to translate each symptom into a specific adjustment. The fastest and most effective fix for a gushing, under‑extracted shot is to grind finer. Move your grinder 1 to 3 steps (or clicks) finer and pull another test shot. You should see the stream darken, the flow slow down, and the extraction time increase by several seconds. If the shot still finishes under 20 seconds and the crema is pale, go another step finer and retest.
If grinding finer improves the color and time but the puck still shows channeling (jets or holes), the problem is distribution or tamp. Use a WDT tool (Weiss Distribution Technique) to break up clumps and level the grounds before tamping. Make sure your tamp is square and consistent. Aim for 15 to 30 pounds of pressure, applied evenly across the entire puck surface. After improving distribution, pull another shot and watch the naked portafilter. The flow should be more uniform, with fewer jets and a smoother, thicker stream.
If the grind and distribution are dialed in but the shot is still sour and thin, check your brew temperature. Raise the machine temperature by 2 to 5°C (if adjustable) and retest. Higher temperatures extract more sugars and aromatics, which should shift the crema color toward chestnut brown and reduce the sour, acidic notes. Finally, verify that your pump is delivering 9 bar of pressure during extraction. If the gauge reads under 8 bar, the machine needs service or an OPV adjustment. No amount of grind or dose tweaking will fix a pressure problem.
Here’s the adjustment sequence to follow when you see too‑fast, under‑extracted visuals:
- Grind finer by 1 to 3 steps and retest. Watch for darker stream and slower finish time.
- Improve puck prep (WDT + level tamp) if channeling persists after grind adjustment.
- Increase dose by 0.5 to 2 grams if the shot is still finishing too fast despite finer grind.
- Raise brew temperature by 2 to 5°C if the shot tastes sour even with correct time and color.
- Check machine pressure (target around 9 bar) and clean the group head, shower screen, and basket if flow is weak or uneven.
Final Words
See a thin, pale stream and the shot ends under 20 seconds? That’s a fast, under-extracted pull—visual and quick to spot.
You’ve got the color timeline vs ideal, crema texture cues, channeling and puck checks, grinder/dose/tamp and machine signs, a bottomless-portafilter test, and stepwise fixes to try.
Now film one shot, check the visuals, change only one thing, and taste. Using the visual cues that indicate too-fast underextracted shots will help you pull more balanced, repeatable shots fast.
FAQ
Q: What to do if extraction is too fast and what will happen if the espresso extraction process is too fast?
A: If extraction is too fast the shot will taste sour, thin, and show pale, blond crema; fix it by grinding finer, raising dose slightly, improving distribution/tamp, or checking machine pressure (aim for ~20–30 seconds).
Q: What is the 15-15-15 rule for coffee?
A: The 15-15-15 rule for coffee is a simple pour-over start: 15 g coffee, wet with 15 g water for bloom, wait 15 seconds, then continue pouring to your brew weight.
Q: How to know if espresso is over or under extracted?
A: You know extraction quality by taste, timing, and look: under-extracted = sour, fast (<20 s), pale crema; over-extracted = bitter, slow (>30 s), very dark, syrupy or hollow mouthfeel.