

What if your inconsistent shot time comes down to how you distribute the grounds and how you tamp?
Small shifts in distribution or an angled tamp let water find weak spots, draining a shot in seconds while other areas stay dry.
Standardizing a full-depth WDT (needles that stir through the bed) routine and one firm, repeatable tamp will tighten shot-time swings, cut channeling, and make grind and dose changes actually mean something.
Read on for a single, testable workflow you can practice between pulls and confirm with seconds and grams.
Core Workflow Principles for Stabilizing Shot Time Through Distribution and Tamping

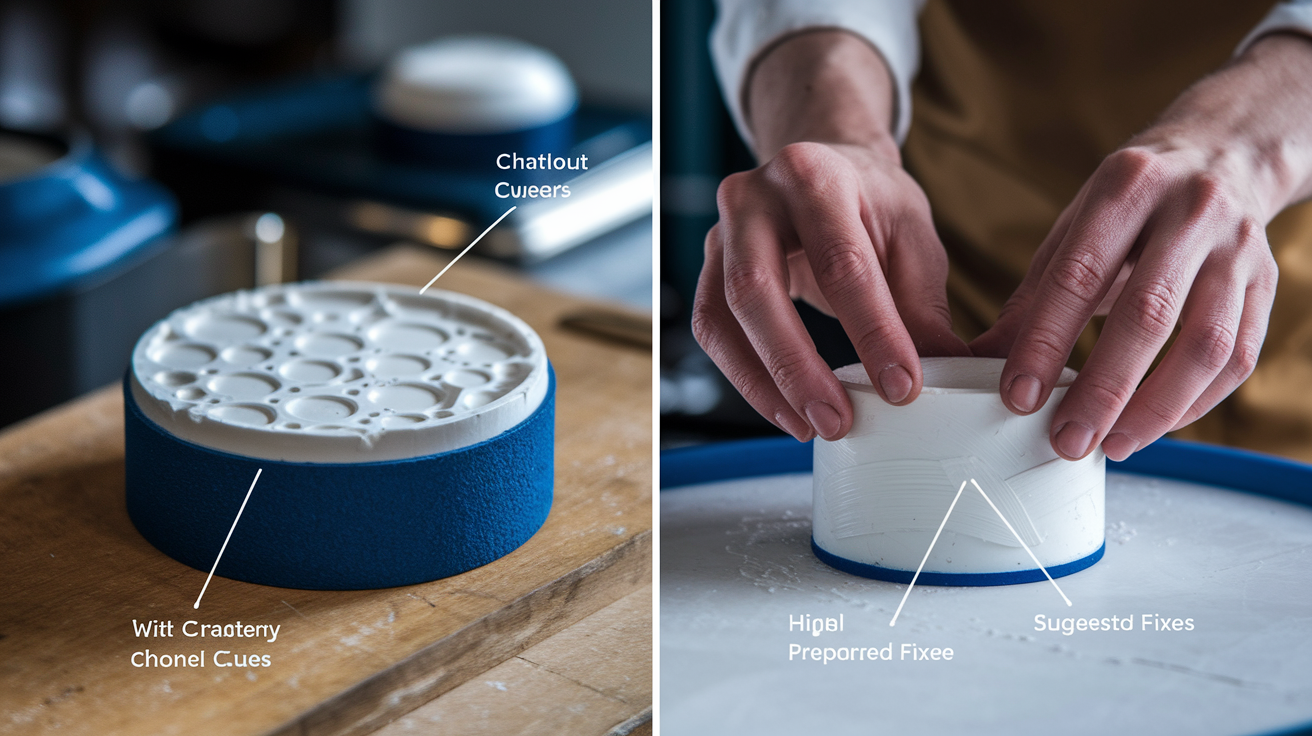
Distribution evens out particle density across your basket and breaks up clumps that would otherwise turn into channels. When grounds sit in clusters or uneven piles, water finds the path of least resistance and rushes through thin spots while leaving dense areas under-extracted. WDT needles stir from the top of the bed all the way down to the basket floor, breaking apart clumps and redistributing particles side to side. That full-depth reach makes it more effective than surface-only methods like tapping or finger leveling.
Tamping compresses the bed into a uniform puck and creates headspace between the coffee and the grouphead screen. A level tamp means water meets the same resistance across the entire diameter. If the tamper sits at an angle, one side compacts more than the other, and flow accelerates on the looser side. Consistent pressure, usually around 30 pounds (13 to 14 kg), standardizes how tightly the puck is packed from shot to shot. An initial lighter press of about 15 pounds seats the grounds before the final tamp locks everything in place.
At roughly 9 bars of machine pressure, the puck is the only variable controlling flow rate. When you hold dose, grind, and temperature steady, shot-time variance almost always points back to uneven density or tamp inconsistency.
Four things stabilize shot time:
Dose consistency. Weigh to ±0.1 g. A single gram changes bed height and flow resistance.
Distribution uniformity. Use WDT or a leveler to get rid of clumps and density pockets.
Tamp levelness. Keep the tamper flush with the basket rim. Don’t angle your pressure.
Tamp pressure consistency. Repeat the same force every pull. Calibrated tampers help remove guesswork.
Understanding Bed Density and How It Controls Espresso Flow Dynamics
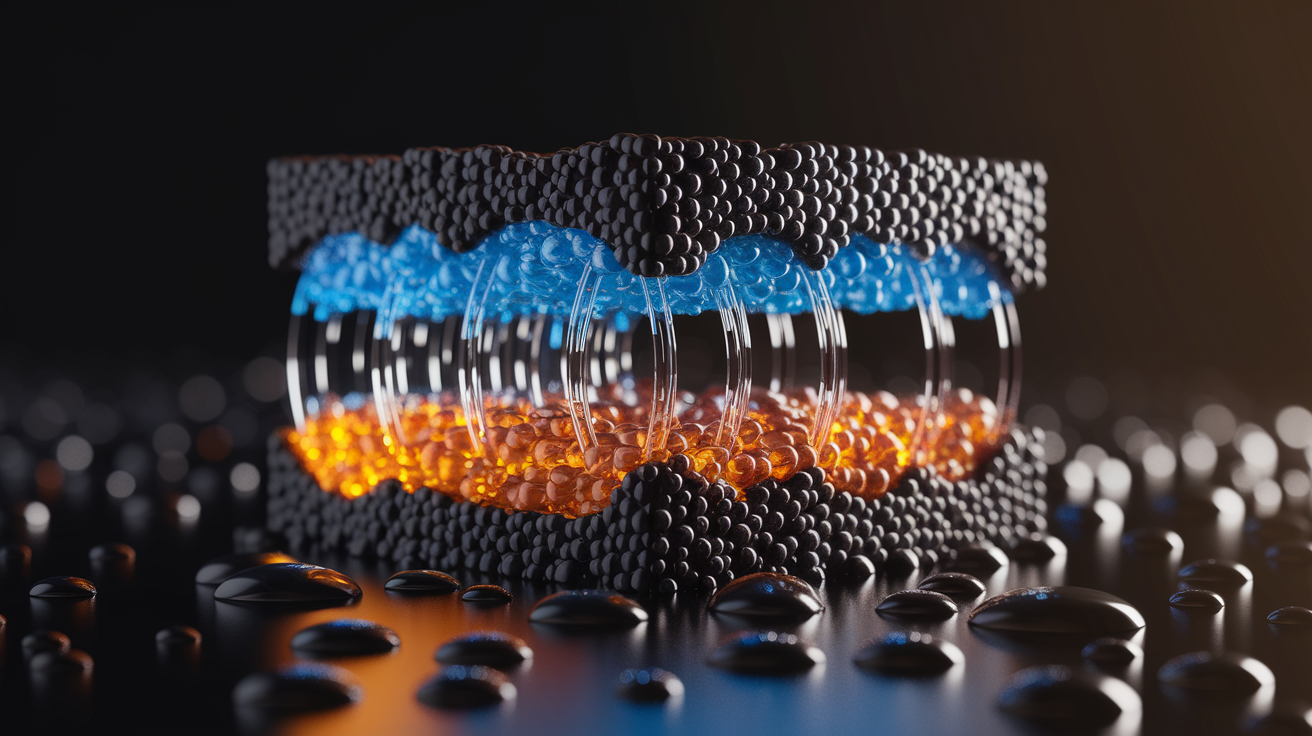
Permeability measures how easily water moves through the puck. Dense, clumped zones resist flow and force water to detour through neighboring looser areas. At 9 bars, the machine pushes the same volume of water every time, so if half the bed is tight and half is fluffy, flow splits unevenly. The loose half extracts fast and tastes sour. The tight half over-extracts and turns bitter. That simultaneous under and over-extraction is the signature of channeling.
Channeling appears when water tunnels through cracks or soft spots instead of percolating evenly. It happens because water always follows the path of least resistance. A single air pocket or sidewall gap can triple flow rate in that zone, draining the shot in seconds while leaving the rest of the puck dry. Dose sensitivity compounds the problem. Increasing the dose by just one gram raises the bed and tightens resistance. Dropping a gram does the opposite. That ±1 g swing changes shot time by several seconds if your distribution or tamp varies at the same time.
Extraction yield measures how much soluble material ends up in the cup. WDT and level tamping improve yield, especially with light roasts that are already prone to uneven flow. A stable, uniform bed lets you dial grind size and dose without fighting random channeling, so TDS and shot time stay predictable pull after pull.
Distribution Techniques That Improve Shot-Time Repeatability
Tapping settles grounds by vibrating the portafilter against your palm or the counter. It works well if your grinder drops a fluffy, even mound, but it won’t break up sticky clumps or reach particles at the basket floor. NSEW uses your index finger to push grounds from north, south, east, and west toward the center, leveling the surface. Stockfleth adds a rotation step after NSEW to smooth the bed further. Both are fast and require no tools, but they only rearrange the top layer.
WDT (Weiss Distribution Technique) stirs the entire depth with fine needles, typically five to eight thin pins arranged in a circle. The motion breaks apart clumps that grinders produce when beans bridge in the chute or static causes particles to stick together. Stirring top to bottom mixes high-density zones with low-density zones, so water sees uniform resistance across the whole diameter. Why are distribution and tamping important for espresso? explains that experts widely adopt WDT because it addresses channeling at the source, clump by clump.
A practical WDT routine looks like this:
- After dosing, place the WDT tool on top of the portafilter so needles reach the basket floor.
- Push down gently until the needles touch the bottom without scraping metal.
- Turn the handle five full rotations in one direction, then five rotations the opposite way.
- Lift the tool straight up and replace it on a cleaning base. Push needles onto a brush to remove clinging grounds.
- Inspect the bed for an even, fluffy surface before tamping.
When your grinder produces minimal static and consistent particle size, tapping or NSEW may be enough. Single-dose grinders with anti-popcorning bellows often deliver clump-free doses that only need a light tap to settle. Darker roasts also compact more easily and show fewer clumps than light roasts. But if you see sidewall gaps, uneven flow, or taste mixed extraction, switch to WDT. The needle reach solves problems that surface leveling can’t touch.
Building a Repeatable Tamp Technique for Stable Shot Times
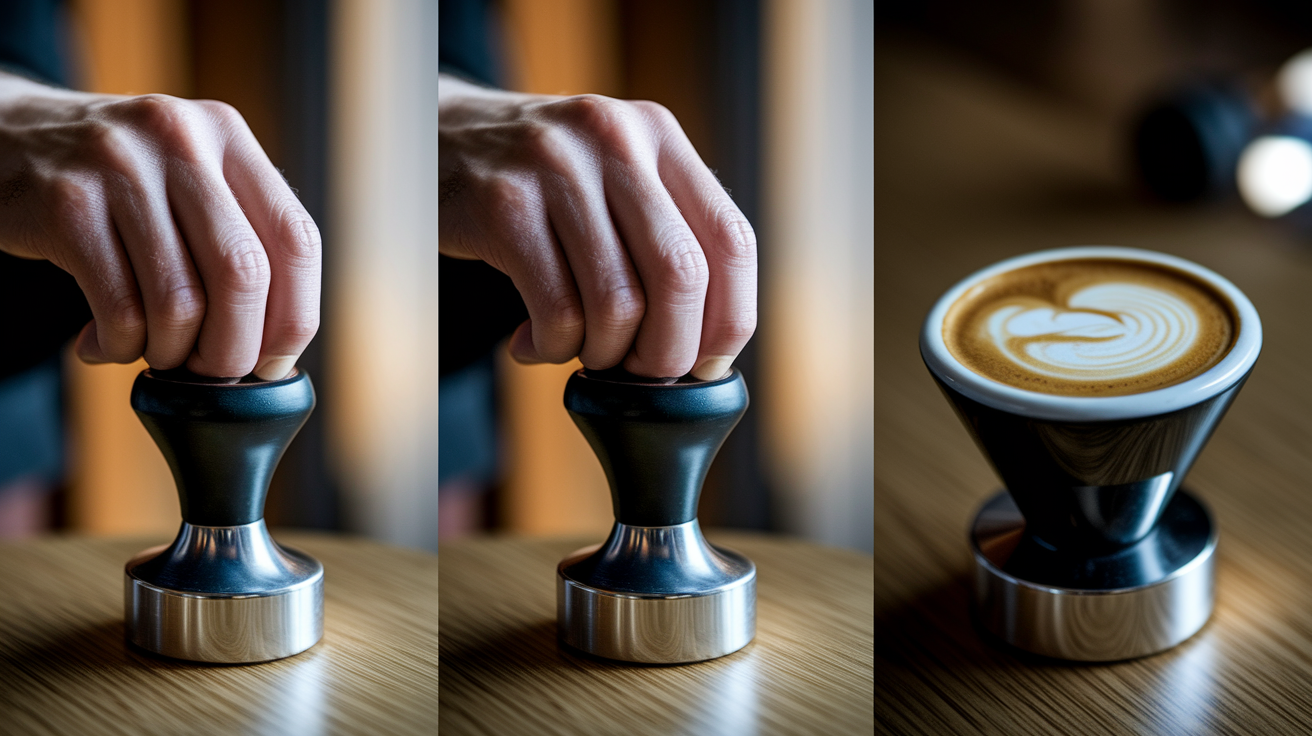
Hold the tamper like a handshake, with your thumb and index finger resting lightly on the base to feel when it sits flush against the basket rim. Keep your wrist straight and position your elbow at about 90 degrees, shoulder centered over the portafilter. Press straight down without tilting. An angled tamp compresses one side more than the other, and water accelerates through the looser zone within the first few seconds of preinfusion.
Double tamping disturbs the puck you just built. After the first press, particles have already interlocked, and a second push can crack the surface or create new density gaps. One firm, consistent tamp is cleaner and more repeatable. If you want to smooth the top, a gentle twist after you release pressure will polish the surface without shifting the bed.
How to Tamp Espresso recommends an initial press of around 15 pounds to seat the grounds and form the puck, followed by a full tamp at roughly 30 pounds to lock in the final density. Those numbers are guidelines, not absolutes. What matters more is hitting the same pressure every time so bed resistance stays constant.
Tamping Cadence and Pressure Repeatability
A calibrated tamper clicks or stops when you reach the preset force, usually set near 30 pounds. That built-in limit removes guesswork and speeds up high-volume workflows. Without calibration, track your motion by feel. Press until you sense the bed stop compressing, then release. That endpoint feels like a slight rebound in the tamper handle.
Practice on a bathroom scale if you want to learn what 30 pounds feels like. Stand on the scale, note your weight, then press the tamper into your palm while watching the number drop. When it falls by 30 pounds, memorize the sensation in your wrist and shoulder. Repeat that same press at the espresso machine.
Inconsistent pressure causes shot-time drift even when dose and grind stay locked. A 20-pound tamp one pull and a 40-pound tamp the next changes puck density enough to shift extraction time by several seconds. Calibrated tampers flatten that variability and let you focus on distribution and grind adjustments instead of second-guessing your tamp.
Tools That Standardize Distribution and Tamping
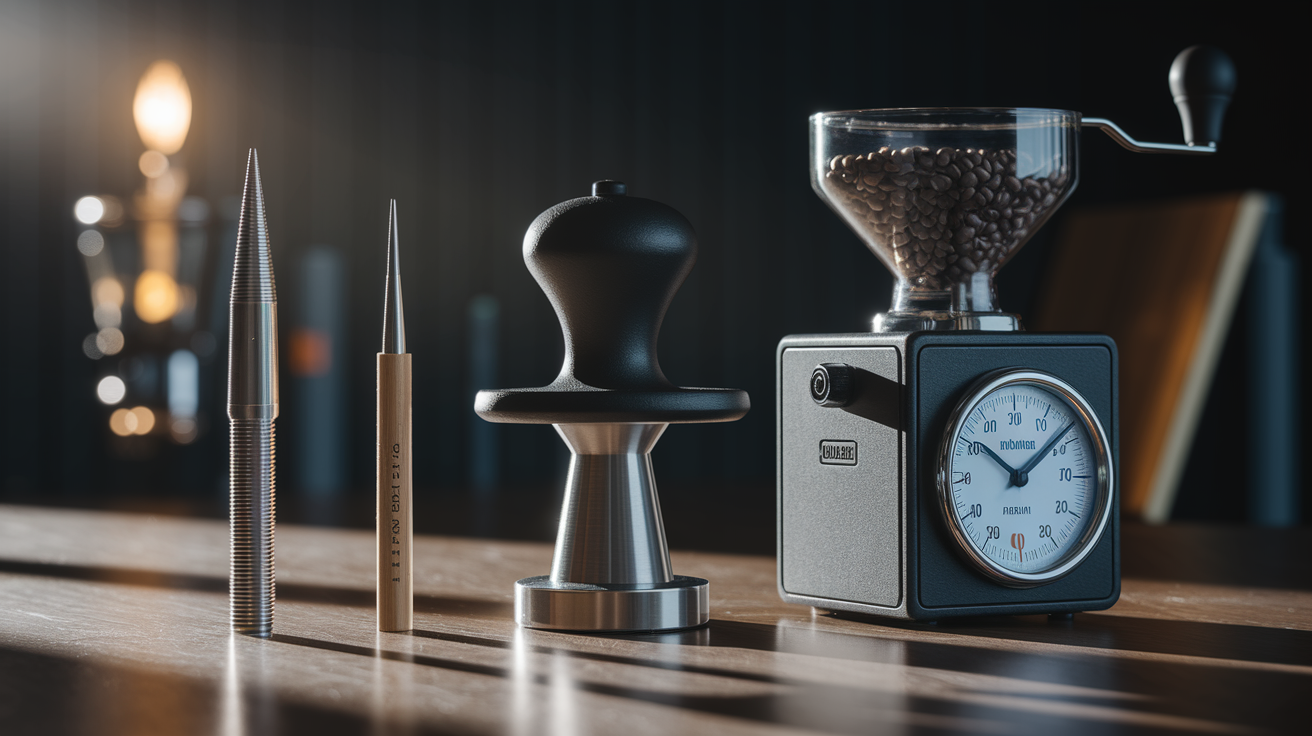
Replaceable-needle WDT tools let you swap individual pins if one bends or breaks, and adjustable needles accommodate different portafilter depths without scraping the basket. The Duomo the Tamper, a two-in-one WDT and tamper design, won the 2022 SCA Best New Product Award for combining distribution and compression in a single motion. Duomo the Eight, with eight needles, appeared at several 2022 World Barista Championship tables because competitors valued the extra needle coverage for fast, thorough stirring.
Calibrated tampers use a spring mechanism to apply the same force every time. Most click or stop at around 30 pounds, removing pressure variability from the workflow. Guide-collar tampers sit inside a ring that keeps the base perfectly level, so even a beginner can tamp without tilting. Single-dose grinders like the Niche Zero and Niche Duo reduce retention to near zero, so every dose is fresh and the weight you dial is the weight that lands in the basket. Pair that with a scale accurate to ±0.1 grams, and dose consistency becomes automatic.
| Tool Type | Function | Effect on Shot-Time Stability |
|---|---|---|
| WDT with adjustable needles | Breaks clumps and evens density top-to-bottom | Eliminates channeling; tightens shot-time range by 3 to 5 seconds |
| Calibrated tamper | Applies consistent pressure via spring stop | Removes human pressure variance; repeatable puck resistance |
| Single-dose grinder + scale | Delivers exact dose with minimal retention | Locks bed height; stabilizes baseline flow rate |
Levelers and palm-twist distribution tools smooth the surface and can replace NSEW in a fast workflow, but they don’t reach clumps at the basket floor. Use them when your grinder already produces fluffy, even grounds and you want to shave a few seconds off prep time.
Troubleshooting Shot-Time Instability Through Puck Preparation
Channeling shows up as sidewall jets, spray patterns, or wildly inconsistent extraction times even when dose and grind stay the same. You might also taste sour and bitter notes in the same cup, a sign that some zones under-extracted while others over-extracted. Visual inspection after knocking out the puck can reveal craters, uneven depth, or grounds stuck to one side of the basket.
Fixes start with re-distribution. Run WDT or NSEW again, check for clumps caused by grinder static, and confirm the basket rim is clean so grounds don’t create a sidewall gap. Re-tamp with level, consistent pressure and verify you left adequate headspace so the puck doesn’t contact the grouphead screen. If the problem persists, adjust dose by 0.5 to 1 gram or nudge grind size slightly coarser or finer, then re-test.
Common troubleshooting cues:
Shot gushes from one side. Likely tilted tamp or uneven distribution. Clean the rim, WDT, and re-tamp level.
Slow dribble, bitter taste. Possible overcompaction or too-fine grind. Reduce dose 0.5 g or coarsen grind. Confirm single consistent tamp.
Spray or holes during extraction. Clumps or air pockets. Use WDT, pre-tamp shake, or leveler before tamping.
Weak, watery shot. Under-tamping or too-coarse grind. Increase tamp consistency to target pressure and check grind setting.
Uneven spent puck. Angled tamp or poor distribution. Rework WDT motion and practice vertical tamping.
Shot time jumps ±5 seconds pull-to-pull. Inconsistent tamp pressure or skipped distribution step. Adopt calibrated tamper or stricter routine.
Standard Operating Procedure for Repeatable Distribution and Tamp
Weigh every dose to within ±0.1 grams using a scale with a timer. Single-dose grinders make this faster because they deliver the dialed weight with almost no retention, so you’re not chasing stale grounds from the previous shot. Tare the portafilter on the scale, grind directly into the basket, and confirm the readout matches your target before moving to distribution.
Standardize your distribution sequence. If you’re using WDT, place the tool on the basket, push needles to the floor, turn five rotations clockwise, then five counterclockwise, and lift straight up. If you prefer NSEW or Stockfleth, complete the full motion every time in the same order. Inconsistent distribution leaves random density pockets that tamp can’t fix.
A seven-step SOP routine:
- Tare the portafilter on the scale.
- Grind to target dose (for example, 18.0 g) and confirm weight.
- Distribute using WDT: five turns each direction, or NSEW + rotation if no tool.
- Initial tamp at around 15 pounds to seat the puck.
- Full tamp at around 30 pounds with straight wrist and level pressure. Don’t double tamp.
- Wipe the basket rim clean and inspect for even surface.
- Insert portafilter, start timer, and pull shot. Record yield, time, and any visual cues.
Clean the basket rim before locking in. Stray grounds on the rim create micro-channels where water leaks around the puck edge instead of flowing through the bed. That sidewall bypass is one of the fastest ways to destabilize shot time.
Shot-Time Data Logging and Continuous Improvement

Log grind size, dose weight, extraction time, and yield weight after every shot during dialing. Note any changes to distribution method, tamp pressure, or water temperature. Patterns emerge fast. If shot time drifts up over three pulls, check whether you’ve been skipping WDT or lightening tamp pressure without realizing it. If time suddenly drops, inspect for a coarser grind setting or a lower dose.
Acceptable shot-time tolerance tightens once you’ve standardized puck prep. Before locking in WDT and calibrated tamp, you might see ±8 seconds of variation. After standardizing, that window can shrink to ±2 seconds for the same dose and grind. Track your range over a week and use it as a quality-control benchmark. When a shot falls outside that window, you know something in the workflow changed.
Simple logging metrics:
Grind setting (dial number or qualitative note like “two clicks finer”)
Dose weight (grams, ±0.1 g)
Extraction time (seconds from pump start to target yield)
Yield weight (grams of liquid espresso)
Connect sensory notes with flow data. If a shot tastes balanced and the time sits at 28 seconds, note that as your baseline. When the next shot runs 24 seconds and tastes sour, you have a reference point: either grind finer, increase dose slightly, or check whether distribution was skipped. Data review becomes a feedback loop. Taste tells you what to fix. The numbers tell you which variable moved.
Final Words
Weigh your dose, run a full-depth WDT to break clumps, seat the puck, then tamp level at about 30 lb.
This post showed how even distribution stops density pockets and channeling, why a level, consistent tamp sets predictable flow resistance, which tools help, and how a simple SOP plus logging tightens shot variance.
Make one change at a time, record time and taste, and trust the process. Standardizing distribution and tamp technique to stabilize shot time is the fastest route to steadier, fewer-waste shots and more consistent espresso.
FAQ
Q: Does tamping too hard cause channeling?
A: Tamping too hard can cause channeling by overcompacting the puck and creating uneven density or tiny cracks. Aim for a level tamp around 30 lb with an initial 15 lb puck-set and focus on good distribution first.
Q: How should tamping be done and how do I ensure even tamping?
A: Tamping should follow proper distribution: seat the puck with about 15 lb, then tamp level at ~30 lb with a straight wrist. Use a calibrated tamper or guide collar and clean the basket rim.
Q: Can you tamp espresso twice?
A: Tamping twice is not recommended; use a single seat (≈15 lb) then one final tamp (≈30 lb). Double-tamping can disturb density and increase channeling risk—an optional light polish twist is enough.