

What if pressure matters more than your grinder?
Pressure profiling can make the same dose taste like two different coffees.
It controls how fast water fights the puck, so it shifts which compounds extract and stretches or shrinks shot time.
This post shows how flat, declining, ramp and pre-infusion curves change timing and flavor, with clear numbers and simple checks.
Read on to learn one pressure tweak that gives sweeter body or brighter acidity, and how to measure whether it actually helped.
Core Relationship Between Pressure Profiles, Shot Time, and Flavor Outcomes
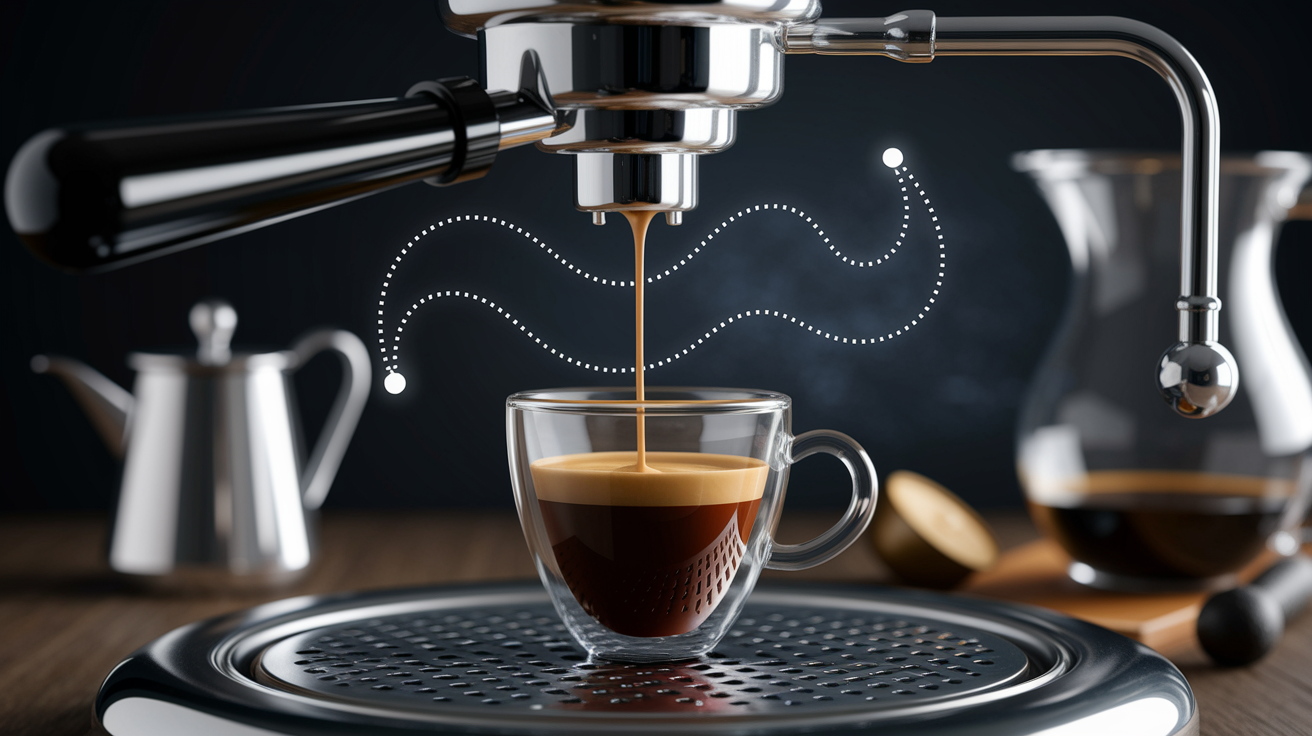
Pressure profiling changes shot time by controlling how fast water flows through the puck, and that flow speed decides which flavors end up in your cup. Higher pressure pushes water through faster, cutting contact time and pulling bright, acidic notes to the front. Lower pressure slows everything down, stretches extraction, and brings out sweetness, body, and deeper flavors. A flat 9-bar pull typically finishes in 25 to 30 seconds with an 18 g → 36 g recipe, and peak flow can hit around 2.2 ml/sec once the puck’s fully soaked. When you switch to a declining curve (like a lever-style profile that drops from 9 bar down to almost nothing), the slower tail can push total time to 30 or 35 seconds or more, giving you a thicker, syrupy body and softer acidity.
The link is straightforward: pressure controls how water fights resistance in the puck, and time controls which compounds actually dissolve. Early on, acids and volatile aromatics extract fast no matter what, but high pressure speeds that phase up and can overdo brightness if the shot runs too quick. Mid-extraction is where sugars dissolve and you build sweetness and body. Holding moderate pressure during this window (something like a 9→6 bar profile) balances clarity with fullness. Late in the shot, keeping pressure high can yank out harsh, bitter alkaloids, but dropping pressure late slows the tail and leaves those compounds behind. That’s why lever profiles and declining curves are known for cleaner, sweeter finishes.
Targeting 18 to 22 percent extraction yield means you need to match your pressure curve to grind and shot time. Lower end pressure usually means grinding finer to keep flow in range and hit your target yield without running forever. Raise pressure and you’ll probably need to coarsen the grind to avoid choking the shot or over-extracting. The pressure curve steers, but grind, dose, and time are the pedals. You have to coordinate all three to land where you want.
Flavor patterns tied to pressure changes:
- Constant high pressure (9 bar): brighter acidity, sharper top notes, moderate body, risk of late bitterness if time runs long.
- Declining pressure (9→0 or 9→6): slower late flow, more sweetness and syrupy mouthfeel, less astringency, softer acidity.
- Low-pressure pre-infusion (2 to 4 bar, 2 to 8 s): cleaner clarity, more uniform extraction, better aromatics and sweetness, slightly longer total time.
- Ramp-up (low to high over several seconds): bright, complex acidity up front, fuller mid-body, good for highlighting fruit and floral notes.
- Low steady pressure (6 to 7 bar): less bitterness, fuller texture, chocolatey sweetness, works well for dark roasts and milk drinks.
- Pulsed or stepped profiles: variable timing and extraction uniformity, can add complexity but need careful tuning to avoid uneven extraction.
Puck Structure and Saturation Dynamics That Influence Pressure Behavior
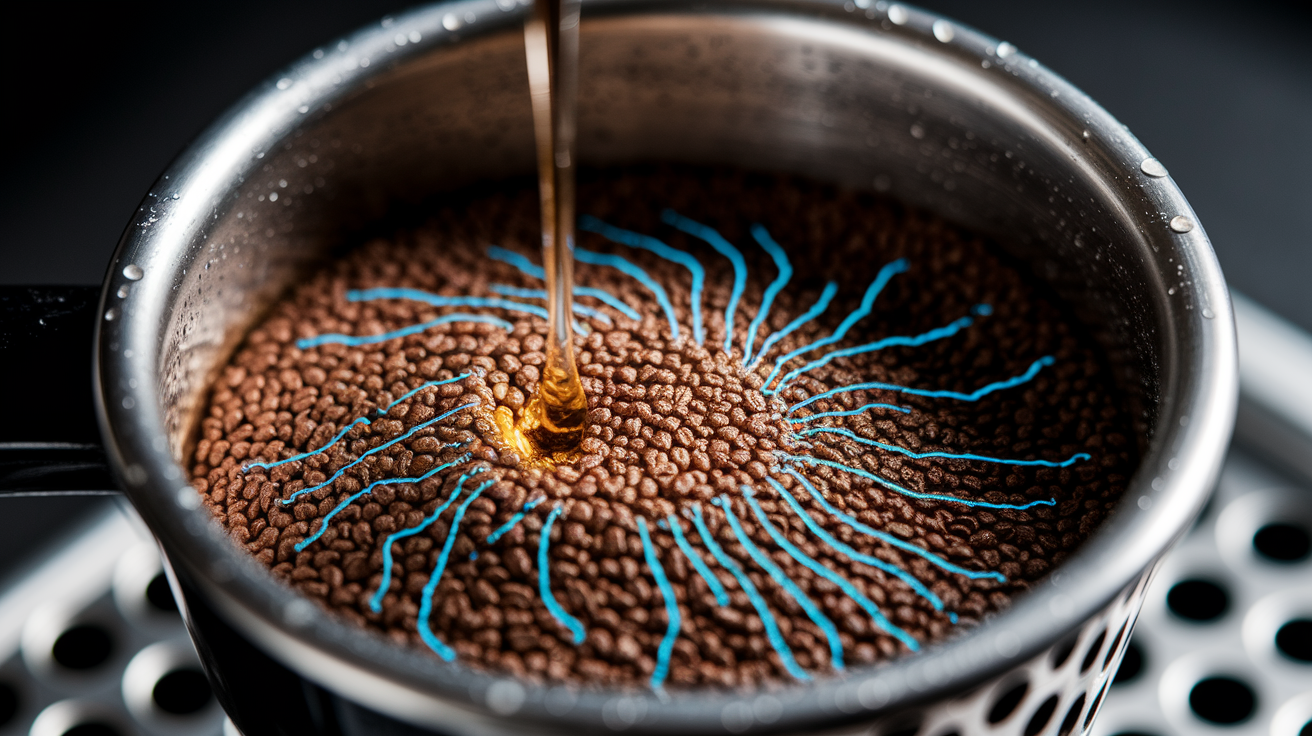
Water flows through the puck according to pressure and puck resistance, loosely described by principles like Darcy’s law. When you hit a fine, tightly packed puck with 9 bars, water rushes through any weak spot, which can cause channeling if distribution or tamping is uneven. Lower pressure at the start slows the initial flow and gives the whole puck time to saturate evenly, cutting the chance that water carves narrow channels. This is why pre-infusion at 2 to 4 bars helps: it wets the grounds uniformly before the main pressure kicks in.
Extraction happens in stages, and each stage reacts differently to pressure. Early compounds (acids and volatile aromatics) dissolve fast and dominate the first few seconds of flow regardless of pressure. Mid-stage extraction pulls sugars and compounds that build body and sweetness. This phase benefits from sustained, moderate contact time under controlled pressure. Late-stage extraction can pull bitter alkaloids and phenolics if pressure stays high and flow continues too long. Adjusting the pressure curve lets you dial up or down each phase without changing the coffee itself.
Puck Saturation Timing
Pre-infusion timing determines how evenly the puck wets before full pressure arrives. A typical window runs 2 to 4 bars for 2 to 8 seconds, long enough to saturate the grounds but short enough to avoid stalling extraction or flooding the basket. Pre-infuse too long (say, more than 10 seconds at low pressure) and you risk waterlogging the puck and diluting the shot without meaningful extraction. Skip pre-infusion entirely and jump straight to 9 bars, and uneven saturation often causes spritzing in bottomless portafilters and increases the chance of sour or thin shots. The goal is giving the puck a soft start so the main pressure phase extracts evenly across the entire bed.
Timing Behaviors of Specific Pressure Profile Shapes
A flat 9-bar profile is the most predictable for timing: once the puck saturates and flow stabilizes, the shot typically finishes in 25 to 30 seconds for an 18 g → 36 g recipe, assuming grind and tamp are dialed in. Flow starts slow during saturation, then ramps to a steady rate (often peaking near 2.2 ml/sec) before tapering slightly as the puck compacts. The flat pressure keeps the pace consistent, so you hit your yield target at a reliable time, which makes it easy to repeat and troubleshoot.
Declining pressure profiles, like lever-style shots that start at 9 bars and drop to near zero, shift timing in the opposite direction. The high initial pressure saturates the puck quickly and pulls the first grams fast, but as pressure declines, flow slows dramatically in the second half. Total extraction time often stretches to 30 or 35 seconds or longer, even with the same grind and dose you’d use for a flat profile. That slower tail is what builds the thick, syrupy body and reduces late bitterness. Water isn’t rushing through the spent puck under high force at the end.
Timing traits by profile shape:
- Flat (constant 9 bar): predictable 25 to 30 s window, steady mid-stage flow, easy to dial in and repeat.
- Declining (9→0 or 9→6): slower late flow, total time often 30 to 35+ s, thicker mouthfeel, less late extraction harshness.
- Ramp-up (low to high): delayed first-drip time, slower early flow, total time variable depending on ramp duration and peak pressure, often 28 to 32 s.
- Pulsed/stepped: inconsistent timing if steps are too abrupt, total time depends on step durations, requires fine-tuning to avoid under or over-extraction in individual phases.
Flavor Shifts Created by Pressure Profiles at Each Extraction Stage
Pressure changes flavor by shifting which extraction-stage compounds dominate the cup. A constant 9-bar profile pulls the early and middle stages evenly, producing bright acidity, clear top notes, and moderate sweetness. Run it too long or grind too fine, and the late stage over-extracts and adds harsh bitterness. A lever-style profile that declines from 9 bars to near zero front-loads the extraction, pulling acids and aromatics quickly at high pressure, then slows the middle and late stages as pressure drops. The result is syrupy, full body with softer acidity and a cleaner, less astringent finish. Those late bitter compounds stay in the puck because flow slows to a crawl.
A hybrid 9→6 bar profile, like one of the three-step profiles often used on DE1 machines, strikes a middle ground. The initial 9-bar phase extracts brightness and clarity, the decline to 6 bars slows late flow enough to build body and sweetness, and the moderate end pressure avoids the over-extraction harshness of a full flat 9-bar shot that runs too long. Users report balanced acidity, fuller body, and more complex aroma (nutty, fruity, and slightly chocolatey notes all present without one taking over). Low-pressure pre-infusion at 2 to 4 bars for a few seconds before any of these main profiles increases clarity and sweetness by improving puck saturation and reducing channeling, which otherwise would pull sour, thin streams alongside bitter channels.
| Pressure Pattern | Acidity | Body | Sweetness | Bitterness |
|---|---|---|---|---|
| Flat 9 bar | Bright, sharp | Moderate | Moderate | Risk if time too long |
| Declining (9→0) | Muted | Thick, syrupy | High | Low, clean finish |
| Hybrid (9→6) | Balanced | Fuller | High | Low, complex aroma |
| Low steady (6 to 7 bar) | Subdued | Full, round | High, chocolatey | Very low |
| Ramp-up (2 to 4→9 bar) | Very bright | Light to moderate | Moderate to high | Low if stopped on time |
Practical Pressure Profile Examples With Numeric Pressure and Time Templates
Profile A: Declining Lever-Style for Sweetness and Body
Start with a 3-second pre-infusion at 2 bars, then ramp to 9 bars and hold for 10 seconds. After that, decline linearly to 4 bars over the next 15 seconds, then stop. With an 18 g dose and target yield of 36 to 40 g, expect total time around 33 seconds. Brew temperature should sit between 88°C and 92°C depending on roast level. Darker beans toward 88°C, lighter toward 92°C. This profile pulls sweetness and syrupy body while cutting late bitterness. The slow decline keeps flow gentle in the final phase, leaving harsh compounds behind in the puck.
Profile B: Ramp-Up for Brightness and Clarity
Pre-infuse at 2 bars for 3 seconds, then ramp pressure steadily from 2 bars to 7 bars over 6 seconds. Hold 7 bars for the remaining 20 seconds. Dose 18 g, target 34 g yield, total time around 29 seconds. This profile pulls bright acidity and clear top notes without the heavy body of a declining curve. The slower ramp-up gives the puck time to saturate evenly before peak pressure, reducing channeling and improving clarity. Flavor tends toward floral, fruity, or citrus notes if the beans carry them. This is a “spotlight” profile that highlights whatever’s already in the coffee.
Profile C: Low Steady Pressure for Dark Roasts
Pre-infuse at 2 bars for 2 seconds, then hold 6 to 7 bars for 18 to 22 seconds. Dose 18 g, target 30 to 34 g yield, total time around 20 to 25 seconds. Lower pressure reduces bitterness and astringency, which makes this profile good for dark roasts that can taste harsh at 9 bars. The shorter time and lower pressure pull chocolatey, sweet notes and fuller mouthfeel without over-extracting. Brew temperature can drop to 88°C to further tame roast bitterness. This profile also works well for milk drinks, where you want a smooth, full-bodied base that won’t turn sour or thin under steamed milk.
Roast-Level Guidance for Choosing Effective Pressure Curves
Light roasts benefit from pressure curves that moderate late-stage extraction to avoid harsh, vegetal bitterness while still pulling the sugars and aromatics that make them interesting. A declining profile (starting at 7 to 9 bars then dropping to 4 to 5 bars late) works well because it front-loads acidity and brightness, then slows the tail to build sweetness without over-extracting. Expect longer shot times, often 28 to 36 seconds, and aim for a yield ratio around 1:2 to 1:2.2 (18 g → 36 to 40 g). Brew temperature for light roasts typically runs higher, near 92°C, to improve solubility without relying on brute pressure.
Medium roasts are the most forgiving and respond well to flat 9-bar profiles or gentle ramps. A simple pre-infusion at 2 to 4 bars for 3 to 5 seconds followed by a steady 8 to 9 bars for 24 to 30 seconds hits the sweet spot: balanced acidity, good body, and clean sweetness. Medium roasts don’t need aggressive declines or low-pressure tricks because they’re already developed enough to extract cleanly under standard pressure. Brew temperature sits in the middle of the range, around 90°C, and shot time falls into the classic 25 to 30 second window with a 1:2 ratio.
Dark roasts do best with lower, steady pressure (6 to 7 bars held for 18 to 24 seconds) to avoid pulling excessive bitterness and astringency. A shorter yield ratio, like 1:1.5 to 1:1.8 (18 g → 27 to 32 g), keeps the shot concentrated and sweet without the muddy, over-extracted tail that comes from running too long at high pressure. Brew temperature drops to 88°C or slightly below to further tame roast harshness. Dark roasts also respond well to declining profiles if you want more body, but a flat low-pressure profile is simpler and more repeatable for daily use.
Roast-specific profile quick reference:
- Light roasts: declining 9→4 bar, 28 to 36 s, 1:2 to 1:2.2 ratio, 92°C brew temp, pulls brightness and sweetness.
- Medium roasts: flat 8 to 9 bar, 24 to 30 s, 1:2 ratio, 90°C, balanced acidity and body, easy to dial in.
- Dark roasts: low steady 6 to 7 bar, 18 to 24 s, 1:1.5 to 1:1.8 ratio, 88°C, less bitterness, chocolatey sweetness, works great in milk.
Interpreting Pressure and Flow Graphs for Tuning Shot Time and Flavor

A pressure-versus-time graph shows the shape of your profile and where timing issues appear. Plot time in seconds on the x-axis and pressure in bars on the y-axis. A flat 9-bar profile looks like a horizontal line after pre-infusion, a declining lever profile slopes downward after the peak, and a ramp-up profile climbs from low to high before flattening or declining. If your graph shows a spike or sudden drop, that’s usually channeling or an equipment issue. Pressure should change smoothly unless you’ve programmed an abrupt step.
Flow-versus-time (or cumulative-yield-versus-time) graphs tell you how fast water is moving through the puck at each moment. Flow typically mirrors pressure: high-pressure sections produce steeper slopes in cumulative yield, low-pressure sections flatten the curve. If you see a sudden jump in flow rate (like going from 1 ml/sec to 3 ml/sec in a second or two), that’s channeling, and the shot will taste thin and sour in spots, bitter in others. A smooth, gradually increasing flow that peaks around 2.2 ml/sec (as seen in some profiling demos) and then tapers slightly is what you’re after. Tracking time-to-10 g and time-to-20 g helps you pinpoint whether early extraction is too fast (under-wetting, channeling) or too slow (grind too fine, puck choking).
Recording these metrics across multiple shots lets you correlate pressure changes with flavor. If a shot tastes sour and the graph shows flow spiking early, you know to improve puck prep or adjust grind. If it tastes bitter and the graph shows high pressure holding too long at the tail, you know to either shorten the shot or lower end pressure. Target an extraction yield between 18 and 22 percent, measured with a refractometer if you have one, and use the graphs to see which part of the shot (early, mid, or late) needs adjustment.
| Graph Metric | What It Indicates | Typical Values |
|---|---|---|
| Pressure vs time (shape) | Profile fidelity, smooth ramps, presence of spikes/drops | Flat 9 bar, declining 9→4 bar, ramp 2→9 bar over 4 to 8 s |
| Peak flow rate | Maximum water speed through puck, correlates with grind/resistance | ~1.5 to 2.5 ml/sec; 2.2 ml/sec is common in well-dialed shots |
| Time to 10 g, 20 g | Early extraction pace, pre-infusion effectiveness | 10 g by ~8 to 12 s, 20 g by ~15 to 20 s (varies by profile) |
| Total yield and time | Extraction completeness, ratio adherence | 18 g → 36 g in 25 to 30 s (flat), 30 to 35 s (declining) |
Equipment Factors That Influence Pressure Stability and Profile Fidelity
Your machine’s pump type and control system determine how accurately it can follow a programmed pressure curve. Rotary pumps deliver smoother, more stable pressure and handle rapid ramps or declines better than vibratory pumps, which can struggle with fine control and introduce pulsing at low pressures. Machines with over-pressure valves (OPVs) typically regulate by bleeding excess pressure back to the tank, which works fine for flat profiles but makes precise declining curves harder because the valve can’t actively lower line pressure. It only limits the ceiling. Dedicated profiling machines like the Decent DE1 (hardware version 1.43 and later, with software updates planned through 2025) use closed-loop pressure transducers and fast solenoid valves to track and adjust pressure in real time, which is why they can execute complex multi-step profiles cleanly.
Temperature stability matters as much as pressure control because brew temperature directly affects solubility and extraction rate. Most profiling machines target a brew water window between 88°C and 92°C, adjustable by roast level. If your machine doesn’t hold temperature steady (say, it drifts by more than 2°C during the shot), you’ll see flavor shifts that you can’t attribute to pressure alone, which makes troubleshooting confusing. PID controllers help, but check that the temperature sensor sits close to the brew group, not just in the boiler. Lever machines naturally create declining pressure curves as spring force decreases, but they don’t offer electronic control, so you adjust by changing dose, grind, and basket size instead.
Key equipment considerations:
- Rotary pumps provide smoother pressure control than vibratory pumps, especially at low pressures and during ramps.
- OPV-regulated machines can hold a ceiling but struggle with active pressure declines mid-shot.
- Pressure gauge placement should be as close to the group as possible to reflect true puck pressure, not just pump output.
- PID temperature control must hold brew water within ±1 to 2°C for repeatable results; instability muddles pressure effects.
- Profiling firmware and hardware updates (e.g., DE1 software roadmap to 2025) continue to improve curve fidelity and real-time feedback.
Workflow, Dose, Grind, and Tamping Considerations When Profiling
When you change the end pressure of a profile, you almost always need to adjust grind to keep flow and shot time in a reasonable range. Lowering end pressure slows late-stage flow, so you may need to grind slightly coarser to prevent choking the shot or running too long. Raising end pressure speeds up the tail, which can push you into over-extraction if you don’t grind a bit finer to add resistance. Assuming you can swap pressure profiles without touching the grinder leads to wildly inconsistent shots. Some will gush, others will choke, and none will taste like the profile intended.
Dose and basket size interact with pressure in ways that aren’t always obvious. Smaller baskets (say, 15 g) create thinner pucks that saturate faster and offer less resistance, so high pressure can cause channeling more easily. Larger doses (20+ g) build more resistance, which can help stabilize flow under high pressure but may require longer pre-infusion to saturate evenly. Tamping consistency matters more when profiling because uneven tamp creates density variations that high pressure will exploit. Water finds the soft spots and rushes through, leaving dry patches. A level tamp and good distribution (WDT helps) are prerequisites. Pressure profiling magnifies prep mistakes rather than hiding them.
Pre-infusion is your first line of defense against channeling, but only within a useful range. A 2 to 8 second low-pressure soak (2 to 4 bars) wets the puck evenly and reduces the chance of dry pockets or cracks. Pre-infusing for more than 10 seconds at low pressure risks waterlogging the puck and diluting the shot without meaningful extraction. It’s too much soaking and not enough brewing. If you’re seeing spritzing or uneven flow even with pre-infusion, the problem is usually distribution or tamp, not the pressure curve itself.
Workflow checklist for pressure profiling:
- Adjust grind every time you change end pressure; lower end pressure often requires slightly coarser grind, higher end pressure finer.
- Use consistent, level tamping (any reasonable force, 15 to 30 lbs, matters less than evenness) and WDT to eliminate clumps.
- Keep pre-infusion in the 2 to 8 second window at 2 to 4 bars; longer soaks usually don’t improve extraction and can dilute the shot.
- Match dose to basket size and avoid overfilling; a 17 to 19 g dose in an 18 g basket is more forgiving than cramming 20+ g into the same basket.
Pressure-Profile Troubleshooting and Common Mistakes
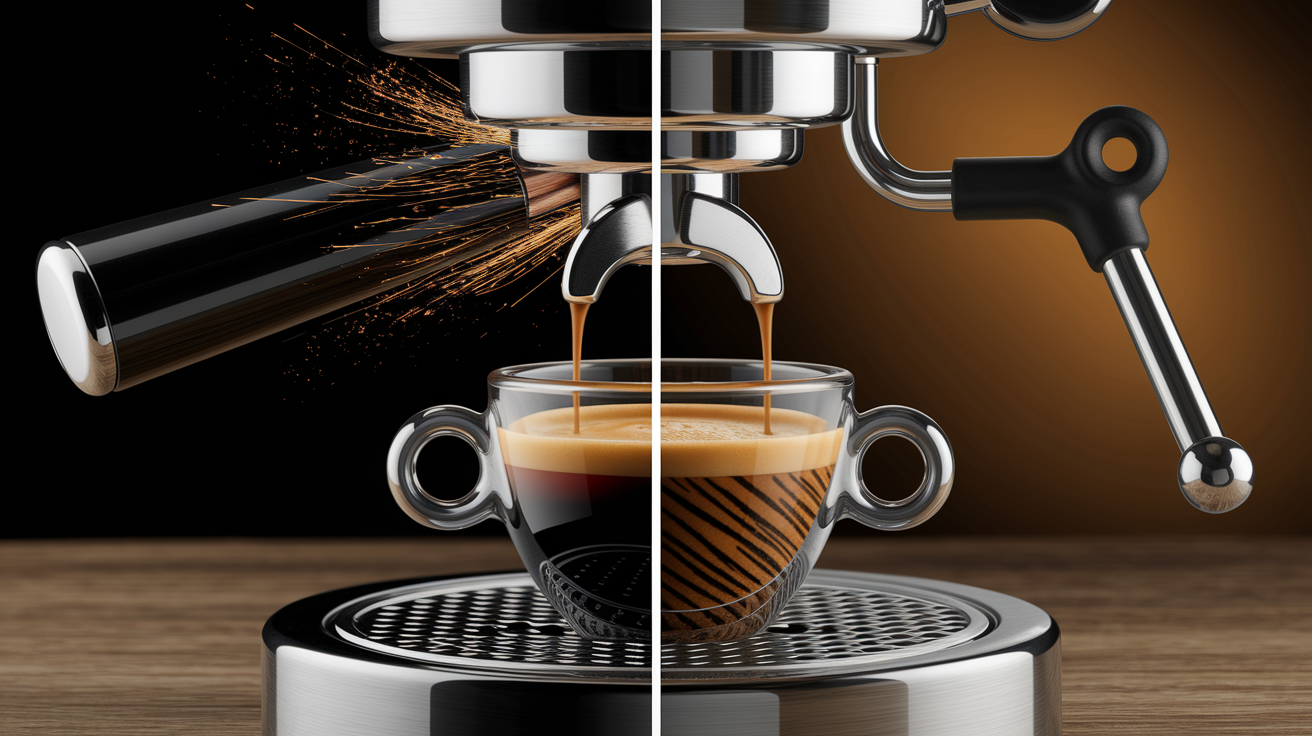
One common mistake is assuming that all three-step profiles taste similar because they share the same structure. A flat 9-bar profile, a lever-style 9→0 decline, and a hybrid 9→6 curve can all be “three steps,” but they produce distinctly different flavors and textures (bright and thin versus syrupy and muted versus balanced and complex). If you’re not tasting clear differences, check that your pressure is actually changing (gauge or software feedback) and that you adjusted grind to match each profile. Another frequent error is not changing grind when you change end pressure. Lowering end pressure without coarsening the grind can choke the machine and stretch shot time into over-extraction territory; raising end pressure without grinding finer can cause gushing and sour, under-extracted shots.
Pre-infusion mistakes cluster around duration. Pre-infusing for more than 10 seconds at low pressure rarely improves extraction and often just waterlog the puck, leading to a weak, diluted shot. On the flip side, jumping straight to peak pressure (>11 bars) without any pre-infusion increases the risk of channeling because the dry puck can’t handle the sudden force. Water punches through cracks and leaves dry zones. Starting pressure should stay at or below 9 to 11 bars unless you’re intentionally experimenting, and even then, higher initial pressure usually just causes problems rather than revealing new flavors.
Common mistakes and fixes:
- Assuming three-step profiles all taste the same: they don’t. End pressure and curve shape drive distinct flavor outcomes; taste side-by-side and adjust grind for each.
- Not adjusting grind when changing pressure: lower end pressure needs coarser grind to avoid choking; higher end pressure needs finer grind to avoid gushing.
- Pre-infusing too long (>10 s at low pressure): risks waterlogging and dilution; keep pre-infusion 2 to 8 s for best results.
- Starting at too-high pressure (>11 bar): increases channeling and harshness; keep initial peak at or below 9 to 11 bar unless testing carefully.
- Overcomplicating profiles too early: start with simple flat, declining, or ramp-up shapes; add complexity only after you can repeat and taste differences in basic profiles.
- Blaming pressure for bad puck prep: channeling, uneven tamp, and clumping show up worse under pressure profiling, not better. Fix distribution and tamp first.
Repeatable Testing Protocols for Pressure Profiling Experiments
To test pressure profiles systematically, run three shots back-to-back using identical dose and basket but different pressure curves. For example, a flat 9-bar shot, a lever-style 9→0 decline, and a hybrid 9→6 curve. Keep brew temperature constant (pick one value in the 88 to 92°C range based on your beans) and use the same grind setting for the first shot, then adjust grind for the second and third shots only if flow or time goes badly out of range. Record every detail: dose in grams (common baseline 18 g), target yield (usually 36 g for 1:2 ratio), actual final yield, total shot time, time to first drip, and any visual cues like spritzing or uneven flow in a bottomless portafilter.
After pulling the shots, measure with a refractometer if you have one and calculate extraction yield (target 18 to 22%). Taste each shot and write sensory notes immediately. Acidity (bright, muted, balanced), body (thin, syrupy, full), sweetness (low, moderate, high), and any off-flavors (sourness, bitterness, astringency). Compare those notes against your recorded flow data: if the flat 9-bar shot peaked at 2.2 ml/sec and tasted bright but thin, and the declining 9→0 shot ran slower with a thick body and muted acidity, you’ve confirmed the expected pattern and can trust your setup. If results don’t match expectations, check puck prep, grind consistency, and whether your machine is actually delivering the programmed pressure (use a gauge or software feedback).
Repeat the three-shot test across different beans and roast levels to build a mental library of how pressure changes interact with coffee character. Light roasts will show bigger swings in acidity and brightness, dark roasts will show more obvious body and sweetness shifts. Track your results in a simple spreadsheet or notebook: date, bean/roast, dose, yield, profile name, shot time, TDS/EY if measured, and a one-line flavor summary. Over a few weeks you’ll see patterns that make dialing in new beans faster.
Five-step testing protocol:
- Choose three pressure profiles to compare (flat 9 bar, declining 9→0, hybrid 9→6 are a good starting set).
- Pull all three shots with the same dose (18 g baseline), same basket, same brew temperature (pick 90°C if unsure), adjusting grind only if a shot chokes or gushes.
- Record dose, yield, shot time, peak flow rate (watch for values near 2.2 ml/sec), and visual flow behavior (spritzing, uneven streams, smooth flow).
- Measure TDS and calculate EY if possible (target 18 to 22%); taste and note acidity, body, sweetness, and any off-flavors immediately.
- Compare results against expected patterns (flat = bright/thin, declining = syrupy/muted, hybrid = balanced); troubleshoot puck prep or grind if flavors don’t align.
| Metric | Target Range | Purpose |
|---|---|---|
| Extraction Yield (EY) | 18 to 22% | Confirms you’re pulling enough solubles without over-extracting |
| Total Dissolved Solids (TDS) | 8 to 12% | Indicates concentration; higher TDS with same yield means stronger shot |
| Shot time | 25 to 35 s (varies by profile) | Quick check for flow rate; too fast or slow signals grind or pressure issue |
Final Words
Watching a shot slow from a 2.2 ml/sec peak to a syrupy drip during a 9→6 run tells you what changed: pressure shifts change flow, which stretches or shortens shot time and moves brightness, sweetness, and body. Flat 9-bar pulls often land 25-30 s for 18 g → 36 g; lever-style declines can stretch to 30-35 s.
Next step: run three back-to-back tests (flat 9, 9→0, 9→6) at the same dose, record time and yield, aim for EY 18-22%.
When you compare results you’ll see exactly how pressure profiling changes shot time and flavor. Keep experimenting. It gets easier.
FAQ
Q: How does pressure profiling change shot time and flavor?
A: Pressure profiling changes shot time and flavor by altering flow: steady 9‑bar gives faster, brighter shots, while declining profiles slow flow, lengthen time, and create a syrupy body with muted acidity.
Q: What happens to extraction yield when I lower pressure mid-shot?
A: Lowering pressure mid-shot typically slows flow, increases contact time, and raises extraction yield toward the 18–22% target, provided you adjust grind to avoid overextraction.
Q: How do flat 9‑bar, lever declining, and hybrid 9→6 profiles differ in shot timing?
A: Flat 9‑bar is predictable—about 25–30 seconds for an 18→36 g recipe. Lever-style declining often stretches shots to 30–35 seconds. Hybrid 9→6 falls between, depending on ramp timing.
Q: What flavor directions are tied to pressure changes?
A: Flavor directions tied to pressure include high-pressure brightness and acidity, declining pressure’s syrupy body and muted acidity, hybrids balancing fruit/nut/chocolate notes, and low pre-infusion adding clarity and sweetness.
Q: How does pre-infusion pressure and dwell affect puck saturation?
A: Pre-infusion pressure and dwell improve puck saturation by gently wetting grounds at 2–4 bar for 2–8 seconds, reducing channeling and improving clarity and sweetness before full pressure.
Q: What flow values should I watch on graphs when tuning profiles?
A: Watch peak flow near 2.2 ml/sec and track time-to-10 g and time-to-20 g; use those with yield and TDS to guide adjustments toward an 18–22% EY.
Q: How should I adjust grind, dose, and tamp when changing end pressure?
A: When changing end pressure, adjust grind first—finer for slow flow, coarser for fast—keep dose steady (18 g → 36 g example) and tamp consistent to isolate pressure effects.
Q: What common mistakes cause bad pressure profiles and how do I fix them?
A: Common mistakes are not adjusting grind, assuming profiles taste identical, too-long pre-infusion (>10 s), and start pressures above 11 bar causing channeling; fix by changing one variable, shorten pre-infusion, and lower start pressure.
Q: What are repeatable test steps for comparing pressure profiles?
A: Repeatable test steps: run three back-to-back shots (flat 9, 9→0, 9→6) with an 18 g dose, record peak flow (~2.2 ml/sec), yield/time/TDS, and keep temperature 88–92°C.
Q: Which machines handle pressure profiling best?
A: Rotary-pump machines with PID control and accurate OPV management handle profiling best; vibratory pumps have stability limits. Gauge placement and firmware (for example DE1 v1.43) affect fidelity.
Q: How should roast level influence my pressure curve choice?
A: Roast level guides pressure: light roasts benefit from declining or moderated peaks for clarity, medium roasts work well at 8–9 bar flats, and dark roasts often prefer steady 6–7 bar; keep temps 88–92°C.
Q: How does pressure affect texture and mouthfeel?
A: Pressure changes texture: steady high pressure tends to yield a thinner, brighter mouthfeel; declining pressure produces a syrupy, fuller body; hybrid curves offer a balance of clarity and density.