
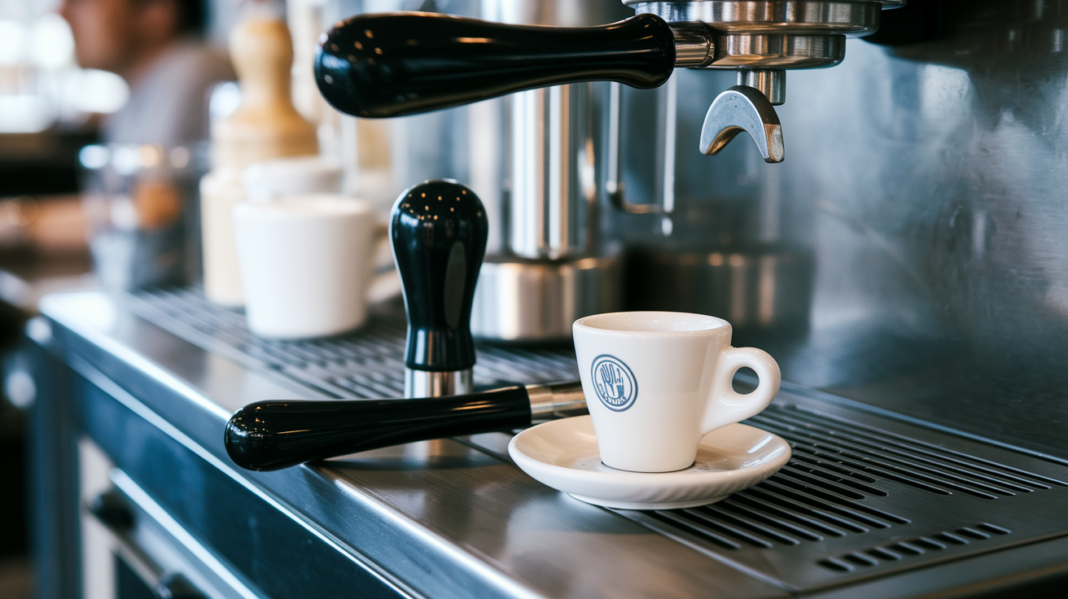

Are your shot times bouncing around even when nothing else changes?
One pull at 20 seconds, the next at 30.
Most of the time that’s an uneven puck, with clumps, holes, or soft spots where water rushes.
Distribution tools break up clumps and level the bed.
Repeatable tamping compresses that bed the same way every time.
Together they cut random flow, tighten your shot-time window, and make dialing in grind and dose actually work.
This post shows how to add simple distribution and tamping steps to get steadier shots.
How Distribution and Tamping Tools Improve Shot Consistency
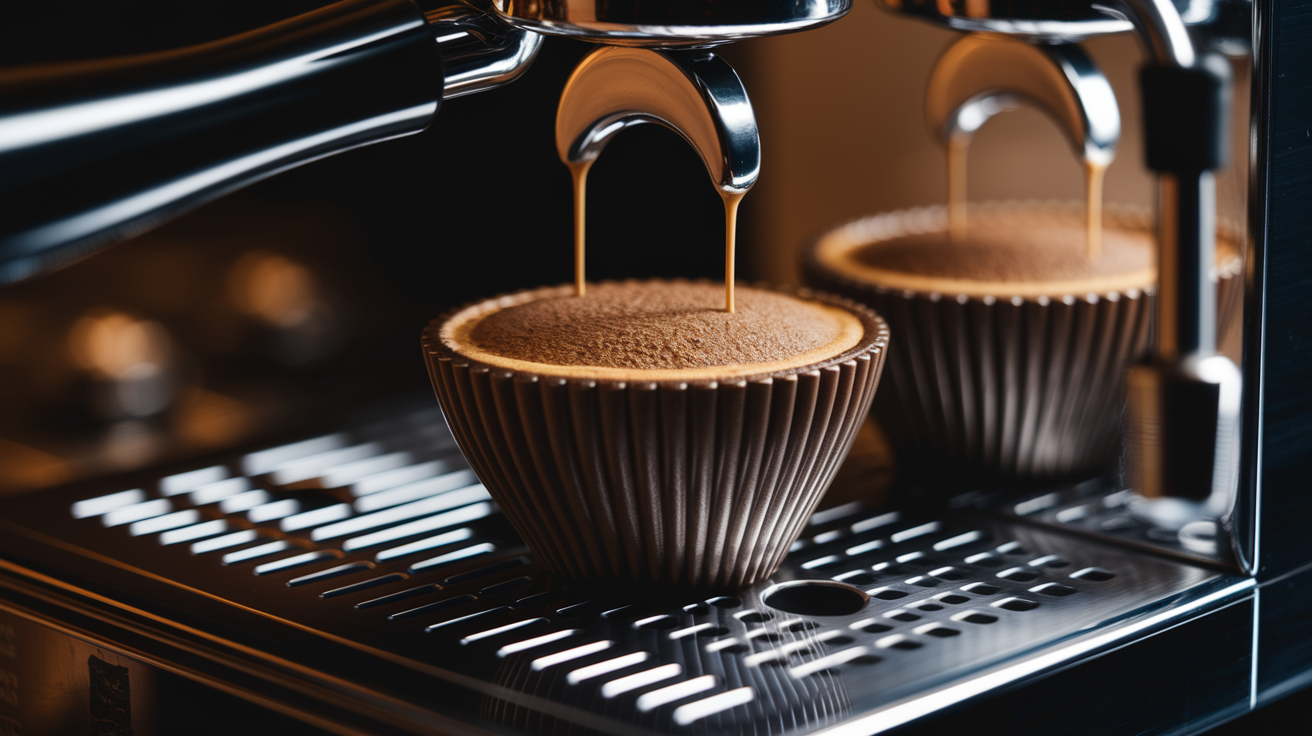
Espresso shot time consistency depends on uniform puck density. When grounds are uneven (clumps in some spots, voids in others) water takes the path of least resistance. These micro-channels let water rush through too fast, under-extracting some particles while over-extracting others. You end up with a shot that’s sour and bitter at the same time, and a timer that swings between 20 and 32 seconds even though you’re using identical beans, dose, and grind. Distribution tools break up clumps and spread particles evenly, creating a bed where every coffee particle meets water at roughly the same rate.
Tamping compresses that distributed bed into a stable, uniform disk. Without consistent compression, the puck has soft spots where water accelerates and dense patches where it slows. A level, repeatable tamp turns loose grounds into predictable resistance, so pump pressure meets the same physical barrier every single time. Pair effective distribution with consistent tamping and you eliminate the biggest sources of random flow behavior.
Flow predictability means tighter deviation windows. A well-distributed and tamped puck lets you dial in grind size and dose with confidence, knowing tomorrow’s shot won’t drift five seconds just because you tapped the portafilter differently. Uniformity cuts noise in the system. You can focus on beans, roast date, and water quality instead of guessing why the timer keeps jumping.
Five ways distribution and tamping tools cut shot-time variance:
- Break apart clumps before water contacts the puck, removing fast-channel seeds
- Create a level surface so the tamper compresses evenly across the entire bed
- Apply repeatable force, getting rid of angle tilt and soft-corner problems
- Reduce operator-to-operator differences in pressure and technique
- Allow faster troubleshooting by removing prep inconsistency from the variable list
Key Variables That Influence Extraction Time Variability
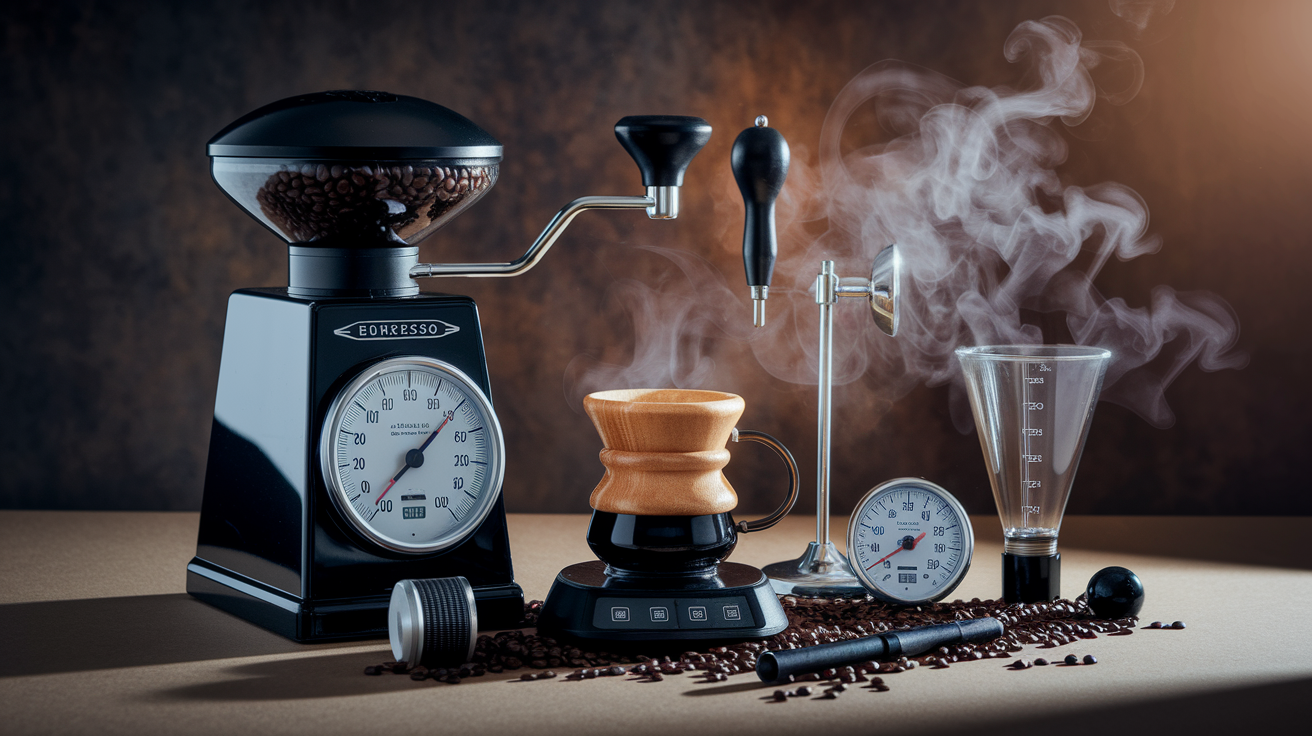
Grind size is your primary hydraulic control. A single notch finer on most grinders adds 3 to 5 seconds to extraction time by increasing particle surface area and packing density. If your grinder produces inconsistent particle distribution (more fines one morning, more boulders the next) your shot time will swing even when you hold dose and tamp steady. Dialing in becomes a moving target unless the grinder delivers predictable output.
Dose changes matter just as much. A shift from 17 grams to 18 grams adds 1 to 2 seconds on average, because a thicker bed creates more resistance. If you’re eyeballing dose or relying on a volumetric doser, you’re introducing variance before water touches the puck. A half-gram drift might seem small, but it compounds with grind variance and tamp inconsistencies, pushing extraction time outside your target window.
Tamp pressure consistency sounds simple until you measure it. Most baristas vary by 5 to 10 pounds between shots without noticing. A light tamp leaves a softer puck that offers less resistance and shaves 2 to 4 seconds off extraction. A harder, tilted tamp creates a sloped bed where one side channels early, producing uneven flow and chaotic timing. Calibrated tampers or repeatable body mechanics solve this.
Water temperature and pump pressure shifts are usually machine variables, not operator variables. A 2°C temperature drop or half-bar pressure swing can add or subtract 1 to 3 seconds. If your workflow is tight but shot time still drifts, check whether your machine is holding stable brew temperature and pressure during back-to-back pulls.
Comparing Distribution and Tamping Tools
WDT Tools
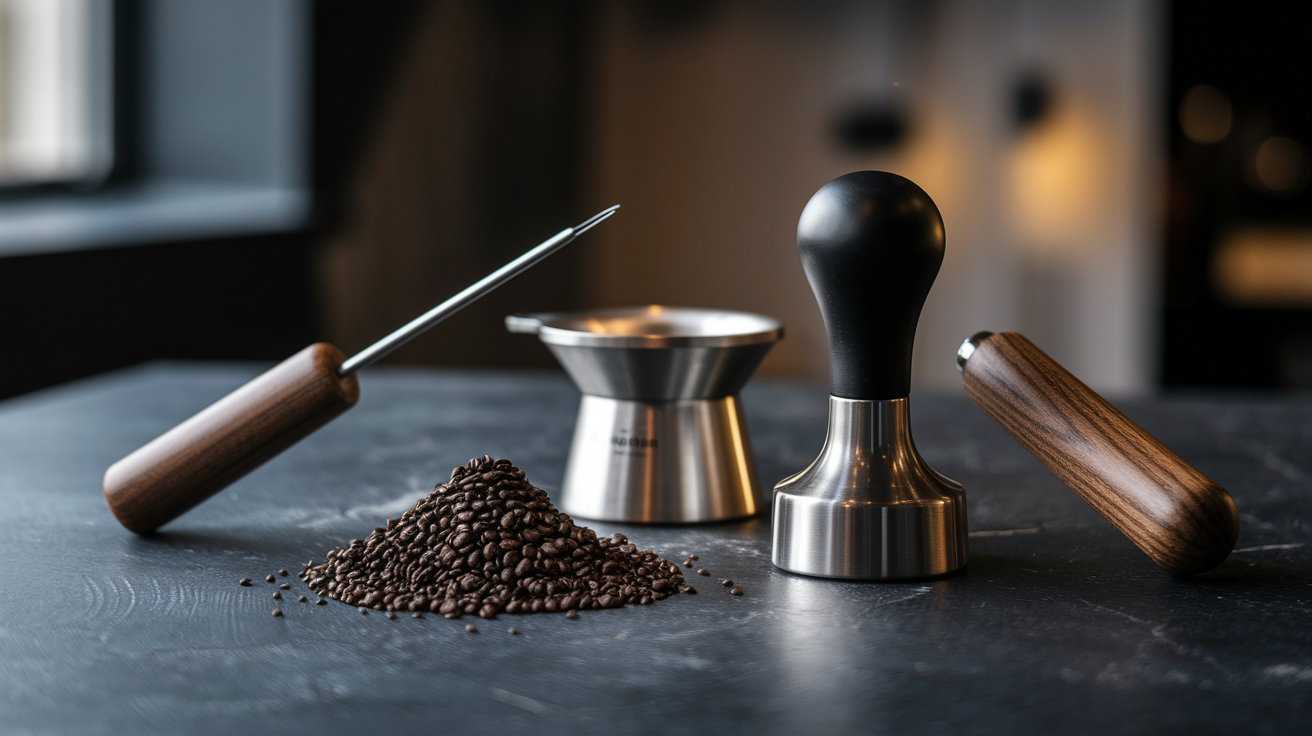
WDT (Weiss Distribution Technique) uses thin needles to stir grounds and break clumps throughout the full depth of the coffee bed. Typical WDT tools use around five needles to stir grounds top-to-bottom and side-to-side. Most grinders, especially single-dose models, produce static-charged clumps that settle unevenly in the basket. WDT disrupts those clumps before tamping, so every zone of the puck has similar particle density.
The benefit shows up strongest in lighter roasts and single-origin coffees, which are more channeling-prone because of higher density and lower solubility. Users report tighter shot-time windows (often within 2 to 3 seconds across multiple pulls) when WDT becomes part of the standard routine.
Leveler Tools
Levelers flatten the coffee surface before you tamp. They use spinning blades or ridges to push grounds into an even plane, removing high spots and filling low areas. A level surface means the tamper applies force uniformly, avoiding the tilt that creates one-sided channeling.
Palm-style levelers work quickly in high-volume settings because they’re fast and nearly impossible to misalign. The main function is tamp guidance, giving the tamper a flat starting point so pressure distributes evenly. This cuts tamp-related variance and helps newer baristas get consistent results without muscle-memory precision.
Calibrated Tampers
Calibrated tampers click or release when you hit a preset force, commonly around 30 pounds. The exact number matters less than applying that same force every time. Calibrated tools remove guesswork and reduce interpersonal variance when multiple baristas share a machine.
They’re especially useful during training. New users often over-tamp or under-tamp by 10 to 15 pounds, introducing hidden shot-time drift. A calibrated tamper makes pressure repeatable, so you can isolate grind and dose changes without wondering whether today’s tamp was softer than yesterday’s.
| Tool Type | Main Function | Effect on Shot Time Stability |
|---|---|---|
| WDT | Break clumps, distribute particles through full bed depth | Reduces micro-channeling; tightens shot-time window by 3 to 6 seconds |
| Leveler | Flatten surface, create even tamp plane | Eliminates tilt-induced fast paths; improves tamp repeatability |
| Calibrated Tamper | Apply repeatable pressure (typically 15 to 30 lb) | Cuts operator variance; stabilizes resistance across pulls |
Workflow Standardization Protocols
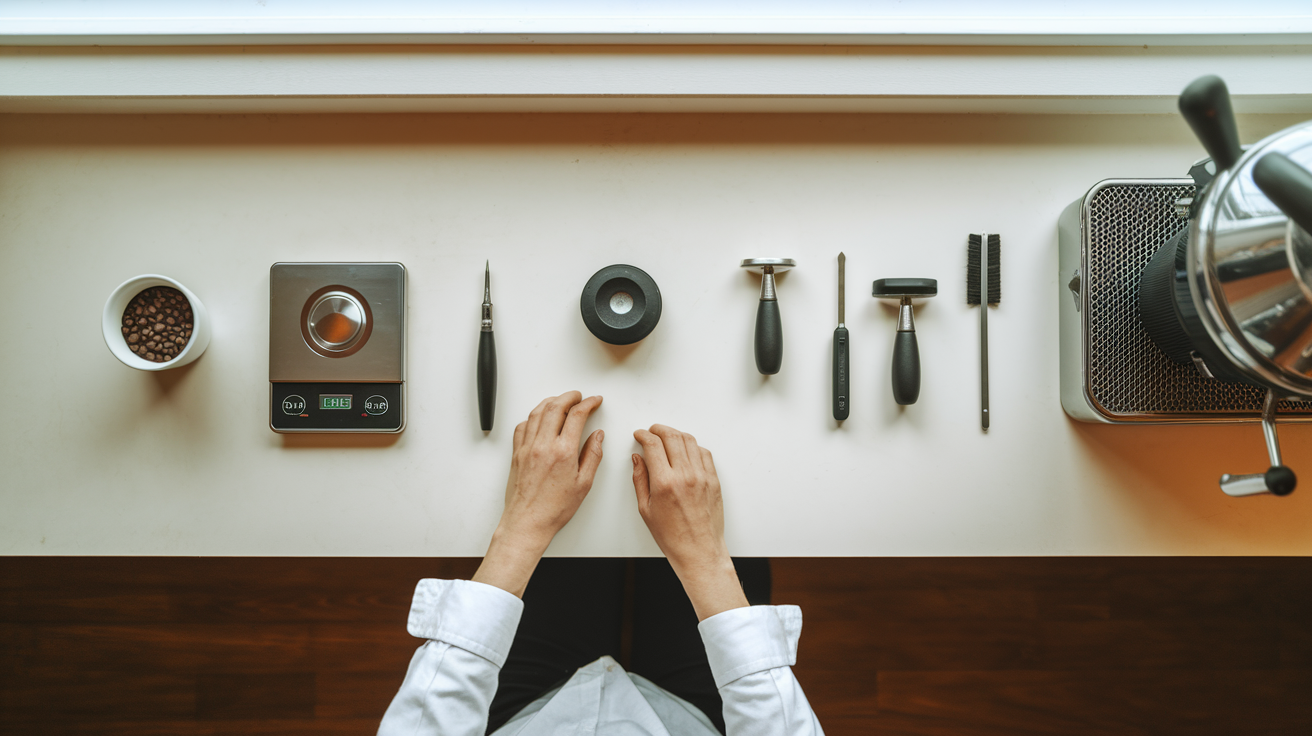
A repeatable workflow removes the biggest human variables from espresso preparation. When you follow the same sequence (dose, distribute, level, tamp, clean rim, lock in) you eliminate the memory load and reduce the chance of skipping a step or rushing through one. Muscle memory builds consistency, and consistency shrinks shot-time variance.
Six-step repeatable puck-prep workflow:
-
Dose to target weight on a scale. Pick a single number (17 g, 18 g, whatever fits your basket and recipe) and hit it every time. A half-gram drift adds 1 to 2 seconds.
-
Distribute grounds with WDT or controlled tapping. If using WDT, stir top-to-bottom in a slow circle. If tapping, use two firm taps on the counter (no more) and check for visible evenness.
-
Level the bed surface. Use a leveler tool or gently shake the portafilter side-to-side to flatten high spots before tamping.
-
Tamp with a straight wrist and level base. Hold the tamper like a handshake, keep your elbow at 90°, and press straight down. Stop after one firm press. Don’t double-tamp.
-
Optional: add a small polishing twist. A tiny rotation smooths the puck surface but has minimal extraction effect. Skip if it disrupts your rhythm.
-
Clean the basket rim and lock in immediately. Stray grounds on the rim create gaps where water rushes through. Brush or wipe before inserting the portafilter.
Timing between grind and tamp affects moisture absorption. Coffee grounds pick up humidity from the air, especially in high-moisture environments. If grounds sit in the basket for 30 seconds before tamping, they may absorb enough moisture to change density slightly, shifting shot time by 1 to 2 seconds. Dose and tamp within 10 seconds of grinding to keep conditions identical pull after pull.
Data-Based Effects on Shot-Time Variability

Controlled tests show measurable reductions when tools standardize puck prep. WDT consistently reduces shot-time deviation by 3 to 6 seconds compared to no distribution, because clump removal gets rid of the random fast-channel formation that causes early gushers or late stalls. Calibrated tampers cut tamp-related variance by up to 40%, especially in multi-barista settings where pressure application varies widely between operators.
Levelers produce more consistent flow curves when measured with pressure-profiling equipment. The flatter the pre-tamp surface, the more uniform the hydraulic resistance during the first few seconds of pre-infusion. Uniform resistance means predictable ramp-up and fewer mid-shot pressure spikes that signal channeling.
| Tool | Mean Variance Reduction | Notes |
|---|---|---|
| WDT | 3 to 6 seconds | Greatest effect with clump-prone grinders and light roasts |
| Calibrated Tamper | Up to 40% reduction in tamp-related variance | Especially effective in training or multi-user environments |
| Leveler | Improved flow-curve consistency | Reduces tilt and uneven compression; pairs well with WDT |
Recommendations for Improving Shot-Time Stability
Combining two or more tools provides cumulative benefits. The largest reported improvements come from pairing WDT with a calibrated tamper, because you address both particle distribution and compression consistency in one workflow. If you can only add one tool, start with WDT. It solves the clumping problem that tamping alone can’t fix.
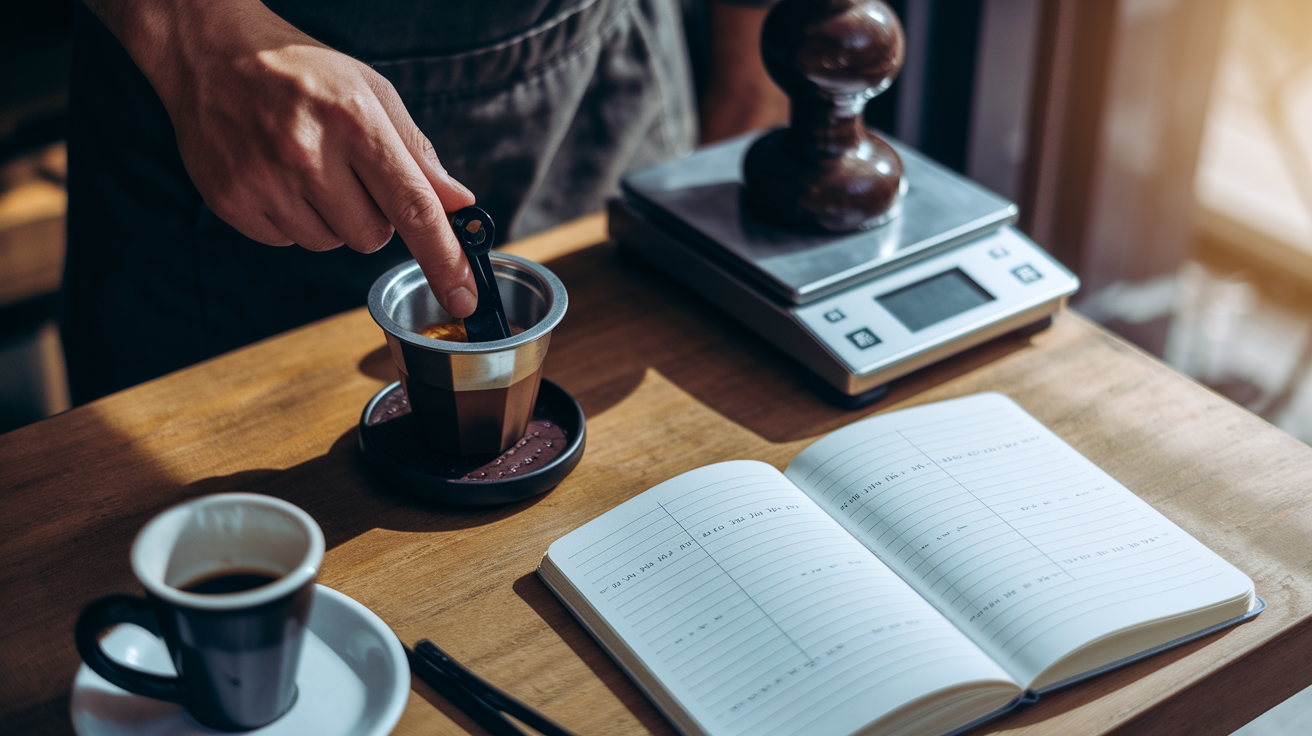
Workflow discipline often outweighs tool choice. A $15 WDT tool used every time beats a $200 tamper used inconsistently. Track your routine for a week. Write down dose, grind setting, and shot time for every pull, and note when you skip a step or rush. Patterns will show whether variance comes from prep or from beans and machine drift.
Four practical steps to reduce shot-time variability:
- Use a scale for every dose. Weight consistency is the easiest variable to lock down and has immediate, measurable impact.
- Adopt WDT if your grinder produces visible clumps or if you pull light roasts. Stir slowly and reach the bottom of the basket.
- Switch to a calibrated tamper or practice tamping on a bathroom scale until you can hit the same pressure by feel three pulls in a row.
- Log your shots for two weeks. Note extraction time, dose, grind setting, and any prep changes. Identify which variable drifts most, then address that first.
Final Words
Start with the sequence you can repeat: WDT, distribute, level, tamp. That order evens density, slows micro-channeling, and makes shot times more predictable.
We showed what drives time variance, how each tool fixes clumps and tilt, data-backed seconds saved, and a simple workflow to follow.
Use a WDT plus leveler and calibrated tamper. Make one change at a time and track seconds and yield. That practical approach to reducing shot time variability with distribution and tamping tools will cut waste and speed dialing in. You’ll get steadier flows and better-tasting shots.
FAQ
Q: How do distribution and tamping tools improve shot consistency?
A: Distribution and tamping tools improve shot consistency by creating a uniform puck density, reducing micro-channeling, and making water flow resistance predictable, which lowers shot-time variability by several seconds and steadies flavor.
Q: What are the main variables affecting extraction time variability?
A: The main variables affecting extraction time variability are grind size, dose consistency, tamp pressure and angle, water temperature, and pump pressure; small shifts in any cause measurable changes to shot duration.
Q: How much can a change in grind size or dose alter shot time?
A: A change in grind size or dose can alter shot time by multiple seconds; one notch finer often adds 2–5 seconds, while a few grams of dose drift can similarly speed or slow extraction.
Q: What does a WDT tool do?
A: A WDT tool breaks clumps and spreads particles, reducing channeling and typically cutting shot-time deviation by about 3–6 seconds in practice.
Q: What does a leveler do?
A: A leveler creates a flat, even coffee surface, reducing tamp tilt, guiding even tamping, and helping produce steadier flow curves and more predictable shot times.
Q: Why use a calibrated tamper?
A: A calibrated tamper delivers repeatable pressure, removing tamp variability, often targeting 15–30 lb, and can cut tamp-related variance by up to 40 percent.
Q: How should I standardize my puck preparation workflow?
A: Standardize puck prep by following WDT → distribute → level → tamp, keep motions consistent, use a timer, and hold consistent timing between grind and tamp to reduce variability.
Q: How much do tools combined improve shot-time stability?
A: Combining tools improves shot-time stability: WDT plus calibrated tamp gives the biggest gains, commonly reducing deviation by several seconds and cutting tamp-related variance up to 40%.
Q: What quick checks show puck prep has improved flow predictability?
A: Quick checks showing improvement are an even, steady stream at 10 seconds, a flat puck without craters, less bottomless spritzing, and shot times that match your target within a second or two.