

Most small cafés treat puck prep like a suggestion, and customers taste the difference.
If your shots swing between sour at 7 a.m. and bitter at 2 p.m., the problem is inconsistent puck prep more than the beans.
This SOP (standard operating procedure) lays out one repeatable workflow that puts dose, needle WDT, leveling, tamp, and a short flush in the same order every time.
Follow these steps and you’ll speed training, cut extraction drift, and make the same balanced drink all shift long.
Core Espresso Puck Preparation Workflow for Small Cafés
Cafés need speed and repeatability. The shot at 7 a.m. should taste the same as the one at 2 p.m., no matter who’s working the bar. That’s why you need one workflow, executed the same way every single time. The full puck prep process, from grinder to brew button, takes about 12 to 18 seconds. It covers dose weighing, distribution, leveling, tamping, and group head prep. Get this stage consistent and you’ll stop wasting beans on sour, channeled pulls. Skip it and you’re stuck with shots that bounce between acceptable and undrinkable.
Small cafés usually run one or two group machines with entry or mid tier grinders. Those grinders spit out clumps and static prone grounds that make every puck prep mistake worse. A single clump you didn’t distribute creates a low density pocket. Water finds it at 9 bars, channels straight through, and you get sour and bitter notes at the same time. Plus thin body and a messy knockout. Distribution tools, needle style WDT devices, leveling tools, and calibrated tamping break those clumps apart, even out the bed, and compress it uniformly. When your staff follow the same steps every time, extraction variance drops and flavor stays where you want it.
The order you do things matters just as much as how you do each step. Skip distribution or flip the sequence (like tamping before leveling) and you’ll bake in density gradients that no grinder can fix. A solid SOP locks every barista into the same observable checkpoints, from dose weight to final tamp pressure. Training gets faster and quality control becomes something you can measure instead of just taste and hope.
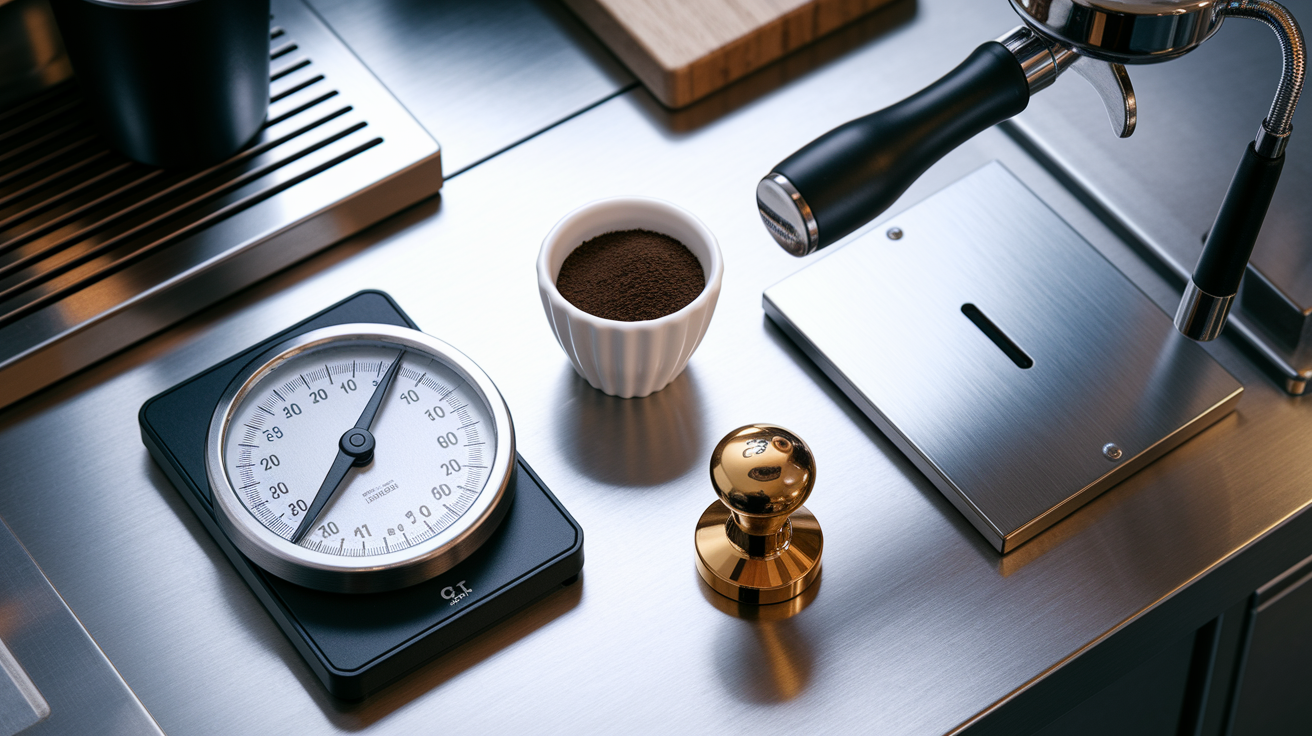
- Weigh the dose on a scale with 0.1 g resolution. Confirm it’s inside your café’s target range, usually 18 to 20 grams for a double shot, with tolerance around ±0.1 g.
- Grind straight into the portafilter basket or into a dosing cup if static’s running high.
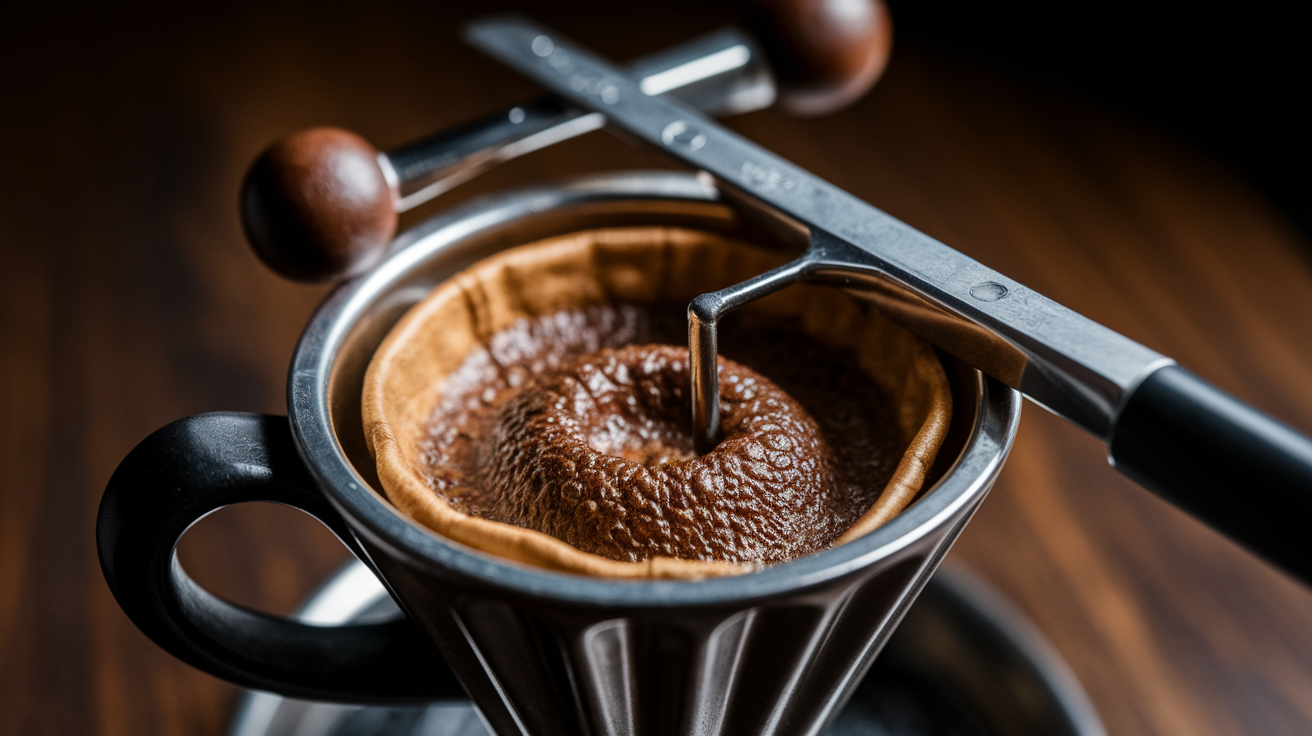
- Grab a needle style WDT tool (0.3 to 0.4 mm needles) and agitate the grounds for 10 to 15 seconds. Gentle circular motions, reach all the edges, break every visible clump.
- Settle and level the bed using either a finger sweep (Stockfleth’s Move) or a mechanical leveling tool set to basket depth. Rotate the portafilter while the tool spins or sweeps.
- Tamp evenly with about 30 pounds of force. Elbow at 90 degrees. Keep the tamper level and lift straight up without twisting.
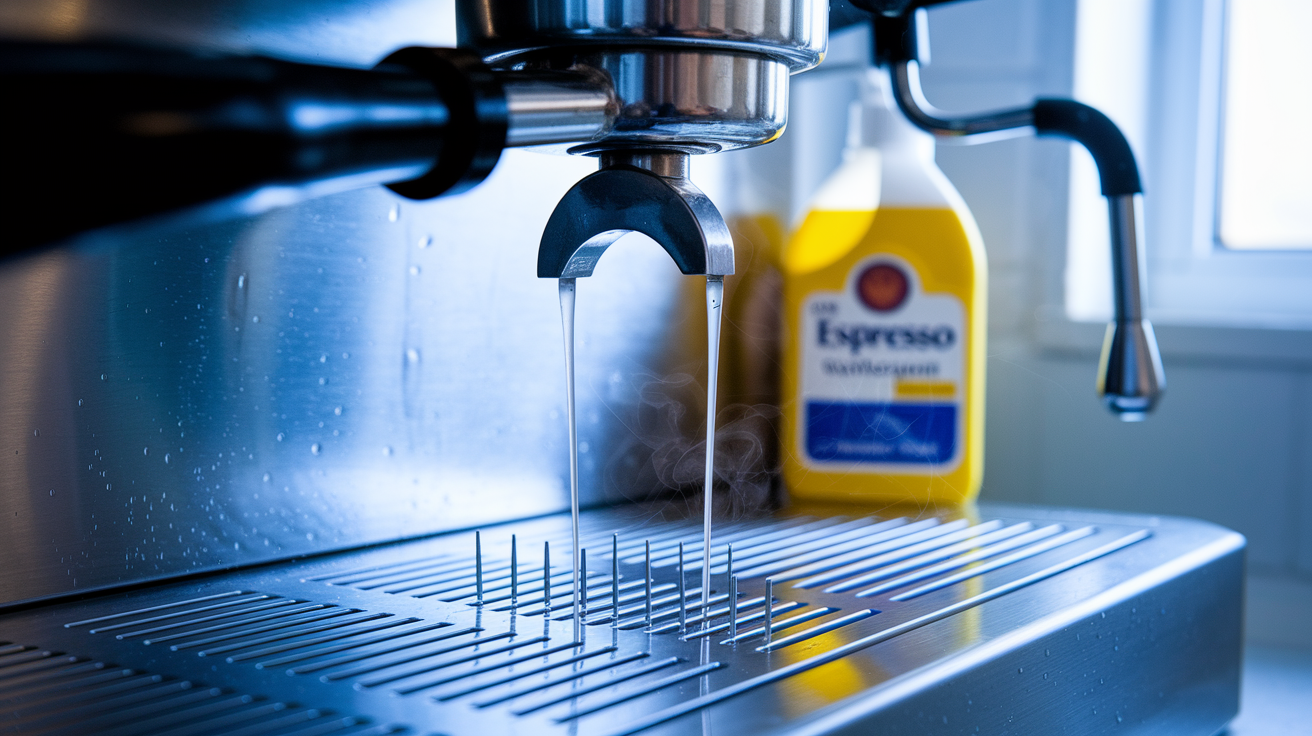
- Flush the group head for 1 to 2 seconds to purge leftover grounds and stabilize temperature.
- Lock the portafilter into the group, start extraction right away, and watch flow for even color and timing inside the 25 to 30 second window.
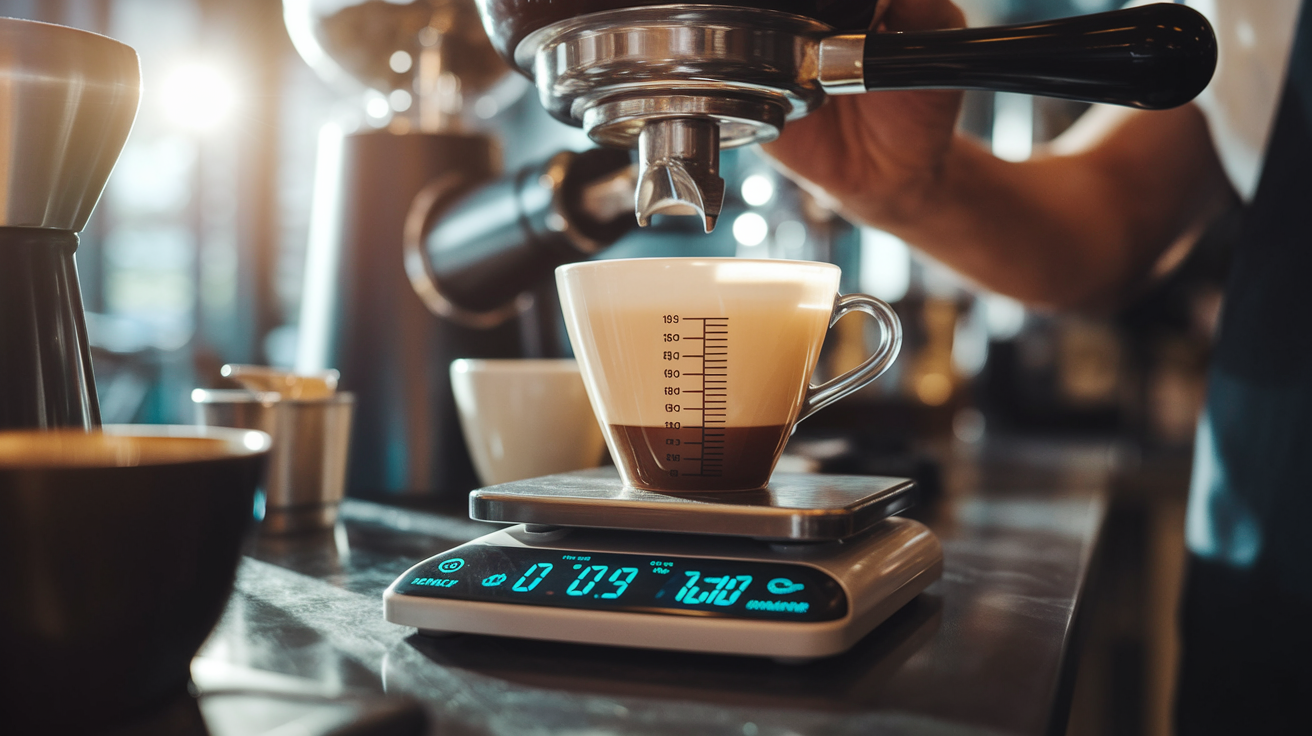
- Check final yield weight against your target brew ratio (often 1:2, so 18 g in gives you 36 g out) and assess taste, crema, and spent puck dryness.
Consistency across staff protects your reputation and cuts waste. When every barista follows the same motion sequence, quality control shifts from tasting every shot to spot checking random pulls and tracking logged weights and times. Training new hires speeds up because the SOP gives you observable steps instead of vague instructions like “distribute evenly.” Customers notice when their morning cortado tastes the same whether the opening barista pulled it or the afternoon closer.
Dial‑In and Dosing Consistency for High‑Volume Café Operation
Dose accuracy within ±0.1 g controls puck density and resistance directly. A 0.2 g swing can shift extraction time by 2 to 4 seconds, enough to push a shot from balanced to sour or from rich to bitter. Small cafés running continuous service have to weigh every dose on a scale with 0.1 g resolution and check the number before distribution starts. Guessing by sight or trusting the grinder’s timer fails when humidity climbs, beans age, or static changes retention in the chute.
Grinders drift all day long as burrs warm up, retention shifts, and beans settle in the hopper. In a busy café pulling 150 to 250 shots per shift, you need to recalibrate every 30 to 60 minutes to keep dose and grind size stable. Pull a test shot, weigh dose and yield, watch extraction time, and adjust grind or dose when needed. Environmental factors speed up drift. Humidity spikes make beans absorb moisture and grind finer. Dry winter air cranks up static and clumping. Staff need to check the scale readout before every pull during peak rushes and adjust the grinder the moment variance goes past ±0.2 g.
Micro adjusting grind size responds to flow rate changes you can see during extraction. If shots keep finishing under 23 seconds with thin, pale crema, the grind’s too coarse or the dose is too low. Grind one or two clicks finer and retest. If shots choke and drip past 35 seconds with dark, bitter liquid, grind one click coarser. Dose adjustments of 0.5 g up or down fine tune resistance when grind changes overshoot. Write down each adjustment in a shift log so the next barista knows the baseline and can catch further drift.
Common dose related errors baristas need to watch for:
- Forgetting to tare the scale after placing the portafilter, which adds systematic error to every dose.
- Overfilling the basket so grounds contact the dispersion screen before tamping, causing uneven compression.
- Trusting volumetric grinder timers without checking weight, especially after hopper refills or grind changes.
- Ignoring small variances like ±0.3 g because they seem minor, even though they stack up across hundreds of daily pulls.
Using Distribution Tools Effectively
Distribution tools split into two types: needle style agitators that break clumps inside the puck, and surface levelers that create a flat bed before tamping. Both fix different problems. Needle tools (often called WDT tools, short for Weiss Distribution Technique) get rid of the internal density pockets that cause channeling. Leveling tools make sure the puck surface sits flat and parallel to the dispersion screen, stopping edge bypass and uneven wetting. High volume cafés benefit from using both in sequence. WDT to make everything uniform, then leveling to prep the tamp surface.
WDT Technique
Needle agitation works by sticking thin probes (0.3 to 0.4 mm diameter) into the coffee bed and stirring gently to separate clumped particles without squashing the overall mass. Start by putting the needles in vertically to full basket depth, then make slow circular motions while you gradually lift toward the surface. Cover the whole basket diameter. Pay extra attention to edges where clumps like to hide. The motion should feel light. Aggressive stirring shoves fines downward and builds a dense bottom layer that chokes flow. A typical WDT pass takes 10 to 15 seconds per dose.
Sanitation matters because needles touch every particle. Rinse WDT tools under hot water between doses and wipe dry. At the end of each shift, soak needles in espresso machine detergent for 5 minutes, rinse well, and air dry. Bent or corroded needles scratch baskets and create uneven paths, so check them weekly and replace damaged needles right away. Some cafés keep two WDT tools rotating so one’s always clean and ready.
Leveling and Settling Tools
Leveling tools (sometimes called OCD style distributors or spinning levelers) use adjustable blades or fins that rest on the basket rim and rotate to push grounds into a flat plane. Set the tool height so the base just touches the coffee bed without compressing it. Too much depth creates pre compression that messes with the tamp. Place the tool on the basket, give it two or three full rotations while applying light downward pressure, then lift straight up. You should get a smooth, level surface ready for tamping.
Height calibration depends on dose. For an 18 g dose in a standard 18 to 20 g basket, the leveling tool should sit roughly 1 to 2 mm above the basket floor after WDT fluffing. Check calibration by running a test dose, leveling, then looking at the bed. If you see compression rings or the bed looks packed before tamping, raise the tool a bit. If the bed stays fluffy and uneven, lower it by a quarter turn. Record the final setting and mark the tool so staff can replicate it across shifts.
Tamping Technique and Pressure Uniformity

Tamping compresses the distributed bed into a uniform density puck that resists water evenly across the surface. The baseline target is about 30 pounds of force. Enough to get rid of voids and lock particles together, but not so much that flow chokes or staff develop wrist strain. Consistency matters more than absolute pressure. A barista who tamps at 25 pounds every time will beat someone who bounces between 20 and 40 pounds shot to shot.
Angle errors cause uneven density. If the tamper tilts even a few degrees, one side compresses more than the other, and water finds the path of least resistance through the thinner zone. Check tamp level by looking at the portafilter from multiple angles (front, side, and above) before you lift. Self leveling tampers help by centering automatically, but they still need a vertical press. Practice holding the portafilter steady on the counter edge or in a tamping stand, grip the tamper handle like a flashlight, and keep your elbow at roughly 90 degrees to transfer body weight smoothly.
Polishing (a small twist after the main press) is still debated. Some baristas say it gives smoother puck surfaces and slightly better flow symmetry. Others find no real benefit and skip it to save time. The safe middle ground: press firmly, hold for one second, then lift straight up without twisting. If you want to polish, limit it to a single quarter rotation with minimal extra downward force. Don’t twist aggressively. That can shear the puck and create micro cracks that invite channeling.
Repeatable technique that doesn’t wreck your staff’s wrists protects both quality and health. Train baristas to position the portafilter at a comfortable height (usually mid torso) so the press motion feels natural instead of forced. Repetitive strain injuries show up most in baristas who tamp with locked wrists or hyperextended elbows. A relaxed grip, consistent stance, and brief pause between tamps during rush periods reduce cumulative stress. When the same motion works every time, muscle memory kicks in and speed goes up without sacrificing precision.
Extraction Timing Benchmarks and Quality Control

Standard extraction windows for a double shot fall between 25 and 30 seconds from pump start to target yield. Faster shots (under 23 seconds) usually taste sour, thin, and underdeveloped because water moves through the puck before dissolving enough solubles. Slower shots (over 33 seconds) risk bitterness and astringency as over extraction takes over. Acceptable deviation sits at ±3 seconds around your café’s house target. If your recipe calls for 27 seconds and shots land between 24 and 30 seconds consistently, the workflow’s stable. Variance beyond that signals grind drift, inconsistent dosing, or puck prep errors.
Yield weight has to match the intended brew ratio. A common starting point is 1:2, meaning 18 grams of coffee yields 36 grams of liquid espresso. Weigh the output cup on the same scale you used for dosing to verify. If yield drifts high (say, 40 grams in the same 27 seconds), grind finer to increase resistance. If yield drops to 32 grams while time holds steady, grind slightly coarser or bump dose up by 0.5 grams. Flow texture gives you real time feedback. A healthy extraction starts dark and viscous, gradually lightens to honey tones, and blonds near the end. Blonding before 20 seconds means severe under extraction. Dark flow past 30 seconds confirms over extraction.
Key QC indicators to check after each pull:
- Spent puck dryness and structural integrity. A good puck knocks out as a single dry disc with minimal sludge.
- Crema thickness and persistence. Rich crema lasting 30 seconds or more suggests balanced extraction and fresh beans.
- Symmetrical flow when using a bottomless portafilter. Uneven streams or spurting reveals channeling from poor distribution or tamp.
- Consistent shot weight within ±2 grams of target across consecutive pulls.
- Flavor balance on quick taste. Neither harsh bitterness nor sour thinness dominating.
Troubleshooting Workflow Issues

Diagnosing symptoms starts with watching what happens during extraction. Channeling shows up as fast, uneven jets erupting from specific spots on the puck surface, easy to see through a naked portafilter. The shot finishes too quickly, tastes sour and bitter at the same time, and leaves a wet, cratered spent puck. If channeling happens on isolated pulls, suspect inconsistent distribution or an uneven tamp that shift. If it happens repeatedly across baristas and doses, the grinder might be producing too many fines or clumps that distribution alone can’t fix, or the basket itself could be damaged.
Problem to correction shortcuts make decision making faster under pressure:
Sour, thin shot finishing under 23 seconds: Grind two clicks finer, check dose is within target range, and make sure WDT reaches all edges to get rid of low density pockets.
Bitter, slow shot going past 33 seconds: Grind one click coarser, check for over tamping (reduce pressure if you’re above 35 lb), and confirm leveling tool height isn’t pre compressing the bed.
Spurting or uneven flow visible on bottomless portafilter: Double check WDT technique for thoroughness, verify tamp is level from multiple angles, and look at the basket for damage or residue buildup.
Inconsistent shot times across consecutive pulls with identical dose: Recalibrate grinder immediately, check for grind retention releasing stale coffee, and verify ambient humidity hasn’t shifted since last dial in.
Wet, sloppy spent puck that breaks apart: Increase tamp pressure slightly, make sure dose isn’t overfilling the basket, and check the group gasket is sealing properly.
Flat, pale crema with weak body: Confirm beans are fresh (roasted within 2 to 4 weeks), increase dose by 0.5 g if headspace allows, and grind slightly finer to extend contact time.
Deciding when to re pull versus when to adjust depends on how bad the symptom is and what your workflow state looks like. During a morning rush, a single borderline shot (say, 23 seconds and slightly sour but still drinkable) goes to the customer while the barista mentally notes the drift and adjusts grind after the next order. A shot that channels badly, tastes harsh, or finishes in 15 seconds gets dumped immediately. Correct the grind and start a fresh pull. Off peak, any shot outside the ±3 second window is worth a re pull to verify the correction worked before you serve another customer.
Hygiene, Tool Care, and Workflow Cleanliness
Sanitation intervals in a busy café have to account for oils, fines, and microbial growth. WDT needles, distribution tools, tampers, and portafilter baskets all contact coffee and absorb residue. Rinse WDT needles and leveling tools under hot water every 30 to 60 minutes during service. More often if you see visible buildup on the needles. At the end of each shift, take apart tools that let you, soak in espresso machine detergent for 5 to 10 minutes, scrub with a soft brush, rinse well, and air dry on a clean mat. Leftover oils turn rancid within hours and taint the next day’s shots.
Portafilter baskets need backflushing and soaking. After each shift, pull baskets out of portafilters, knock out any trapped grounds, and soak in hot detergent solution. Scrub the interior mesh and rim with a stiff brush to clear micro channels. Rinse and check under bright light. Clogged holes reduce flow and create uneven extraction. Drying matters because damp baskets invite mold and off flavors. Towel dry right after rinsing, then leave inverted on a drying rack until the next shift.
Cross contamination happens when dirty tools touch clean grounds. Never stick a used WDT tool straight into a fresh dose without rinsing. Keep a small container of clean water and a towel at the espresso station for quick rinses between uses. Tampers pick up oils on the base. Wipe with a damp cloth every 10 to 15 pulls and deep clean at the end of the shift. Group heads and dispersion screens need backflushing with detergent once per shift and a water only backflush every 30 to 60 minutes to clear trapped fines. Skip these intervals and buildup changes water flow, temperature stability, and flavor neutrality.
Training and Staff Standardization

Training structure for puck prep SOP starts with a 30 to 60 minute calibration session covering theory, demonstration, and supervised practice. New hires watch an experienced barista run through the full workflow (dose weighing, WDT, leveling, tamping, and extraction) while explaining each checkpoint out loud. Then the trainee copies the sequence under direct observation, pulling at least five consecutive shots and recording dose, time, and yield for each. The trainer jumps in with immediate correction on technique errors like uneven tamp angle, not enough WDT coverage, or skipped weight verification.
Staff verification criteria make sure people are ready before solo shifts:
- Hit dose within ±0.2 g of target across 10 consecutive pulls consistently.
- Run WDT with visible clump elimination and edge coverage in 10 to 15 seconds without over agitating.
- Deliver level tamp confirmed by visual check from three angles, with spent puck showing uniform compression and no edge bypass.
- Produce extraction times within ±3 seconds of house target and yields within ±2 grams on 8 out of 10 pulls.
- Identify and correctly diagnose one common failure mode (channeling, sour shot, slow shot) and run the right grind or technique correction.
Keeping consistency across shifts needs brief daily check ins and periodic re training. At the start of each shift, the opening barista pulls a calibration shot, logs the result, and adjusts grind if needed. Mid shift and closing baristas repeat the check and compare notes in a shared logbook. Weekly or monthly, the café manager shadows each barista for 15 minutes, watches three pulls, reviews logged data, and gives feedback on any drift in technique. When new tools come in (like upgrading from DIY WDT to a commercial tool), schedule a 20 minute re training session to recalibrate muscle memory and update the written SOP.
Final Words
Lock in the basics: weigh to ±0.1 g, distribute with your tool, tamp at about 30 lb, and target a 25–30 second extraction. Focus on one adjustment at a time.
Make the standard operating procedure for puck prep with distribution tools in small cafés your daily checklist, calibrate grinders, keep WDTs clean every 30–60 minutes, and verify yields and flow textures.
Small, repeatable habits cut waste and keep shots tasting consistent and confident.
FAQ
Q: How to prep a coffee puck?
A: To prep a coffee puck, weigh the dose to ±0.1 g, grind, distribute and settle the grounds, tamp evenly (~30 lb), flush the group, then lock the portafilter for a 25–30 second extraction.
Q: What are common mistakes when using a distribution tool and how do you properly use one?
A: Common mistakes and proper use of a distribution tool: set the tool height to skim the puck, rotate gently to level, avoid digging or skipping settling, and clean between uses to prevent clumps and channeling.
Q: What’s the difference between WDT and distribution?
A: The difference between WDT and distribution is that WDT uses fine needles to break clumps and free trapped air, while distribution tools level and settle the puck to create uniform density and reduce channeling.