

Think your grinder is to blame when shots jump from 24 to 31 seconds?
Before you swap burrs or blame the beans, weigh every shot first.
An espresso scale puts dose, yield, and time side by side so you can see whether grind, distribution, tamp, or the machine is drifting.
This guide teaches how to read those swings, pick the likely cause, and make one repeatable change to fix it.
Do that and you’ll waste less coffee and pull steadier shots every day.
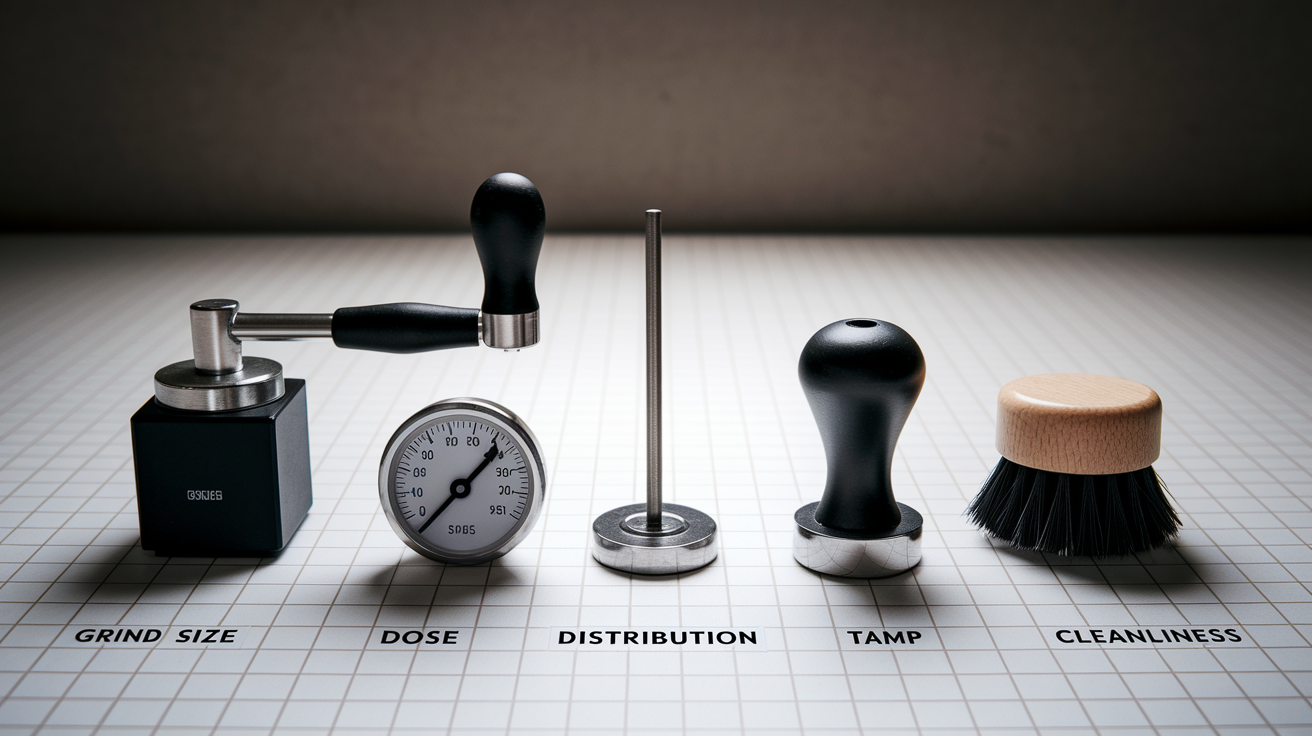
Understanding Shot Time, Yield, and Espresso Scale Readings
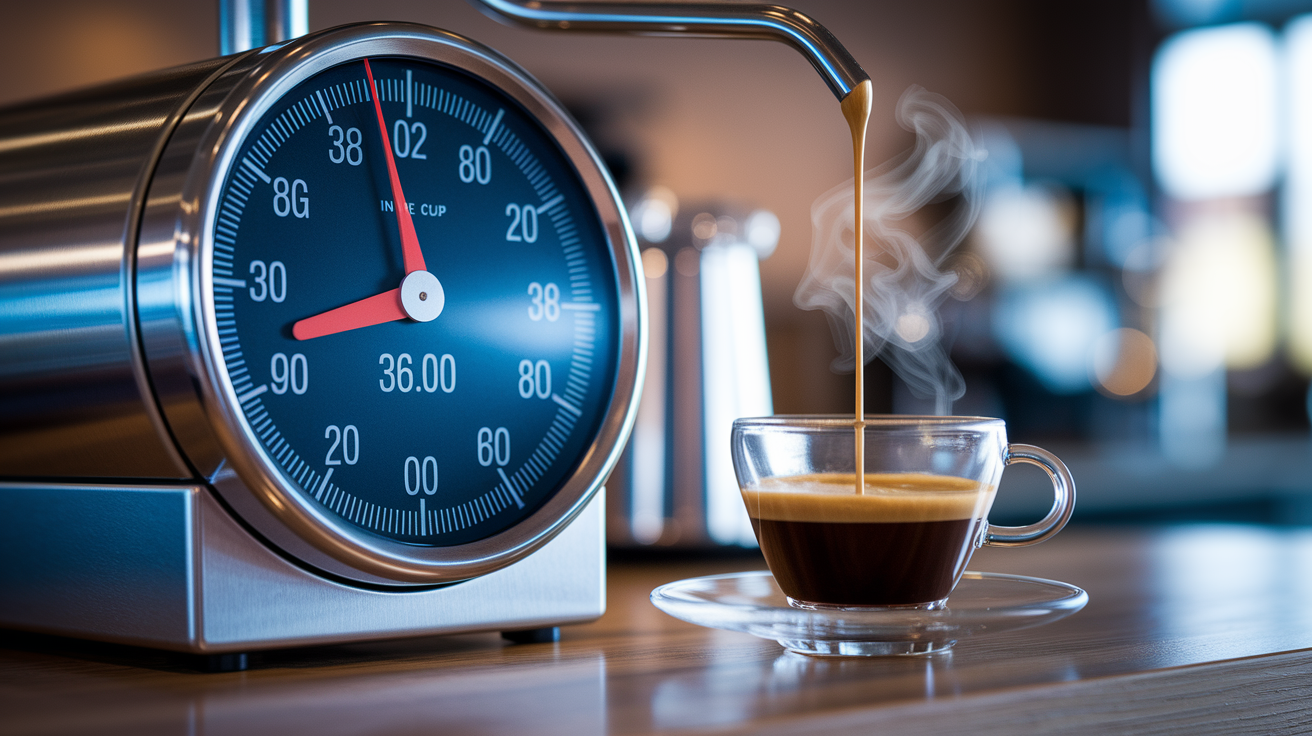
Shot time is how many seconds your pump runs from first contact until you stop the pull. Yield is the actual mass of espresso that lands in your cup, measured in grams. Most home baristas aim for 1:2—18 grams of coffee in, 36 grams out. Commercial cafés might stretch to 1:3 for something milder or pull back to 1:1.5 for ristretto punch. When you track both numbers together, you can see whether your grind, distribution, and tamp are holding steady or wandering shot to shot.
Weighing every shot turns guesswork into information you can actually use. A scale with 0.1 gram resolution catches tiny dose errors before they snowball into sour or bitter pulls. When you see 18.2 g one morning and 17.8 g the next, that 0.4 gram swing can steal three seconds of extraction time and shift flavor from balanced to thin. Precision also shows you grinder drift. Beans aging over a week may need two clicks finer to hit the same 27 second window you dialed in on day one.
Modern espresso scales show weight and time side by side, so you’re not trying to count seconds while watching the stream. Auto start modes kick the timer on as soon as liquid hits the drip tray, cutting out reaction lag. Dual LED readouts stay visible under dim café lighting or bright kitchen windows, and a 5 kilogram capacity handles anything from a single 18 gram dose to weighing out two pounds of beans.
Key benefits of using an espresso scale:
- Repeatable dosing. 0.1 g resolution catches differences smaller than a pinch of grounds.
- Real time yield tracking. Stop the shot exactly when you hit target grams, not when the cup looks “about right.”
- Objective diagnosis. Compare today’s 18 g to 36 g in 22 seconds against yesterday’s 18 g to 36 g in 29 seconds and know immediately which variable drifted.
- Flow rate math. Divide yield by time (36 g ÷ 25 s = 1.44 g/s) to quantify extraction speed and spot channeling spikes.
- Confidence in adjustments. Change one variable, re-weigh, and measure the effect in grams and seconds instead of tasting blind.
Establishing a Baseline Espresso Recipe
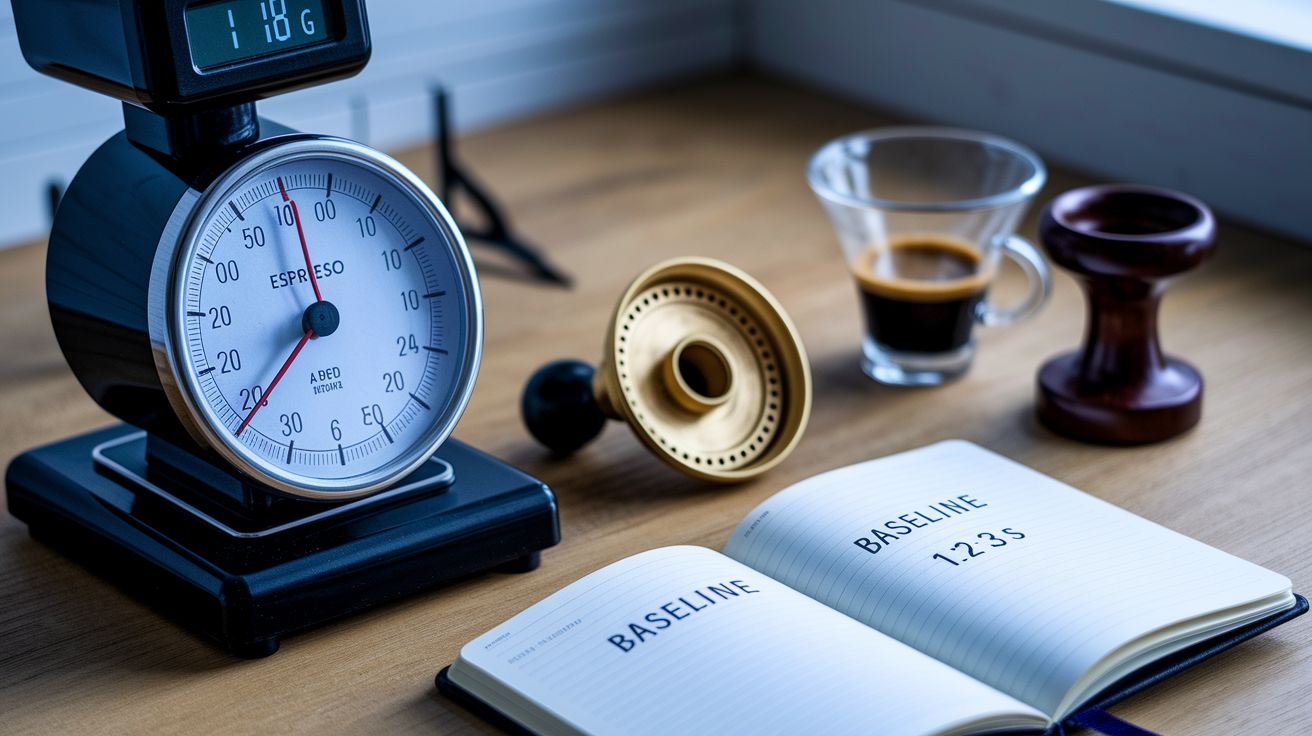
Pick one stable recipe and stick with it for a full bag of beans. Start with your basket’s recommended dose: 18 grams for a standard double basket, 16 grams if you’re running a smaller precision basket, or 20 grams if you’ve got a ridgeless triple. Aim for 1:2 first, so 18 g in means 36 g out. Target a 25 to 30 second extraction window from pump start to scale stop. That combination lands most medium roast coffees in a balanced, slightly sweet zone before bitterness or sourness take over.
Consistency in puck prep matters more than chasing exotic ratios. Distribute grounds evenly with a WDT tool or gentle tap, tamp with steady downward pressure, and wipe the basket rim clean before locking in. Record every pull: dose to the tenth of a gram, final yield, total seconds, grinder setting, and a one line flavor note. After five identical pulls, calculate average time and yield. That average becomes your reference point for diagnosing any future drift.
How to create a reliable baseline:
- Weigh your dry dose on the scale, tare the portafilter, dose into the basket, confirm weight matches your target plus or minus 0.1 g.
- Distribute and tamp using the same motion every time. Aim for a level, polished puck surface with no cracks.
- Start your pull and timer simultaneously. If your scale has auto start, place the cup and let the first drip trigger the clock.
- Stop at target yield (36.0 g, for example), note total seconds, then log dose, yield, time, grind setting, and taste in a notebook or app.
Interpreting Shot Time Fluctuations
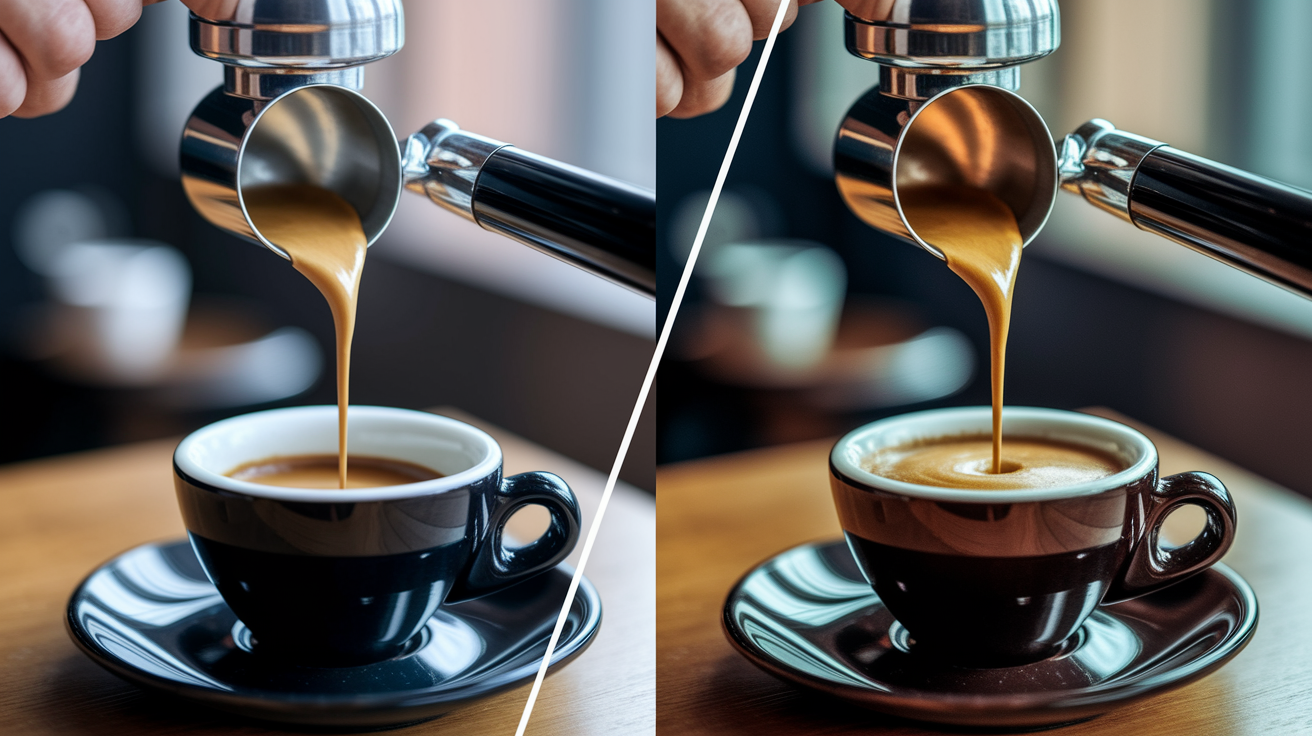
Fast shots finish in under 20 seconds and usually taste sour, thin, or grassy because water races through without dissolving enough solubles. The most common cause is grind that’s too coarse. Larger particles create wide gaps, water finds the path of least resistance, and you end up with 18 g in and 40 g out in 15 seconds. Channeling also accelerates flow when a crack opens in the puck, letting a jet of water bypass most of the coffee and dump straight into the cup. Check your spent puck for a single deep crater or a ring of dry grounds clinging to the basket wall.
Slow shots stretch past 35 to 40 seconds and often taste bitter, astringent, or hollow. Grinding too fine chokes the puck, and water barely trickles through. You might dose 18 g, hit only 28 g of yield after 45 seconds, then watch the pressure gauge spike as the pump fights the restriction. Over dosing has a similar effect. Cramming 20 grams into an 18 gram basket compresses the puck so tightly that flow nearly stops. A clogged shower screen or a basket caked with old oils will also strangle extraction, especially if you haven’t backflushed in a month.
Erratic shots jump between 24 seconds one pull and 31 seconds the next, even when you think you dosed and tamped the same way. That variability points to inconsistent distribution or clumpy grounds. Static charged fines stick together in one corner, leaving voids elsewhere, so water finds the void and races through while the clump stays dry. Worn grinder burrs produce uneven particle sizes, and even a 0.5 gram dose swing (18.2 g vs 17.7 g) can shift extraction time by three seconds. Temperature surfing or an aging group gasket can also introduce shot to shot randomness that no grind adjustment will fix.
Diagnosing Causes of Inconsistent Extraction
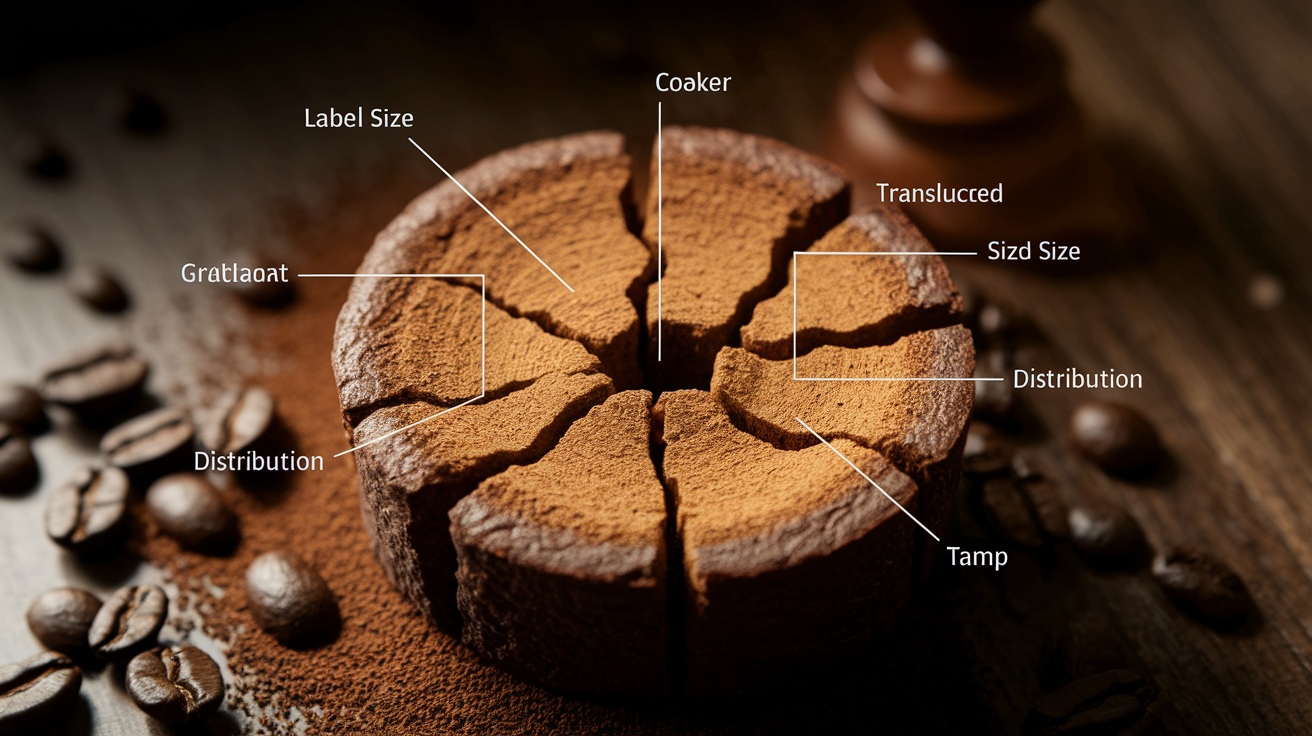
Grind size is the most sensitive lever in your espresso system. A single notch on a stepped grinder or two degrees of collar rotation on a stepless model can move shot time by five to eight seconds. When beans age or ambient humidity changes, the same grind setting that pulled 27 seconds last week might suddenly run 22 seconds today. Fines migration also plays a role. Ultra fine particles settle at the bottom of the puck during tamping and form a dense layer that slows flow in the final third of the shot, creating a back heavy extraction curve.
Channeling happens when puck density isn’t uniform. A high spot near the edge, a void left by poor distribution, or a crooked tamp creates a weak point. Pressure follows the path of least resistance, carving a tunnel through soft spots and leaving surrounding coffee under extracted. You’ll see this as a sudden spike in flow rate halfway through the pull, or a spent puck with one deep hole and dry grounds everywhere else. Even a 30 pound tamp won’t save a poorly distributed dose.
Dose consistency directly affects resistance. Adding 0.5 grams might seem trivial, but in an 18 gram basket it changes puck height enough to alter headspace and compression. Too little coffee leaves a gap under the shower screen, inviting uneven wetting and splash through. Too much coffee forces the puck against the screen before you lock the portafilter, pre compressing unevenly and risking a stuck or damaged gasket. Basket cleanliness and portafilter fit also matter. A single clogged hole or a bent basket rim will throw off flow no matter how perfect your puck prep looks.
| Cause | Typical Symptom | Impact on Shot Time |
|---|---|---|
| Grind too coarse | Fast, thin stream; sour taste; light crema | Finishes 5 to 10 s early (18 s instead of 27 s, for example) |
| Grind too fine | Slow drip; bitter taste; pressure gauge spikes | Extends 10 to 20 s beyond target (45 s instead of 28 s, for example) |
| Channeling (uneven distribution) | Sudden gush mid pull; dry spots in puck; single deep crater | Erratic: early finish or uneven flow curve |
| Clogged shower screen or basket | Very slow start; uneven wetting; oily residue visible | Adds 5 to 15 s; worsens over days without cleaning |
Adjusting Variables to Correct Shot Time Issues
Make one change at a time and pull two or three shots to confirm the effect before moving to the next variable. Start with grind because it has the biggest leverage. If your shot ran fast (under 22 seconds), grind one or two clicks finer and re test. If it ran slow (over 35 seconds), open the grind by one click and check again. Wait 15 to 30 seconds after adjusting a grinder to let residual grounds from the old setting clear the chute, or purge a small amount before dosing your next basket.
Step by step variable adjustments:
- Grind size. Adjust one notch finer for fast shots, one notch coarser for slow shots. Expect a 3 to 8 second shift per click on most grinders.
- Dose weight. Increase by 0.5 to 1.0 g if grinding finer alone didn’t slow the shot enough. Reduce by 0.5 g if you’re still choking even after coarsening.
- Distribution technique. Switch to WDT (Weiss Distribution Technique) or a puck rake if you see channeling. Consistent distribution reduces shot to shot time variance by 2 to 4 seconds.
- Tamp pressure. Use the same force every pull (roughly 30 pounds or 13 to 14 kg). An inconsistent tamp introduces plus or minus 3 second swings even when dose and grind stay locked.
- Basket and screen cleanliness. Backflush weekly with detergent and soak the basket in hot water and cafiza monthly. A clean system recovers 2 to 5 seconds lost to oil buildup.
- Machine pressure and temperature. If all puck variables are stable but times still wander, check brew pressure (target 9 bar) and verify the boiler isn’t temperature surfing. Consult your machine’s manual or a technician for pressure adjustment.
Step by Step Troubleshooting Guide Using an Espresso Scale
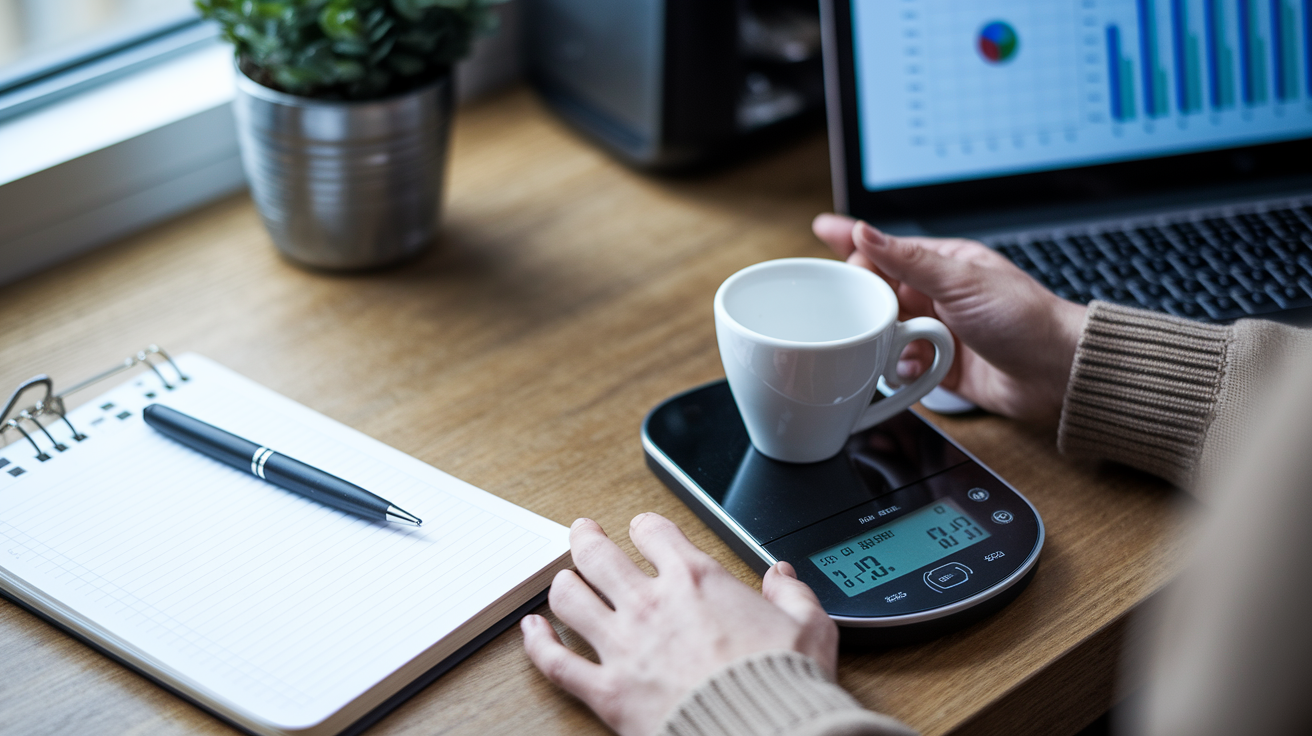
An espresso scale turns vague complaints like “my shots taste off” into objective measurements you can actually fix. Real time flow rate tracking (grams per second) reveals channeling the moment it starts. A smooth 1.3 g/s climb that suddenly jumps to 2.1 g/s at the 12 second mark tells you a crack opened in the puck. Logging yield over a week exposes grinder drift before your palate notices, so you can tighten the grind by one click on Tuesday instead of wondering why Friday’s espresso tastes sour.
Practical troubleshooting sequence:
- Zero the scale with your empty cup, start the timer manually or let auto start catch the first drop, and watch both weight and seconds as the shot builds.
- Record dose, yield, and time for every pull. Calculate average flow (yield ÷ time) and compare it to your baseline (36 g ÷ 27 s = 1.33 g/s, for example).
- Identify the deviation. If today’s shot finished in 19 seconds instead of 27, note whether yield also dropped (indicating a true fast shot) or stayed the same (suggesting higher flow rate from channeling).
- Make one adjustment based on the diagnosis. Grind finer for fast, low yield shots. Coarsen for slow, low yield chokes. Improve distribution if time is erratic but dose and grind haven’t changed.
- Pull two confirmation shots and log results. If the problem persists, move to the next variable (dose, tamp, cleaning) rather than over correcting grind in one direction.
Track your numbers in a simple table: date, bean batch, dose (to 0.1 g), grind setting, yield, time, calculated flow rate, and a one word taste note. After ten pulls you’ll see patterns. “Every time I hit 1.5 g/s I get brightness; every time I drop to 1.1 g/s I get bitterness.” That information tells you exactly where your sweet spot lives, and when a fluctuation drags you out of it you’ll know which knob to turn and how far to turn it.
Final Words
We used an espresso scale to watch extraction time and beverage yield, set a simple baseline recipe, and mapped common fast, slow, and erratic shot patterns.
You learned to diagnose puck and grind issues and make one small change at a time: grind, dose, or tamp. The step by step checks help you spot channeling and drift before you waste beans.
Next, practice interpreting shot time fluctuations using an espresso scale with an 18 g dose aiming for 36-45 g in your target time window. Small, consistent habits add up. You’re on the right track.
FAQ
Q: What are shot time and yield, and why do they matter?
A: Shot time is the extraction duration and yield is the beverage mass; tracking both gives consistent strength and flavor because time shows extraction speed and yield shows how much ends in the cup.
Q: Why should I use an espresso scale when brewing?
A: Using an espresso scale helps you monitor dose, flow, and yield in real time; it reveals grinder drift and channeling, reduces waste, and makes tweaks repeatable with clear numbers to track.
Q: What espresso brew ratio should I target for a baseline recipe?
A: The espresso brew ratio to target is about 1:2 to 1:3, for example 18 g in → 36–54 g out; typical doses run 16–20 g depending on basket size.
Q: How do I establish a baseline espresso recipe?
A: To establish a baseline recipe, pick a stable dose, set a ratio target, note a target time window, and change only one variable per test while recording yield on a scale.
Q: What does a fast shot mean and how do I fix it?
A: A fast shot usually means the grind is too coarse or the puck channeled; fix it by grinding slightly finer, improving distribution, and rechecking dose and tamp before retesting.
Q: What does a slow shot mean and how do I fix it?
A: A slow shot usually means the grind is too fine or you overdosed; fix it by coarsening the grind a click or two, reducing dose slightly, and checking puck prep.
Q: What commonly causes erratic shot times?
A: Erratic shot times come from uneven distribution, inconsistent tamp, grinder drift, or machine temperature changes; check puck prep, record several shots, and isolate one variable to test.
Q: How small should adjustments be when correcting shot time?
A: Make small tweaks: adjust the grinder 1–2 clicks, change dose by 0.5–1 g, and keep tamp pressure consistent; then measure time and yield to judge the effect.
Q: How do I use a scale to troubleshoot extraction?
A: Using a scale to troubleshoot means weighing dose, starting the timer at the first drop, watching grams per second, recording final yield, then comparing results across shots to spot drift.
Q: What does “better” look like after adjusting shot time or yield?
A: Better looks like the same yield and extraction time shot to shot, a steady thin honey-colored stream, consistent taste, and fewer wasted shots with predictable results.