

Think a shot timer is only for baristas with white coats?
It is the fastest tool to make espresso shots repeatable and stop wasting beans, because time tells you exactly how long water touches the puck.
This post gives a clear, step-by-step way to use a timer (scale or standalone), choose a consistent start method, and use the 25–35 second target as your main dial-in cue so you can fix grind, dose, or puck prep one change at a time.
Using a Shot Timer for Immediate Espresso Dial-In Accuracy
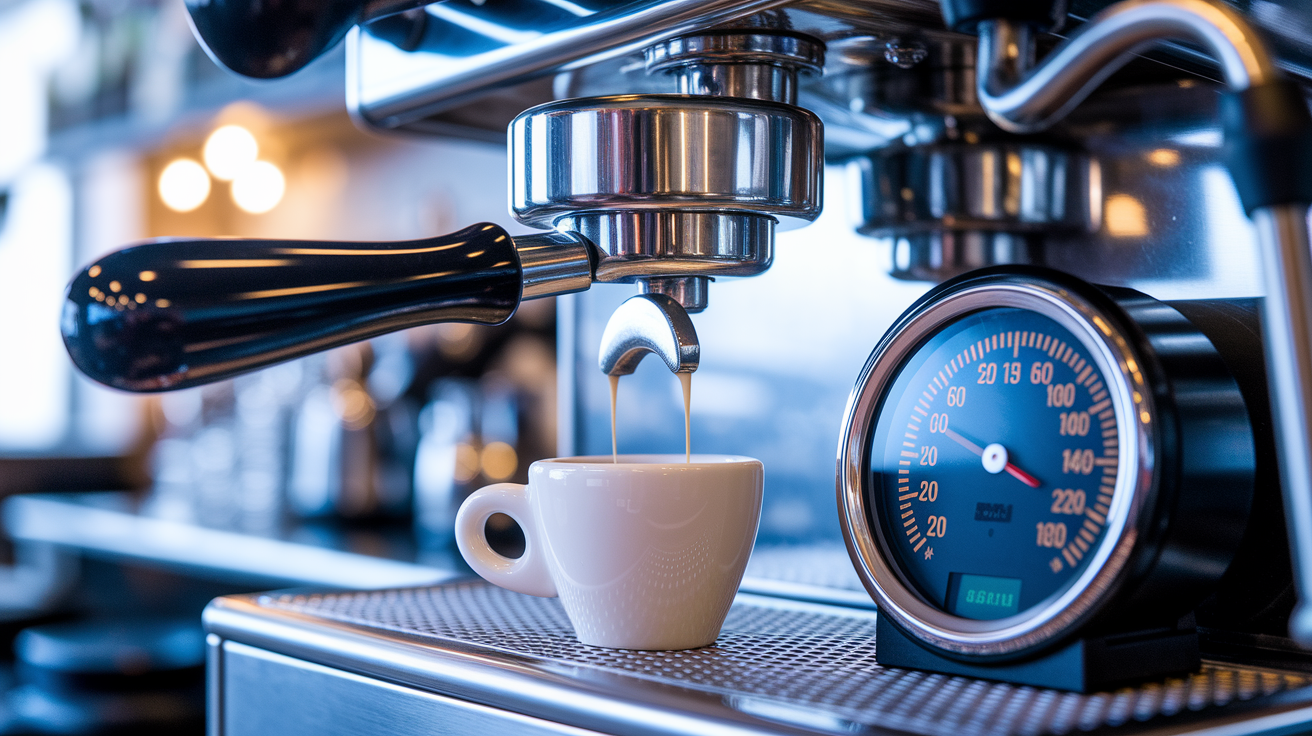
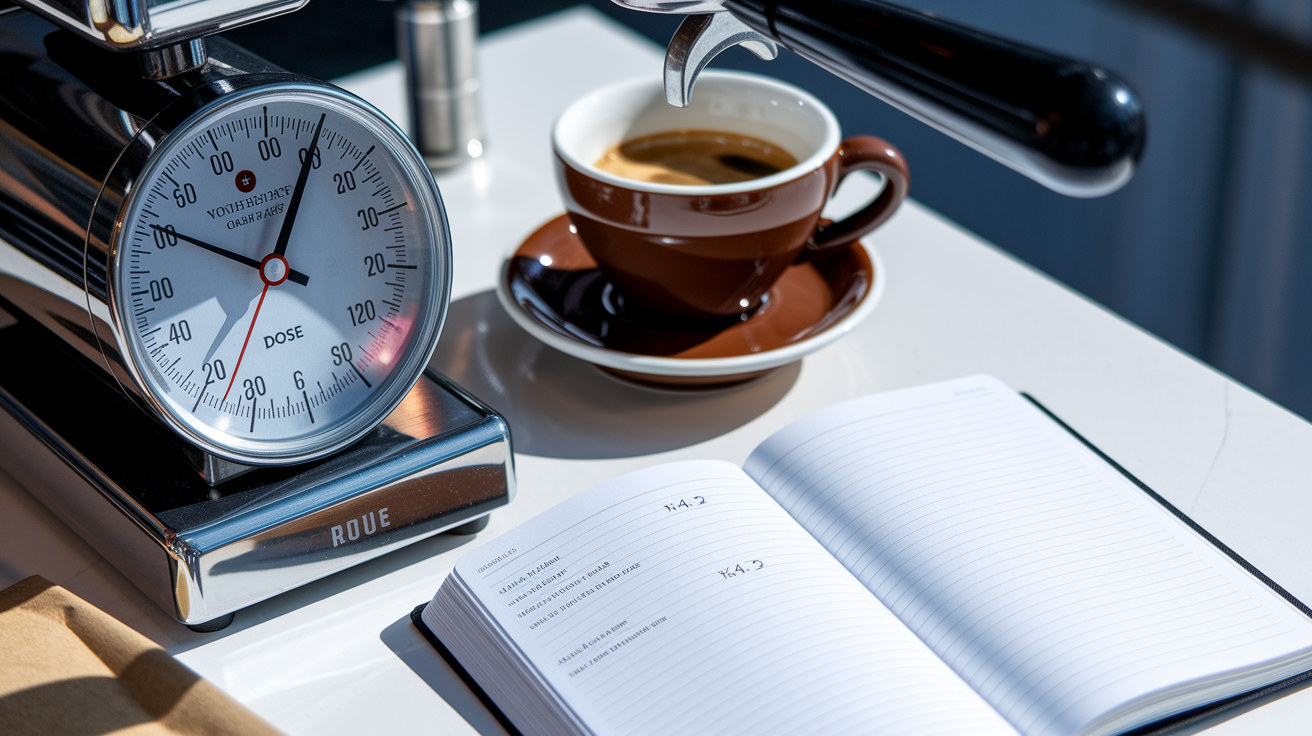
A shot timer gives you the single most useful number for tracking extraction: how many seconds water touches the coffee puck. You can use a standalone digital timer sitting on the counter or a scale with a built-in timer under your cup. Both work fine as long as you can read the display while you’re pulling the shot.
Put the timer where you’ll actually see it mid-pull. If you’re using a scale with timer, set the empty cup on top, tare to zero, lock in the portafilter, and get ready. If you’ve got a separate timer, keep it close to the machine, somewhere you can glance at without leaning.
Different people start the timer at slightly different moments. Some press start when the pump kicks on, others wait for the first drip. Pick one. Stick with it every time. The consistency matters more than which method you choose.
Here’s the basic procedure:
- Lock the portafilter into the grouphead, put the cup on your scale (if you’re using a scale-timer combo), and tare.
- Hit the brew button and start the timer at the same moment.
- Watch the scale climb while keeping an eye on the timer.
- When the scale hits your target yield (usually 40 to 45 grams), stop the shot and stop the timer.
- Note the final time. That’s your extraction time for that pull.
This sequence captures how long water flowed through the puck at brewing pressure to produce the measured output.
Understanding Espresso Shot Time and Its Role in Dialing In
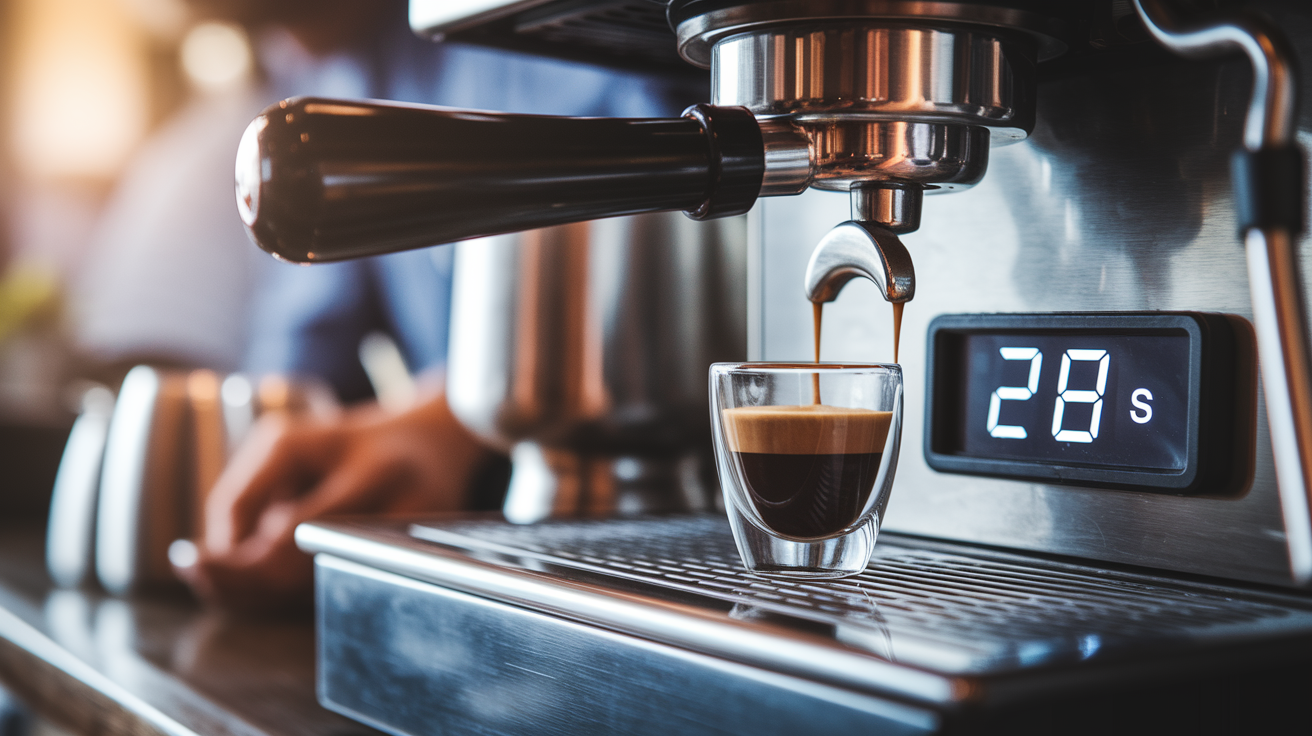
Shot time is the duration from when you start the pump until you stop the shot at your target yield. Most well-extracted espresso lands between 25 and 35 seconds when you’re pulling a standard double (around 18 grams in, 36 to 45 grams out). Time alone doesn’t guarantee good flavor, but it acts like an early-warning system for flow problems before you even taste.
When extraction runs too short, water rushes through before fully dissolving the compounds that create sweetness and body. When it drags too long, water keeps pulling compounds past the point of balance, including bitter, harsh flavors that take over the cup. Timing helps you catch both extremes quickly so you can adjust before burning more beans.
Timing ranges and typical flavor results:
- Under 20 seconds: Very fast, very sour, thin body, almost no crema. Classic under-extraction.
- 20 to 25 seconds: Quick, often sour or sharp. Acceptable on some lighter roasts but usually still under-extracted.
- 25 to 35 seconds: Target window for most espresso. Balanced sweetness, pleasant acidity, smooth body, thick crema.
- Over 35 seconds: Slow, often bitter, heavy, astringent finish. Over-extraction territory.
Using Shot Timer Data to Adjust Grind Size

Grind size is your primary control for shot time. Grind finer and water slows down, extending extraction. Grind coarser and water flows faster, shortening the shot. When your timer shows the shot finished outside the 25 to 35 second window, grind adjustment is the first thing to try.
Say you dose 18 grams, pull to a yield of 40 grams, and the timer stops at 20 seconds. That’s fast. The fix: grind finer. Make a small adjustment on the grinder (one or two notches, or a quarter-turn, depending on your grinder), pull another shot using the same dose and target yield, then check the new time. If it climbs to 28 seconds, you’re dialed in. If it only reaches 23 seconds, go a bit finer again.
On the flip side, if your 18-gram dose took 42 seconds to reach 40 grams, the grind’s too fine. Adjust coarser by the same small increment, pull again, and watch for the time to drop into the target range. The key rule is to change only one variable at a time. Don’t adjust grind and dose and tamp pressure all at once, or you won’t know which change fixed (or broke) the shot.
Shot Timer Use With Dose, Yield, and Brew Ratio

The timer doesn’t work by itself. You’re always balancing three connected numbers: input dose (grams of dry coffee), output yield (grams of liquid espresso), and the time it takes to get from one to the other. Brew ratio is the relationship between input and output, most commonly 1:2 (18 grams in, 36 grams out).
Start the timer when you press the brew button. Stop it when the scale under your cup hits the target yield. That final time reading tells you whether water moved through the puck at the right speed for that ratio. If you change the ratio (pulling longer at 1:2.5 or shorter at 1:1.5), you also change the expected time, because more or less water is traveling through the same puck.
| Dose (g) | Target Yield (g) | Expected Time (s) |
|---|---|---|
| 18 | 36 (1:2 ratio) | 25–30 |
| 18 | 27 (1:1.5 ratio, thicker) | 20–25 |
| 18 | 45 (1:2.5 ratio, lighter) | 30–35 |
If your dose or ratio changes, recalibrate your timing expectations. A 1:1.5 ristretto will naturally finish faster even at the same grind because less water is flowing. A 1:2.5 lungo will take longer. Use the timer to confirm the flow rate stayed consistent across different recipes.
Shot Timer Techniques for Better Puck Preparation
Good puck prep stabilizes your shot times. If the coffee bed has clumps, gaps, or an uneven surface, water will find the easiest path and rush through in patches. That creates channeling—fast, uneven extraction that throws off both your timer reading and your flavor.
Distribute the grounds evenly in the basket before tamping. Use a distribution tool, WDT needles, or light taps to settle and break up clumps. Then tamp with consistent, level pressure, around 20 to 30 pounds of force. You can calibrate tamp pressure using a bathroom scale: press the tamper onto the scale until it reads 25 pounds, then remember what that effort feels like in your wrist and shoulder.
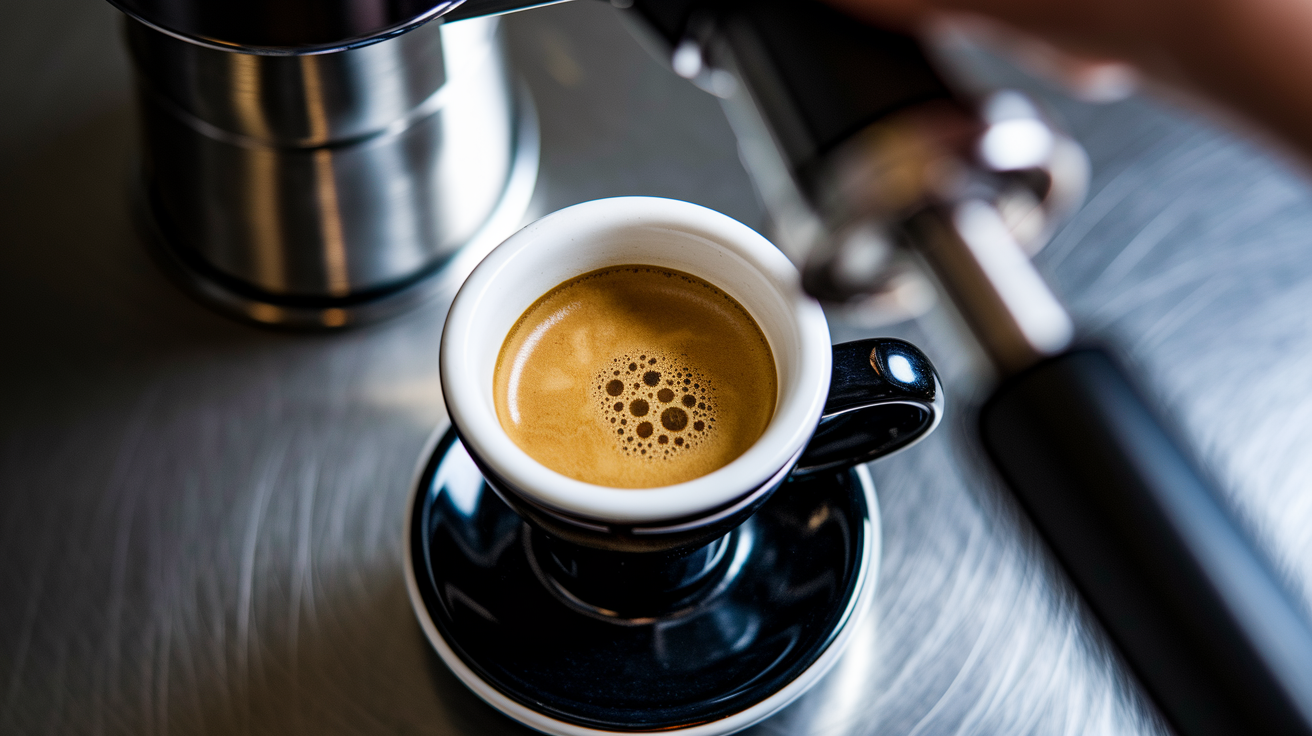
When puck prep is clean and repeatable, your timer becomes predictable. A well-prepared puck produces a steady, honey-like stream with even color and thick crema. The timer will hit the same number shot after shot when you dose the same, grind the same, and prep the same. If times start jumping around (28 seconds, then 22, then 31), look at distribution and tamping before blaming the grinder.
Choosing a Shot Timing Method: Button Push vs First Drip
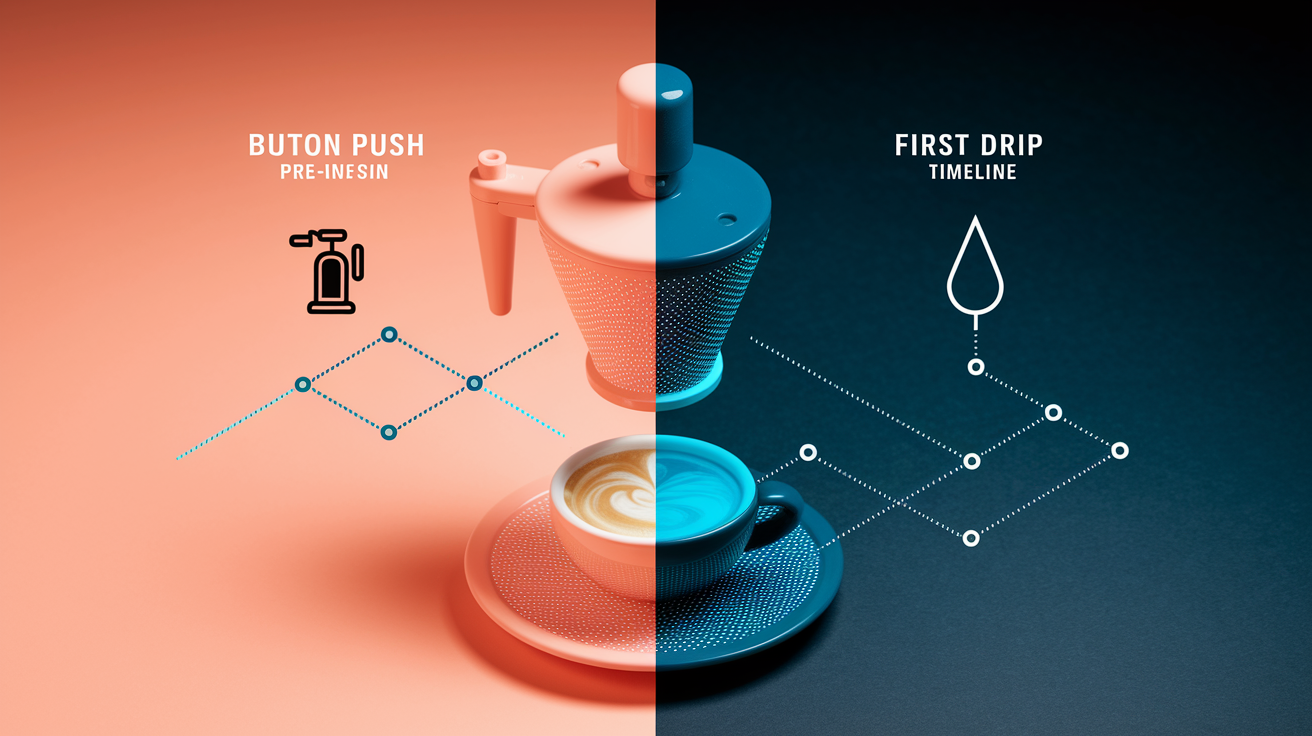
There are two common ways to start the timer, and each has a reason behind it. Button Push timing starts the clock the moment you activate the pump. First Drip timing starts when the first liquid appears in the cup. Both are valid, but they measure slightly different things.
Button Push Method
Start the timer when you press the brew switch or engage the lever. This method captures everything that happens from the instant water pressure reaches the puck, including any pre-infusion phase when the machine gently saturates the coffee before full pressure kicks in. It’s honest about total contact time and reflects how your specific machine behaves. Machines with long, low-pressure pre-infusion will show longer button-push times even when the active extraction window is the same as a faster machine.
First Drip Method
Start the timer at the first visible drip into the cup. This approach normalizes timing across different machines and pump types, making it easier to share recipes with other people. A machine with a 10-second pre-infusion and a machine with instant pressure will both show similar first-drip times if the grind and flow are equivalent. First Drip is cleaner for communication but hides pre-infusion differences that affect flavor.
When to use each method:
- Dialing in for yourself: Use either method as long as you stay consistent. Pick one and stick to it every day.
- Sharing a recipe with others: Report both pre-infusion length and total time so people on different machines can replicate your results.
- Testing new beans: Button Push captures more data if you care about how pre-infusion interacts with freshness or roast level.
- Quick workflow checks: First Drip is simpler to spot without watching the pump. Just look at the cup and start the timer.
Troubleshooting Espresso Using Shot Timer Feedback

The timer reveals flow problems before you taste. If your shot finished in 18 seconds at your target yield, you know immediately that water moved too fast, even if the crema looks okay. If it took 45 seconds, you know extraction dragged, and bitterness is likely. Use time as the first diagnostic clue, then confirm with visual cues and taste.
Fast shots (under 25 seconds) usually taste sour, thin, or weak. The most common cause is grind that’s too coarse, but channeling from poor distribution or light tamping can also speed things up. Check the bottom of your portafilter after the shot. If you see one big wet crater or multiple tunnels in the puck, that’s channeling. Fix distribution and tamp before grinding finer.
Slow shots (over 35 seconds) tend toward bitterness, heaviness, or a dry, harsh finish. The first fix is a coarser grind. If grinding coarser doesn’t help and you’re using a small or worn basket, check that your dose isn’t overloading the basket and choking flow. A balanced shot in the 25 to 35 second range will show a steady stream the color of warm caramel, with thick, lasting crema. The flow should look like honey pouring from a spoon: smooth, controlled, no sputtering or spraying.
Common timing problems and solutions:
- Shot pulls in 15 to 20 seconds, tastes sour: Grind finer. If that doesn’t work, check tamp pressure and distribution for channeling.
- Shot pulls in 40+ seconds, tastes bitter: Grind coarser. If still slow, reduce dose slightly or verify basket size.
- Timer jumps around (22 s, 30 s, 26 s on identical doses): Inconsistent puck prep. Use WDT and tamp with repeatable pressure.
- Bottomless portafilter sprays or spritzes early, time is fast: Channeling from clumps or uneven tamp. Improve distribution before adjusting grind.
- Shot starts normally then blonds (turns pale yellow) before target yield: Likely under-dosed or stale beans. Check bean freshness. Grind finer if beans are within 3 to 14 days post-roast.
- Thick, dark stream that barely drips, timer climbs past 50 seconds: Grind way too fine or basket is clogged. Grind much coarser. Clean the basket and grouphead screen.
Building a Consistent Dial-In Routine Using a Shot Timer
A repeatable dial-in routine turns guesswork into a process. Start with a standard recipe (18 grams in, target 36 to 40 grams out, aiming for around 30 seconds) and use the timer to track every pull while you adjust. Once you find the grind setting that hits the time window and tastes balanced, write it down. Coffee changes as it ages, so plan to re-dial daily or every few days, especially in the first two weeks after roasting.
Use a notebook or your phone to record the grind setting (burr position, dial number, or clicks from zero), dose weight, final yield, and shot time. Add a quick flavor note: “balanced,” “still sour,” “too bitter.” When you pull your next shot and the timer says 22 seconds instead of 30, you’ll know the beans are degassing and flowing faster. A small adjustment finer brings the time back and keeps flavor consistent.
Standard dial-in routine:
- Weigh and dose: Place the portafilter on a scale, tare, dose your target weight (e.g., 18 grams).
- Distribute and tamp: Use WDT or a distribution tool, then tamp level at consistent pressure (~25 pounds).
- Start timer and pull: Lock in the portafilter, place cup on scale (tare if needed), press brew and start timer together, stop the shot when the scale reads your target yield.
- Record time and taste: Note the time, stir the crema, taste for balance. Write down grind setting, dose, yield, time, and a quick flavor note.
- Adjust one variable: If time or taste is off, adjust grind (or dose if grind is maxed out), then repeat steps 1 to 4 until you hit the window and flavor is clean and sweet.
Final Words
Hit the brew switch, start the timer, and watch the flow. Stop when you reach your target yield (40–45 g) and check the clock — aim for about 25–35 seconds.
Use that time to guide one change at a time: grind finer if it’s too fast, coarser if it’s too slow. Tighten up distribution and tamping so the timer measures extraction, not channeling.
Practice the start-monitor-stop-record cycle. Learning how to use a shot timer to dial in espresso makes dialing faster, wastes less coffee, and gets better shots.
FAQ
Q: When to start timer when dialing in espresso?
A: You should start the timer when you activate the pump (brew switch) so it captures pre-infusion; stop when you hit your target yield (often 36 g for 18 g dose, or 40–45 g). Different start approaches exist.
Q: How do I dial in a shot of espresso?
A: You dial in a shot by setting dose, target yield, and time, then changing one variable at a time: start 18 g → 36 g, aim 25–35 s; grind finer if too fast, coarser if too slow.
Q: What is the 15-15-15 coffee rule?
A: The 15-15-15 coffee rule is not a standard espresso rule; it’s a loose filter-brew guideline. For espresso, use dose, yield, and time—e.g., 18 g → 36 g in about 30 s—then adjust by taste.
Q: What is the ratio for dialing in espresso?
A: The ratio for dialing in espresso is the input dose to output yield. A common starting point is 1:2 (18 g in → 36 g out); try 1:1.5 or 1:2.5 to tweak strength and extraction.