
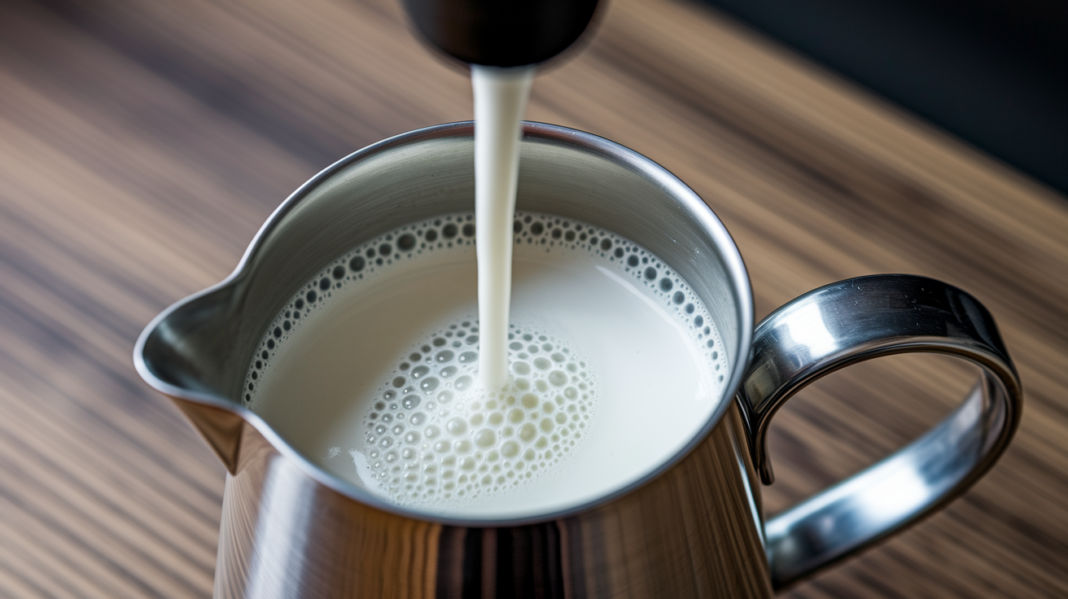

Think stretching and texturizing milk are the same?
They’re not, and mixing them up ruins shots fast.
Stretching adds air at the surface to boost volume and build a foam cap.
Texturizing folds that air into tiny, even bubbles so milk pours silky and holds latte art.
Read on to learn one simple, repeatable sequence: a short surface stretch (listen for a light chirp), then drop the tip to create a steady vortex and finish at 60 to 65°C for glossy microfoam.
Key Differences in Stretching Milk vs Texturizing Milk
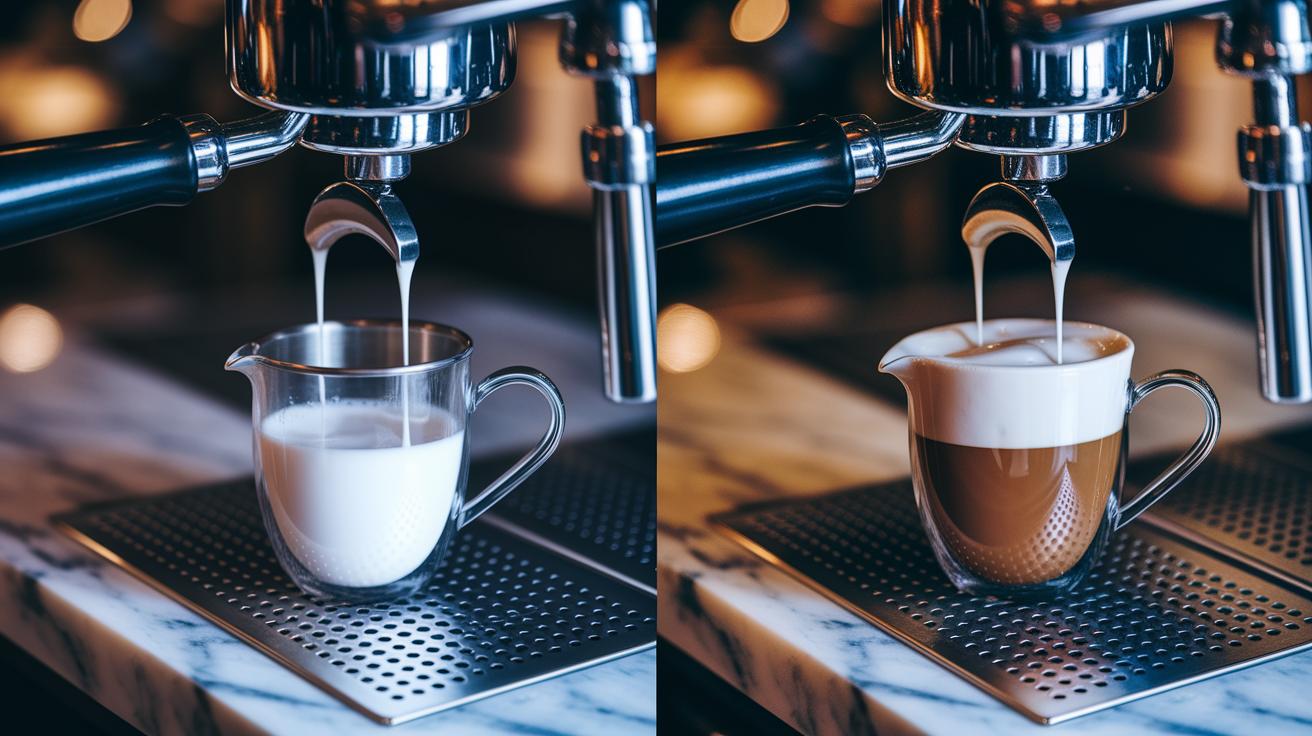
Stretching milk means you’re deliberately adding air at the surface to boost volume and build foam. The steam wand tip stays right at the milk line (or just breaking through it), pulling in air that expands the liquid and grows visible bubbles. You stretch when you want thicker, stiffer foam sitting on top, especially for cappuccinos or drinks where foam separation from the liquid matters.
Texturizing is about creating microfoam, that silky matrix of tiny, uniform bubbles folded smoothly into heated milk. After you introduce air, the wand drops slightly below the surface and angles off center to spin a whirlpool that shears and refines bubbles into glossy, velvety texture. Microfoam is what you need for latte art and drinks that pour smoothly without big, separated foam.
The difference comes down to what you’re building. Stretching increases volume through deliberate aeration. Texturizing polishes that aerated milk into fine microfoam by folding and integrating bubbles. Often you’ll stretch briefly at the start, then texturize to finish. Or you skip aggressive stretching entirely if the drink needs smooth, silky milk instead of a tall foam cap.
Here’s how the two phases stack up:
Volume change: Stretching visibly expands the milk and lifts the surface. Texturizing maintains or slightly increases volume while refining bubble size.
Bubble size: Stretching creates larger, separate bubbles if overdone. Texturizing produces tiny, evenly distributed microfoam.
Sound cue: Stretching makes a gentle hissing or chirping when the tip breaks the surface. Texturizing sounds quieter and steadier once the wand submerges and the vortex forms.
Milk temperature: Stretching should happen before the milk hits 100°F. Texturizing continues from there up to a final target of 60–65°C (140–149°F), stopping before 155°F to prevent scalding.
Drink usage: Stretching suits cappuccinos and drinks where you want a pronounced foam layer. Texturizing suits lattes, flat whites, and any pour demanding smooth, integrated microfoam for latte art.
Milk Stretching Technique for Volume and Foam Control
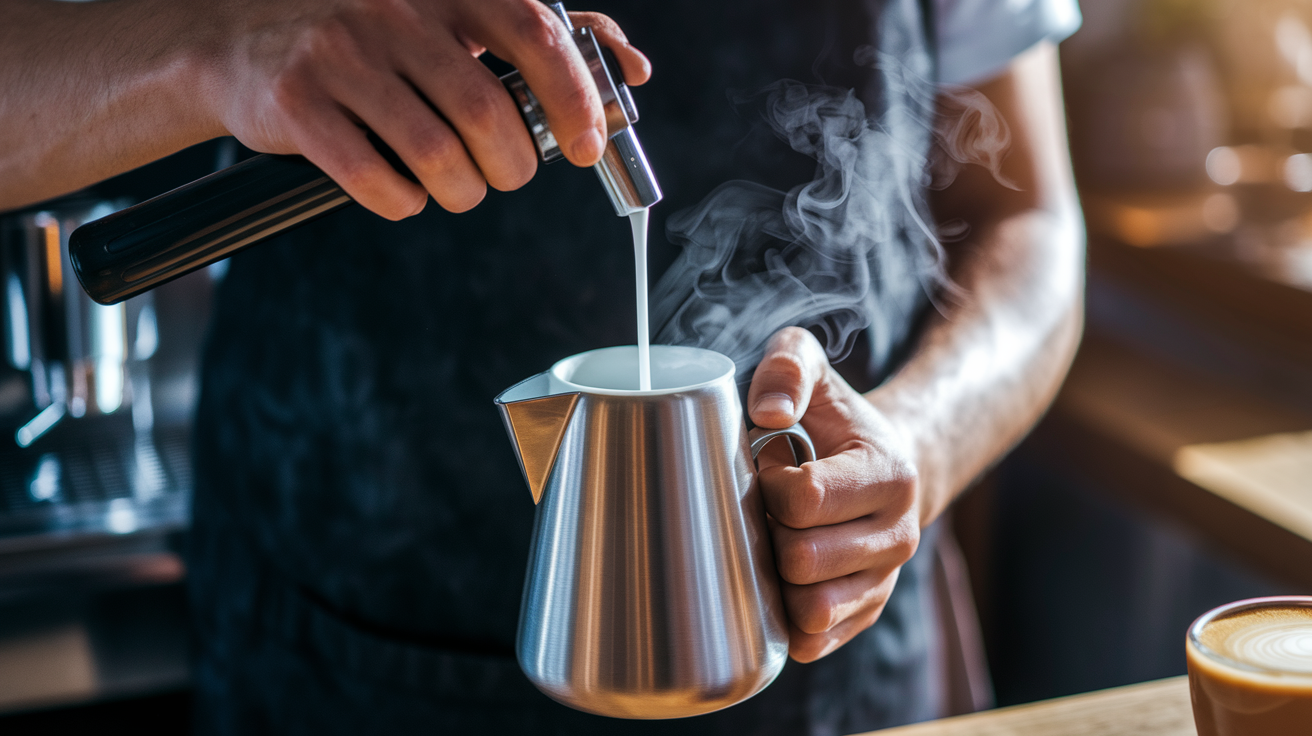
Stretching starts with a cold jug and a purged steam wand. You position the steam tip right at the milk surface, just barely breaking the plane, and open the steam valve to full power. Air enters with a soft hissing or light chirping sound, and the milk level climbs as bubbles form and expand. The goal is controlled air introduction, not a violent splutter. Watch the surface and listen. A gentle, rhythmic chirp means you’re pulling in air at the right rate.
Once the volume has increased to the level you want (more for cappuccino, less for a latte), you lower the tip slightly below the surface to stop introducing new air and continue heating. The stretching phase is brief, often only a few seconds, especially when you’re aiming for microfoam rather than stiff froth. If you keep the tip at the surface too long or angle it too aggressively, you’ll create large, unwieldy bubbles that won’t integrate into smooth microfoam.
Here’s the basic sequence for incorporating air during the stretching phase:
Purge the steam wand. Release a short burst of steam to clear any condensation before the tip touches the milk.
Position tip at the surface. Place the steam wand at or just breaking the milk line. Tilt the pitcher slightly if needed to keep the tip accessible.
Introduce air briefly. Open steam to full and allow the gentle hissing sound to continue until the milk expands to your target volume. This usually happens before the milk reaches 100°F.
Transition to heating and texturizing. Lower the wand tip just below the surface to stop air intake and continue heating while you begin forming the vortex.
Aggressive stretching risks creating a dry, separated foam cap that won’t pour or integrate. Less is often more when you’re learning.
Milk Texturizing Technique for Silky Microfoam
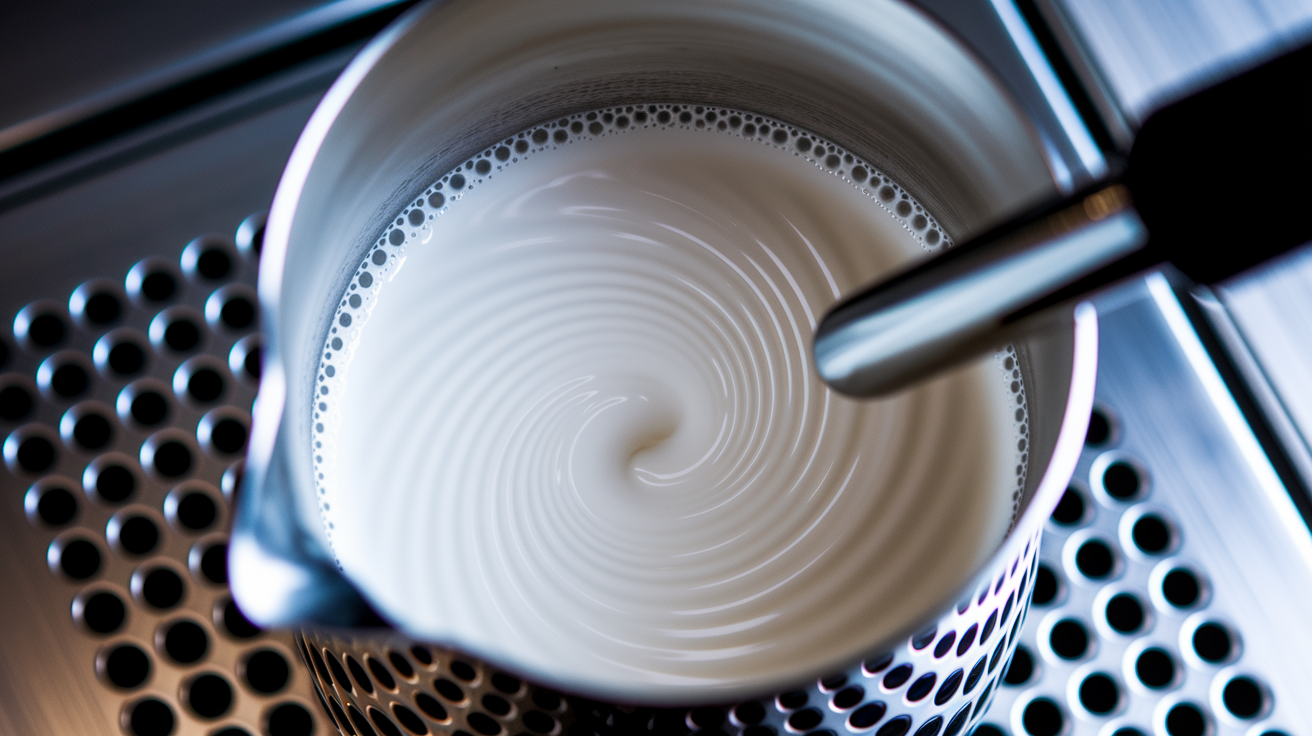
Texturizing is the process of refining aerated milk into uniform, creamy microfoam by using steam pressure and jug movement to shear and fold bubbles. After you’ve stretched the milk to introduce air, you submerge the wand tip slightly and angle it off center inside the pitcher. This positioning creates a rolling whirlpool that sweeps large bubbles into the liquid, breaking them into thousands of tiny bubbles and blending them evenly throughout the milk. The result is a glossy, silky texture that pours smoothly and holds detail for latte art.
You’ll know the texturizing phase is working when the milk surface becomes shiny and the sound shifts from a light chirp to a steady, low hum. Keep the vortex going until the milk reaches your target temperature, typically 60–65°C (140–149°F). If the jug feels uncomfortably hot to hold, you’re close to or past that range. Stop the steam before 155°F to preserve sweetness and protein structure. After you turn off the steam, give the pitcher a few firm taps on the counter and a gentle swirl to pop any remaining large bubbles and integrate the microfoam completely.
| Phase Step | Visual Cue | Temperature Target | Purpose |
|---|---|---|---|
| Early integration | Milk begins to spin; surface looks frothy but uneven | Below 100°F | Fold initial air into liquid to start breaking large bubbles |
| Vortex creation | Steady whirlpool visible; milk surface smooths out | 100–140°F | Shear bubbles into microfoam and maintain even heat distribution |
| Polishing | Glossy sheen appears; tiny bubbles visible along jug walls | 140–149°F | Finish integrating foam for a silky, pourable texture |
| Final temperature reach | Jug too hot to hold comfortably; milk looks wet-paint glossy | 60–65°C (140–149°F) | Stop steaming to preserve sweetness and protein structure |
Steam Wand Positioning and Pitcher Angle for Proper Milk Aeration
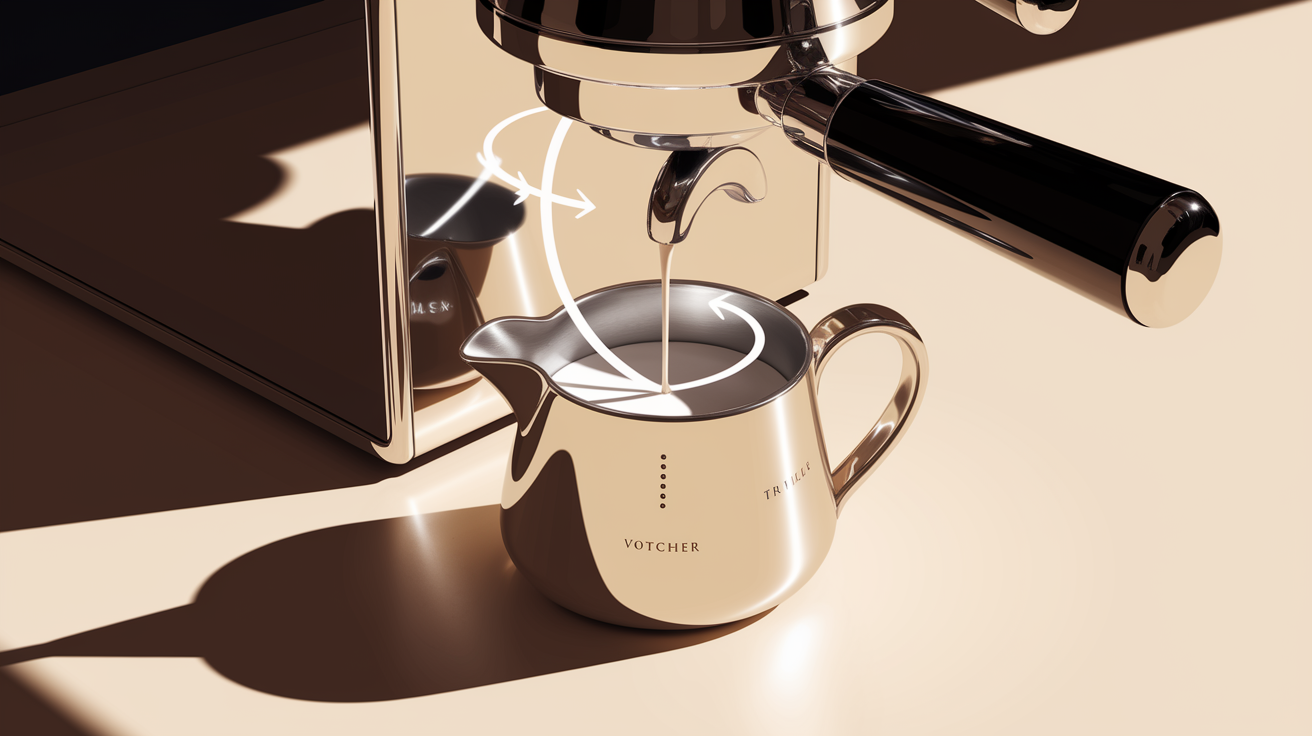
Steam wand positioning controls whether you’re stretching, texturizing, or doing neither. For stretching, you keep the tip at the milk surface so it can pull in air. For texturizing, you submerge the tip just below the surface and angle it off center, usually toward the spout side of the pitcher, so the steam jet pushes the milk in a circular path. That circular motion is the vortex, and it’s what folds microfoam into the liquid instead of leaving big bubbles floating on top. Pitcher angle matters because a slight tilt can help you control wand depth and keep the vortex steady without the tip bouncing around or scraping the jug.
If the wand’s too deep, you won’t introduce any air and the milk will just heat without foaming. If the angle is too vertical or the wand sits dead center, the milk won’t spin and you’ll end up with separated foam and liquid. If the jug’s overfilled, there’s no headroom for expansion and the vortex can’t form properly. Practice finding the sweet spot: tip near the surface for the stretch, then submerged and angled once you’ve introduced enough air.
Common positioning errors include:
Tip too deep during stretching. No air enters. Milk heats but produces no foam.
Angle too vertical or centered. Milk doesn’t spin. Foam separates instead of integrating into microfoam.
Jug overfilled. Not enough space for volume increase. Vortex can’t develop and milk splashes or overflows.
Milk Temperature Targets and Why They Matter for Foam Quality
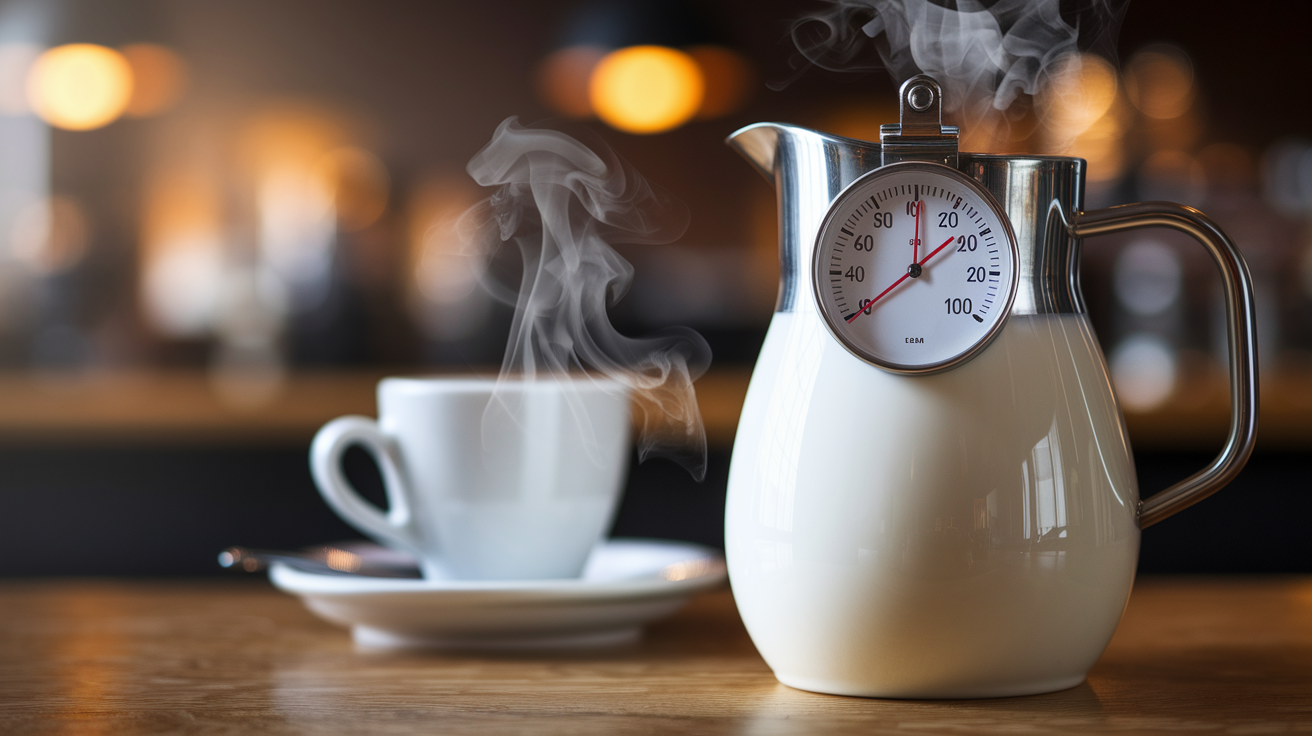
Milk temperature directly affects both foam stability and flavor. You need to introduce air before the milk reaches approximately 100°F because proteins are still relaxed and able to trap and stabilize bubbles. Once milk heats past that point, the protein structure starts to change and it becomes much harder to create or refine microfoam. The ideal finish temperature for most drinks is 60–65°C (140–149°F), which preserves the natural sweetness of lactose and gives you a creamy mouthfeel without scalding the milk.
When milk scalds: if you push past 155°F, proteins denature too aggressively, releasing trapped air and breaking down the foam matrix. The milk also tastes flat, slightly cooked, and loses the subtle sweetness that makes a latte or cappuccino enjoyable. Stopping earlier in the range, around 140°F, is especially smart if you’re using whole milk where the fat already contributes richness. Keep a thermometer handy while you’re learning, or use the hand test: when the pitcher feels too hot to hold comfortably for more than a second, you’re in the target zone and should stop.
Choosing the Right Milk Type for Stretching and Texturizing
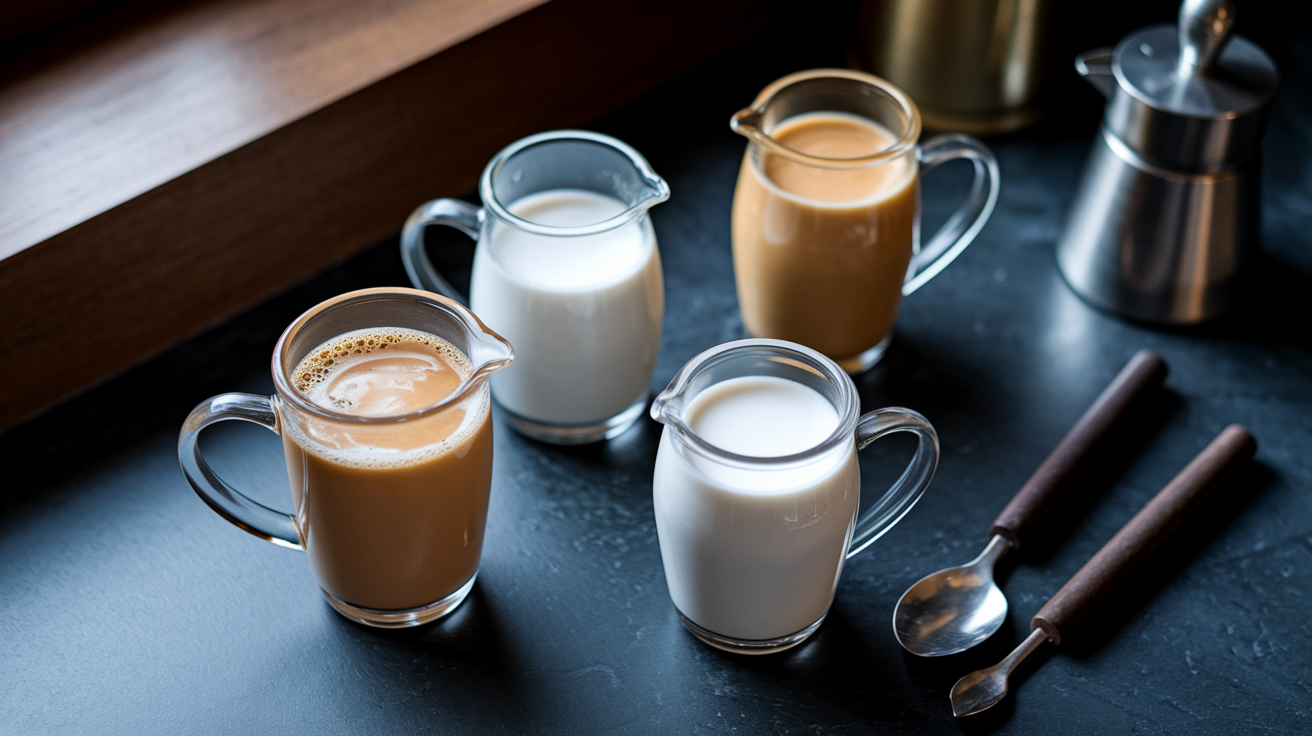
Milk fat changes how bubbles form, how long they last, and how the final texture pours. Whole milk, with roughly 3.9% fat, creates silky, integrated microfoam that’s easy to pour and produces excellent latte art. The fat coats the bubbles and adds body, so the milk feels creamy and rich. Skim milk has almost no fat, so the protein network forms tighter, stiffer foam with more volume and longer lasting bubbles, but it’s harder to pour smoothly and tends to separate into a dry cap instead of blending into the liquid.
Plant based milks depend on protein and fat levels, which vary widely. Many barista blend oat milks are formulated with added protein and fat to mimic dairy, so they steam reasonably well and produce decent microfoam, though they can be thinner and less stable than whole cow’s milk. Most almond milks are low in both protein and fat, making foam fragile and prone to collapse. Soy milk works better than almond but still requires fresh milk and careful temperature control to avoid curdling or separating.
| Milk Type | Fat/Protein Level | Foam Behavior | Best Use |
|---|---|---|---|
| Whole milk | ~3.9% fat, ~3.4% protein | Silky, integrated microfoam; pours smoothly; moderate stability | Lattes, flat whites, latte art |
| Skim milk | ~0.1% fat, ~3.4% protein | High volume, stiff foam; longer lasting but less pourable; tends to separate | Cappuccinos, drinks needing tall foam cap |
| Oat milk | Variable (barista blends ~3–5% fat, added protein) | Moderate microfoam; thinner body; can be less stable than dairy | Dairy-free lattes, flat whites |
| Almond milk | Low fat, low protein (often <1% each) | Fragile foam; collapses quickly; difficult to stretch and texturize | Light cappuccinos; avoid for detailed latte art |
Drink Mapping: When to Stretch More vs When to Texturize More

Cappuccino foam traditionally calls for more stretching because the drink’s built around a substantial foam layer that sits on top of the espresso and provides a distinct mouthfeel. You introduce more air during the stretching phase, sometimes doubling the milk volume, and then texturize just enough to knock out the largest bubbles so the foam isn’t completely dry. The result is a thicker, fluffier cap that you can spoon or that holds its shape when you tap the cup.
Flat white milk texture and latte art both depend on fine, integrated microfoam with minimal stretching. For a flat white, you introduce only a small amount of air, just enough to give the milk a velvety body, and then focus almost entirely on texturizing to create tight, glossy microfoam that pours in a smooth, controlled stream. Latte versus cappuccino milk comes down to volume and integration. A latte uses more liquid milk with a thin microfoam layer, so you stretch very little and texturize thoroughly to keep the pour silky and the foam barely visible as a fine cap.
Stretching for cappuccino might be a 1:1 expansion (if you start with 100 ml of milk, you end with 200 ml after stretching). Texturizing for flat white keeps expansion minimal, closer to a 10–20% increase, with the rest of the technique devoted to polishing the microfoam. Latte art requires fine texture without big bubbles, so any aggressive stretching will ruin the pour. The milk won’t flow smoothly, patterns will blur, and you’ll see chunky foam instead of clean contrast. If you’re learning latte art, practice texturizing almost exclusively and introduce only the smallest whisper of air at the start.
Common Steaming Mistakes and How to Fix Them
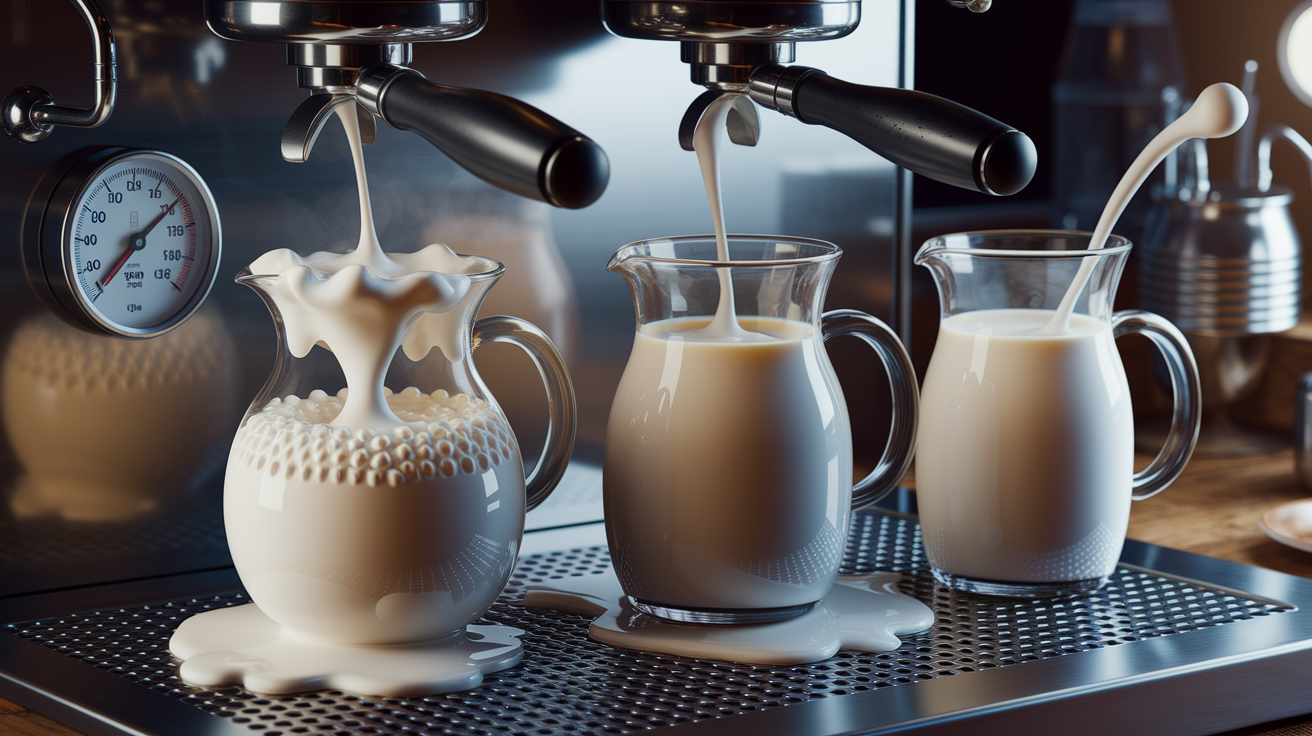
Steaming mistakes happen at every stage, from wand depth to final temperature. Overheating is the most frequent error. Milk tastes scalded, sweetness disappears, and foam collapses because the protein structure breaks down past 155°F. Late aeration (trying to introduce air after the milk is already warm) produces unstable, large bubbles that won’t integrate. Wrong wand depth creates either no foam (too deep) or violent splashing and huge bubbles (too shallow). Incorrect pitcher size, especially overfilling a small jug or underfilling a large one, prevents proper vortex formation and makes it nearly impossible to control texture. No vortex means the foam stays separated on top instead of folding into the liquid.
Troubleshooting flat or bubbly foam starts with checking your wand position and timing. Ask yourself: did you purge the wand first, did you introduce air before 100°F, did you create a whirlpool, did you stop before 155°F, and did you tap and swirl the pitcher after steaming? Visual cues for proper foam include a glossy, wet paint sheen on the surface, tiny uniform bubbles visible along the jug walls when you swirl, and milk that pours in a steady stream without chunks or separation.
Quick fixes for the most common problems:
Large, separated bubbles. Lower the wand tip slightly during stretching so you’re introducing less air. Focus more time on the texturizing vortex to shear bubbles down.
No foam at all. Raise the wand tip closer to the surface during the stretch phase. Make sure you’re not starting with the wand fully submerged.
Foam that collapses immediately. You likely overheated past 155°F or introduced air too late. Start colder and stop steaming earlier.
Dry, stiff foam that won’t pour. You over stretched without texturizing. Reduce stretching time and increase vortex time to integrate the bubbles.
Milk tastes flat or burnt. Stop steaming at 60–65°C instead of letting the jug get painfully hot. Use a thermometer until you learn the hand feel.
Inconsistent results. Check that your steam pressure is full and steady. Purge the wand before every session and clean it immediately after to avoid clogs or weak flow.
Practice Drills and Training Exercises to Master Milk Texture
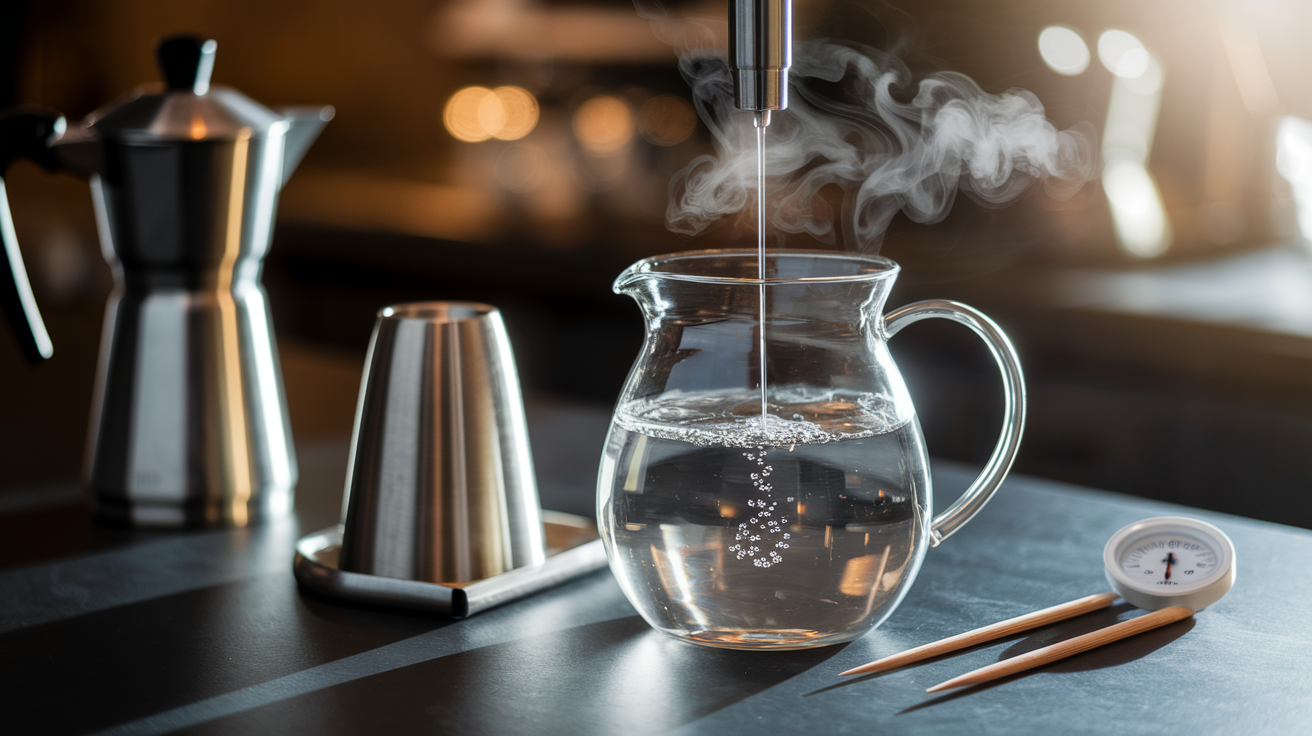
Practice drills help you build muscle memory without wasting dozens of jugs of milk. One effective training exercise is the dishwashing liquid in water drill. Add a single drop of dish soap to a jug of cold water and practice stretching and texturizing. The soap creates stable bubbles that behave similarly to milk proteins, so you can see the vortex, hear the sound cues, and watch bubbles integrate without the cost or cleanup of real milk. Measuring foam density means checking the weight or volume of your finished jug. Properly textured milk should feel heavy and dense, not light and airy like whipped cream.
Another useful trick when you’re learning is the toothpick steam flow reduction method. Insert a wooden toothpick into one of the steam holes on your wand tip and snap it off so a small piece stays lodged inside, partially blocking the hole. This reduces steam pressure and slows the flow, making it much easier to control bubble size and vortex formation while you’re still learning wand positioning and timing. Once you’ve built confidence, remove the toothpick and clean the wand thoroughly to return to full steam power.
Here are four short drills to run in sequence:
Surface hold drill. Practice holding the steam tip exactly at the milk surface for five seconds without splashing or submerging. Listen for a steady, gentle chirp and watch for controlled expansion.
Vortex only drill. Skip stretching entirely. Submerge the wand and angle it off center to create a whirlpool, then maintain that spin from cold milk all the way to 140°F to learn the feel of proper texturizing.
Tap and swirl drill. After every steam session, tap the pitcher firmly on the counter three times and swirl in slow circles for ten seconds. Check the surface for a glossy sheen and tiny, even bubbles along the walls.
Temperature stop drill. Use a thermometer and force yourself to stop steaming exactly at 60°C, then pour immediately. Repeat until you can hit that target without looking at the gauge.
Final Words
Start steaming: add air at the surface before 100°F to stretch. You’ll see volume rise and hear a soft hiss. Then lower the tip, angle the jug and create a vortex to texturize into glossy microfoam. Stop around 60-65°C (140-149°F) and don’t go above 155°F.
We covered the differences, step-by-step moves, wand position, temps, milk choices, fixes and drills. Tweak one thing at a time and watch cues: big bubbles mean too much air; glossy sheen means success.
Keep this as your quick guide for how to stretch milk vs texturize milk explained, practice the drills and you’ll pour smoother drinks soon.
FAQ
Q: What is the difference between stretching and texturing milk?
A: The difference between stretching and texturing milk is that stretching adds air at the surface to expand volume and make larger bubbles, while texturizing creates a vortex to blend tiny, glossy microfoam.
Q: What does it mean to stretch milk?
A: To stretch milk means to introduce air with the steam tip just breaking the surface, creating initial expansion and larger bubbles with a gentle hissing sound—brief for lattes, longer for cappuccinos.
Q: How long does it take to texture milk?
A: To texture milk usually takes about 20–40 seconds after aeration; practical lessons run 2–4 minutes. Finish texturizing when milk reaches 60–65°C (140–149°F) for best microfoam.
Q: What is the technique for texturing milk?
A: The technique for texturing milk is to sink the wand slightly, tilt the pitcher off-center to make a vortex, keep the flow smooth to equalize tiny bubbles, and stop steaming at 60–65°C.