

Think a fixed steam wand can’t be moved?
Not always.
Some machines sold as “fixed” hide a clamp or compression nut you can loosen to tilt the wand 10–15 degrees for easier pitcher access and cleaner milk texture.
This quick guide shows how to spot a semi‑adjustable mount, the one safe move to try first, the basic tools you need, and the simple tests to confirm the change under steam pressure.
If the wand is truly welded, we’ll cover low‑cost alternatives so you still get better reach and comfort without risky work.
Can a Fixed Steam Wand Be Adjusted?
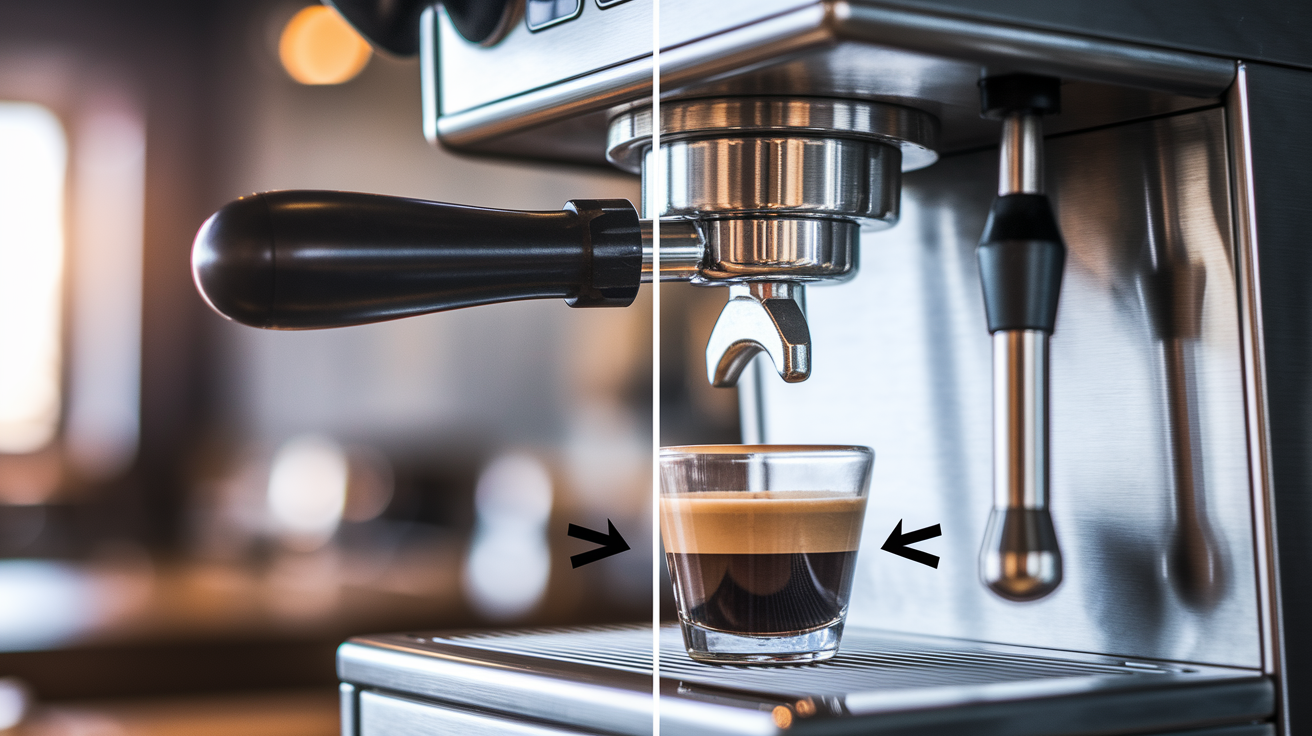
Some espresso machines come with truly fixed steam wands. You can’t rotate them or reposition them without tearing into the internal assembly. These rigid designs get welded or brazed straight to the boiler or steam line, so there’s nothing external to loosen. But here’s the thing: other machines sold as “fixed” actually use a semi-adjustable mount. A compression nut or tension bolt clamps the wand at one angle, and if you loosen that fastener, you can reposition it a bit before tightening again.
Most entry-level home machines ship with rigid wands to cut costs and keep manufacturing simple. Mid-range models sometimes hide a tension nut under a plastic cover or leave it visible at the wand base. Prosumer machines usually give you ball-joint articulating wands, though some older or budget-friendly semipro units still stick with semi-fixed mounts.
Your wand might accept limited adjustment if you see:
- A visible hex nut or collar where the wand exits the machine body
- A plastic cover that pops off to show a fastener underneath
- Slight wiggle or play when you gently twist the wand (machine off and cool)
- Documentation or forum posts mentioning angle tweaks for your model
- A split collar or two-piece bracket holding the steam pipe
If none of those show up and the wand feels completely solid with no visible hardware at the joint, you’re probably looking at a welded or brazed connection. Changing the angle means swapping in an aftermarket wand or hiring a pro to cut and re-braze the steam line. That’s way beyond typical home maintenance.
Safety and Warranty Considerations

Steam lines run at 1.0 to 1.5 bar pressure and stay dangerously hot long after you flip the machine off. Even after cooldown, leftover boiler pressure can shoot scalding steam when you loosen a fitting. Most manufacturers void warranties when you mess with steam assemblies, and any leak you create can spray pressurized steam right onto your hands or nearby surfaces.
Before you touch any fastener:
- Power off and unplug at the wall. Wait 30 to 60 minutes for all metal surfaces to cool until you can touch them comfortably.
- Vent residual boiler pressure by briefly cracking the steam valve once the machine’s cooled slightly. Wear heat-resistant gloves and safety glasses because a hot steam jet will escape.
- Secure the machine on a stable counter so it can’t tip or shift when you apply wrench force.
- Avoid tool slips that could scratch the boiler casing or strip fastener heads. Use properly sized wrenches and steady, controlled turns.
- Check your warranty terms in the manual or on the manufacturer’s website. Many standard periods run 12 months, and manual steam-assembly work usually falls outside coverage.
- Stop immediately if you hit seized bolts, unexpected resistance, or any sign of internal brazing. Forcing a frozen fastener can crack fittings or bend internal tubing.
Tools and Materials Needed for Angle Adjustment
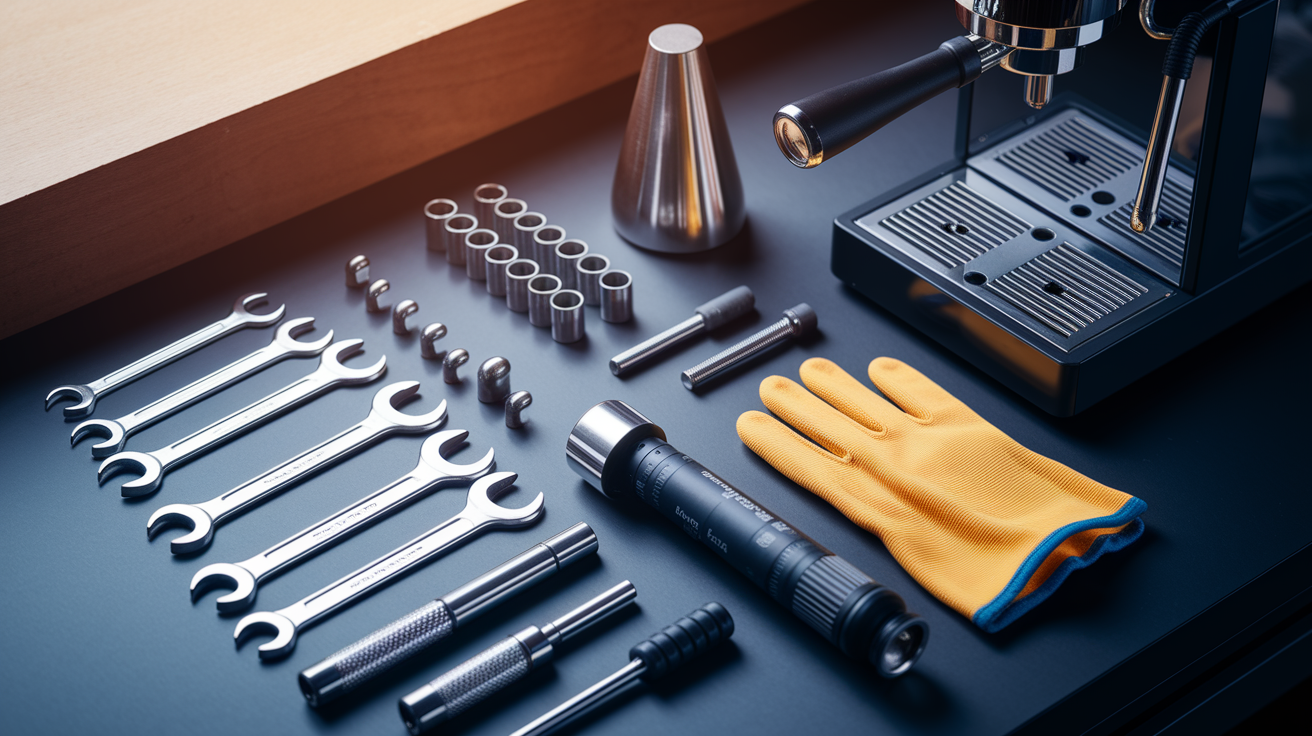
Gather everything before you start so you don’t leave a partially loosened wand while you hunt for the right wrench. Most semi-adjustable mounts use a 12 mm or 13 mm hex nut. Confirm your specific size by test-fitting sockets or wrenches while the machine is cool and unplugged.
- Metric wrench or socket set covering 10 mm, 12 mm, 13 mm to match the compression nut
- Adjustable wrench as backup if you don’t have the exact size
- Food-grade silicone grease or thread lubricant to prevent seizing after reassembly
- Heat-resistant work gloves rated for at least 200°F to handle warm components safely
- Microfiber cloth to wipe old grease and mineral deposits from threads
- Flashlight or headlamp to inspect the joint clearly, especially if it sits under a drip tray or side panel
- Small inspection mirror (optional) to view the back side of the mount without taking panels apart
Step‑by‑Step Method to Adjust the Wand Angle

Work slowly and check for leaks after every change. Rushing through tightening can strip threads. Skipping the test steam can leave a slow weep that only shows up under full pressure.
- Unplug the machine and allow 30 to 60 minutes of cooldown. Verify that the boiler casing and wand base are cool enough to touch with bare hands.
- Vent residual pressure by briefly opening the steam valve with gloves and eye protection. Close the valve once no more steam escapes.
- Inspect the wand base joint using your flashlight. Locate the compression nut or collar that clamps the wand. Common positions are directly where the wand exits the machine body or slightly recessed under a trim ring.
- Identify fastener size and type. Test-fit your 12 mm and 13 mm wrenches or sockets. The correct size will slide on without force and won’t rock side to side.
- Loosen the compression nut incrementally. Turn counterclockwise in 1/8-turn steps, checking for wand movement after each. Stop as soon as the wand rotates freely by hand without forcing.
- Reposition the wand to your target angle. Hold it steady in the new position. Common goals are angling outward 10 to 15 degrees for easier pitcher access or rotating the tip to avoid cabinet interference.
- Check clearance and alignment. Make sure the wand tip doesn’t contact any machine panels, drip tray edges, or the cup warmer when you simulate a pour angle.
- Tighten the compression nut in 1/8-turn increments while holding the wand at the desired angle. Stop when the wand no longer moves under gentle hand pressure. Don’t reef on it or you risk cracking the wand fitting.
- Verify steam performance. Plug in the machine, heat it to operating temperature, then run a 5-second test steam into an empty pitcher. Watch the wand base for any moisture, listen for hissing, and confirm the wand stays locked in position under steam pressure.
Troubleshooting After Adjustment

A loose compression nut is the most common mistake. Steam will weep from the joint and you’ll see moisture or hear a faint hiss during use. Misalignment can reduce effective steam pressure if the internal pipe kinks slightly. Worn gaskets often become visible only after you disturb the assembly.
| Problem | Likely Cause | Fix |
|---|---|---|
| Steam leaking at wand base | Compression nut under‑torqued or gasket damage | Tighten nut in small steps; replace gasket if weeping continues after snug fit |
| Wand drifts back to old angle during steaming | Nut not tight enough to hold under pressure | Increase tightening torque slightly; if threads feel stripped, stop and consult tech |
| Reduced steam flow or weak pressure | Internal pipe kinked by over‑rotation or misalignment | Return wand to factory angle and retest; if flow doesn’t recover, internal damage likely |
| Hissing sound even when valve closed | Gasket seated incorrectly or cracked during adjustment | Loosen nut, reseat gasket, apply light thread grease, retighten carefully |
| Visible cracks around wand base or fittings | Over‑torquing or old brittle fittings stressed by movement | Stop use immediately; replacement wand or professional repair required |
If you see cracks, stripped threads, or persistent leaks after two re-tightening attempts, stop and contact a qualified technician. Continuing to adjust a damaged fitting can turn into a full steam-line replacement and might cause a dangerous high-pressure leak during operation.
Alternatives When a Wand Cannot Be Adjusted
When your wand is welded, brazed, or the compression nut is frozen solid, you still have practical options that don’t require a torch or professional disassembly. Changing your technique or upgrading a single component often solves the ergonomic issue without touching the mount.
- Upgrade to an aftermarket articulating wand. Some machines accept drop‑in replacements with ball‑joint designs. Verify compatibility with your boiler port thread (common sizes M10×1 or 1/4″ NPT) and budget $40 to $150 depending on brand.
- Swap the steam tip only. A different nozzle angle or length can shift the effective steam angle by 5 to 10 degrees. Tips cost $10 to $30 and thread onto most standard wands without tools.
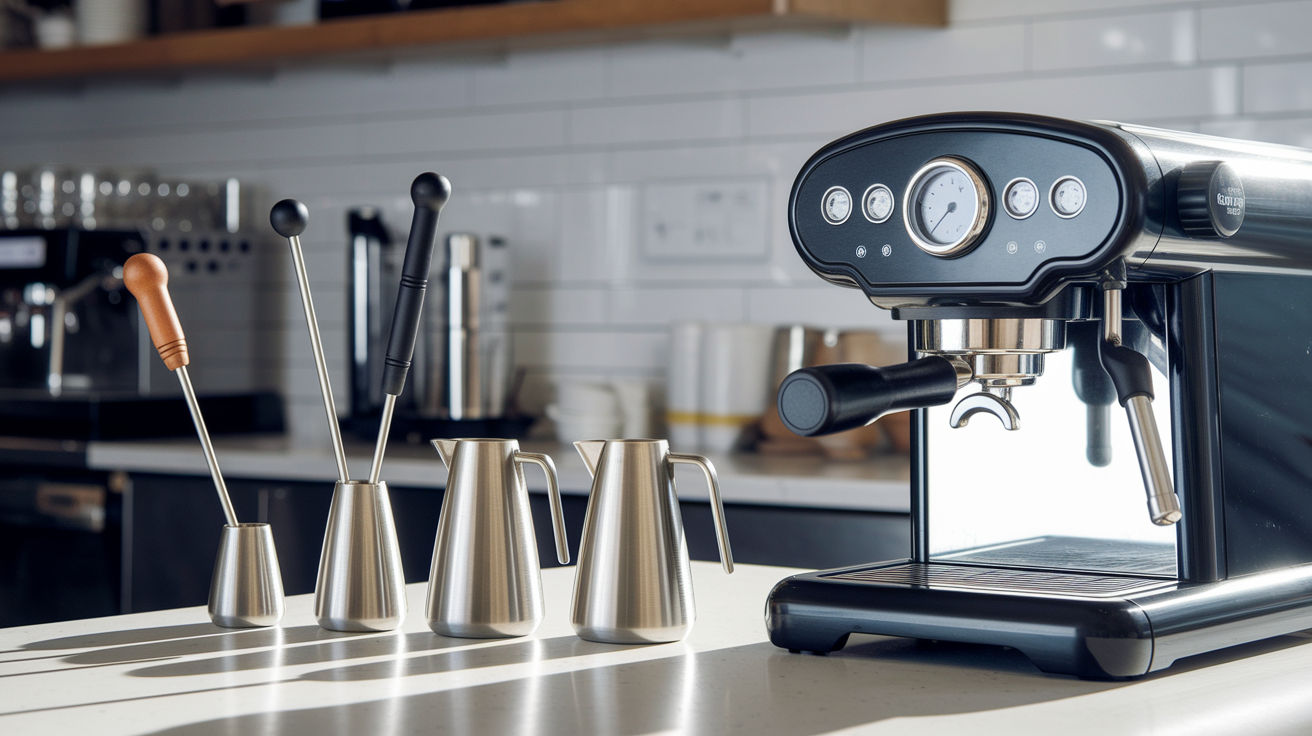
- Use a shorter or taller milk pitcher. Switching from a 12 oz to a 20 oz pitcher raises the milk surface relative to a fixed tip, changing the entry angle and clearance.
- Reposition your machine on the counter. Rotating the chassis 15 to 30 degrees or moving it closer to the counter edge can improve pitcher access and wand reach without any hardware change.
- Try a swivel steam‑tip adapter. A few aftermarket vendors offer small swivel fittings that thread between the wand and tip, adding 10 to 15 degrees of tilt. Confirm thread compatibility and pressure rating before purchase.
- Consult manufacturer‑approved upgrades. Some brands sell official articulating‑wand kits as accessories. These maintain warranty coverage and guarantee proper fit, though they typically cost more than generic aftermarket parts.
Comparison of Machine Types and Adjustability

Entry‑level consumer machines keep costs low and assembly simple, so wands often get welded or molded into fixed positions. Mid‑range models introduce semi‑adjustable mounts to give users limited repositioning without the expense of a full ball joint. Prosumer machines typically include articulating wands as standard because baristas expect flexibility during high‑volume or latte‑art workflows.
| Machine Type | Wand Design | Adjustability Level |
|---|---|---|
| Entry‑level consumer | Rigid, welded or molded attachment | None; wand angle set at factory |
| Mid‑range home/semipro | Compression‑nut or tension‑bolt mount | Limited; 10 to 30° rotation when nut loosened |
| Prosumer/commercial | Ball‑joint articulating arm | Full 360° rotation and multi‑axis tilt |
Final Words
Some fixed steam wands are truly immobile. Others have a compression nut or tension mount that lets you nudge the angle. We covered safety and warranty risks, the tools to grab first, a clear step‑by‑step method, how to spot leaks, and practical alternatives when the wand won’t move.
Next step: with the machine cold and unplugged, check the wand base for a nut and your manual. Try one small change at a time and taste as you go. Adjusting fixed steam wands to change angle can make steaming easier—go slow and you’ll get there.
FAQ
Q: How to position the steam wand?
A: To position the steam wand, place the tip just below the milk surface at about 10–15 degrees off vertical. Aim for a steady whirlpool and a gentle paper-tearing sound to create smooth microfoam.
Q: What are common steam wand problems?
A: Common steam wand problems are blocked nozzles, leaking or loose joints, weak or sputtering steam, worn gaskets, clogged tips, and seized or stiff joints that prevent angle adjustment.
Q: How to calibrate a steam wand?
A: To calibrate a steam wand, measure steam pressure and flow per your manual, time how long steam heats a known milk volume, adjust boiler pressure or tip settings, then retest and note results.
Q: Why can’t you steam milk twice?
A: You can’t steam milk twice because reheating breaks down proteins and fats, collapsing microfoam and producing a scalded, flat taste. Use fresh cold milk or steam a new batch for proper texture.