

Are you angling your steam wand wrong and risking hot milk splatters or a burn?
A shallow 15 to 30 degree tilt with the tip just 0.5 to 1 cm below the milk surface stops angry jets and creates a smooth whirlpool.
That simple position keeps steam energy inside the pitcher so milk heats evenly and droplets don’t fly toward your hand or face.
Read on to learn the quick steps, purge, set depth and angle, then ease the valve, which make steaming repeatable and safe every time.
How to Safely Position a Steam Wand (Fast Guide)

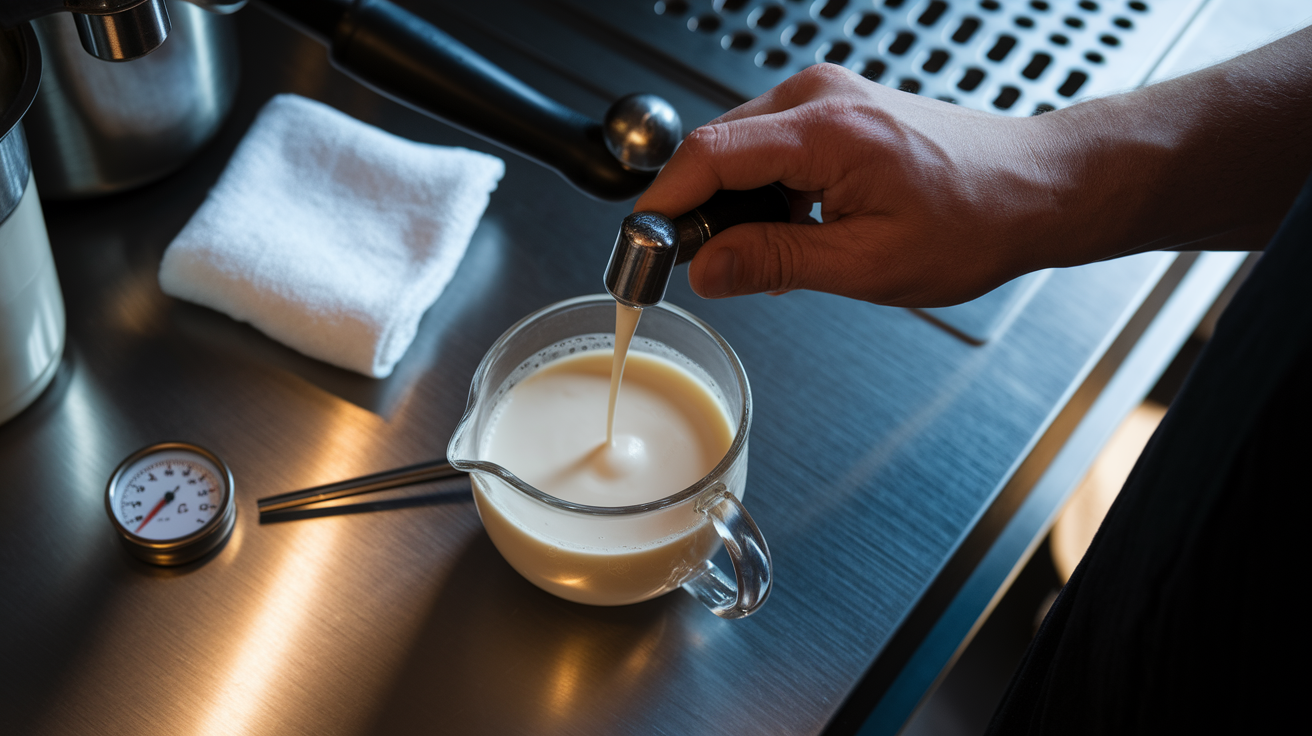
The safest steam wand position keeps the tip angled at 15–30 degrees and barely submerged. Just deep enough that the milk surface covers the holes. At this angle, steam disperses into the milk instead of blasting straight up or shooting sideways. If you hold the wand vertical or tilt it too far, you lose control of where the steam energy goes. That’s when you get hot milk droplets flying toward your hand or face.
Before you even open the steam valve, make sure the wand tip sits about 0.5–1 cm below the milk surface, near the side of the pitcher. This shallow starting depth lets you introduce air in a controlled way during the first few seconds. When you turn on the steam, start with a half twist of the valve to let pressure build gradually, then open it fully once the milk begins to move. Easing into full steam prevents the sudden surge that causes splatter.
Keep your free hand on the pitcher handle and your fingers away from the top rim. The handle gives you leverage to tilt the pitcher slightly (about 15–30 degrees) and adjust depth without reaching over the steam. Never grip the pitcher body with bare skin once steaming begins, and never lean your face directly above the wand.
Quick safety rules for every session:
- Purge the wand for 1–2 seconds before inserting it into milk to clear water and prevent spitting.
- Position the pitcher so the wand enters near the edge, not dead center, to encourage a smooth whirlpool.
- Keep the wand tip angle shallow (15–30 degrees) and depth minimal (0.5–1 cm) during the air injection phase.
- After steaming, turn off the valve before pulling the pitcher away, then purge again and wipe the wand immediately with a damp cloth.
Step by Step Technique for Safe, Controlled Frothing
This workflow builds muscle memory for repeatable, splatter free sessions. Each step focuses on one small adjustment so you don’t create conflicting forces that spray milk or overheat unpredictably.
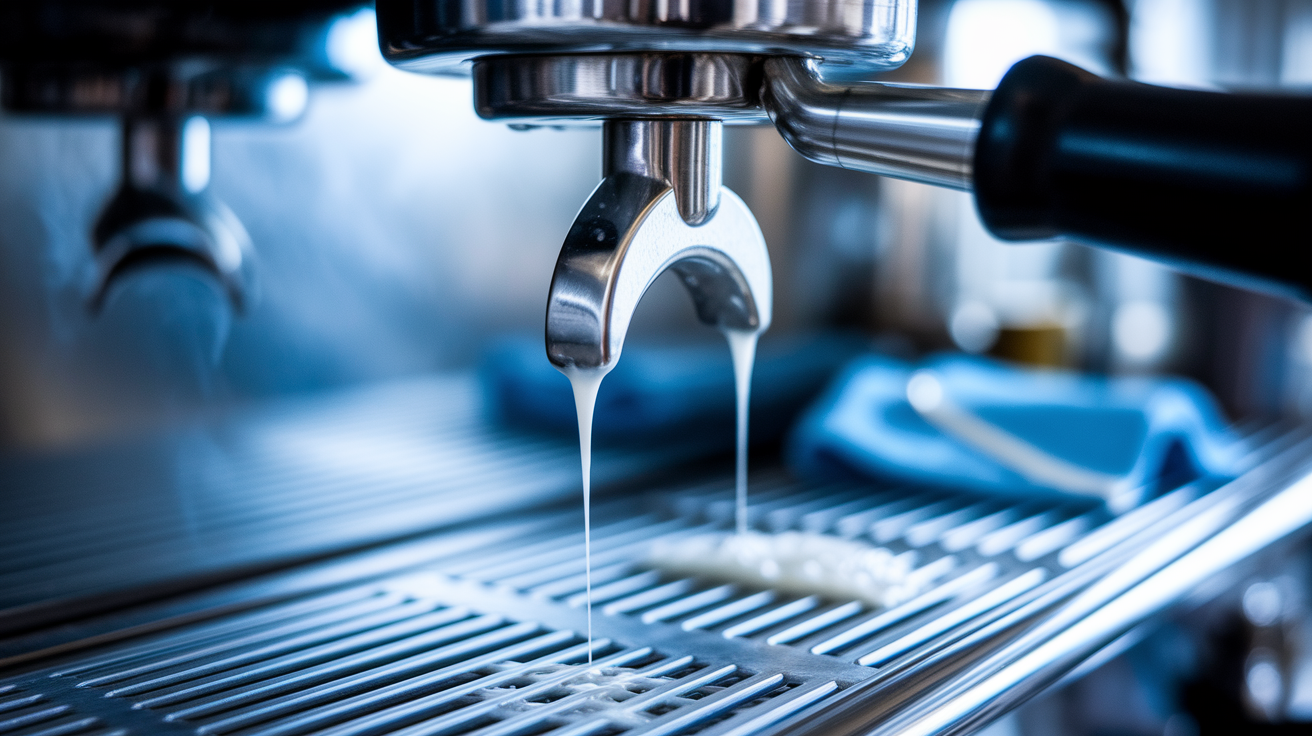
1. Purge the steam wand for 1–2 seconds. Open the valve briefly to blow out any condensed water. If you skip this, the first burst of wet steam will spit droplets into your milk and can spray back at you.
2. Fill the pitcher to about one third. Cold milk straight from the fridge gives you the most working time before hitting your target temperature. Pour to the bottom of the spout or just below. This leaves room for the milk to expand 20–30 percent without overflowing.
3. Insert the wand tip 0.5–1 cm below the milk surface, near the pitcher’s edge, angled 15–30 degrees from vertical. Tilt the pitcher slightly outward (away from you) so the handle stays clear of steam and the spout points to the side. The wand should enter the milk like you’re drawing a diagonal line from top right to bottom left (or mirrored if you’re left handed).
4. Open the steam valve fully. Start with a slow twist, then go to full power once the milk begins to spin. Listen for a steady “tss tss” sound, like paper tearing. If you hear screeching or see large bubbles popping at the surface, the tip is too high. Lower it 2–3 mm. If the pitcher goes silent, the tip is too deep. Raise it slightly.
5. Stretch for 3–5 seconds, keeping the tip at the same shallow depth. Watch the milk volume rise. When it grows by about 20–30 percent or you see a glossy, creamy layer starting to form, stop introducing air.
6. Plunge the wand tip to about halfway down the pitcher (roughly 2–3 cm from the bottom) and hold steady. The whirlpool should continue. This phase heats the milk and blends the foam. Keep your hand on the pitcher’s metal body. When it becomes uncomfortably warm to hold (around 140–150°F or 60–65°C), you’re done. If you’re using a thermometer, stop at 150°F.
7. Close the steam valve completely, wait one second, then pull the pitcher straight down and away from the wand. Purge the wand for another second to blow out any milk that crept into the tip, then wipe it immediately with a clean, damp cloth. If you wait even ten seconds, milk residue will bake onto the steel and become much harder to remove.
Common Steam Wand Mistakes That Lead to Scalding

Most painful accidents happen in the first five seconds, when you’re introducing air and steam pressure is highest. The wand acts like a tiny jet engine. Any misalignment or incorrect depth sends that energy in the wrong direction, often straight toward your hand or the pitcher rim, where hot milk can splash back.
Starting the steam valve while the wand is still above the milk surface is the fastest way to create a scalding spray. The steam has nowhere to go except outward, and it carries any liquid on the wand tip with it. Always submerge the tip before you twist the valve, and always purge before you insert the wand so there’s no water clinging to the metal. The same risk appears at the end of a session if you pull the pitcher away before closing the valve. Steam and hot milk erupt upward in a brief, uncontrolled burst.
Five mistakes that cause burns or splatter:
- Wand too shallow (tip at or above the surface). Steam blasts horizontally and creates large, unstable bubbles that pop and spray. You’ll hear loud screeching and see milk droplets flying. Lower the tip 3–5 mm so it’s clearly submerged.
- Wand too deep (tip near the bottom during stretching). No air enters the milk, pressure builds with no outlet, and when you try to raise the wand later, sudden turbulence can spray milk. Keep the tip 0.5–1 cm below the surface during the first 3–5 seconds.
- Pitcher overfilled. Milk expands 20–30 percent. If you start with more than half a pitcher, foam will spill over the rim onto your hand or the drip tray. Stick to one third full.
- Valve opened too fast. A sudden twist sends a surge of steam that destabilizes the milk and can splash before the whirlpool forms. Ease the valve open over half a second, then go to full power.
- Wand not purged before or after. Condensed water in the tip spits out violently when steam hits it. Milk left on the wand after steaming can spray the next time you purge. Always purge 1–2 seconds before inserting and immediately after removing the wand.
Understanding Milk Circulation and Pressure Forces

Steam injects energy in two directions. Downward (from the jet) and outward (as expanding bubbles rise). When the wand is angled correctly at 15–30 degrees and positioned near the edge of the pitcher, these forces combine to create a rolling whirlpool that moves milk from bottom to top in a smooth loop. The whirlpool pulls new milk into the steam zone and pushes heated milk away, which keeps the temperature rising evenly and prevents localized scalding.
If the wand sits perfectly vertical or dead center, the downward jet collides with the upward rising bubbles in the same narrow column. Instead of circulating, the milk churns in place. Pockets of superheated liquid form near the wand tip while the edges stay cool. When you move the wand or tilt the pitcher to fix it, that trapped heat releases suddenly, sometimes as a splash. Angling the wand off center spreads the pressure across a wider area and keeps everything moving.
How Angle Changes Pressure Distribution
A 15–30 degree angle sends the steam jet diagonally across the milk, glancing off the pitcher wall and curving back toward the center. This creates a spiral flow instead of a straight collision. Increasing the angle past 45 degrees redirects too much energy toward the wall, which can cause milk to climb the side and spill, or create a second, smaller turbulence zone near the spout. Keeping the angle shallow and consistent gives you predictable circulation and fewer sudden pressure changes that lead to splatter.
Troubleshooting Unsafe Steam Wand Behavior
Wands don’t stay perfectly clean or mechanically sound forever. Milk minerals and tiny dried particles clog the holes over time, and gaskets compress or crack with heat cycling. When a wand stops behaving predictably (spitting, hissing unevenly, or spraying in random directions) the safest move is to stop, inspect, and clean before the next session. Continuing with a compromised wand turns every shot into a scalding risk.
Blocked steam holes create uneven jets. Instead of a smooth, symmetrical flow, steam exits through only one or two holes, concentrating pressure in a narrow stream. That stream can punch through the milk surface or ricochet off the pitcher wall unpredictably, sending hot droplets sideways. You’ll feel the pitcher vibrate differently, and the whirlpool won’t form. If you see this, turn off the steam, remove the tip (if your machine allows), and soak it in hot water with a pin or needle to clear each hole. On machines with fixed tips, run a blind backflush cycle or use the manufacturer’s cleaning protocol.
Worn or loose gaskets let steam escape near the joint where the wand connects to the machine. This usually shows up as a faint hissing sound separate from the main steam noise, and you might feel warmth or see a small puff of vapor near your hand. That leak won’t stop you from frothing, but it wastes pressure, reduces your control, and can burn your fingers if you adjust your grip. Replace the gasket as soon as you notice the leak. Most are inexpensive and take less than five minutes to swap.
Milk crust on the wand tip acts like a tiny cap that redirects the steam jet. Even a thin layer changes the angle and velocity of the flow. After every session, wipe the wand with a damp cloth and purge briefly. Once a week, soak the tip in warm water or a dedicated milk system cleaner to dissolve buildup you can’t see. If you notice the “tss tss” sound turning into a sputter or the milk takes longer to start moving, dried milk is probably the cause.
| Problem | Likely Cause | Safety Risk | Fix |
|---|---|---|---|
| Random spray or spitting during steaming | Clogged steam holes or water in the tip | Hot droplets hit hand or face; unpredictable splatter | Purge wand for 2 seconds before starting; clean tip holes with pin if needed; backflush system weekly |
| Steam hissing near the wand base, not at the tip | Worn or loose gasket at the wand joint | Steam leak near your hand; reduced pressure control; possible burn from escaping vapor | Turn off machine, let it cool, and replace the gasket; check manufacturer’s manual for part number and procedure |
| Milk takes much longer to heat or won’t froth | Heavy milk crust on tip or internal blockage | Extended exposure to steam increases burn risk; frustration leads to unsafe adjustments mid session | Stop steaming; remove pitcher; soak wand tip in hot water; clean with brush or descaling solution; purge thoroughly before next use |
| Whirlpool won’t form; milk stays still or splashes erratically | Wand angle too steep, tip too deep, or steam pressure inconsistent | Unpredictable milk movement can cause overflow or sudden spray when adjusting pitcher position | Check wand angle (15–30°) and depth (0.5–1 cm during stretch, 2–3 cm during heating); test steam output on empty pitcher; confirm machine pressure is stable |
Final Words
Use a 15-30 degree angle, keep the tip just below the milk surface, and purge the wand before you steam. Start with gentle steam to avoid splatter, hold the pitcher to form a steady vortex, and keep your hand clear of hot metal.
If you see violent bubbles or sudden spurts, pause, purge, and lower the tip slightly or reduce pressure.
Practice these safe steam wand angles to avoid scalding and splatter. Do a few short trials and you’ll get smooth, consistent milk every time.
FAQ
Q: What are some common steamed milk mistakes and how do I avoid burning milk when steaming?
A: Common steamed milk mistakes and how to avoid burning milk when steaming include plunging the wand too deep, starting steam above the milk, and overheating; keep the tip just below surface, monitor temperature, stop at 60–65°C.
Q: What are common steam wand problems?
A: Common steam wand problems are blocked holes, milk buildup on the tip, worn gaskets causing steam leaks, uneven pressure causing sudden spurts, and faulty valves; purge and clean the tip regularly.
Q: What is the angle for frothing milk?
A: The angle for frothing milk is 15–30 degrees; keep the wand tip barely submerged to form a steady whirlpool, hold the pitcher slightly outward, and adjust slowly to avoid splatter.