

If you tamp before WDT, you lock clumps into the puck and make channeling almost certain.
Do this instead: grind and dose, run WDT, a quick needle stir that breaks tiny clumps, then level and tamp.
That simple order (WDT, distribution, tamp) is the single biggest change that makes shots repeatable.
It adds about 20 seconds but cuts shot-to-shot swing, reduces fast jets, and gives steadier flow and crema.
Start by stirring right after dosing; one clear sequence beats guessing every time.
The Correct Workflow Sequence for WDT, Distribution, and Tamping

WDT comes after you dose and before you tamp. Why that order? Grind clumps form the moment beans leave the burrs, and you want to break those clumps while the bed is still loose. Tamping a clumpy puck locks in irregularities and guarantees uneven flow.
WDT itself only takes about 5 to 15 seconds once you get the motion down. You’re stirring the grounds to break agglomerates and redistribute fines so water can’t find easy shortcuts. Then you level the surface gently and tamp. Tamping has to be last because compression is irreversible — once you press the puck, any stirring tears the structure and creates voids.
Complete order of operations:
- Grind and dose into the basket, target your weight (for example 14 g single, 18 to 20 g double, 20 to 22 g high-dose).
- WDT immediately after dosing — insert needles nearly to the basket bottom and stir slowly for 5 to 15 seconds to break visible clumps.
- Level with 1 to 3 light taps on the side of the portafilter or a gentle distributor spin to settle the bed.
- Tamp straight down with consistent pressure (pick a target such as 20 to 30 lb), hold 1 to 2 seconds, lift cleanly.
- Brew and watch flow, timing, and crema for feedback.
Have your scale, WDT tool, dosing collar, and tamper ready before you grind. WDT adds roughly 20 seconds to prep, and if you grind too early the grounds can stale or clump more. Once you’ve practiced the sequence a few times, grind-to-lock should take under a minute.
How WDT Improves Distribution and Affects Extraction Consistency

WDT uses very thin needles, typically 0.5 to 0.8 mm in diameter, spaced about 2 to 4 mm apart. Most tools have 5 to 12 needles. You insert them almost to the bottom of the basket — aim for 90 to 98 percent depth without scraping metal — then stir in slow, deliberate motions. The goal is to break agglomerates and spread fines so the puck has uniform permeability when water arrives.
Key points to nail:
- Motion pattern: Start center, work outward in concentric circles, finish with radial sweeps or light cross-hatches.
- Depth control: Keep needles vertical and close to the basket floor; angled needles create sloped walls and uneven zones.
- Timing: 5 seconds is the minimum; 15 seconds is thorough without overworking the bed.
- Agitation speed: Slow and steady. Rushing throws fines to the edges.
- Early aggressive strokes: Use firmer, wider motions at first to break big clumps, especially if you’re stirring above the basket rim.
- Fines migration control: Don’t drag needles along the basket wall; stop when the bed looks uniform and you see no visible clumps.
Integrating Distribution Tools with WDT for Uniform Bed Leveling
After WDT the bed will be fluffy and more even, but the surface often needs tidying. Light taps or a gentle distributor spin will settle the bed without reintroducing density problems.
Using distribution tools after WDT:
Tap the portafilter 1 to 3 times on a tamp mat to drop grounds and remove air pockets. If you use a leveling disc or grooved distributor, place it on top and rotate gently — don’t press down hard or you’ll compress unevenly and undo the WDT work. Adjustable-depth distributors are useful when you switch doses or baskets because they set a consistent bed height. Treat leveling as surface cleanup; the real mixing already happened during WDT.
Why a leveler won’t replace WDT:
WDT fixes micro-distribution — it reaches through the whole depth of the puck and breaks clumps. Physical distributors tidy the top few millimeters and control height. A leveler makes the surface look neat but won’t fix density problems buried deeper. Use both in sequence: WDT first, then a light leveling step.
Correct Tamping Technique After WDT for Repeatable Shots

Tamp straight down from directly above the portafilter. Place the tamper squarely on the bed, apply steady pressure until you hit your chosen force (commonly 20 to 30 lb), hold for 1 to 2 seconds, then lift cleanly. The aim is to compress the WDT-distributed bed into a stable, uniform puck without tilting or smearing.
Practical tips:
- Force target: Pick a number and stay consistent shot to shot.
- Leveling cues: Watch the base — if an edge tilts, adjust your wrist until the tamp sits flat within about 1 mm.
- Grip: Hold the handle lightly; use body weight and a straight vertical motion instead of wrist torque.
- Diameter match: Use a tamper about 0.5 to 1 mm smaller than the basket ID so you cover the bed without jamming.
- Calibrated tampers: Helpful when you’re learning or when hand pressure varies through the day.
- Polish: A tiny twist can smooth the surface. Don’t overdo it — excessive lateral force creates shear layers and channels.
- Single tamp rule: One firm, level tamp beats multiple light taps that trap air between presses.
Visual Indicators of Proper WDT, Leveling, and Tamping
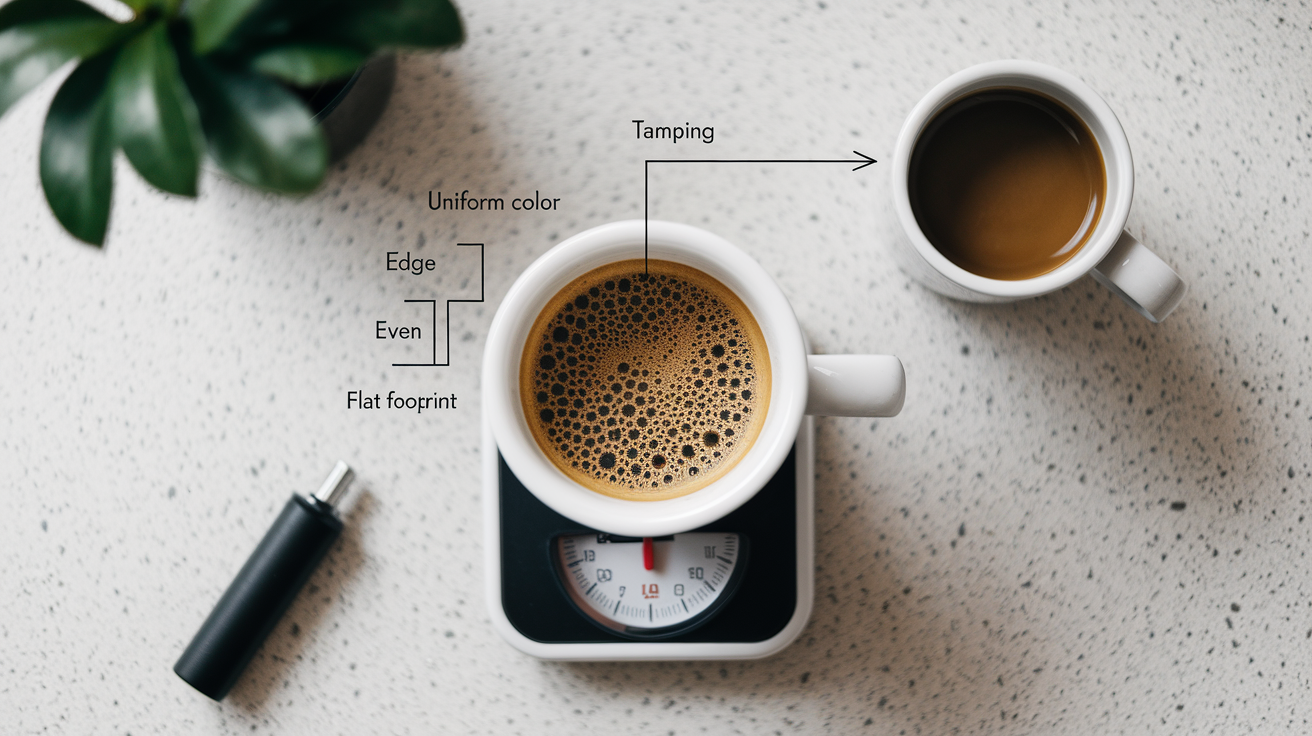
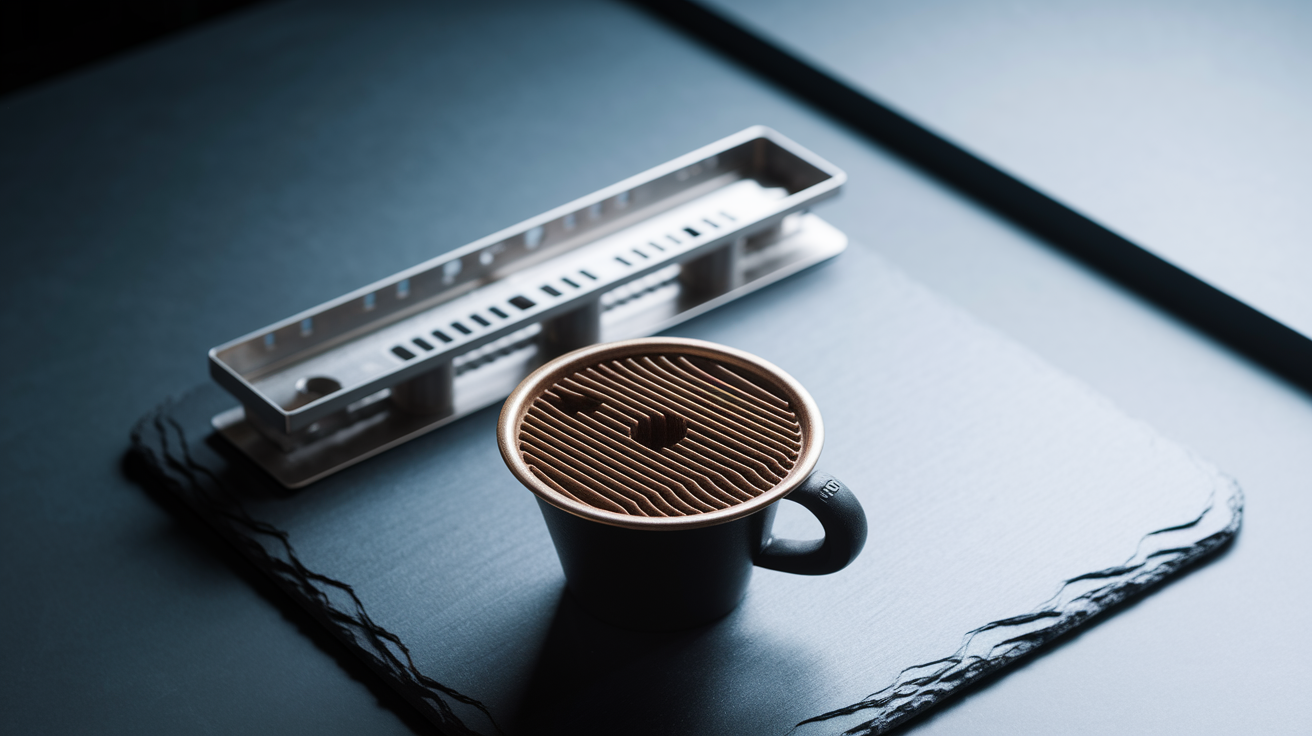
Before tamping the bed should look uniform in color with no obvious clumps. A slightly fluffy surface is fine — that’s what leveling handles. After tamping the footprint should be smooth, flat, and show even contact across the diameter.
What to look for:
- Surface uniformity post-WDT: Even color, no white patches of fines or dark clumps; looks like fine sand.
- Edge consistency: Grounds reach the basket wall evenly; no piles or gaps.
- Tamp footprint: Flat and matte; shiny patches or gloss differences suggest uneven pressure or moisture migration.
- Flow pattern (bottomless): Espresso should start evenly across the basket, darken consistently, and merge into a single stream without spraying or fast jets.
- Crema: Thick, fine-bubbled crema with a smooth surface points to even extraction; thin, patchy crema or large bubbles often means channeling.
Common WDT and Tamping Mistakes That Harm Repeatability
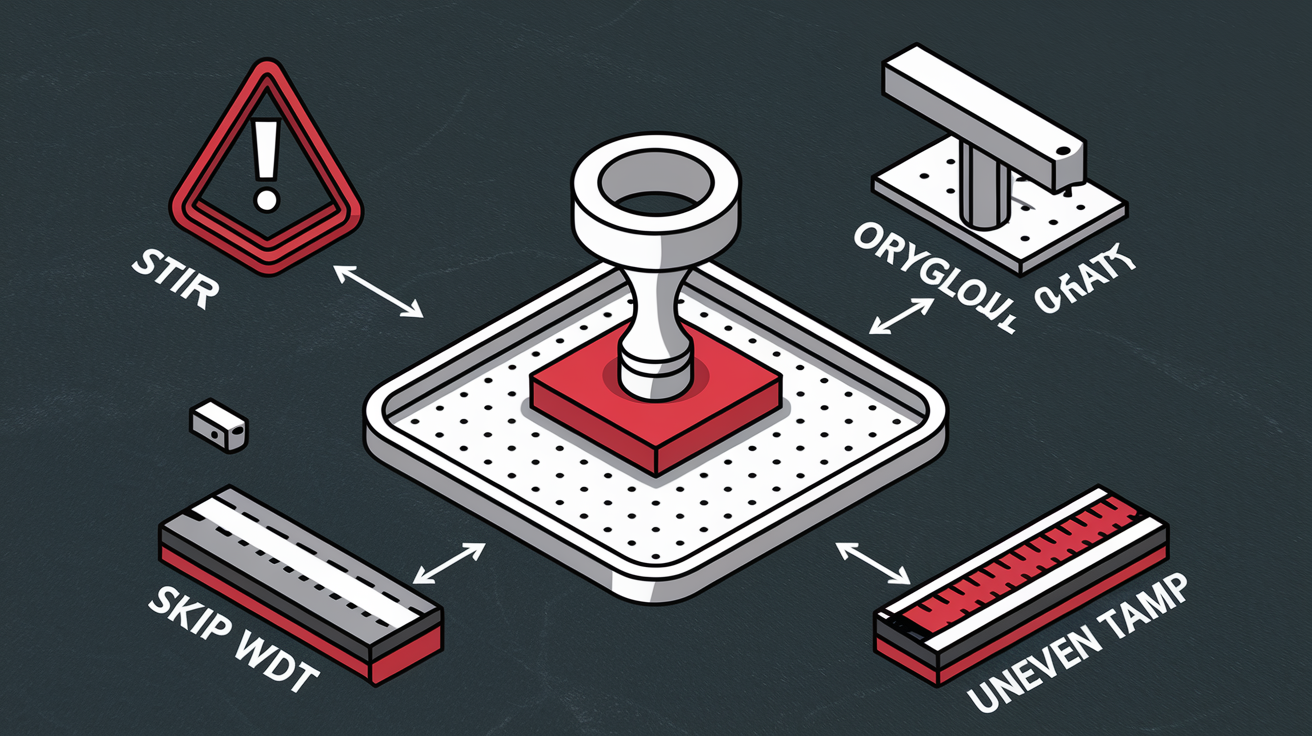
Tamping before WDT is the top offender — it locks clumps into the puck. Other frequent problems: stirring too shallow, scraping the basket bottom with needles, grinding too early, over-polishing the tamp, and inconsistent tamp pressure.
What to check if shots are erratic:
- WDT timing: Stir right after dosing, not after the grounds sit for 30 seconds.
- Needle depth: Practice reaching 90 to 95 percent of basket depth without hitting metal; a bottomless portafilter helps here.
- Count your strokes: Pick a repeatable pattern and stick to it.
- Use scale and timer: Dose to within 0.1 g and log shot times and yields so you can spot drift.
- Learn tamp pressure: A calibrated tamper or a bathroom scale under the portafilter teaches you what 30 lb feels like.
- Humidity clumping: Store beans airtight. If clumping is bad, consider a light RDT on the beans before grinding.
If you’ve got channeling or big shot-to-shot swings, check sequence and consistency first. No grind tweak will fix a broken workflow.
Why the Order of WDT, Level, and Tamp Changes Extraction Results
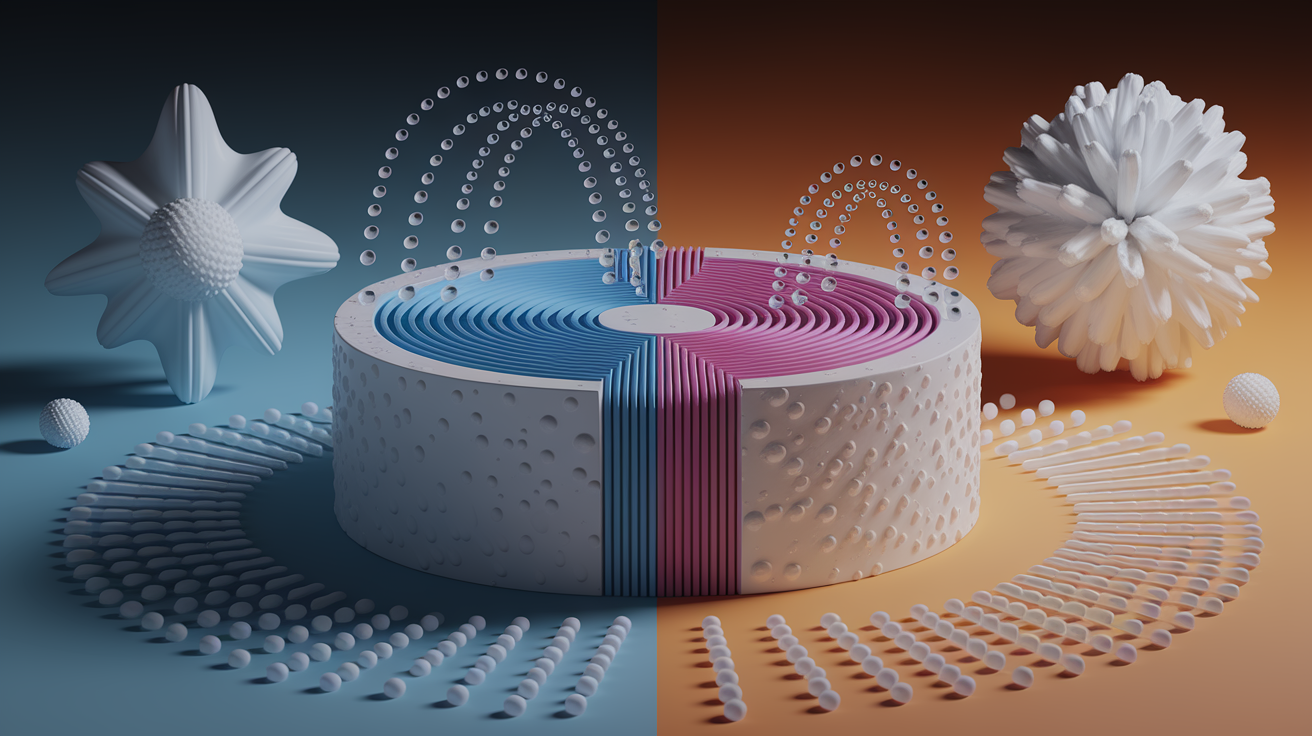
Water follows the path of least resistance. WDT evens puck density by breaking clumps and spreading fines, leveling removes surface voids, and tamping locks the structure into a uniform resistance. Follow that order and water spreads evenly, extracting at a similar rate across the puck. The result: balanced flavor and repeatable shot times.
Reverse the order or skip steps and you create density zones that channel. Some grounds will over-extract and taste bitter while others under-extract and taste sour, and shot time becomes unpredictable. A well-prepped puck typically supports a 25 to 30 second shot at a 1:2 ratio (for example 18 g in, 36 g out). Poor prep can shift that window by 5 to 10 seconds shot to shot, which makes dialing in frustrating.
| Step | Effect on Extraction | Typical Time Change if Skipped or Reversed |
|---|---|---|
| WDT (5 to 15 s stir) | Breaks clumps, evens fines distribution, stabilizes puck resistance | Adds 3 to 7 seconds of channeling shortcuts, plus 5 to 10 seconds variability shot to shot |
| Level (1 to 3 taps or spin) | Settles bed, removes voids, creates flat tamping surface | Adds 2 to 4 seconds due to air pockets or uneven tamp footprint |
| Tamp (~30 lb, level) | Compresses bed to uniform density and locks structure | Variations of 3 to 6 seconds per 10 lb change in force; tilted tamp causes immediate channeling |
Quick Workflow Checklist for Repeatable Shots
- Preheat the portafilter with a quick flush or leave it in the group while warming.
- Weigh your dose to 0.1 g resolution — 14 g single, 18 to 20 g double, 20 to 22 g high-dose.
- Grind into the basket and start WDT immediately; don’t let the grounds sit.
- WDT for 5 to 15 seconds, needles to about 90 to 98 percent depth, slow circles and radial sweeps until no clumps remain.
- Level with 1 to 3 light taps or a gentle distributor spin.
- Tamp straight down with consistent force, hold 1 to 2 seconds, lift cleanly.
- Brew, record shot time and yield, and watch flow; once dialed in aim for plus or minus 1 to 2 seconds variation shot to shot.
Final Words
Grind and dose, then do your WDT for 5–15 seconds to break clumps and even the bed. Lightly settle the surface with your distribution tool, then tamp last with a steady 20–30 lb press.
We covered when to WDT, how to level, tamp technique, visual checks, common mistakes, and a simple checklist.
Stick to this order of operations WDT distribution tool tamp for repeatable shots. Change one thing at a time, record yield and time, and enjoy steadier, less frustrating shots.
FAQ
Q: How to properly use a WDT tool?
A: To properly use a WDT tool, stir the dosed grounds 5–15 seconds with slow circular or back‑and‑forth motions, using needles ~0.5–0.8 mm wide spaced 2–4 mm and inserted near basket bottom, then knock down and tamp.
Q: What is the WDT process?
A: The WDT process, or Weiss distribution technique, is gently agitating the dosed coffee to break clumps and spread fines evenly. Do it after dosing and before tamping to create a uniform puck in about 5–15 seconds.
Q: What is the difference between a distribution tool and a tamper?
A: The difference between a distribution tool and a tamper is role: a distributor levels and settles the fluffy bed without compressing; a tamper applies 20–30 lb to flatten and lock the puck. Use distributor after WDT, tamp last.