

Want perfect espresso every time?
Stop guessing and start measuring: shot time and yield tell you exactly what the puck is doing.
Pull a shot, note the grams and seconds, and you get a clear instruction: change grind first, dose second.
Change one thing at a time and you can fix sour, bitter, weak, or muddy shots fast.
This post gives a simple decision map and a repeatable workflow so your next shot is better, not just different.
Mastering Espresso Adjustments Through Shot Timing and Yield Analysis
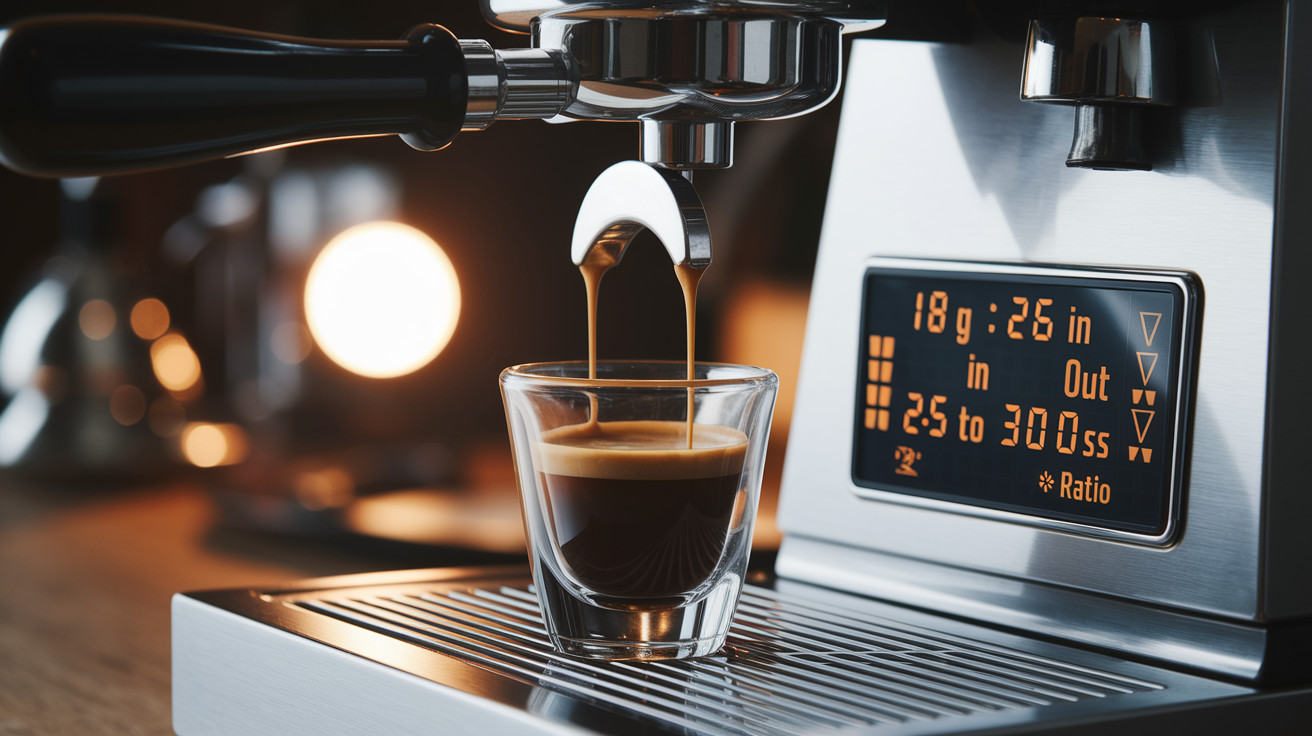
Shot timing and yield tell you exactly what’s happening inside the puck and which variable to change next. Pull a shot, record the weight and the seconds it took, and you’ve got a snapshot of extraction speed and resistance. That snapshot maps straight to flavor. Fast shots with high yields? Usually sour and thin because water rushed through without dissolving enough coffee. Slow shots with low yields? Bitter and harsh because water sat too long, pulling unwanted compounds.
Most espresso workflows start with a simple baseline: 18 grams of ground coffee producing 36 grams of liquid in about 25 to 30 seconds. If your shot falls outside that window, timing and yield clues point you toward grind size first, then dose second. Change one thing at a time and pull again. Chase multiple fixes at once and you’ll lose the signal, end up guessing.
Here’s the exact decision map when you see a mismatch:
- Fast shot (under 20 seconds) with high yield (40+ grams out from 18 in) → grind finer by 1 to 3 steps.
- Slow shot (over 35 seconds) with low yield (30 grams or less out from 18 in) → grind coarser by 1 to 3 steps.
- Time is correct (25 to 30 seconds) but tastes sour → grind slightly finer or bump dose by 0.3 to 0.5 grams to build more resistance and extend contact time.
- Time is correct but tastes bitter → grind slightly coarser or drop dose by 0.2 to 0.5 grams to ease flow and shorten contact.
- Yield is on target but body feels weak → increase dose by 0.5 to 1.0 gram to pack the puck denser.
- Channeling or spraying visible during the shot → check distribution and tamp before changing grind. If puck prep is good, grind finer by one step.
Timing and yield are diagnostic tools that reflect extraction balance. They’re not arbitrary numbers to memorize. They’re direct feedback about whether water moved through the coffee too fast, too slow, or just right. Learn to read them together and every shot becomes a clear instruction for your next move.
Understanding Grind Size Effects on Time, Flow, and Extraction Balance
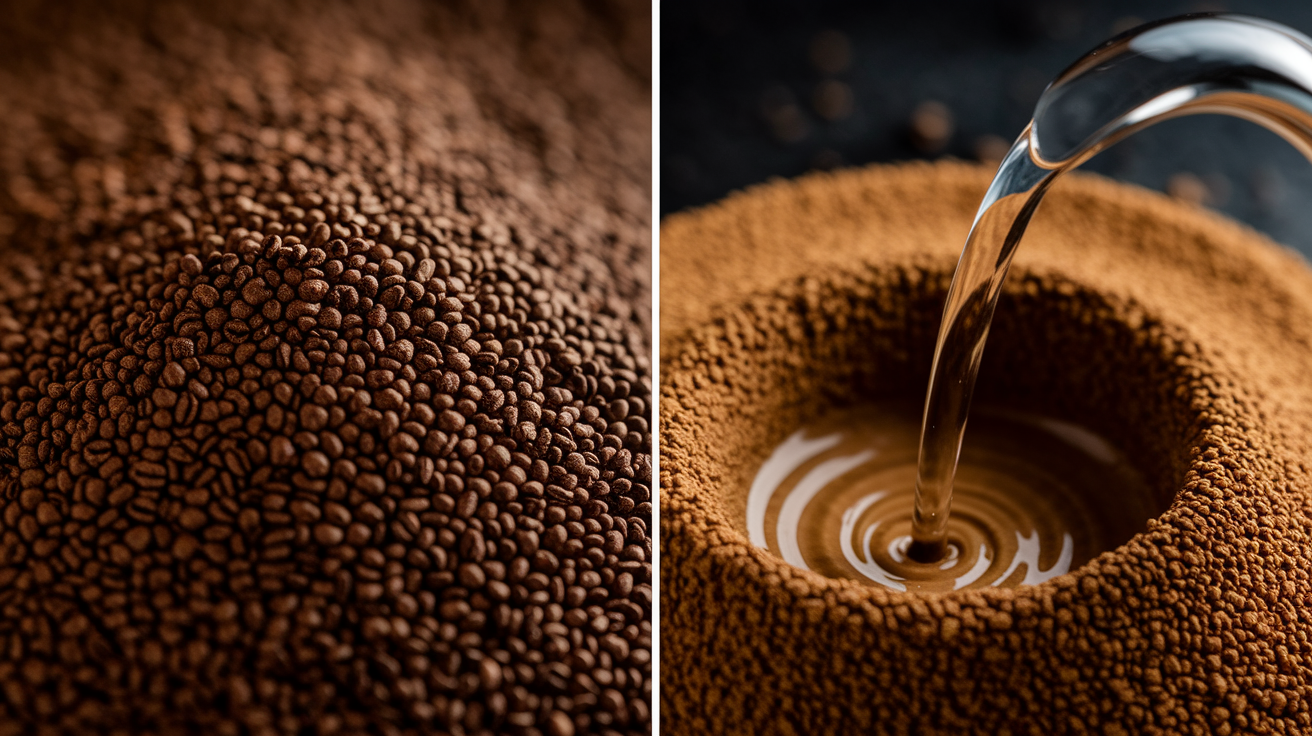
Grind size controls how much resistance water meets when it flows through the coffee puck. Finer particles pack tighter and create smaller gaps, slowing water down and giving it more time to dissolve solubles. Coarser particles leave bigger channels, letting water rush through with less contact time. That difference in flow speed translates straight into extraction percentage, the proportion of coffee solids that end up in your cup.
Grind too fine and water struggles to push through. Shots crawl past 35 seconds, and that extended contact pulls bitter tannins and astringent compounds into the cup. Grind too coarse and water zips through in 15 or 18 seconds, leaving sweet and complex flavors locked in the puck while sour acids dominate. Most grinders let you adjust in small increments, one or two clicks on a stepped grinder or a tiny turn on a stepless model (roughly 10 to 20 microns per adjustment). Those small changes matter. A single step can shift shot time by 3 to 5 seconds and flip a sour shot into a balanced one.
Coarse and Fine Grind Outcomes
| Adjustment | Expected Shot Behavior |
|---|---|
| Grind finer (1–3 steps) | Slower flow, longer shot time, higher extraction, risk of bitterness if overdone |
| Grind coarser (1–3 steps) | Faster flow, shorter shot time, lower extraction, risk of sourness and weak body |
Always purge your grinder after changing the setting. Old grounds left in the chamber carry the previous grind size and muddy your test shot. Run a few grams through, discard them, then dose fresh. Measure the result with a scale and timer before deciding whether to go finer or coarser again.
How Dose Adjustments Influence Strength, Flow Rate, and Extraction Percentage

Dose is the dry weight of ground coffee you load into the portafilter, and it affects both how dense the puck is and how strong the final cup tastes. Most double baskets work best with 16 to 20 grams, with 18 grams as the common starting point. Increase dose from 18 to 19 grams and you’re adding more coffee into the same basket volume, which packs the puck tighter and slows water flow even if grind size stays the same.
A higher dose also increases total dissolved solids in the cup, making the espresso taste stronger and fuller. A lower dose speeds up the shot and reduces strength, which can tip flavor toward sour if extraction percentage doesn’t compensate. Dose changes should be small, 0.2 to 0.5 grams for fine tuning, 1 gram for a bigger shift. You’ll need to retune grind size after any dose change to bring shot timing back into the 25 to 30 second window.
Dose and grind work together. Increase dose to add body but don’t adjust grind? Your shot may choke and run too slow. Lower dose to ease a slow shot but keep the grind fine? You might end up with a fast, sour pull and weak crema.
When to adjust dose instead of grind:
- Shot timing is correct but the espresso tastes weak or watery → increase dose by 0.5 to 1.0 gram.
- Shot timing is correct but the cup feels too intense or muddy → reduce dose by 0.3 to 0.5 gram and increase yield slightly.
- You’ve hit the limit of your grinder’s fine setting and shots are still too fast → increase dose to add resistance.
- Grinder is already at the coarsest usable setting and shots choke → reduce dose to open up flow.
- You want to change strength without changing extraction balance → adjust dose and yield proportionally (keep the same brew ratio) and retune grind to restore target time.
Using Brew Ratio and Yield Targets to Control Flavor Outcomes

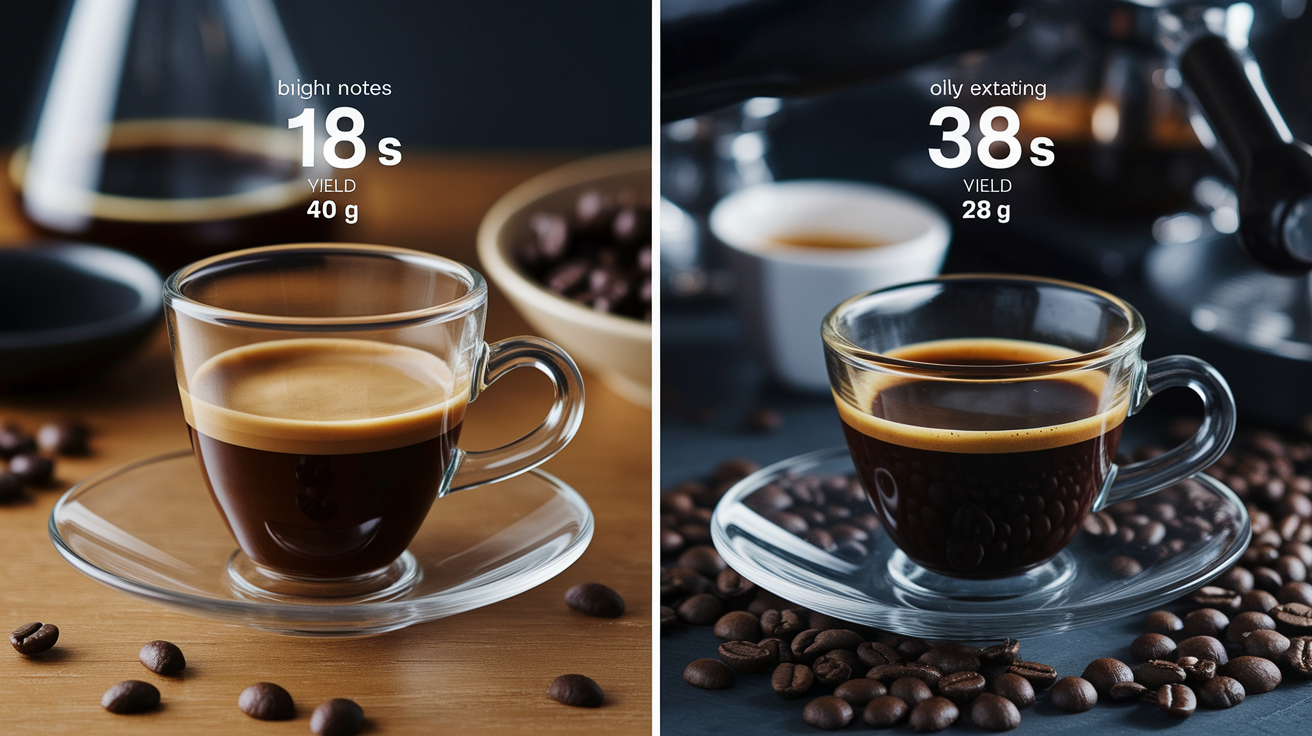
Yield is the weight of liquid espresso that lands in your cup. Brew ratio is the relationship between dose and yield. The standard starting ratio is 1:2, 18 grams of dry coffee producing 36 grams of brewed espresso. Alternative ratios let you steer flavor and texture. A 1:1.5 ratio (18 grams in, 27 grams out) produces a thicker, more intense ristretto style shot. A 1:2.5 ratio (18 grams in, 45 grams out) gives you a lighter, clearer lungo with more pronounced acidity.
Yield changes as small as 2 to 4 grams can shift taste noticeably. Pulling less liquid concentrates dissolved solids and amplifies sweetness and body. Pulling more liquid dilutes the cup and highlights brighter, sharper notes. When comparing shots, keep yield consistent so grind or dose changes don’t get confused with ratio differences.
Here’s how to adjust yield to change flavor while keeping extraction balanced through grind recalibration:
- To increase strength without over extracting → reduce yield by 3 to 5 grams and grind slightly coarser to keep shot time in the 25 to 30 second range.
- To lighten the cup and increase clarity → increase yield by 3 to 5 grams and grind finer to prevent the shot from running too fast and turning sour.
- Yield came in too high and tasted weak → next shot, stop extraction 4 to 6 grams earlier and grind one step finer to maintain timing.
- Yield came in too low and tasted harsh → let the next shot run 3 to 5 grams longer and adjust grind coarser if time exceeds 30 seconds.
Always weigh yield with a scale placed under your cup. Eyeballing volume is unreliable because crema takes up space without adding much dissolved coffee.
Diagnosing Under Extraction and Over Extraction Using Timing and Yield Clues
When shot timing and yield fall outside the baseline window, they signal specific extraction problems. A shot that runs under 20 seconds and produces 40 or more grams from an 18 gram dose is racing through the puck, leaving sweet compounds behind and delivering mostly sour acids and a thin, papery body. A shot that crawls past 35 seconds and yields only 30 grams is spending too long in contact with the coffee, pulling bitter tannins and astringent notes that coat your tongue.
The sweet spot sits between 25 and 30 seconds with your target yield, usually around 36 grams for a 1:2 ratio. When timing or yield drifts, taste becomes the final diagnostic. Sour, bright, or sharp flavors with weak body mean under extraction and point toward grinding finer or increasing dose. Bitter, hollow, or overly dry flavors mean over extraction and tell you to grind coarser, reduce dose, or cut yield slightly.
Timing alone doesn’t confirm extraction quality. Distribution problems or stale coffee can produce correct numbers with off flavors. But combined with yield and taste, timing becomes a reliable troubleshooting tool. If your puck prep is consistent and your coffee is fresh, the time, yield, taste triangle will point you toward the right grind or dose adjustment every time.
Extraction Diagnostics Table
| Symptom | Likely Cause | Adjustment |
|---|---|---|
| Shot runs under 20 seconds, high yield (40+ grams) | Grind too coarse, puck too loose | Grind finer by 1–3 steps; consider increasing dose by 0.3–0.5 grams |
| Shot runs over 35 seconds, low yield (30 grams or less) | Grind too fine, puck too dense | Grind coarser by 1–3 steps; consider reducing dose by 0.2–0.5 grams |
| Time correct (25–30 s) but tastes sour, thin, or sharp | Under extracted despite timing | Grind slightly finer or increase dose by 0.3–0.5 grams |
| Time correct but tastes bitter, dry, or astringent | Over extracted despite timing | Grind slightly coarser or reduce dose by 0.2–0.5 grams |
| Weak, watery taste with correct time and yield | Insufficient coffee mass or poor distribution | Increase dose by 0.5–1.0 gram; check puck prep and tamp consistency |
Building a Repeatable Dial In Workflow for Consistent Grind and Dose Adjustments
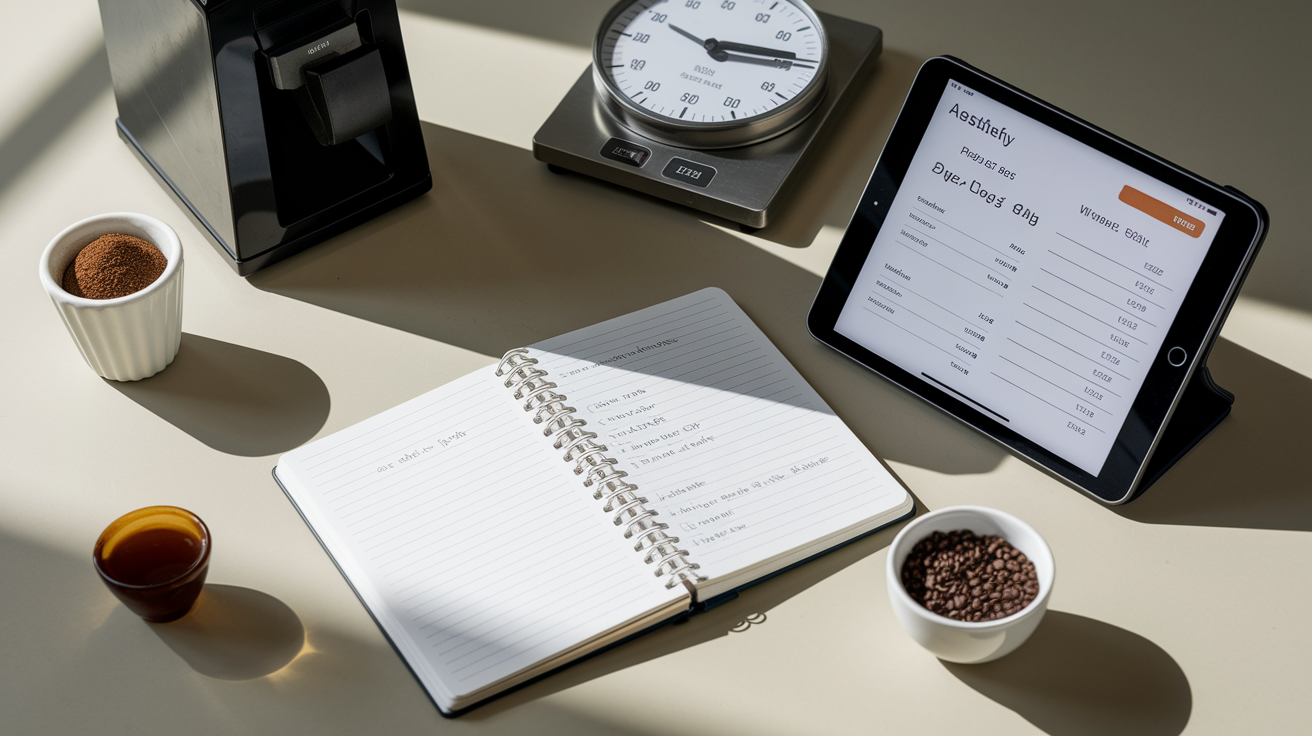
A structured dial in routine removes guesswork and lets you zero in on the right settings in 3 to 8 shots instead of burning through half a bag. The goal? Isolate one variable at a time, record what happens, and adjust based on clear cause and effect feedback. When you switch to a new coffee, environmental conditions shift, or your grinder drifts after cleaning, this workflow brings you back to balance quickly.
Start with a known baseline, 18 grams in, 36 grams out, aiming for 25 to 30 seconds. Document every pull. Use a scale to weigh dose and yield, a timer to track extraction duration, and a notebook or app to log grinder setting, shot time, yield, and short taste notes. After each shot, compare the numbers and flavor to your target, pick the single most obvious fix (grind finer, grind coarser, increase dose, reduce dose), and pull again.
Here’s the step by step process:
- Weigh your dose precisely (start with 18.0 grams) and zero your grinder or knock out any retention.
- Distribute the grounds evenly using a WDT tool or light taps, then tamp level and firm.
- Start the timer when the pump activates, pull the shot, and stop when you hit your target yield (36 grams for 1:2 ratio).
- Record shot time, actual yield, and grinder setting in your log immediately.
- Taste the espresso and note whether it’s sour (under extracted), balanced, or bitter (over extracted).
- Adjust grind size first. If sour or fast, grind finer by 1 to 2 steps. If bitter or slow, grind coarser by 1 to 2 steps. Purge the grinder and pull again.
- Fine tune dose or yield only after grind is close. If timing is right but flavor needs tweaking, increase dose for more body or adjust yield by 2 to 4 grams for strength changes.
Recording metrics matters because memory fades and beans change over the first week. When you log three pulls in a row with the same settings and see consistent time, yield, and taste, you know you’ve dialed in. If results swing wildly, check puck prep, grinder retention, or bean freshness before making another change.
Environmental and Coffee Freshness Factors That Require Grind or Dose Recalibration

Coffee isn’t static. Beans continue degassing after roasting, which changes how water moves through the puck and how quickly solubles dissolve. Most espresso tastes best between 3 and 14 days post roast, and within that window you’ll notice shots gradually running faster as CO₂ escapes. After two weeks, beans often need a finer grind to restore proper extraction time and prevent sour, under extracted flavors.
Humidity and temperature swings also affect grind behavior. On humid days, coffee can clump more and slow shots slightly. On dry days, static may cause uneven distribution and faster flow. Grinder cleanliness plays a role too. Old oils and retained grounds build up on burrs and in the chute, altering particle size distribution and clogging flow paths. A grinder that hasn’t been cleaned in weeks may deliver inconsistent shots even when settings haven’t changed.
When external factors force recalibration:
- Beans older than 14 days → grind one or two steps finer to compensate for lower gas pressure and maintain target shot time.
- High humidity or sudden weather shifts → expect slight timing changes. Make small grind adjustments (one step) and test.
- Grinder hasn’t been cleaned in over a month → disassemble, brush burrs, vacuum the chamber, then re dial because the grind profile will shift after cleaning.
- Switching between bean origins or roast levels → light roasts are denser and often need finer grinds. Dark roasts are more porous and extract faster, requiring coarser settings.
Track when you roasted or bought the coffee and note any environmental or maintenance events in your shot log. When timing drifts without a deliberate change, freshness and environment are the first suspects.
Visual Flow, Puck Behavior, and How They Reflect Grind and Dose Accuracy
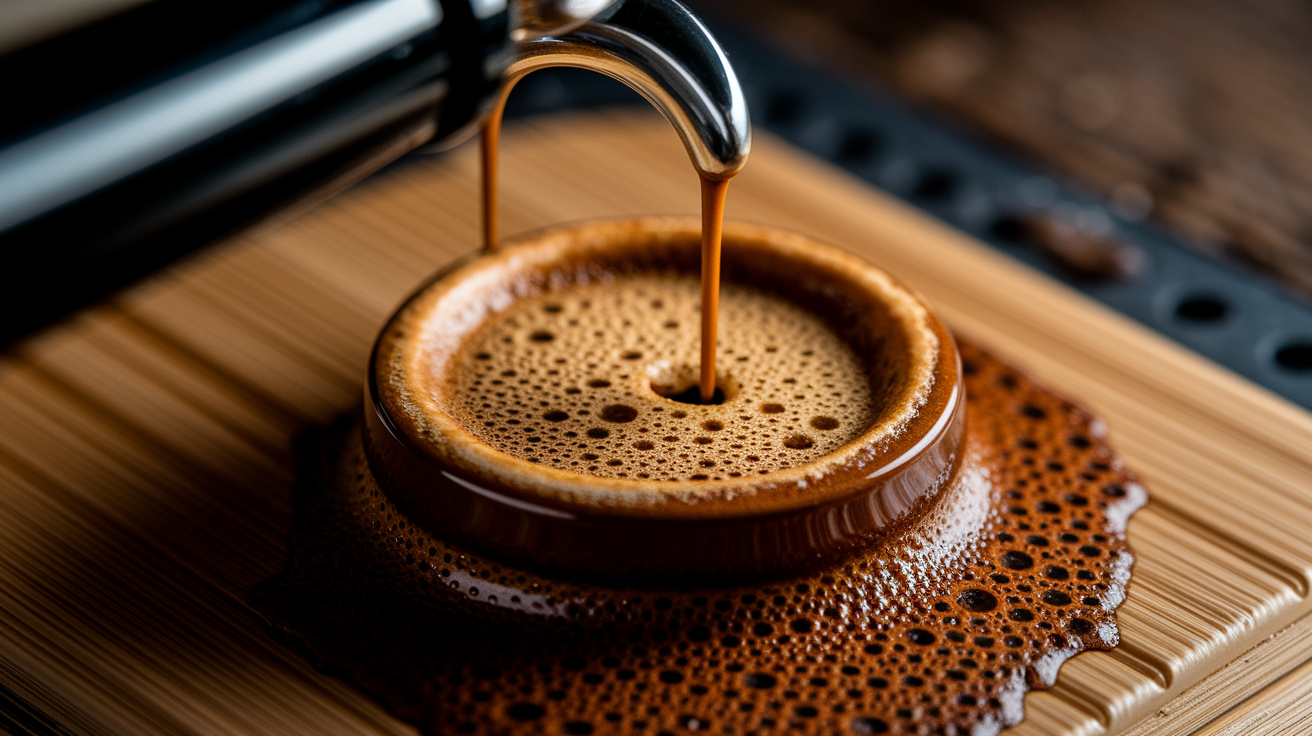
Numbers tell you what happened. Visuals show you how it happened. A well dialed shot flows like warm honey in a steady, unbroken stream. The color starts dark and syrupy, shifts to caramel brown in the middle, and begins blonding (turning pale gold) around 25 to 30 seconds as you approach target yield. If blonding arrives early, say at 15 seconds, you’re under extracting and the grind is too coarse. If the shot stays dark past 35 seconds, you’re over extracting and the grind is too fine.
Puck appearance after extraction gives clues about distribution and dose. An even, lightly damp puck with a uniform pale brown surface means water flowed evenly. Deep cracks, dry rings around the edge, or a soupy center point to channeling. Water found weak spots and rushed through, leaving parts of the puck under extracted. Channeling often looks like grind or dose problems (fast shot, sour taste) but it’s actually a puck prep issue. Fix distribution and tamp consistency before changing grind settings.
Visual Cues for Evaluating Extraction
- Steady, syrupy flow with no sputtering → grind and dose are balanced, puck prep is even.
- Spraying, multiple thin streams, or uneven dripping → channeling from poor distribution, uneven tamp, or a cracked puck. Improve prep or grind slightly finer if prep is already good.
- Blonding before 20 seconds → under extraction. Grind finer or increase dose.
- Dark, slow drip continuing past 35 seconds → over extraction. Grind coarser or reduce dose.
- Thick, persistent crema with fine bubbles → good extraction and fresh coffee. Thin or absent crema suggests stale beans or severe under extraction.
Visual feedback works best when combined with timing, yield, and taste. If the shot looks good but tastes off, trust your palate and adjust grind or dose accordingly.
Example Adjustment Scenarios Demonstrating Time, Yield, Taste Logic

Real world examples make the decision rules concrete. Here are four common scenarios with exact numbers and the reasoning behind each adjustment.
Scenario A (balanced baseline): You dose 18.0 grams, pull to 36.0 grams in 27 seconds, and taste balanced sweetness with a smooth, syrupy body. The grind, dose, and yield are all correct. Lock in this grinder setting and dose weight, and expect only small tweaks as the beans age.
Scenario B (fast and sour): You dose 18.0 grams, the shot finishes at 40.0 grams in just 18 seconds, and it tastes sharp, sour, and thin. Water raced through the puck without extracting enough sweetness. Grind finer by 2 steps, purge the grinder, dose 18.0 grams again, and aim for 36.0 grams in closer to 28 seconds. Taste should shift toward balance.
Scenario C (slow and bitter): You dose 18.0 grams, extraction crawls to 32.0 grams in 38 seconds, and the cup tastes dry, bitter, and hollow. The puck was too dense and water over extracted. Grind coarser by 2 steps. If that brings time to 30 seconds but the shot still feels heavy, reduce dose to 17.5 grams and pull again, targeting 35.0 grams in 26 to 28 seconds.
Scenario D (changing ratio for style): You want a ristretto style shot with more body. Keep dose at 18.0 grams but stop the shot at 27.0 grams (1:1.5 ratio) instead of 36.0 grams. The first pull finishes in 22 seconds and tastes slightly sour. Grind finer by one step to slow the shot to 26 to 28 seconds, which brings out more sweetness and keeps the thick texture you’re after.
These examples show the same underlying logic. Use timing and yield to diagnose the problem, adjust grind size first to fix flow and extraction, and fine tune dose or ratio only when grind alone doesn’t bring flavor into balance. Each adjustment builds on the last, and each shot gives you clearer feedback as you narrow in on the right settings.
Final Words
Dial in with the simple baseline: 18 g to 36 g, target 25–30 seconds. Change grind first (1–3 clicks), then tweak dose in 0.2–0.5 g steps.
Use a scale and timer, watch flow and puck, and log time and yield. Fast and sour: grind finer. Slow and bitter: grind coarser. Keep distribution and tamp consistent.
Make single changes and measure. That habit (adjusting grind size and dose based on shot timing and yield) gets you repeatable, cleaner shots and less waste.
FAQ
Q: What is a good starting recipe for dialing in espresso?
A: A good starting recipe is 18 g dose → 36 g yield, aiming for 25–30 seconds. Weigh and time every shot so you can compare changes consistently.
Q: How should I fix fast shots or a sour taste?
A: Fast shots or sour tastes usually mean under-extraction; grind finer first (1–3 clicks or tiny stepless turns), then retime. Expect small changes and taste after each tweak.
Q: How should I fix slow shots or a bitter taste?
A: Slow shots or bitterness usually mean over-extraction; grind coarser first (1–3 clicks or slight turns), then retime. Match flow to the 25–30 second target before changing dose.
Q: Should I change grind size or dose first when shots are off?
A: Change grind size first to correct flow and extraction balance. Only adjust dose when you need to change strength or puck density after flow is stable.
Q: How big should my grind and dose adjustments be?
A: Make small steps: 1–3 grinder clicks or ~10–20 microns on stepless; dose shifts of 0.2–0.5 g for fine tuning, 1 g for bigger changes. Purge grinder after each change.
Q: How does dose affect flow, strength, and extraction?
A: Dose changes puck density: higher dose slows flow and strengthens the cup; lower dose speeds flow and weakens it. Use dose to tweak strength when grind is already correct.
Q: What brew ratios and yields should I use to control flavor?
A: Use 1:2 (18 g → 36 g) as baseline. Try 1:1.5 for thicker body or 1:2.5 for clarity. Keep timing consistent when comparing ratios; small yield shifts (2–4 g) matter.
Q: How do I diagnose extraction with timing and yield clues?
A: Diagnose by timing+yield: under-extracted = fast (<20 s) with high yield; over-extracted = slow (>35 s) with low yield. Aim for ~25–30 s at your target yield and taste as the check.
Q: How many tries and what workflow should I use when dialing in new beans?
A: Expect 3–8 iterations. Workflow: weigh dose (18 g), target yield (36 g), time (~30 s), change one variable, log dose/yield/time/taste, repeat with scale and timer.
Q: What environmental or freshness factors force grind or dose recalibration?
A: Bean age, humidity, and grinder cleanliness change flow. Beans older than ~14 days often need a finer grind; high humidity can slow shots. Recalibrate when shots drift or taste shifts.
Q: What visual or puck cues tell me my grind and dose are right or wrong?
A: Look for a steady, syrupy stream and blonding near target time. Watch for spraying, uneven flow, cracked or muddy pucks—those point to channeling, distribution, or grind issues.