

Think one distributor setting fits every basket? Think again.
Get the height wrong and you either crush the puck before tamping or leave thin spots that let water shortcut through.
This short guide shows how to measure basket depth, pick the right target clearance for singles, doubles, and triples, and set your tool in 0.5 mm steps with a caliper or feeler gauge.
Do that and you get a flat bed, safe tamper clearance, and steadier, more repeatable shots every time.
Immediate Practical Setup for Correct Distribution Tool Height

Getting distributor height right stops the tool from smacking your tamper, keeps the coffee bed flat instead of bumpy, and prevents water from taking shortcuts through thin spots when you pull the shot. Set it too high and grounds pile up at the edges. Too low and you’re squashing the puck before tamping, which creates dense zones that choke flow or rip channels straight through.
Basket depth changes everything. A shallow single has way less room than a deep triple, so the same tool setting digs much deeper into the single and barely kisses the triple. That’s why target clearance (the gap between the tool’s bottom and the top of settled grounds) has to scale with basket size. Adjusting in 0.5 mm steps keeps changes small enough to spot the difference without going overboard, and it lines up with most digital calipers and feeler gauge intervals.
Here’s how to dial in your distributor for any basket:
-
Measure basket depth. Use a digital caliper from the rim straight down to the floor. Write it down.
-
Dose and prep baseline grounds. Weigh your dose to 0.1 g (single 7–12 g, double 15–22 g, triple 22–30 g) and drop it in without leveling.
-
Pick target clearance by basket type. Singles need 0–0.5 mm, doubles 0.5–1.5 mm, triples 1.5–2.5 mm. Knock off about 0.5 mm if you’re using VST or IMS competition baskets.
-
Set height with caliper or feeler gauge. Adjust the collar or spacer rings so the tool’s bottom sits at your target clearance above the grounds. Verify with a caliper or slip a feeler blade between the tool and puck.
-
Check rotation and surface. Spin 3–8 full turns at about 1–2 seconds per spin, lift, and look. Should be flat, no lumps or gaps.
-
Make sure tamper clears. Drop your tamper in the basket and confirm at least 0.5 mm space between tamper base and distributor body. They can’t touch.
-
Run a one shot test. Pull one shot, watch when flow starts and check for even extraction. If it channels or flows weird, shift height 0.5 mm and try again.
Understanding Basket Geometry and Its Impact on Calibration
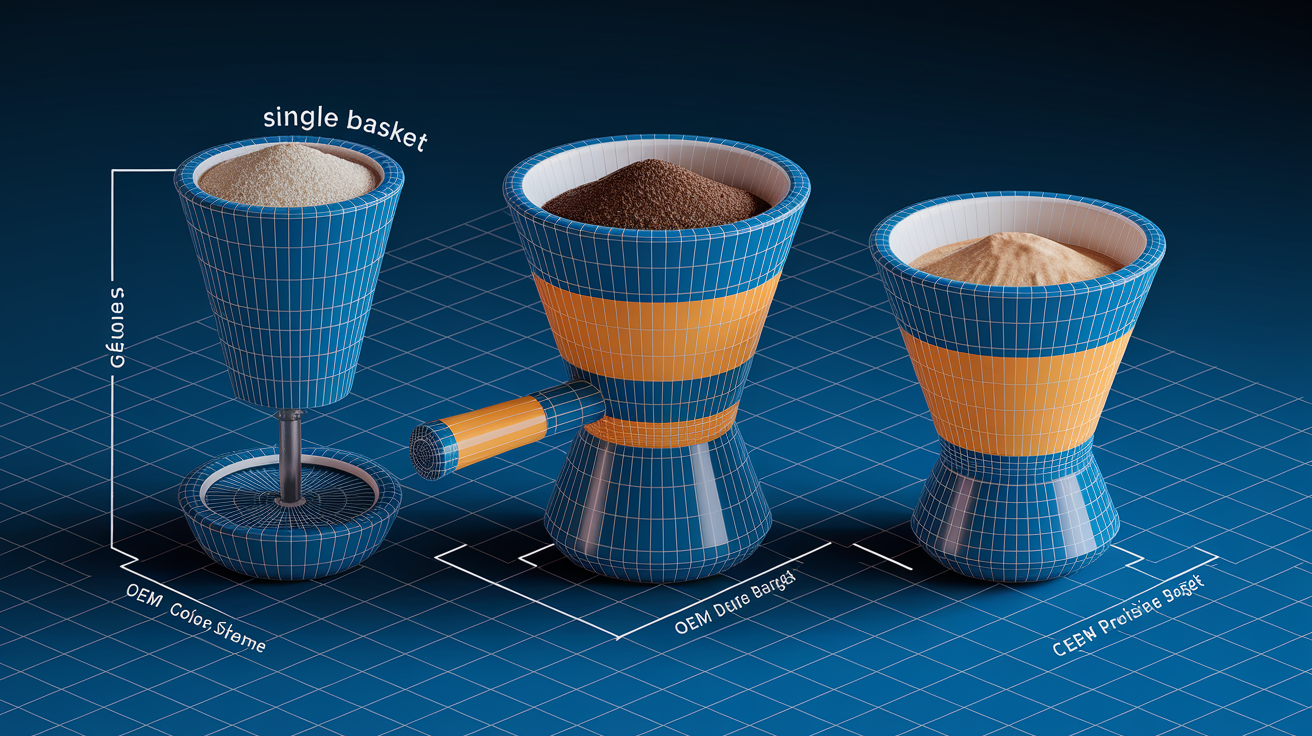
Basket depth, taper, and diameter all mess with how grounds settle and how much space the distributor gets. A deep OEM double gives you 2–3 mm more room than a shallow VST, so the same setting punches further into the VST and risks crushing the bed. Internal slope counts too. Singles taper hard toward the bottom, funneling grounds into a cone with less surface for the tool to work. Wider competition baskets spread grounds thinner and flatter, so even tiny height shifts hit puck density harder.
Shallow competition baskets need lighter penetration because tighter tolerances and uniform shapes leave zero forgiveness. A tool that’s fine in a forgiving deep basket might blow through the top layer of a VST and compact before you tamp. That’s why you subtract roughly 0.5 mm from your normal clearance when switching to precision baskets. Keeps the tool from doing too much and gives you a cleaner starting point.
Geometry stuff to remember:
- Single basket taper. Steep walls pack grounds at the bottom. Tool has to stay high or you’ll compress the narrow base into a dense plug.
- Deep OEM double. Extra vertical space and relaxed tolerances let you go 1.0–1.5 mm without drama. Good for beginners learning the motion.
- VST double. Precision airflow holes and shallow depth need 0–0.5 mm clearance to avoid over stirring and keep flow resistance even.
- IMS shallow baskets. Flat base and micro holes want minimal tool contact. Start at 0–0.5 mm and raise if the tamper interferes.
- Triple basket volume. Big dose (22–30 g) and deep walls mean 1.5–2.5 mm clearance to distribute the top layer without hitting the tamper or squashing unevenly.
Measuring and Setting Distributor Height Accurately
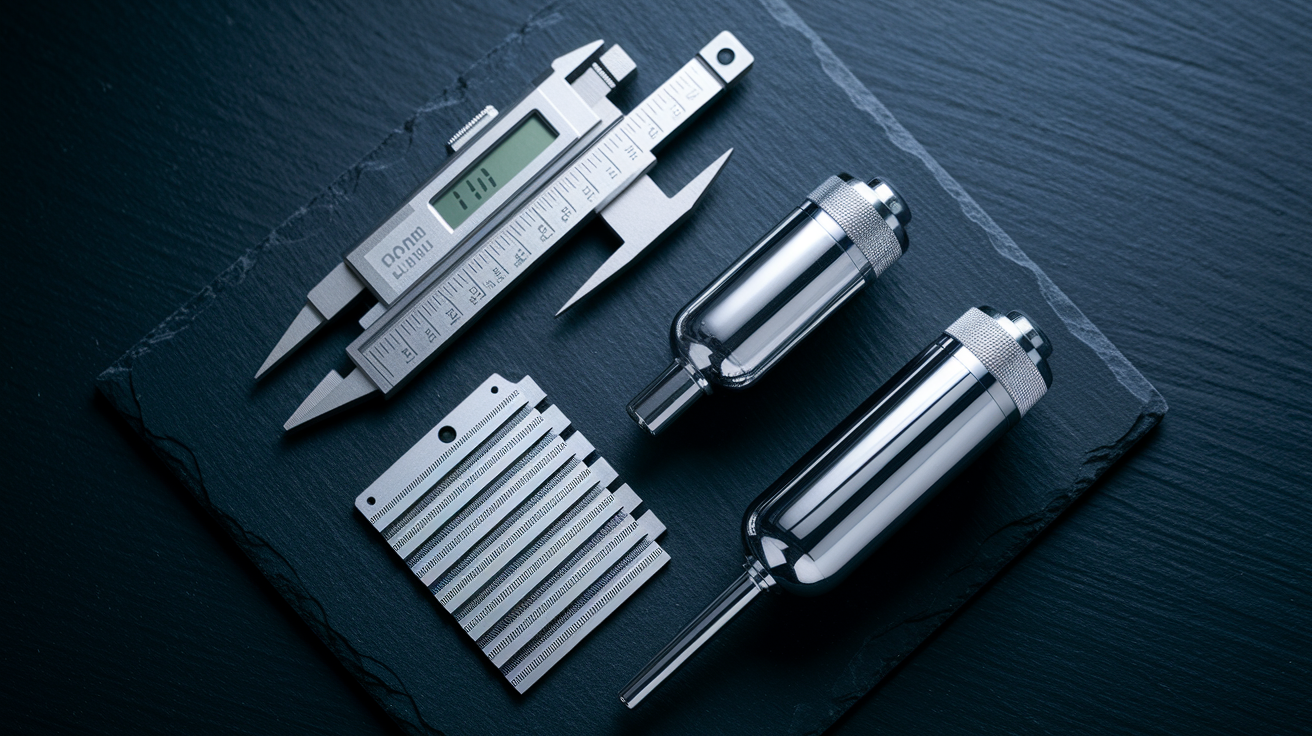
Measure from basket rim down to the bottom of the distributor’s disk when it’s resting in the portafilter. Set the basket on a flat surface, lower the tool until it touches the grounds (or an empty basket for baseline), then use a digital caliper from rim to tool base. Write it down. If your target is 1.0 mm clearance for a double, adjust the collar or add spacers until the caliper reads 1.0 mm less than the rim to floor measurement. That plants the tool exactly where you want it relative to the puck top.
Feeler gauges check clearance after you’ve set the tool. Dose the basket, spin the distributor through, then slide a 0.5 mm or 1.0 mm blade between tool and puck. If it slips in easy, clearance is at least that size. Won’t fit? Tool’s lower than target. Feeler gauges catch mistakes calipers miss, especially when grounds compress weird or the tool isn’t level.
Write everything down: basket type, dose, internal depth, distributor setting, clearance reading. Card or notes app, doesn’t matter. When you swap baskets or change dose more than 0.5 g, pull up that log and adjust from your last good setting instead of guessing. Repeat the measurement every time to confirm you didn’t bump the collar or swap a spacer by accident.
| Tool | Accuracy | Typical Price |
|---|---|---|
| Digital caliper (0–150 mm range, 0.01 mm resolution) | ±0.02 mm | $10–$40 |
| Feeler gauge set (0.5–3.0 mm blades) | ±0.02 mm per blade | $5–$20 |
| Depth gauge or digital depth micrometer | ±0.01 mm | $15–$60 |
| Spacer rings or shim set (0.5 mm increments) | ±0.05 mm thickness | $5–$20 |
Advanced Calibration Procedure for Precision and Consistency
Once you’ve done the quick setup and pulled a few shots, this procedure locks in repeatable results by tightening dose consistency, double checking measurements with multiple tools, and tracking small tweaks across a multi shot test.
-
Tighten dose consistency. Weigh three straight doses and make sure they’re within 0.2 g of each other. Bigger swings mean grind adjustment or hopper technique needs work.
-
Cross check depth with multiple tools. Measure basket depth with both caliper and depth gauge. If they disagree more than 0.1 mm, check for crud on the basket floor or a bent gauge tip.
-
Micro adjust in 0.5 mm steps. Start at your calculated target, pull one shot, then raise or lower exactly 0.5 mm and pull another. Compare flow start, total time, and puck appearance side by side.
-
Multi rotation stability. Spin 3 times, inspect, then spin 5 times and inspect again. If the bed changes a lot, the tool’s probably too low and reworking grounds on each pass.
-
Check tamper clearance after tamping. Tamp at normal pressure (around 30 lb), then measure the gap between tamper base and distributor body with a feeler gauge. You want at least 0.5 mm so they never touch even if tamp pressure bounces.
-
Pull a three shot stability sequence. Dose, distribute, tamp three shots in a row using identical technique. Record total time, yield weight, and flow behavior for each.
-
Look at extraction curves. Compare the three shots. Puck top height should vary under 1.0 mm, shot time within ±2 seconds, yield under 0.5 g. Bigger swings mean distributor height, dose, or tamp technique needs fixing.
-
Make tiny corrections. All three shots run fast and sour? Lower the tool 0.5 mm to pack the bed tighter. They choke and taste bitter? Raise it 0.5 mm to cut pre compression.
-
Log calibration data. Write down final height setting, basket type, dose, tamp pressure, average shot time, and any flavor notes (balanced, bitter, sour). You can come back to this setup or troubleshoot drift later.
-
Set personal tolerance ranges. After testing, decide your acceptable windows (maybe ±1 second on shot time, ±0.3 g on yield) and only adjust when results fall outside. Chasing perfection every shot burns beans and adds stress.
Height Recommendations for Common Basket Types
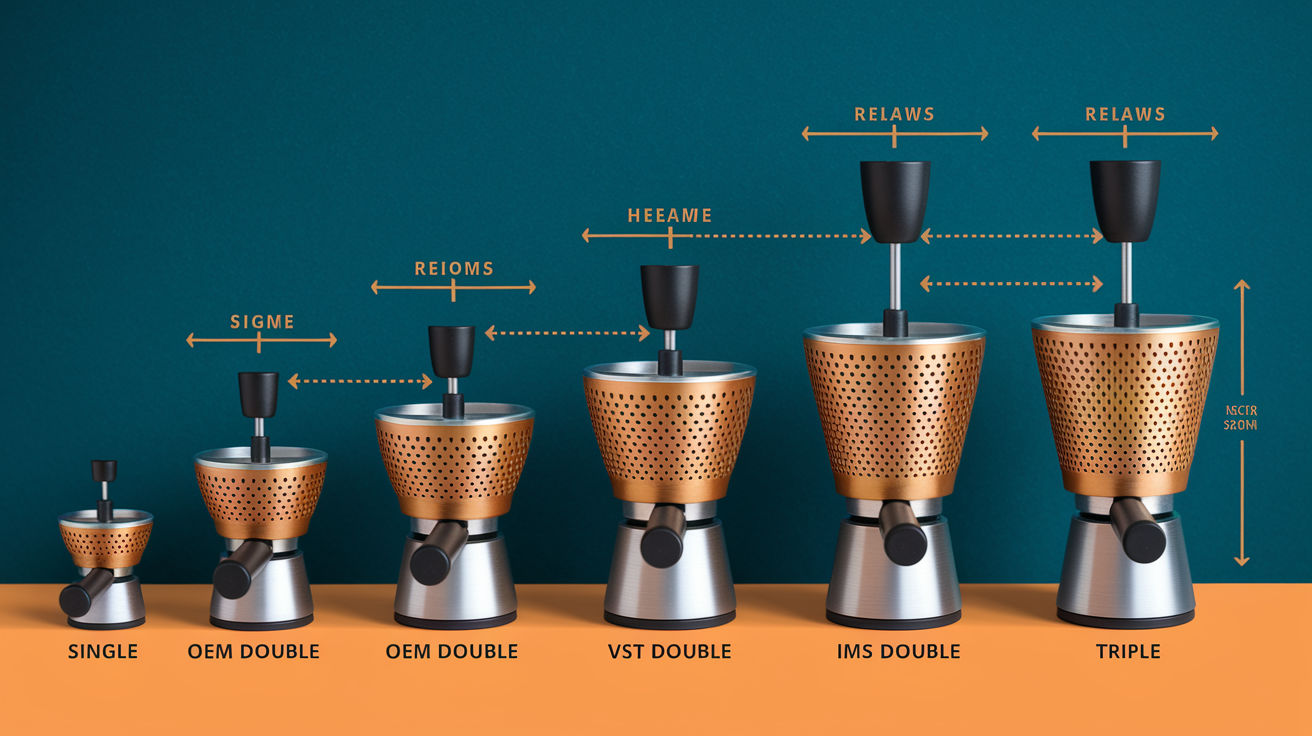
Shallow competition baskets sit closer to the rim and have tighter tolerances than deep OEM baskets, so the distributor needs less penetration to level the same way. Deep baskets give you more room and forgive slight over penetration. Shallow baskets punish it with uneven packing and flow problems. Penetration scales with basket depth because the tool has to reach the top layer without diving into the middle of the puck.
Starting heights are clearance, the gap between the distributor’s bottom and the top of settled grounds before you spin. These targets give you a safe first setting. Real results depend on grind size, dose consistency, and how you spin, so treat these as calibration starting points and adjust in 0.5 mm steps.
Starting clearances by basket type:
- Single basket (7–12 g). 0–0.5 mm clearance. Keep the tool high to dodge over compressing the tapered base and choking flow.
- OEM double basket (standard depth, 15–20 g). 0.5–1.5 mm clearance. Forgiving geometry lets you go a bit deeper without risk. Good for learning distribution.
- VST double basket (shallow competition, 18–20 g). 0–0.5 mm clearance. Precision design and shallow depth mean even 1.0 mm penetration can over pack and channel.
- IMS double basket (shallow competition, 18–20 g). 0–0.5 mm clearance. Micro hole structure and flat base need minimal contact for even distribution.
- Deep triple basket (22–30 g). 1.5–2.5 mm clearance. Large dose and deep walls need more penetration to level the top and keep the tool from crashing into the tamper.
- Pressurized baskets (single or double chamber). Not applicable. Distribution tools don’t work with pressurized systems because puck structure doesn’t affect flow through the pressure valve.
Adapting Height for Light vs Dark Roasts
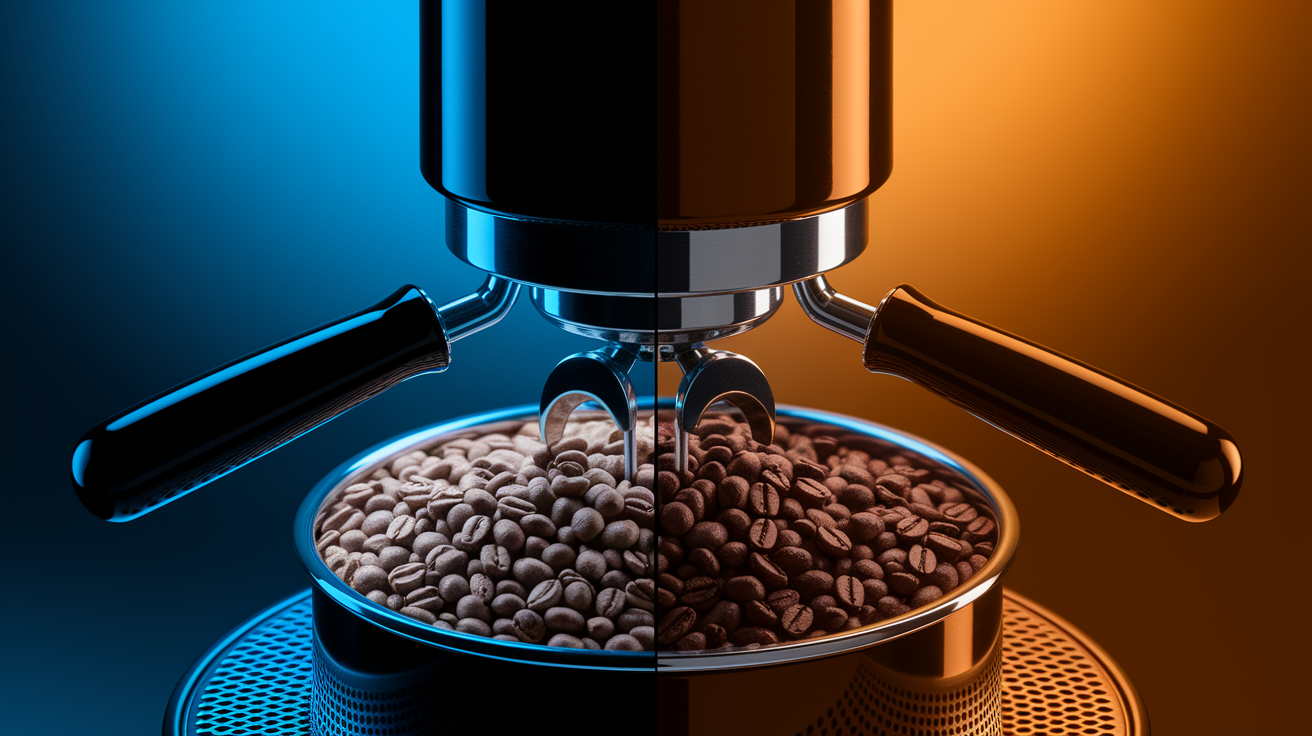
Light roasts are denser and harder, so grounds don’t shuffle as easily under the distributor. Lowering the tool 0.5–1.0 mm (while staying in safe clearance range) increases contact and stirs things up, helping break clumps and fill gaps that would cause fast channels. Denser structure can take a bit more mechanical work without making excess fines, so the extra penetration helps particle distribution instead of hurting it.
Dark roasts are fragile and snap into fines under pressure. Raising the tool about 0.5 mm cuts how much the distributor squashes or shears the grounds, keeping fines lower and dodging over compaction before you tamp. Less penetration also leaves the bed a bit looser, giving you more control during tamping and cutting the risk of a choked shot. If you switch from medium to dark and shots suddenly slow down or taste harsh, raise the distributor first before touching grind size. It’s usually the faster fix.
Visual Checks and Testing Protocol After Calibration

A correctly leveled bed looks flat edge to edge, no center mound, no rim gaps, uniform color all over. An incorrect bed shows peaks where grounds piled, craters where the tool missed, or a ring of loose grounds stuck to the basket wall. After you spin and lift the distributor, tilt the portafilter under light and look for shadows or height differences. See them? Tool’s either too high or spinning unevenly.
Flow behavior and crema tell you whether the height setting works. Good setup gives a steady, even stream starting 5–8 seconds after pump engage, flows without sputtering, builds thick crema across the whole surface. Shot sprays from one side, starts under 3 seconds, or makes thin crema with holes? Bed wasn’t level and water found a weak spot. Channeling almost always leaves a mark on the spent puck. Look for a deep hole, dry patch, or one side way darker than the other.
Documenting outcomes helps you repeat good results and troubleshoot bad ones. Snap a quick photo of the finished puck from straight above, note shot time and yield, write down distributor height. When you adjust, pull three more shots and compare photos side by side. Easier to see if the puck got more uniform than relying on memory.
Checks to run after setting height:
- Puck top inspection. Uniform color, flat surface, no voids or craters. Perfect puck has one smooth plane, no visible defects.
- Shot timing check. Record total extraction time from pump start to cutoff. Compare three straight shots and confirm variance stays within ±2 seconds.
- Yield consistency. Weigh output each shot. Variance should stay under 0.5 g across three if dose, grind, and technique are stable.
- Adjustment rules based on deviations. If timing spreads past ±2 s or yield past 0.5 g, adjust distributor height 0.5 mm in the direction that tightens things (lower for fast shots, higher for slow), then retest.
Troubleshooting Incorrect Distribution Height

Diagnose by looking at the puck after distribution and watching how the shot flows. Grounds spilling over the rim during spinning? Tool’s too low, pushing coffee up the sides. Uneven slope or visible mound in center? Tool isn’t reaching edges or it’s set too high. Fast channeling with spray pattern points to gaps where water found an easy path. Slow, choked extraction with barely any flow means the tool pre compressed grounds into a dense puck before you tamped.
Wrong clearance creates extraction imbalance because water always finds the easiest path. If one side’s thinner or less dense, that side extracts fast and tastes sour while the thick side extracts slow and bitter. You get both problems in the same cup. Correct clearance keeps the bed uniform so every part sees the same resistance and extracts at the same rate.
| Symptom | Likely Cause | Adjustment (mm) |
|---|---|---|
| Grounds spillage during rotation | Tool sitting too low, pushing grounds upward | Raise tool 0.5–1.0 mm and cut rotations to 2–4 |
| Uneven bed with slope or voids | Tool too high, not reaching edges | Lower tool 0.5 mm or add 1–3 extra rotations |
| Fast channeling, thin stream, spray pattern | Gaps in puck from not enough contact | Raise clearance 0.5–1.0 mm or cut tamp pressure a bit |
| Overly slow extraction, choked flow | Tool pre compressing grounds, creating dense zones | Raise clearance 0.3–0.8 mm to cut pre compression |
| Tamper hits distributor body | Not enough vertical clearance between tools | Raise distributor until tamper clears by ≥0.5 mm |
Maintenance and Re-Calibration Schedule for Consistency
Calibration drifts because distributor collars loosen with vibration, spacer rings compress under repeated use, and basket dimensions shift as coffee oils build up or cleaning chemicals etch the metal. Small changes stack up. What was 1.0 mm clearance three weeks ago might be 1.3 mm today, enough to shift shot times and wreck your dial in. Regular checks catch drift before it costs you a bag of beans.
You need to recalibrate when you change something that affects puck geometry: swapping baskets, adjusting dose more than 0.5 g, switching roast profiles, or deep cleaning the portafilter and basket. Each changes how grounds settle and how far the distributor should go, so the old setting doesn’t match the new condition. Quick measurement with caliper or feeler gauge confirms whether your stored setting still works or needs a 0.5 mm tweak.
When to recheck and maintain calibration:
- Weekly verification. Measure clearance with feeler gauge and compare to your recorded setting. Adjust collar if drift goes past 0.3 mm.
- Recalibrate after basket swap. Different baskets have different depths and tapers. Measure the new basket and set fresh target clearance before pulling shots.
- Recalibrate after major roast changes. Switching from light to dark or reverse changes optimal penetration 0.5–1.0 mm. Test and adjust height.
- Replace worn parts causing drift. Check distributor skirts, O rings, and collar threads every month. Replace any part showing more than 0.5 mm deformation or play to keep measurements accurate.
Final Words
In the action, you set a baseline: measure basket depth, dose, set target clearance, and test one shot.
You learned how basket geometry and roast density change those targets, how to measure clearance with calipers or feeler gauges, and why 0.5 mm steps keep changes predictable.
Then we added an advanced checklist, visual KPIs, troubleshooting tweaks, and a simple maintenance rhythm so your settings stick.
Keep one variable at a time, record numbers, and run the three-shot check.
calibrating distribution tool height for different baskets is repeatable, and it gets easier every time.
FAQ
Q: How to adjust self leveling tamper?
A: Adjusting a self-leveling tamper is done by setting the height collar so the base hits the puck evenly at your normal tamp pressure, then test-tamp and confirm a flat, uniform puck with no rim catch.
Q: How to use normcore distribution tool and the distribution duo?
A: Using the Normcore distribution tool and Distribution Duo means set tool height to your basket clearance, place on the dose, rotate 3–8 times at 1–2 seconds each, check for a level surface, then verify tamper clearance.
Q: What is the difference between a tamper and a leveler espresso?
A: The difference between a tamper and a leveler is that a leveler redistributes and evens grounds before compression, while a tamper applies the final downward force to set puck density for consistent extraction.