

Think wand angle only matters for latte art? Think again.
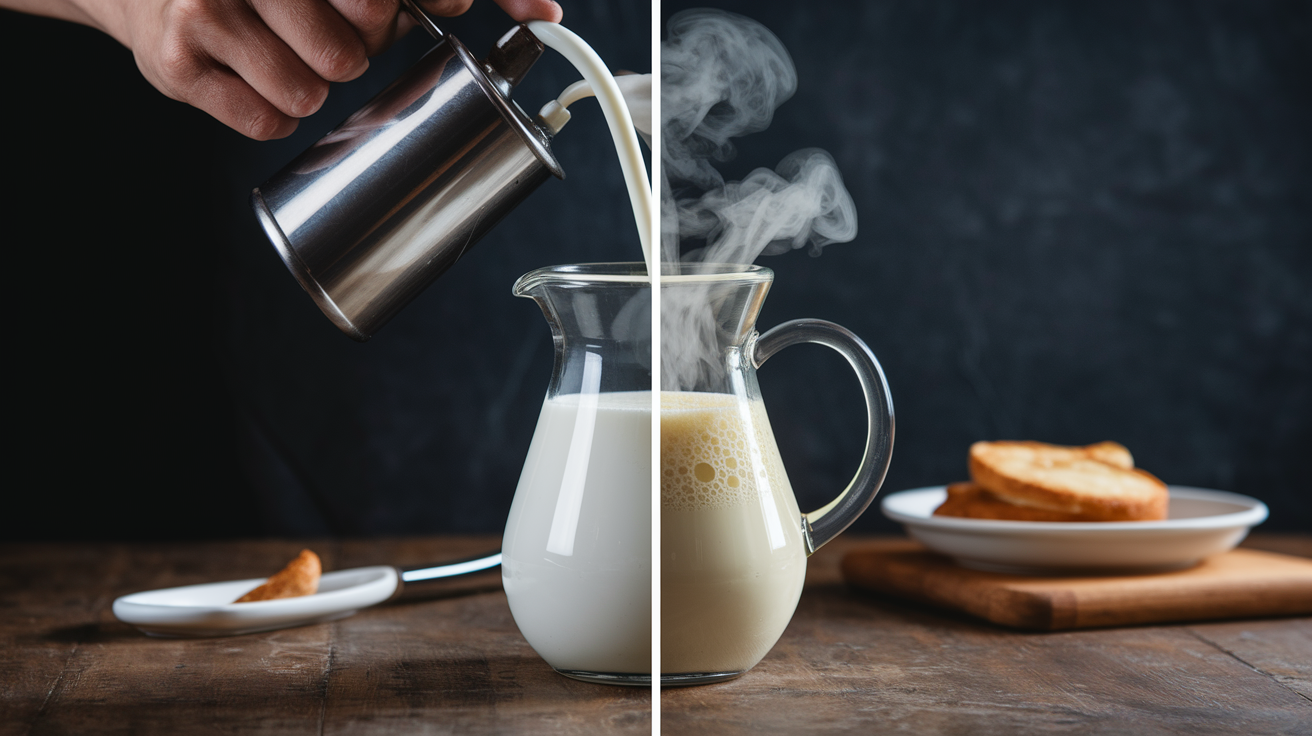
A few degrees change where steam hits the milk and that shifts temperature spread and total steaming time.
Get the angle right during stretching and again during heating, and you cut cold pockets, shave off seconds, and get more consistent microfoam.
This post shows the angle windows for common pitchers and milks, simple checks to try at the machine, and one clear tweak to use on your next pitcher.
Core Mechanics Behind Steam Wand Angle and Its Impact on Milk Temperature and Steaming Time
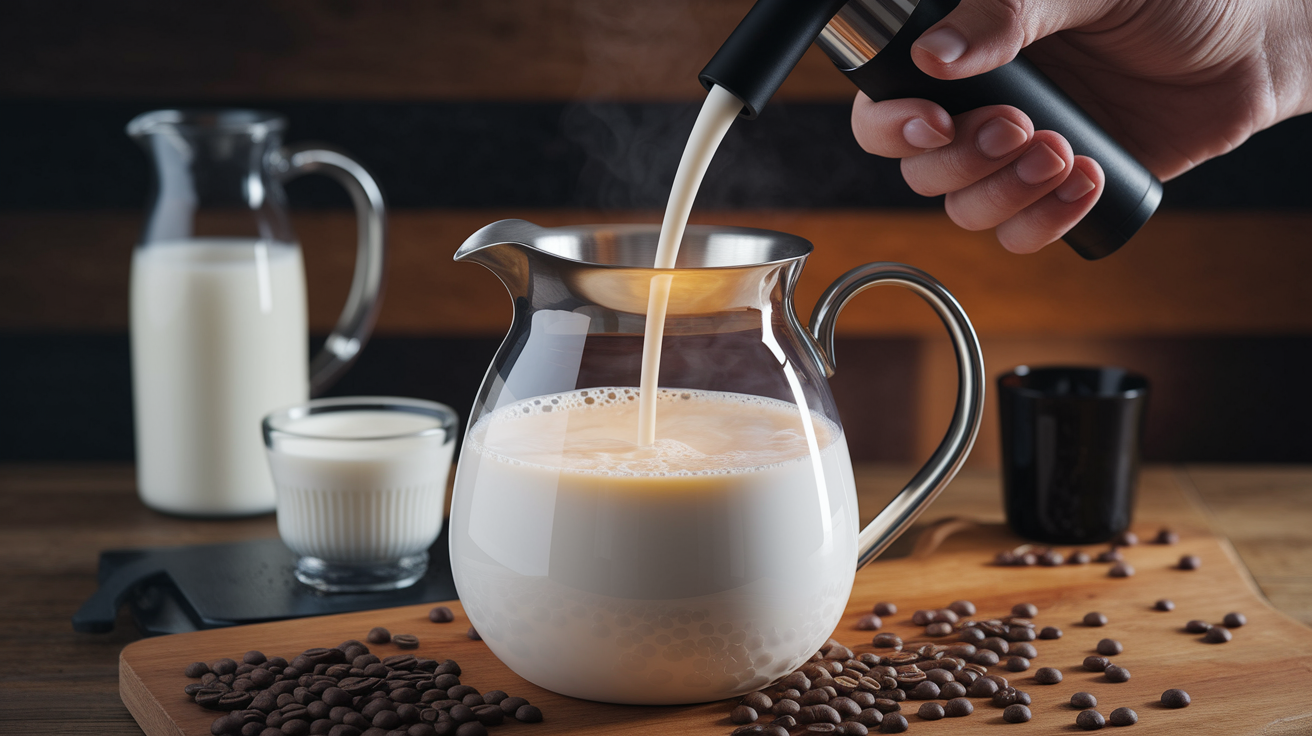
Steam wand angle controls where the steam hits your milk and how it moves through the pitcher. Go shallow (closer to horizontal) and you’re pushing steam across the surface, which spins the milk wide but heats the bottom slowly. Tilt steeper (closer to vertical) and you’re driving steam down into the mass, heating a tighter zone faster. During stretching (that first 3 to 5 seconds), you need the angle shallow enough to keep the tip just under the surface, maybe half a centimeter to a full centimeter down. That lets you pull in air without chaos while you start the spin. Once stretching wraps and you drop the wand deeper (around 100°F), the angle shift starts pushing heat toward the pitcher bottom where the cold milk sits.
Angle changes also decide whether your temperature spreads evenly before you hit 140 to 150°F. Point the wand too flat toward the wall and steam skates across the top without going deep, so you end up with cold pockets at the base even when the surface feels hot. Flip it nearly vertical during early stretching and you choke off the airflow, kill the vortex, and either blow giant bubbles (if the tip pokes through) or get zero foam. Both mistakes stretch your steaming time because you’re either reheating dead zones or fixing texture from scratch.
Small tweaks matter. Five to ten degrees can shift your heating curve and total time by several seconds, and that compounds when you’re doing back to back pitchers. Angle adjustments touch:
- Uneven temperature pockets when you’re too flat or off center, so you steam longer just to balance things out.
- Large bubble risk when a shallow angle lets the tip wander too close to the surface while you’re moving.
- Slow heating when weak circulation (collapsed vortex) means you need more time to reach 140 to 150°F.
- Faster heat transfer when the right angle keeps strong flow going and delivers steam into the cooler layers without fighting you.
- Changes in total time to target because dialed-in angling can cut 5 to 10 seconds off a 30 second baseline, while poor angles add 10 to 15 seconds or make you restart.
Practical Wand Angle Guidelines for Consistent Microfoam and Temperature Control

Steam wand angle does different jobs during stretching versus heating, so you adjust it twice every pitcher. During stretching, keep it shallow enough to hold that soft paper tearing sound and keep the tip just below the surface. Usually 15 to 30 degrees from horizontal. That range lets you inject air without forming giant bubbles while you start the spin. Once the milk volume climbs 20 to 30 percent (typically after 3 to 5 seconds or when the pitcher hits roughly 100°F), you switch into heating mode by dropping the wand deeper and tilting slightly steeper, often 30 to 45 degrees, to drive steam down and keep the vortex alive without adding more air.
The exact angle you pick inside those ranges depends on pitcher size, steam pressure, and how fast you need the milk ready. Smaller pitchers (8 to 12 oz) handle steeper angles earlier because the milk mass is compact and circulation kicks in fast. Larger pitchers (16 to 20 oz) often want a flatter starting angle to sweep more surface area and build momentum before you can go deeper without stalling the swirl. High steam pressure machines need a flatter angle during stretching so you don’t over aerate, while lower pressure setups might need a slightly steeper tilt to pull enough air in that same 3 to 5 second window.
Angle Control During the Stretching Phase
Most home baristas and small café setups do well starting near the shallow end and tightening the angle as circulation builds. These numbers match typical whole milk behavior on mid range machines:
- Around 15° (nearly horizontal) – Use this very flat angle only if your steam pressure is aggressive or you’re working with a wide, shallow pitcher. It minimizes air intake and suits flat whites or drinks that need barely any foam expansion.
- Around 25° – The most common starting angle for cappuccinos and standard lattes. Balances air injection with early vortex formation and keeps the tip stable just below the surface.
- Around 35° – A slightly steeper option for pitchers filled to the spout or for milk that’s slow to froth (some oat or soy brands). Increases downward steam penetration while still allowing surface contact during the first few seconds.
- Around 45° – Save this steeper angle for the heating phase after stretching ends. It drives heat deep and speeds the climb to 140 to 150°F while keeping the whirlpool going without adding bubbles.
Stopping large bubbles during stretching means holding your chosen angle steady and listening for the hiss to stay soft and even. If the sound turns into aggressive gurgling, the angle is letting the tip drift too close to the surface or you’re tilting the pitcher all over the place. Lock your wrist position and keep the pitcher nose anchored against the wand shaft until you hear the quiet paper tearing sound come back.
How Wand Angle Influences Vortex Formation and Heat Distribution
A stable vortex depends on steam entering the milk at an angle that pushes liquid sideways and down in a spiral, not straight down like a drill. When the wand sits near the pitcher wall tilted at 15 to 45 degrees, steam jets horizontally into the milk, deflects off the curved stainless steel, and starts a rotating current. That rotation carries hot milk from the steam entry point around the pitcher perimeter, pulls cooler milk up from the bottom center, and mixes the two continuously. Hold the wand dead center or angle it too vertically and steam blasts straight to the bottom without deflection, the swirl collapses, and you’re left with a hot core surrounded by cold milk that takes extra seconds (or a second attempt) to equalize.
Angle errors that kill the vortex also break your temperature map. A pitcher without circulation builds a thermal gradient. The top layer near the wand might hit 150°F while the bottom sits at 110°F, so you either serve inconsistent drinks or keep steaming until the cold zone catches up, risking overheating the top. Proper angle keeps the whirlpool alive, which continuously folds all the milk through the heating zone and delivers uniform temperature by the time you reach 140 to 150°F. Angle adjustments during the heating phase (deepening from around 25° to around 40° as you pass 100°F) help keep vortex speed up even as milk viscosity changes and foam volume locks in.
Vortex strength directly controls how angle changes turn into heating efficiency:
- More uniform temperature across all layers when strong circulation continuously mixes heated and unheated milk.
- Fewer cold pockets near the pitcher base because the swirl pulls bottom milk into the steam path.
- Faster heating overall, since every bit of milk cycles through the hot zone multiple times instead of sitting still.
- More consistent foam texture because the vortex folds microfoam into the liquid instead of leaving a froth cap on top of cold milk.
- Better flow circulation that compensates for slight wand position drift. If your hand shifts a few millimeters, a strong vortex self corrects better than stagnant milk.
- Prevention of stagnant zones along the pitcher walls where milk can scald if the angle sends all the steam to one spot without rotation.
Angle Adjustments for Different Milk Types and Their Heating Rates
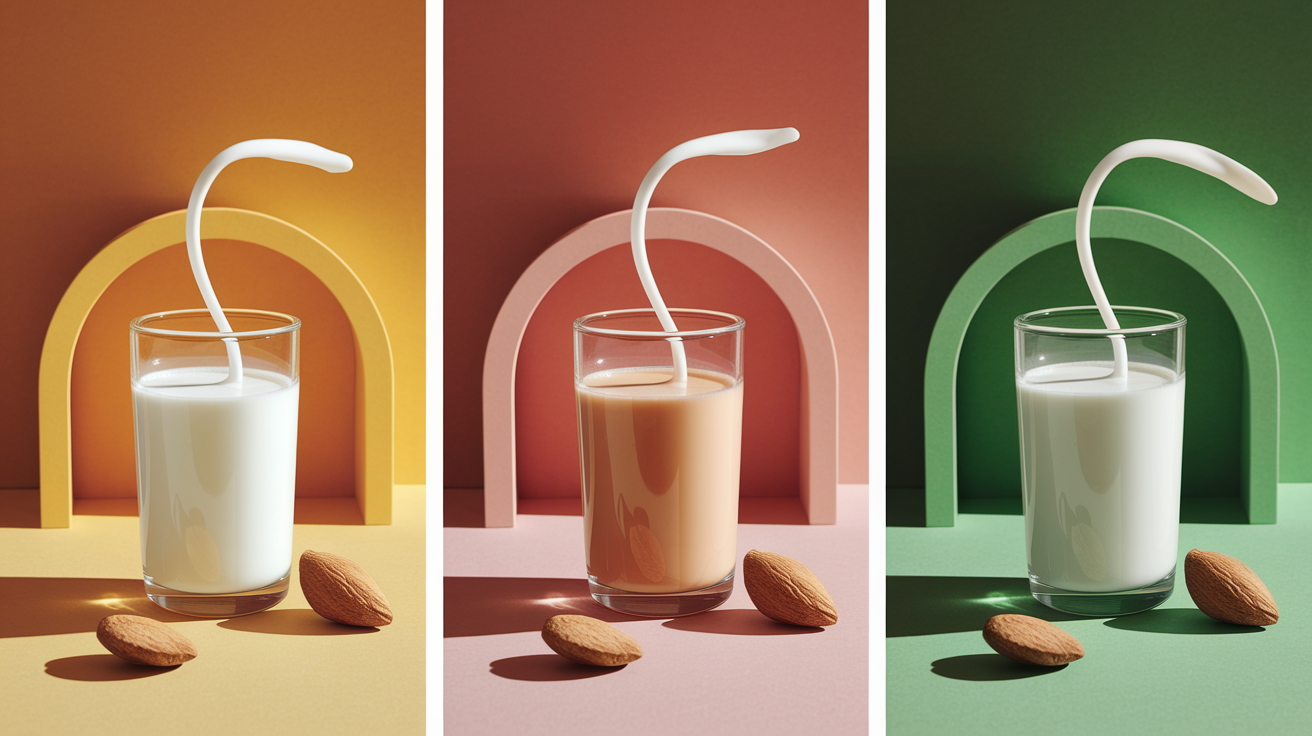
Milk type changes the angle equation because fats, proteins, and additives alter how quickly milk heats and how much air it holds. Whole milk, with roughly 3.5 percent fat and plenty of protein, responds predictably to the standard 25 to 35° stretching angle and 35 to 45° heating angle. It builds microfoam within the typical 3 to 5 second window and climbs from cold to 140°F in about 20 to 30 seconds total on most home machines. Skim milk heats slightly faster (less fat to warm) but produces thinner foam, so you might flatten the angle by 5 degrees during stretching to limit air intake and avoid a dry cap.
Alternative milks shift the angle requirements because their base composition differs. Oat milk often has added oils and stabilizers that slow foam formation, so baristas usually start with a slightly steeper angle (around 30 to 35 degrees) and extend the stretching phase an extra second or two to build comparable volume. Soy milk can curdle if heated too hard, which means using a flatter angle (20 to 25 degrees) during the heating phase to spread the steam energy and slow the temperature climb, even if that adds a few seconds to total steaming time. Almond milk typically has low protein, so it needs more aggressive early aeration (steeper initial angles near 35 degrees and deliberate surface contact) but then requires careful angle control during heating to avoid separation or a grainy mouthfeel.
The table below shows working angle ranges and their effect on total steaming duration for common milk types on a standard 1 to 2 bar home steam system:
| Milk Type | Ideal Angle Range (Stretching → Heating) | Expected Heating Time Difference |
|---|---|---|
| Whole Milk | 25–30° → 35–45° | Baseline: around 20 to 30 seconds cold to 140 to 150°F |
| Skim Milk | 20–25° → 30–40° | 5 to 10% faster (heats quicker, less volume to warm) |
| Oat Milk | 30–35° → 35–45° | 10 to 20% slower (needs longer stretching, similar heating rate) |
| Almond Milk | 30–40° → 25–35° | Similar to whole milk, but requires gentler heating angle to prevent separation |
When switching milk types mid shift, adjust your angle first and your timing second. Angle determines whether you’ll build texture at all, while timing fine tunes final temperature. Default to the whole milk angle for oat and you’ll under stretch and pour flat foam. Keep the oat angle for skim and you’ll over aerate and get stiff bubbles.
Measuring and Adjusting Wand Angle for Temperature Consistency
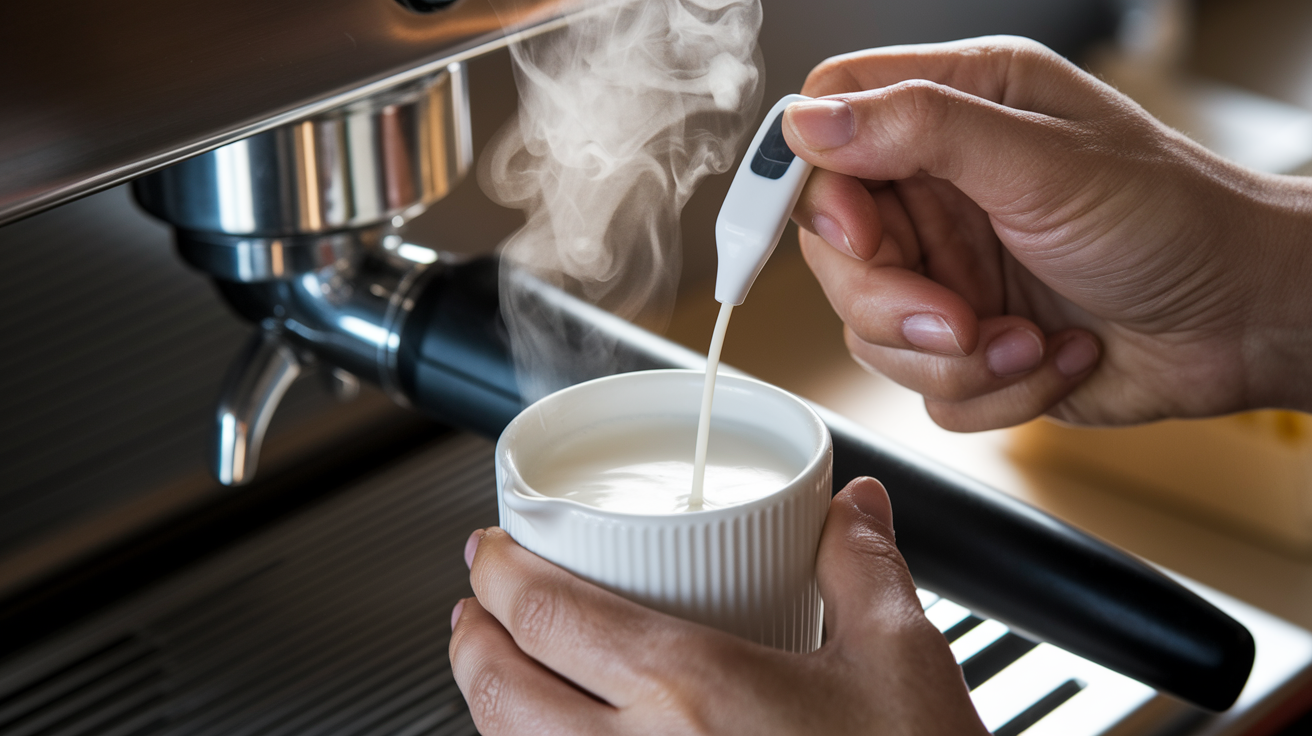
Measuring wand angle in real time isn’t practical during service. Your hand position and pitcher tilt create the angle, and you adjust by feel and sound, not protractor. Instead, build tactile anchors. Rest the pitcher nose lightly against the wand shaft to lock lateral angle, tilt the pitcher by rotating your wrist a set amount (a quarter turn from vertical gives roughly 20 to 25 degrees), and confirm the angle is working by listening for the soft hiss during stretching and watching the milk surface start a slow whirlpool. If the sound shifts to gurgling or the swirl stalls, your angle drifted. Tighten your wrist and return the pitcher to the anchor position.
Thermometer placement helps tie angle adjustments to temperature outcomes. Clip or hold a probe thermometer so the tip sits about halfway down the milk (not touching the pitcher bottom or resting against the wand), which reflects the average bulk temperature rather than a hot or cold pocket. As you steam, track when the reading hits 100°F. That’s your cue to deepen the wand and adjust the angle steeper for heating. If your angle is correct, the thermometer should climb steadily without stalling. A stall or uneven jumps (95°F, then suddenly 115°F) means circulation is weak and the angle needs a tweak toward better vortex formation. Stop steaming when the thermometer reads 135 to 140°F, since carryover heat will push the final temperature to 140 to 150°F after you remove the wand.
When you can’t use a thermometer, rely on these cues to confirm your angle is delivering consistent heating:
- Surface motion – A smooth, rotating whirlpool with no large bubbles or splashing says the angle is driving circulation. Adjust angle if the surface goes still or chaotic.
- Sound consistency – The hiss should stay soft and even throughout. A sudden loud roar means the angle let the tip breach the surface, while silence means the angle buried the tip too deep.
- Pitcher temperature by hand – Rest your palm on the pitcher bottom. It should warm gradually and feel slightly too hot to hold comfortably around 140°F. If the bottom stays cold while the sides heat, your angle isn’t circulating milk to the base.
- Foam integration – After steaming, swirl the pitcher gently. Microfoam should blend immediately into glossy “wet paint” texture. Separated layers mean the angle didn’t sustain vortex mixing.
- Time to target feel – Track how many seconds it takes to reach “too hot to touch” across multiple pitchers. Consistent angle gives consistent time (within 2 seconds), while drifting angle produces all over the place durations.
Common Angle Mistakes That Affect Heating Speed and Final Temperature
The most common angle error is starting too shallow and never adjusting steeper for the heating phase. Baristas lock into a flat 15 to 20 degree tilt for the entire steam, which works fine during the 3 to 5 second stretch but then fails to drive heat downward once the wand is deeper. You get a weak vortex, slow heating, and a final temperature that lags 10 to 15°F below target even after 40 seconds of steaming. Or you overshoot by leaving steam on too long to compensate, scorching the top layer. Fix it by practicing the two step angle shift. Start at your chosen stretching angle, then consciously tilt the pitcher another 10 to 15 degrees steeper the moment you plunge the wand and stop hearing the hiss.
A second common mistake is angling the wand too steeply during stretching because it feels more controlled or because the pitcher is overfilled and you’re trying to avoid overflow. A steep angle (40 degrees or more) during the first few seconds buries the tip and blocks air intake, leaving you with hot milk and no foam. When you realize there’s no texture, you either pull the wand back up (introducing huge bubbles and restarting the stretch) or accept thin foam and pour a subpar drink. Prevent this by filling the pitcher correctly (one third full for stretching headroom) and committing to a flatter initial angle even if it feels less stable. Anchor the pitcher against the wand shaft to control wobble without tilting steep. For deeper guidance on correct initial positioning, see the Steam Wand Positioning Guide.
Other angle related errors that extend steaming time or create temperature problems include:
- Inconsistent angle during the stretch – Your hand drifts or the pitcher rocks, causing the tip to bounce between shallow and deep. This produces uneven bubble sizes and stalls vortex formation, forcing you to steam longer to smooth the texture.
- Off center wand placement combined with wrong angle – Pointing the wand toward the pitcher center at any angle collapses the swirl. Always position near the wall and angle across the diameter.
- Ignoring angle when compensating for steam pressure – High pressure machines need flatter angles to avoid over aeration. Low pressure units need steeper angles to inject enough air in the same time window. Using a one size fits all angle leads to either frothy caps or no foam.
- Failing to adjust angle for pitcher size – Small pitchers (8 oz) tolerate steeper angles because circulation starts immediately. Large pitchers (20 oz) need flatter angles initially to build momentum across more milk mass. Wrong angle for the volume creates either a stalled pour or patchy heating.
- Not compensating angle after purging errors – If you skip the pre steam purge, condensation floods the milk at the start. The sudden water influx changes milk density and can stall the vortex unless you flatten the angle slightly to rebuild circulation.
Advanced Angle Control for Faster Steaming Times and Better Workflow

Cutting total steaming time without sacrificing texture means using angle adjustments to frontload heating efficiency. Instead of waiting for the vortex to develop passively, experienced baristas use a slightly steeper initial angle (around 30 degrees instead of 25) and a quicker transition to the heating angle (shifting at 3 seconds instead of waiting for 100°F) when working with fresh, cold whole milk and a dialed in grinder that keeps them on pace. This aggressive angle sequencing can shave 5 to 8 seconds off a 30 second baseline, which adds up across back to back drinks during a rush. The trade off is smaller margin for error. Steeper angles demand tighter wrist control and faster auditory feedback response, so this approach works best after you’ve logged enough pitchers to adjust by reflex. Workflow improvements also come from matching angle to your machine’s warm up state. If the boiler pressure is climbing or falling between shots, flatten or steepen your angle by 5 degrees to compensate and keep hitting the same time to temperature target. For additional workflow strategies and faster steaming techniques, see Steam Wand Tips: Froth Milk Like a Pro.
Angle Optimization for Multi-Drink Speed
When steaming multiple pitchers in sequence, angle consistency becomes the variable that holds your timing together. The first pitcher after a machine purge or idle period often steams slower because the wand and boiler are stabilizing. Use a slightly steeper heating angle (40 to 45 degrees) to compensate and keep total time near your baseline. By the second and third pitcher, boiler pressure is steady and the wand is fully hot, so you can return to your standard angle or even flatten it a few degrees if you’re steaming faster than expected. Track your angle and time for each pitcher during a rush. If pitcher three suddenly takes 10 seconds longer, your angle likely drifted or your wrist fatigued and you lost the vortex. The fix is to reset your anchor position (pitcher nose on wand shaft, consistent wrist tilt) before starting the next steam rather than trying to troubleshoot mid pour.
Multi drink angle optimization also accounts for foam carryover between beverages. If you’re steaming a latte (minimal stretch) immediately after a cappuccino (extended stretch), resist the urge to use the same aggressive stretching angle. You’ll over aerate the latte milk and waste time trying to knock out bubbles. Instead, flatten your initial angle by 10 degrees and shorten the stretch to 2 to 3 seconds, then shift to the heating angle earlier. Conversely, if a cappuccino follows a flat white, steepen the stretching angle slightly and hold it a beat longer to rebuild the foam volume you skipped in the previous pitcher.
Temperature and Time Benchmarks Demonstrating Angle Impact
Controlled angle tests on a consistent machine with identical milk volumes show how much steaming duration shifts with angle changes. Using 6 oz of cold whole milk in a 12 oz pitcher on a machine delivering roughly 1.5 bar steam pressure, the time required to reach key temperature checkpoints varies based on the wand angle held during the heating phase. A flat 15 degree angle prioritizes surface circulation over deep heat penetration, so the milk takes longer to climb through the middle temperature range. A moderate 30 degree angle balances lateral flow and downward steam drive, producing the fastest overall heating. A steep 45 degree angle concentrates heat in the lower pitcher zone, which speeds the thermometer reading but can create uneven distribution if vortex strength drops.
The practical takeaway is that angle adjustments of 15 degrees can shift total steaming time by 20 to 30 percent, which translates to 5 to 10 seconds on typical home setups. Faster isn’t always better. If a steep angle gets you to 140°F in 18 seconds but leaves cold milk at the pitcher base, you’ll spend extra seconds swirling or re steaming to fix texture. The most reliable approach is to find the angle that delivers both your target time and even temperature distribution, then lock that angle into muscle memory by repeating it across ten consecutive pitchers and tracking consistency.
| Angle Range (Heating Phase) | Time to 100°F (from around 40°F start) | Time to 140 to 150°F (total steaming time) |
|---|---|---|
| Around 15° (very flat) | 8 to 10 seconds | 32 to 38 seconds |
| Around 30° (moderate) | 6 to 8 seconds | 22 to 28 seconds |
| Around 45° (steep) | 5 to 7 seconds | 20 to 26 seconds (risk of uneven heating) |
Final Words
Start steaming with a clear angle and watch the milk respond. We covered how that angle changes heating efficiency, stretching, vortex strength, and the simple cues that tell you when to shift.
You got practical angle ranges for microfoam, tweaks for different milk types, and quick checks — sound, sight, and a thermometer — so temps stay steady. Change one thing at a time: angle, depth, or rotation.
Track a few temperature/time benchmarks and you’ll see gains. Noticing how steam wand angle affects milk temperature and steaming time gets you faster, more consistent drinks. Keep at it.
FAQ
Q: What is the angle for steaming milk?
A: The angle for steaming milk is a pitcher tilt of about 15–45°, with the steam tip 0.5–1.0 cm below the surface for stretching, then slightly deeper during heating to 60–65°C (140–150°F).
Q: What happens if I steam milk beyond 70 degrees?
A: Steaming milk beyond 70°C causes a scalded, flat taste, broken microfoam and faster protein breakdown; aim for 60–65°C (140–150°F) and use a thermometer or tactile check to stop in time.
Q: What are some common steamed milk mistakes?
A: Common steamed milk mistakes are too shallow an angle (large bubbles), too deep a tip (no air), weak vortex, overheating, and not purging the wand; fix one variable at a time and listen for a soft hiss.
Q: How to steam milk perfectly every time?
A: To steam milk perfectly every time, tilt 15–45°, place the tip 0.5–1.0 cm for 3–5 seconds of stretching, then deepen and heat to 60–65°C while maintaining a steady swirl and paper‑tearing sound.