

Sick of milk splashing and sputtering every time you steam?
Most splashes come from wand angle and tip depth, not bad milk.
Keep the wand at 15–20 degrees to the surface and park the tip 3–6 millimeters below the surface during stretching.
Tilt the pitcher 20–30 degrees, purge the wand, and you’ll build a steady vortex that pulls air in gently.
Do that and you’ll get fewer messes, smoother microfoam, and a repeatable workflow you can trust.
Optimal Wand Angle and Tip Depth to Stop Splashing Immediately

You’ll stop most splashing by keeping your steam wand at 15–20 degrees to the milk surface and parking the tip 3–6 millimeters (roughly 1/8 to 1/4 inch) below the surface when you’re stretching. That shallow depth lets you pull in air without tearing through the surface. When you switch to texturing, drop the tip to 10–20 millimeters (about 1/2 to 3/4 inch) so you can finish heating and keep the vortex rolling without more splatter. The 15–20 degree angle sits the wand close to the pitcher wall, which locks in the whirlpool and stops chaotic eruptions at the surface.
Most sputtering comes from bad angle choices. If your wand’s vertical or barely tilted at 5–10 degrees, the steam hits the milk head-on and sends droplets everywhere. If you catch splashing while you’re steaming, tilt the pitcher another 5 degrees or nudge the wand closer to the side wall without changing depth. You can usually fix it in real time without killing the steam. Adjust slowly and watch the surface settle into a steady roll.
Check these six things before and during every steam to catch positioning problems early:
- Sound check – A soft “tss-tss” or paper-tearing hiss means you’re at the right depth. Loud screeching or violent gurgling tells you the wand’s too shallow or the angle’s wrong.
- Surface movement – You want a smooth, circular swirl with small ripples. Large splashes or milk shooting up means the tip’s too close to the surface or the angle’s too steep.
- Tip visibility – The tip should stay just under the surface during stretching. If you see the metal holes breaking through, lower the pitcher a bit or tilt it more.
- Pitcher tilt baseline – Start with the pitcher tilted 20–30 degrees. This tilt plus a 15–20 degree wand angle creates the off-center placement that prevents splatter.
- Volume rise – Milk should expand steadily and quietly. If foam erupts in bursts or the volume jumps unevenly, your angle or depth needs work.
- Vortex stability – A consistent whirlpool means good angle and placement. A wobbling or collapsing vortex tells you the wand’s centered or angled too vertically.
Always purge the wand for one to two seconds before you steam. Condensation sitting in the wand will sputter and spray when it hits milk, and no angle tweak can fix that. Once you’ve purged, keep the wand near the pitcher wall through both stretching and texturing. Stable vortex maintenance depends on that off-center, angled placement. Moving the wand around mid-steam disrupts flow and invites splashing.
Milk Flow Dynamics and How Angle Influences Circulation

The 15–20 degree wand angle works because it sends steam along the pitcher wall instead of straight down into the center. When steam enters at an angle near the side, it pushes milk in a circular path that climbs one wall, crosses the surface, and descends the opposite side. That rolling motion is your vortex, and it pulls air down from the surface into the liquid without violent agitation. A vertical wand drives steam straight into the milk’s center and creates competing currents that collide at the surface, breaking tension and flinging droplets outward.
Off-center placement also cuts turbulence by giving the whirlpool a fixed rotational axis. When the wand sits in the middle, steam radiates outward in all directions and the surface never stabilizes. You get choppy, unpredictable flow and frequent sputtering as pockets of air escape unevenly. Tilting the pitcher 20–30 degrees reinforces the offset by lowering one side of the surface closer to the wand tip. Makes it easier to maintain that shallow 3–6 millimeter depth without constantly adjusting your grip.
How Angle Affects Air Incorporation
Small wand angle changes directly alter how much air enters and how quickly bubbles break down. At 15–20 degrees, steam skims along just under the surface and draws air into the flow gradually, producing fine microbubbles that integrate smoothly. Push the angle to 25–30 degrees and the wand tip moves farther from the surface, reducing air intake and sometimes killing the stretching sound entirely. Drop the angle to 10 degrees or less and the tip rides too close to the surface, pulling in large slugs of air that create coarse foam and noisy splatter. The sweet spot keeps the steam jet angled enough to create circulation but shallow enough to catch air in controlled amounts.
Pitcher Mechanics: Positioning, Tilt, and Wand Orientation

Start with a stainless steel pitcher filled about one third full. This fill level leaves enough room for the milk to expand 20–30 percent during stretching without overflowing or forcing you to tilt too much. Hold the pitcher by the handle with a firm grip and point the spout away from you. This lets you see the milk surface clearly and makes it easier to maintain off-center wand placement throughout the steam.
Tilt the pitcher 20–30 degrees toward the wand before you turn on the steam. The tilt lowers the near side of the milk surface and naturally positions the wand tip at the correct shallow depth when you insert it. Once steam begins, the combination of pitcher tilt and wand angle creates an asymmetric flow that locks into a stable vortex. If the pitcher sits flat and level, you’ll have to angle the wand more to achieve the same effect, and those angles are harder to hold steady under steam pressure.
Keep the wand close to the pitcher wall, not centered. Centered placement disrupts the circular flow and increases the chance of surface eruptions. The exact distance from the wall isn’t critical. Roughly one centimeter is fine. But consistency matters more than precision. Follow this setup sequence every time:
- Fill pitcher one third full with cold milk.
- Purge the steam wand for one to two seconds to clear condensation.
- Insert the wand tip near the pitcher wall, about 3–6 millimeters below the surface.
- Tilt the pitcher 20–30 degrees toward the wand.
- Hold the wand at a 15–20 degree angle relative to the milk surface and turn on full steam.
This sequence builds the vortex from the first moment of steam contact, cutting the window for splashing during startup. If you turn on steam before positioning the wand or tilt the pitcher after steam starts, you lose that early stability and sputtering becomes more likely.
Step-by-Step Steaming Workflow: From Splash-Free Stretching to Smooth Texturing
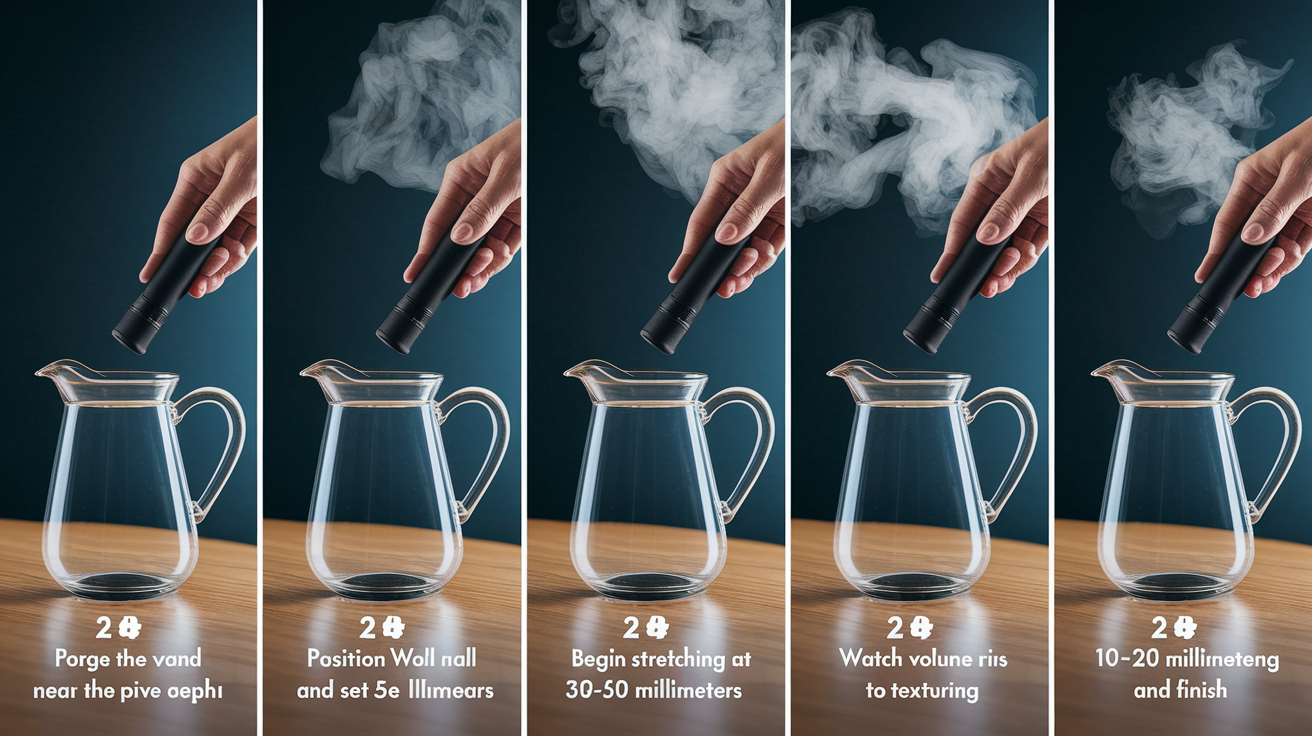
The steaming process breaks into two phases. Stretching to incorporate air and texturing to heat and integrate foam. Each phase needs specific wand depth and angle maintenance to avoid splashing.
- Purge the wand – Open the steam valve for one to two seconds to expel water. Close the valve and wipe the tip.
- Position the wand and pitcher – Insert the wand tip 3–6 millimeters below the surface, near the pitcher wall, and tilt the pitcher 20–30 degrees. Hold the wand at 15–20 degrees.
- Begin stretching – Open the steam valve fully. Listen for a gentle paper-tearing sound. This sound confirms air is entering at the correct rate. Keep the tip at 3–6 millimeters depth and hold steady for three to eight seconds, depending on milk volume.
- Monitor volume increase – Stop stretching when the milk has risen 20–30 percent. For a typical 120–180 milliliter (4–6 ounce) pour, this happens around five to six seconds. Transition to texturing when the pitcher bottom feels warm to the touch, usually around 100°F (38°C).
- Lower the wand for texturing – Move the tip deeper to 10–20 millimeters (about 1/2 to 3/4 inch) below the surface. Maintain the 15–20 degree angle and off-center placement. The surface should quiet down and the vortex should become more pronounced.
- Heat to target temperature – Continue steaming until the pitcher is too hot to hold comfortably, typically 140–150°F (60–65°C). The milk will look glossy and flow like wet paint when you swirl the pitcher.
- Finish and purge – Close the steam valve, remove the pitcher, and immediately wipe the wand with a damp cloth. Purge the wand again for one second to clear any milk residue.
Each phase connects to the next through gradual depth changes and consistent angle. If you jerk the wand from shallow to deep or let the angle drift during the transition, the vortex collapses and splashing resumes. Smooth, deliberate movements keep the flow stable.
The key to a smooth workflow is recognizing the sound and temperature cues that signal each transition. When the paper-tearing sound fades or the milk volume looks right, move deeper. When the pitcher bottom becomes uncomfortably hot, stop. Practicing these cues builds muscle memory faster than watching a timer.
Troubleshooting Splashing and Sputtering: Mechanical and System Issues

Most splashing comes from positioning errors, but mechanical problems also cause sputtering that technique alone won’t fix. Water condensation is the most common culprit. When you skip the purge or purge for less than one second, trapped water sprays into the milk at the start of steaming and creates loud, chaotic splatter. The fix is simple. Purge for a full one to two seconds every time, before and after steaming. If sputtering continues after a proper purge, check the wand tip for clogs.
Blocked steam holes produce uneven spray patterns that destabilize the vortex and cause erratic surface agitation. Remove the tip and inspect each hole under bright light. Milk residue hardens quickly and even a partial blockage changes how steam exits the wand. Soak the tip in warm water for a few minutes, then use a fine needle or pipe cleaner to clear each hole. Reinstall the tip and test with a short steam burst before trying again with milk. Worn or damaged steam valves can also cause inconsistent pressure that leads to sputtering, but valve issues usually produce other symptoms like slow steam buildup or hissing when the valve is closed.
| Symptom | Cause | Fix |
|---|---|---|
| Loud sputtering at startup | Water condensation in wand | Purge wand 1–2 seconds before steaming; repeat after each use |
| Uneven spray pattern or weak vortex | Clogged or partially blocked steam holes | Remove tip, soak in warm water, clear holes with needle, reinstall |
| Milk splashing violently despite correct angle | Wand tip too close to surface (less than 3 mm) | Lower pitcher or tilt less; confirm tip is 3–6 mm below surface |
| No sound, no foam, silent steaming | Wand too deep during stretching phase | Raise tip to 3–6 mm depth; listen for paper-tearing sound |
| Intermittent hissing or pressure drops | Worn steam valve gasket or unstable boiler pressure | Inspect and replace valve gasket; check machine pressure settings |
Routine maintenance prevents most mechanical sputtering. Wipe the wand immediately after every steam and purge to clear the tip. Deep clean the wand weekly by removing the tip and soaking it overnight. Check the steam valve gasket monthly for wear or scale buildup. Consistent cleaning keeps steam flow predictable and gets rid of variables that disrupt technique.
Adjusting Technique for Milk Types, Volumes, and Drink Styles
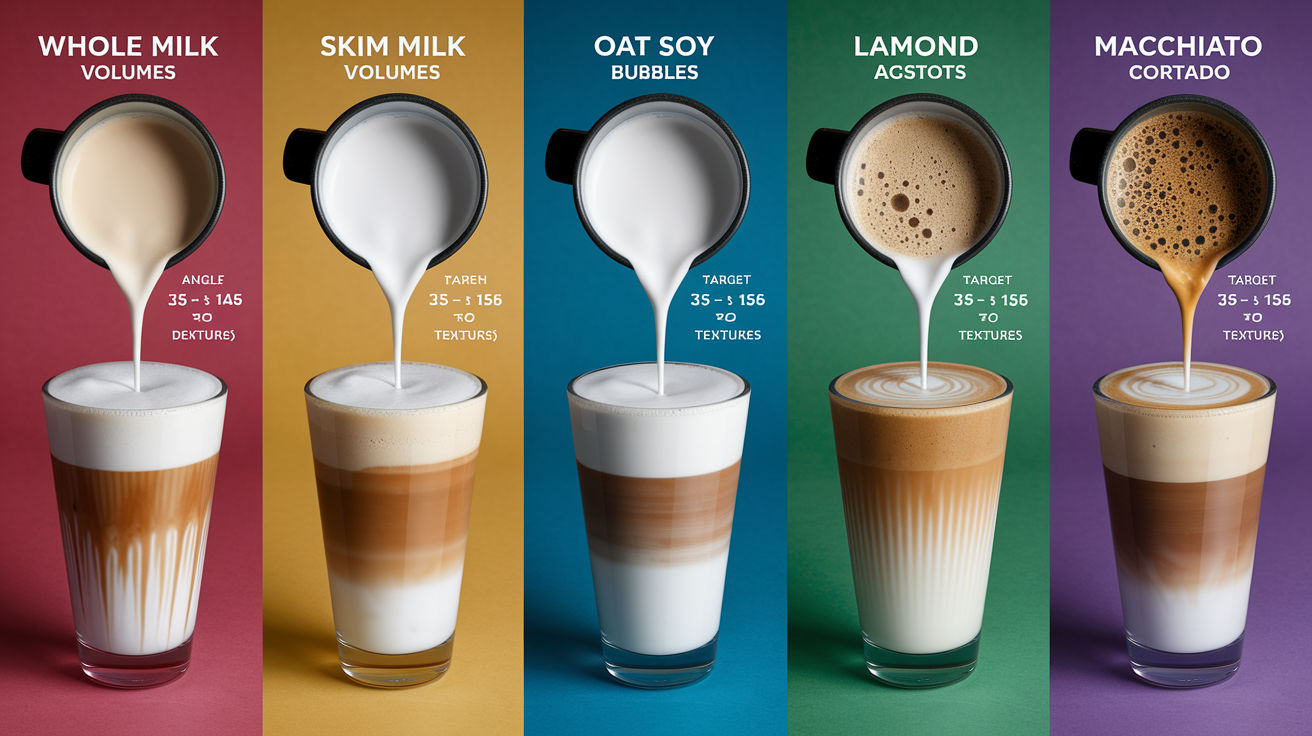
Whole milk is the easiest to steam because its fat and protein content stabilize foam naturally. The standard 15–20 degree angle and 3–6 millimeter depth work well without adjustment. Skim milk creates more volume and larger bubbles, so you may need to shorten the stretching phase by one to two seconds and transition to texturing sooner. Low fat milks also scald more easily, so stop steaming closer to 140°F (60°C) instead of pushing to 150°F (65°C).
Non-dairy milks behave differently and need small technique changes. Oat and soy milks foam reasonably well but break down above 140°F (60°C), so aim for 130–140°F (55–60°C) and extend the stretching phase slightly to build enough foam before heating. Almond milk struggles to hold foam and benefits from more stretching. Keep the wand at 3–6 millimeters for an extra two to three seconds and create a stronger vortex to break bubbles down. Barista formulated non-dairy milks steam more predictably than standard versions, but even these need lower temperature targets to avoid separation.
Milk volume also affects technique. Small volumes (120–180 milliliters, or 4–6 ounces) heat quickly and need faster transitions from stretching to texturing. Large volumes (300–400 milliliters, or 10–14 ounces) take longer to heat and allow more time for stretching without overheating. For a single cappuccino, stretch for four to six seconds. For a large latte, stretch for six to eight seconds and adjust depth more gradually to maintain vortex stability as the milk level rises.
Different drink styles demand different foam textures:
- Cappuccino – Extend stretching to seven to ten seconds for thicker, drier foam. Keep the wand shallow longer before transitioning to texturing.
- Latte – Cut stretching to three to five seconds for a silkier, thinner microfoam. Move to texturing depth quickly.
- Flat white – Stretch for only two to four seconds to produce very fine microfoam with minimal volume increase. Focus on heating and integration.
- Macchiato – Similar to cappuccino but with even more stretching if you want stiff foam. Some baristas hold at 3 millimeters for the entire steam.
- Cortado – Match latte technique but use a smaller pitcher and reduce total steam time to avoid overheating a small milk volume.
Adjusting one variable at a time helps you learn how each milk type and drink style responds. Start with whole milk and the standard technique, then change only the milk type or only the stretching duration, and compare results.
Advanced Refinements and Machine-Specific Adjustments
Steam pressure and wand tip design create variability that needs technique compensation. Most home and commercial machines run steam pressure between 1.0 and 1.5 bar, but older or budget machines may produce lower pressure. Low pressure steam takes longer to heat milk and incorporates air more slowly, so you’ll need to hold the wand at the shallow 3–6 millimeter depth longer and accept a slower vortex. High pressure commercial machines heat faster and pull air in more aggressively, requiring quicker transitions and sometimes a slightly deeper initial depth (4–7 millimeters) to avoid over-aerating in the first few seconds.
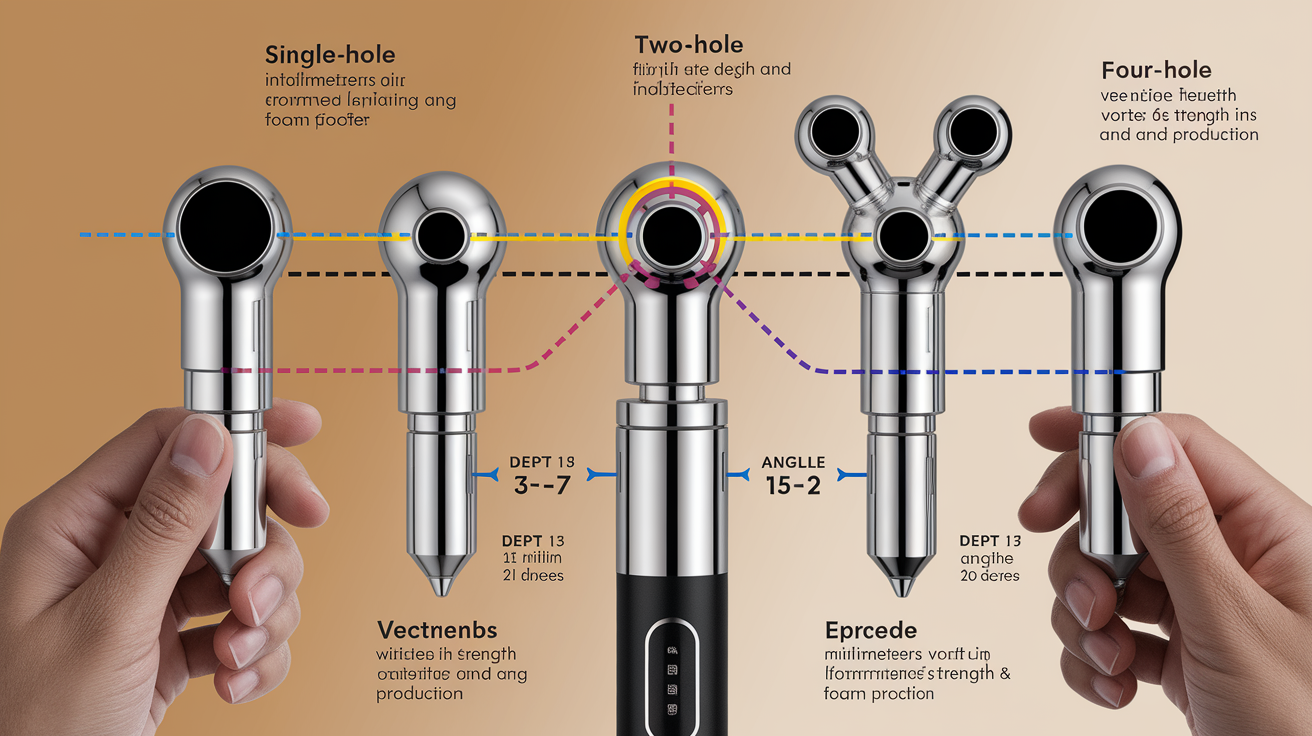
Multi-hole wand tips change how steam disperses. A two-hole tip concentrates steam into two jets, and rotating the tip so one hole sits closer to the surface during stretching can reduce splashing while maintaining good air intake. Four-hole tips spread steam more evenly and produce a gentler vortex, which helps beginners but may require a slightly steeper angle (closer to 20 degrees) to achieve the same circulation. Single-hole tips deliver the most focused jet and are common on older machines. They demand precise angle and depth control because even small positioning errors cause big changes in flow.
Wand Tip Design Differences
Single-hole tips produce a narrow, high-velocity steam jet that creates strong circulation but is less forgiving. Position the wand at exactly 15 degrees and 3–6 millimeters depth. Any deviation causes either loud splashing or no foam. Two-hole tips are the most common and offer a good balance of power and control. Orient the holes so they’re slightly offset from each other vertically during stretching. This spreads the steam entry points and smooths out surface agitation. Four-hole and multi-hole tips disperse steam across a wider area, reducing splatter risk but also weakening the vortex. Compensate by angling the wand closer to 20 degrees and holding it nearer to the pitcher wall to restore circulation strength. Some commercial machines use angled or beveled tips that direct steam at a preset angle. These tips simplify positioning but limit your ability to adjust technique for different milk types, so you’ll rely more on pitcher tilt and fill level to control depth and flow.
Commercial workflows add speed pressure that makes consistent angle and depth harder to maintain. Build a repeatable grip and pitcher-tilt routine so muscle memory takes over during rush periods. Pre-position your hand and pitcher before opening the steam valve, and don’t rush the stretching phase. Three to five seconds of controlled air intake beats ten seconds of fighting splatter and re-steaming.
Final Words
Set the wand at 15–20° and start with the tip 3–6 mm below the surface. Purge 1–2 seconds, tilt the pitcher 20–30°, and stretch for 3–6 seconds until you hear a soft paper-tearing sound.
Keep the wand off center to form a steady vortex. If you get sputter or splatter, check the tip holes, gaskets, and pressure. Change one thing at a time.
Practice this simple sequence. The steam wand angle to prevent splashing and sputtering will become second nature, and your microfoam will look and taste great.
FAQ
Q: What is the angle for steaming milk?
A: The angle for steaming milk is about 15–20° for the wand tip, with the pitcher tilted 20–30°. This creates a stable, off‑center vortex for smooth microfoam and less splashing.
Q: What are some common steamed milk mistakes?
A: Common steamed milk mistakes are wrong wand angle or depth (causing sputter or choked shots), over‑ or under‑aerating, overheating, skipping the wand purge, and poor pitcher tilt or distribution causing large bubbles.
Q: How to purge a steam wand without making a mess?
A: To purge a steam wand without making a mess, open steam 1–2 seconds into the drip tray or a cloth, point the tip down and away from the pitcher, then wipe and purge briefly again before steaming.
Q: How to position the steam wand?
A: To position the steam wand, place the tip 3–6 mm below the surface near the pitcher wall, off‑center with the pitcher tilted 20–30°, then lower 10–20 mm for deeper heating after stretching.