

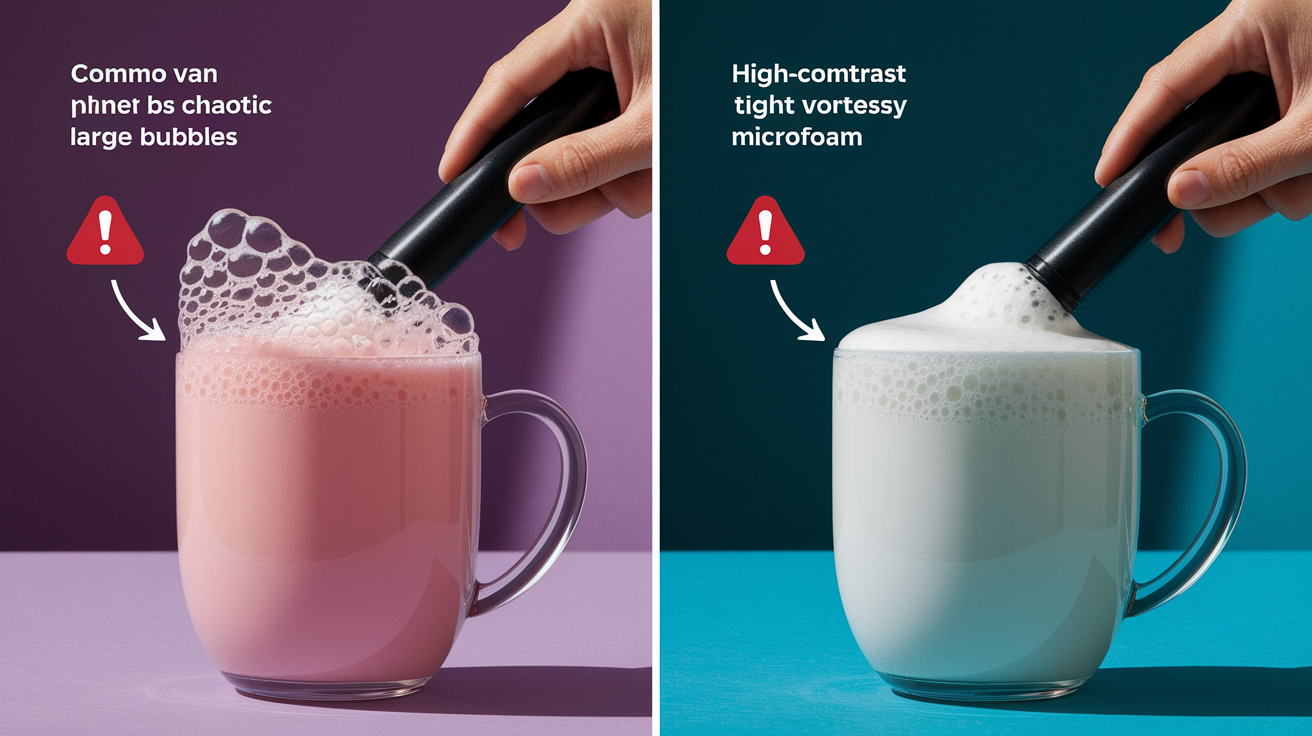
Think pointing the steam wand straight down makes better foam?
It actually kills the vortex and leaves big bubbles.
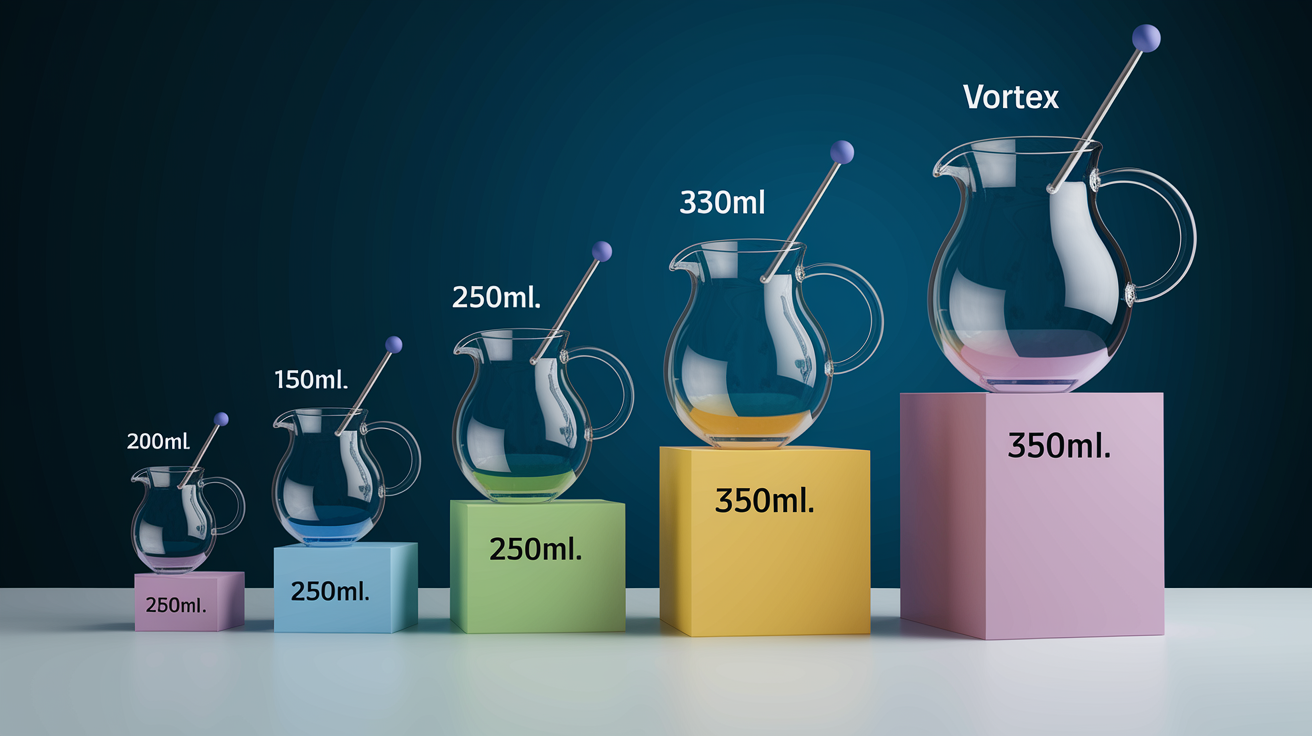
For 200–350ml pitchers, aim the wand 15 to 20 degrees off center toward the pitcher wall.
That slight angle creates a tangential flow that spins a steady vortex, pulls milk into a spiral, and mixes air so you get glossy, even microfoam instead of froth on top.
Use about 15 degrees for 200ml and closer to 20 degrees for 350ml for repeatable, cafe-style results.
Optimal Wand Angle Setup for 200–350ml Pitchers

Point the steam wand 15° to 20° off center toward the pitcher wall. Not straight down the middle. That angle creates the tangential flow that spins a stable vortex in small pitchers. Centered aim pushes steam straight down, heats unevenly, and leaves large bubbles floating on top. Off center placement lets the jets sweep along the curved wall and pull milk into a spiral that integrates air and builds silky microfoam.
For a 200ml pitcher, aim closer to 15° and keep stretch time at the low end (2 to 4 seconds) because the smaller volume aerates faster. A 350ml pitcher tolerates up to 20° off center and allows 5 to 6 seconds of stretching before you plunge the tip deeper. The difference matters. Too aggressive an angle in a 200ml pitcher causes splashing and loud chattering, while too timid an angle in a 350ml pitcher produces weak circulation and flat milk.
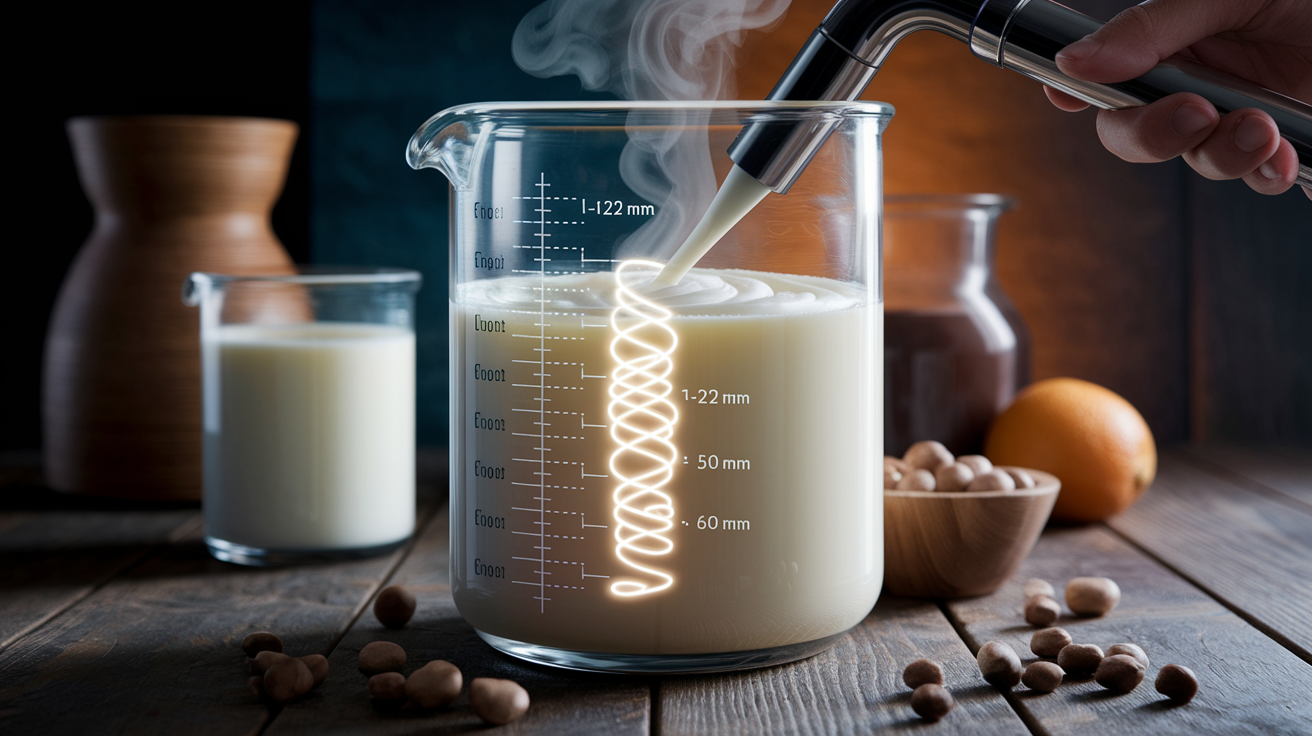
During stretching, hold the tip 1 to 2 mm below the surface and listen for that soft “paper tearing” hiss. Once you’ve introduced enough air (milk volume increases roughly 20 to 30%), drop the tip to 5 to 10 mm below the surface and maintain the same off center angle. The vortex should pull surface milk toward the center and down the wall. If you see a tight spiral with no large bubbles, your wand angle is working. Stop steaming when milk reaches 54 to 65°C (131 to 149°F). Cortados and piccolos usually land around 55 to 60°C, small cappuccinos closer to 60 to 65°C.
Six wand settings for 200 to 350ml pitchers:
- Off center angle: 15° to 20° (smaller pitchers and lower volumes stay near 15°)
- Stretching tip depth: 1 to 2 mm below the surface for 2 to 6 seconds
- Texturing tip depth: 5 to 10 mm submerged to maintain whirlpool and polish foam
- Tip to wall distance: position tip close to the inner wall, pointing slightly downstream of the desired circular flow
- Tip height above bottom: 10 to 20 mm clearance so steam jets don’t blast the base
- Target finished temperature: 54 to 65°C (131 to 149°F) depending on drink style
Pitcher Tilt and Geometry for Small Volume Steaming
Tilt the pitcher 15° to 30° away from vertical. Most small pitchers work best around 20°. That tilt drops the wand tip slightly below the rim and positions it near the wall without fighting gravity. Wider, shallow pitchers (common in 350ml designs) tolerate a steeper tilt because the wall curve is gentler. Narrower, taller pitchers (typical at 200ml) need a shallower tilt or the wand tip climbs too high and breaks the surface. Keep the wand tip 10 to 20 mm above the pitcher bottom so jets have room to circulate without blasting straight into stainless steel.
Place the wand tip slightly downstream of where you want the milk to flow. Imagine the spiral direction, then aim the tip a few degrees ahead so the jets reinforce the rotation instead of fighting it. Smaller pitchers have tighter curves, so even a 5° shift in tilt can redirect the vortex or kill it. Larger pitchers tolerate looser positioning because the wider diameter gives the whirlpool more runway.
| Pitcher Size | Tilt Angle | Wand Angle | Tip Depth Notes |
|---|---|---|---|
| 200ml | 15° to 20° | 15° off center | Short stretch (2 to 4s); tip 1 to 2mm, then 5 to 8mm submerged; tight geometry requires precise angle |
| 250ml | 18° to 22° | 15° to 18° off center | Stretch 3 to 5s; tip 1 to 2mm, then 5 to 10mm; moderate curve allows slightly wider angle tolerance |
| 300ml | 20° to 25° | 17° to 20° off center | Stretch 4 to 6s; tip 1 to 2mm, then 5 to 10mm; wider diameter supports stronger vortex with higher angle |
| 350ml | 20° to 30° | 18° to 20° off center | Stretch 5 to 6s; tip 1 to 2mm, then 8 to 10mm; gentler wall curve permits steeper pitcher tilt and deeper texturing depth |
Angle and Depth Control During Stretching and Texturing
Stretching happens at the surface. Tip 1 to 2 mm below, wand angled 15° to 20° off center, valve partially open if your machine runs high pressure. Listen for a soft hiss that sounds like tearing paper. For a 200ml pitcher, stretch for 2 to 4 seconds. For 300 to 350ml, allow 5 to 6 seconds. Watch the milk volume climb 20 to 30%. If you hear loud sputtering or see violent bubbling, your tip is too shallow or your steam pressure is too high. Lower the tip by 2 to 3 mm or reduce the valve opening.
When milk reaches roughly 38°C (100°F) or when your target stretch time runs out, transition to texturing. Drop the tip to 5 to 10 mm below the surface without changing the off center angle. The whirlpool should deepen and stabilize. You’ll see a tight spiral pulling milk toward the center and down the far wall. The hissing quiets but doesn’t stop. Gentle surface agitation without splashing confirms correct depth. Keep the wand in that position and open the valve fully (or near fully) to finish heating. Total steam time typically runs 20 to 40 seconds depending on machine power and starting milk temperature.
Stop steaming when milk hits 54 to 65°C (131 to 149°F). Pull the wand out, wipe it clean, and purge once. Swirl the pitcher. Microfoam should look glossy and move like wet paint, with no visible bubbles larger than pinpoint size.
Five phase by phase cues for small pitchers:
- Initial sound (stretching): soft “paper tearing” hiss at 1 to 2 mm depth confirms air intake without over aeration; violent bubbling means tip is too high. Lower by 2 to 5 mm immediately.
- Depth transition (end of stretching): at 2 to 6 seconds or when milk reaches around 38°C, plunge tip to 5 to 10 mm submerged; angle stays 15° to 20° off center.
- Vortex strength (texturing): tight spiral with milk circling the pitcher wall; weak or flat flow means wand is too centered. Shift 5 to 15 mm toward wall and check angle.
- Temperature climb (texturing): milk heats steadily without loud noise; if pitcher becomes too hot to hold before vortex finishes integrating foam, you’ve steamed too long. Target 54 to 65°C next time.
- Final texture check (after steaming): swirl pitcher; microfoam should be uniform, glossy, free of large bubbles; chunky or separated milk indicates tip was too shallow during stretching or angle was inconsistent.
Common Wand Angle Mistakes in 200 to 350ml Pitchers
Aiming the wand too close to center is the most frequent error. It looks intuitive (straight down the middle) but it kills the vortex. Milk heats without circulating, bubbles stay at the top, and the finished texture splits into froth and liquid when you pour. Fix it by moving the tip 5 to 15 mm toward the pitcher wall and setting the angle 15° to 20° off center. You should see the spiral start within two seconds.
Holding the tip too high during stretching creates large bubbles and loud, aggressive noise. Lower the tip by 2 to 5 mm or reduce steam pressure by 10 to 30% until you hear a soft hiss instead of violent sputtering. Holding the tip too deep during stretching produces hot milk with no foam. Raise the tip back to 1 to 2 mm below the surface and introduce air for the first 2 to 6 seconds. Inconsistent wand movement (drifting up, down, or side to side) breaks the vortex and creates uneven texture. Lock your wrist and pitcher position once the spiral stabilizes.
Angle and depth fixes:
- Large bubbles, loud sputtering: tip is 3 to 5 mm too high. Lower to 1 to 2 mm during stretch, then 5 to 10 mm during texturing. Reduce stretch time by 1 to 3 seconds if bubbles persist.
- No vortex, flat milk surface: wand aimed too centered. Shift tip 5 to 15 mm toward wall and increase off center angle by around 5° (from 10° to 15°, or 15° to 20°).
- Milk splashes, pitcher chatters: angle too aggressive or tip too shallow. Reduce off center angle by around 5°, lower tip 2 to 5 mm, or reduce steam valve opening by 10 to 30%.
- Overheated milk (over 65°C) with weak foam: poor circulation from centered wand or excessive heating time. Correct angle to 15° to 20° off center and stop steaming earlier at 54 to 65°C.
- Foam separates after swirling: inconsistent tip movement or insufficient texturing phase. Stabilize wand position once vortex starts, keep tip submerged 5 to 10 mm for at least 10 to 15 seconds to integrate bubbles.
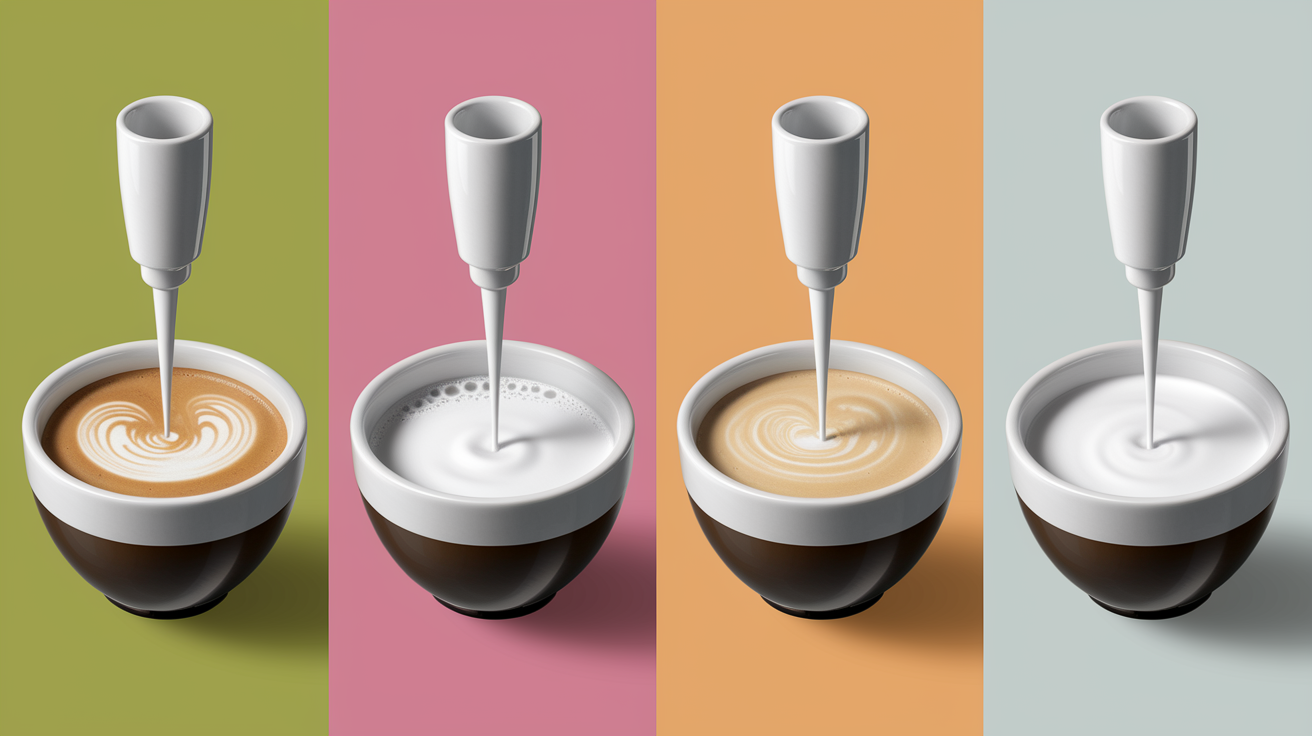
Milk Type Angle Adjustments for Small Pitchers

Whole milk follows the standard 15° to 20° off center angle and tolerates the full 2 to 6 second stretch window without breaking down. The fat and protein create stable foam quickly, so you can stick to the baseline depth (1 to 2 mm stretch, 5 to 10 mm texturing) and hit 54 to 65°C with a tight vortex. If your whole milk comes out too thick, shorten stretch time by 1 to 2 seconds or reduce steam pressure slightly during the air intake phase.
Oat milk often needs a slightly longer stretching phase (add 1 to 2 seconds) and a gentler off center angle. Start at 15° and increase only if the vortex is weak. Oat proteins foam differently than dairy, so the whirlpool can look slower to form. Keep the tip at 1 to 2 mm during stretching and watch for volume increase. Oat milk expands less dramatically (closer to 15 to 20% instead of 20 to 30%), so don’t expect the same visual cues. Transition to 5 to 10 mm depth once you’ve introduced enough air, and stop steaming around 55 to 60°C because oat milk texture degrades faster at higher temperatures.
Almond milk requires more aggressive technique. Use the upper end of the off center range (18° to 20°) and keep stretching brief (2 to 4 seconds max) because almond foam breaks down quickly. The vortex often looks weaker even when angles are correct. Almond milk has lower protein, so circulation is slower. Compensate by ensuring the tip stays close to the wall and the angle is precise. Stop steaming early, around 54 to 58°C, and pour immediately. Almond microfoam separates faster than dairy or oat.
Soy milk sits between oat and almond in stability. Stick to a moderate 15° to 18° off center angle and stretch for 3 to 5 seconds. Soy proteins can curdle if heated too fast or steamed too hot, so avoid full valve pressure during the initial stretch and stop steaming at 55 to 60°C. The vortex should look steady but not violent. Gentle circulation integrates soy foam without breaking the protein structure. If soy milk splits or looks grainy after steaming, reduce your angle slightly and lower steam pressure during the stretch phase.
Steam Pressure, Tip Design, and Wand Angle Interactions

A 3 hole tip spreads steam in multiple jets, so you need a slightly more tangential aim (closer to 18° to 20° off center) to make all three jets reinforce the vortex instead of pushing milk in different directions. Position the tip close to the wall with jets pointing slightly downstream of the desired flow. If the angle is too centered, the jets collide in the middle and create turbulence instead of circulation. High steam pressure shortens every phase. Stretch for 2 to 4 seconds instead of 4 to 6, and transition to texturing depth sooner because milk aerates faster.
Single hole tips concentrate steam into one focused jet, so you can use a more pronounced off center angle (up to 20° to 22° in larger 300 to 350ml pitchers) to generate a strong spiral. The single jet is easier to aim but less forgiving if depth drifts. Too shallow and you’ll get large bubbles immediately, too deep and the vortex dies. Low power home machines with weaker steam output need longer heating phases (30 to 40 seconds total) and may require a slightly shallower angle (closer to 15°) because the reduced jet force can’t sustain an aggressive tangential flow.
| Tip Type | Best Angle | Stretching Behavior | Notes |
|---|---|---|---|
| 3 hole (multi jet) | 18° to 20° off center | Faster air intake; jets spread and reinforce vortex if aimed tangentially | Keep tip close to wall; jets must point downstream to combine flow; centered aim causes turbulence |
| Single hole | 15° to 22° off center | Concentrated jet; precise depth control critical | Easier to aim but less forgiving; larger pitchers (300 to 350ml) tolerate up to 22°; smaller pitchers stay near 15° to 18° |
| High steam pressure | 15° to 18° off center | Very rapid aeration; shorten stretch to 2 to 4s | Reduce valve opening during stretch or lower tip sooner; excessive pressure at high angle causes splashing |
| Low steam pressure | 15° to 20° off center | Slower air intake; extend texturing phase to 15 to 20s | Total steam time may reach 35 to 40s; maintain stable angle throughout to build gradual vortex; avoid aggressive off center aim that weak pressure can’t sustain |
Workflow and Hand Positioning for Consistent Wand Angle

Lock your wrist at a slight inward rotation so the pitcher handle sits naturally in your palm and the spout points away from you. That wrist position keeps the pitcher tilted 15° to 30° without constant muscular effort. Right handed users typically hold the handle with thumb on top and fingers wrapped underneath, then use the left hand to stabilize the pitcher body or hold a thermometer. Left handed users reverse the grip (handle in the left hand, stabilization or thermometer in the right) but the wrist lock principle stays the same.
Two handed technique improves angle control in small pitchers. Rest your non dominant hand lightly on the pitcher body near the base, then use that contact point to make micro adjustments (a few degrees of tilt or a slight rotation) without moving the wand. Once the vortex stabilizes, minimize tip movement. Small pitchers punish drift. Shifting the wand even 5 mm off angle can break the spiral and introduce bubbles. If you must reposition, do it in the first 3 to 4 seconds during stretching, then freeze your hand position for the texturing phase.
Single handed steaming works if your machine setup allows a fixed wand height and your pitcher is light enough to control with wrist rotation alone. Keep your elbow slightly bent and anchor your forearm against your body or the counter edge for stability. The trade off is less fine control during the stretch to texturing transition, so practice the depth drop (1 to 2 mm to 5 to 10 mm) until muscle memory takes over. Whether you use one hand or two, the goal is the same. Hold the off center angle steady from the moment the vortex starts until you stop steaming.
Troubleshooting Angle Based Texture Issues
Watch the milk surface while steaming. A tight spiral pulling milk toward the center with no bubbles larger than pinpoint size confirms your angle is correct. If the surface looks flat or the spiral is weak, your wand is aimed too close to center. Shift the tip 5 to 15 mm toward the wall and increase the off center angle by roughly 5°. If you see large bubbles floating or hear loud, aggressive noise, your tip is too shallow or your angle is too aggressive. Lower the tip 2 to 5 mm and reduce steam pressure by 10 to 30%. Listen for a soft “paper tearing” hiss during stretching. Violent sputtering means the tip is breaking the surface too much.
Finished microfoam should look glossy and swirl like wet paint when you rotate the pitcher. If foam separates into froth on top and liquid below, your angle drifted during texturing or your tip stayed too high during stretching. Fix it next time by locking your wrist position once the vortex starts and keeping the tip submerged 5 to 10 mm for at least 10 to 15 seconds to integrate air. If milk tastes scalded or burnt, you’ve overheated. Stop steaming at 54 to 65°C and check angle consistency, because poor circulation from a centered wand forces longer heating times that push temperature too high.
For detailed visual and audible positioning cues that indicate correct wand placement, see Master Steam Wand Positioning: Essential Barista Technique Guide.
Four angle specific corrections for common texture problems:
- Flat foam, no vortex: wand aimed too centered. Move tip 5 to 15 mm toward pitcher wall, increase off center angle by around 5° (e.g., from 10° to 15° or 15° to 20°), confirm tight spiral appears within 2 to 3 seconds.
- Large bubbles, chunky texture: tip too shallow during stretching. Lower tip to exactly 1 to 2 mm below surface, shorten stretch time by 1 to 3 seconds, ensure smooth “paper tearing” hiss instead of loud sputtering.
- Separated milk after pouring: inconsistent angle or insufficient texturing phase. Lock wrist position once vortex starts, keep tip at 5 to 10 mm depth for minimum 10 to 15 seconds, stop steaming at 54 to 65°C to avoid overheating that breaks foam structure.
- Splashing, loud chattering: angle too aggressive or steam pressure too high. Reduce off center angle by around 5° (e.g., from 20° to 15°), lower tip depth by 2 to 5 mm, or reduce steam valve opening by 10 to 30% until surface agitation becomes gentle and controlled.
Final Words
Set the wand 15°–20° off center, keep the tip near the wall, and use shallow depth for stretching (1–2 mm) then 5–10 mm for texturing. That’s the core action that makes the vortex and smooth microfoam.
We covered pitcher tilt, timing, tip types, common fixes, and hand position so you can adjust one thing at a time and see a real change.
Use the recommended steam wand angle for small pitchers 200-350ml as your starting point. Try one quick steam and you’ll be steam-ready and more confident.
FAQ
Q: What is the angle for steaming milk?
A: The angle for steaming milk is 15°–20° off‑center to create a steady vortex; use 1–2 mm tip depth for stretching and 5–10 mm for texturing, adjusting slightly by pitcher size.
Q: How to position the steam wand?
A: To position the steam wand, aim it 15°–20° off‑center with the tip close to the pitcher wall, start at 1–2 mm for stretch then submerge to 5–10 mm for texturing, and hold steady once vortex forms.
Q: What are some common steamed milk mistakes?
A: Common steamed milk mistakes are wand too high (large bubbles), angle too centered (no vortex), angle too aggressive (splashing), and poor circulation causing overheating; fix by lowering 2–5 mm or shifting 5–15 mm toward the wall.
Q: Is latte art easier with a big or small pitcher?
A: Latte art is usually easier with a small pitcher (200–350ml) because it gives tighter vortex control and finer pour control; choose 200ml for tighter detail, 350ml for slightly more volume.