

If you still eyeball espresso shots, you might be wasting good coffee.
A shot timer turns guesswork into repeatable numbers you can use to dial in grind and dose.
Start the timer when you engage the pump or see the first steady drop, stop at your target yield, then read the seconds.
In this post you’ll get a simple five-step workflow, one clear change to try next, and the quick checks that tell you it worked.
Follow it and you’ll cut wasted pulls and get steadier flavor fast.
Using a Shot Timer to Control Espresso Extraction Time

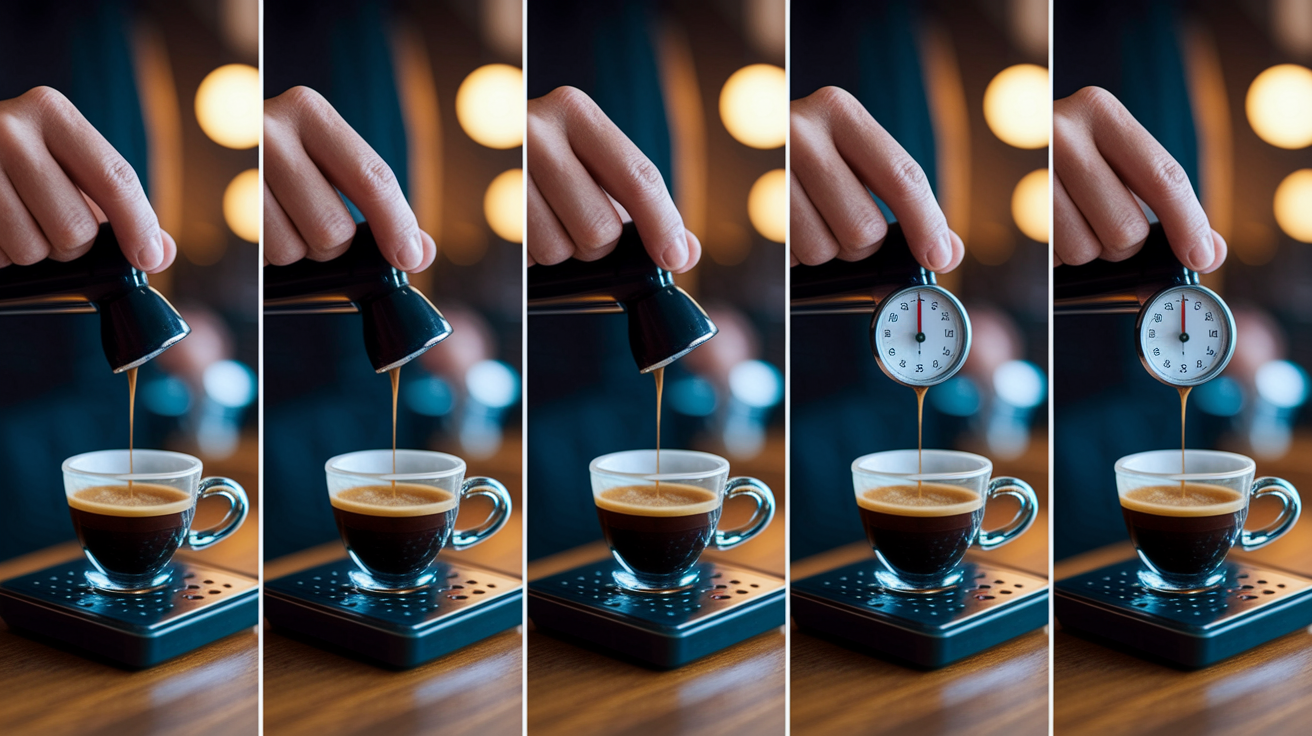
Start timing when you engage the pump or lift the brew lever, stop when the scale hits your target yield weight, and read the final seconds. That simple loop turns guessing into data.
A shot timer measures how long water stays in contact with ground coffee under pressure. For a standard espresso at a 1:2 ratio, extraction time should land between 25 and 30 seconds. A ristretto pulls faster, typically 18 to 22 seconds, while a lungo stretches to 30 to 45 seconds. Those ranges give you a starting window. The timer won’t tell you if the shot tastes good, but it will tell you if your grind, dose, and workflow stay consistent from pull to pull.
Different machines handle timing differently. If your espresso machine has a built-in PID with a timer display, the screen switches from temperature to seconds automatically when you lift the brew lever and counts until you lower it again. Using a standalone timer, a smartphone app, or a scale with an integrated timer means you start it manually the moment you see the first steady drip or when you press the brew button. Either method works as long as you do it the same way every time. Stopping happens at your target yield weight. For example, an 18 g dose aiming for 36 g yield in 25 to 30 seconds means you watch the scale and stop the shot the moment it reads 36 g, then check the timer to see if you landed in range.
Here’s the basic timed workflow in five steps:
- Weigh your dry dose on a scale (example: 18 g), grind, distribute evenly, and tamp with consistent pressure.
- Place your cup on a scale, tare to zero, and position it under the portafilter.
- Start your shot by lifting the lever or pressing the brew button. If your timer’s separate, start it at the same moment or at the first visible drop.
- Watch the scale climb toward your target yield (example: 36 g for a 1:2 ratio).
- Stop the shot when the scale reaches your target weight, then immediately read the timer and note the seconds alongside your tasting impression.
Shot Timer Types and How They Fit Into the Dialing Workflow
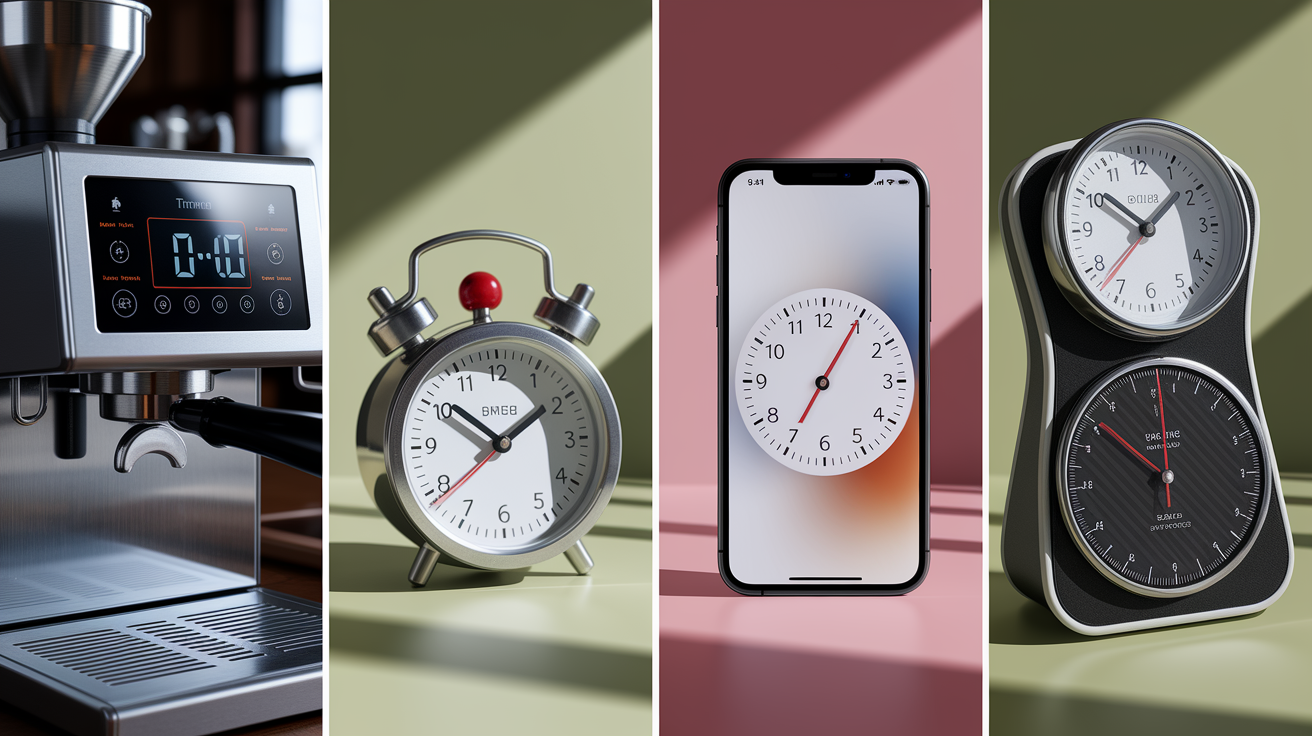
Not all timers behave the same. Picking the right one depends on your machine, counter space, and how much data you want to track. Built-in PID timers are the simplest because they start and stop automatically with the brew lever. No extra device to manage. Standalone mechanical timers are small, durable, and easy to see mid-pull, but they need you to press a button or flip a switch. Smartphone apps are flexible and often include logging features, shot notes, and even camera-assisted flow analysis. But they add another screen to your workflow and can distract. Scales with integrated timers are the most practical choice for dialing in because they display yield weight and elapsed time in one glance, tying two critical variables together without splitting your attention.
Timer choice affects consistency more than precision. All modern shot timers are accurate to within a second, so the real difference is how easily you can start, stop, and read the display while managing the portafilter, scale, and cup. Using a manual lever machine? A footswitch-compatible timer or an app with voice control can free up your hands. Working with a machine that auto-starts a pump timer? Your main job is pairing that readout with a separate scale for yield weight. Regardless of the device, the timer’s role in the dialing workflow stays the same: convert subjective “that looked about right” into objective “that took 28 seconds, and I can repeat it or adjust from there.”
Key characteristics to consider when choosing a timer:
Precision and start/stop responsiveness: Most devices update every 0.1 to 1 second. Look for clear digital readouts and instant start response.
Integration with other tools: Scales with timers eliminate the need to juggle separate devices. Apps often sync with cloud logging or export CSV data for tracking trends.
Visibility and workflow fit: A large display next to the portafilter beats squinting at a phone screen. Footswitch or automatic triggering reduces manual steps.
Durability and water resistance: Standalone timers and scales handle steam and splashes better than smartphones. If using an app, keep the phone away from the group head.
Dialing In Espresso With a Timer: The Complete Workflow
Walking through the full timed dialing procedure step by step removes ambiguity and gives you a repeatable process. The workflow breaks into four phases: prep and baseline setup, starting the shot and timer, watching flow and yield, and stopping the shot while reading the timer. Each phase has a specific goal and a small set of actions that stay consistent across every pull.
Prep and Baseline Setup
Before you touch the timer, lock in your recipe and prep your puck. A common starting recipe is 18 g dose targeting 36 g yield (1:2 ratio) in 25 to 30 seconds. Weigh your dry dose on a scale to confirm it matches your target within 0.2 g. Grind fresh beans at a setting you think will land in the ballpark, distribute the grounds evenly in the basket using a WDT tool or a light shake and tap, then tamp with consistent pressure. Aim for about 30 pounds or 13.6 kg, or just use the same firm press every time.
Prep steps:
- Weigh 18 g of whole beans (or your chosen dose) and grind them immediately before the shot.
- Pour grounds into the portafilter basket, distribute evenly with a WDT needle or gentle tapping, and level the bed.
- Tamp straight down with consistent pressure, aiming to compress the puck evenly without tilting the tamper.
- Wipe any stray grounds off the basket rim to get a clean seal when you lock the portafilter into the group head.
Starting the Shot and Timer
With your puck prepped, place a clean cup on your scale and tare to zero. If you’re using an integrated PID timer, it’ll start counting the moment you lift the brew lever or press the brew button, and the display will switch from temperature to elapsed seconds automatically. Using a separate timer or app? Start it manually at the same instant you engage the pump or at the first visible drop of espresso, whichever method you want to standardize. The key is doing it identically every time so your timing data stays comparable across shots.
Starting steps:
- Lock the portafilter into the group head and position your tared cup (on the scale) directly under the spouts or bottomless portafilter.
- If using a standalone timer or app, have your finger ready on the start button or footswitch.
- Engage the brew lever, press the pump button, or pull the manual lever, and immediately start your timer if it’s not automatic.
- Watch for the first steady stream of espresso. It should appear within 3 to 7 seconds if your grind and dose are in the right range.
Watching Flow and Yield
Once extraction begins, your job is monitoring the scale for yield and keeping an eye on flow characteristics. Color, stream thickness, and any signs of channeling or spurting. The timer’s now counting up, and you’re aiming to hit your target yield weight within your target time window. For the 18 g to 36 g example, you want the scale to reach 36 g somewhere between 25 and 30 seconds. If the shot’s running too fast, you’ll see the scale climb quickly and the stream will look thin and pale. Too slow? The drip will be thick and dark, and the seconds will pile up before you hit your yield.
Watching steps:
- Observe the initial flow: it should start dark and glossy, gradually lightening as the shot progresses.
- Keep your eyes on the scale readout. Note the weight at 10-second intervals if you want to track flow rate (example: 12 g at 10 s, 24 g at 20 s, 36 g at 30 s for a linear pull).
- Watch for channeling. Sudden spurts, uneven drips from a bottomless portafilter, or one side flowing faster than the other. Make a mental note to adjust distribution or dose if it happens.
- If you plan to stop slightly early to account for residual drips, decide on your cutoff (example: stop at 34 g if you expect 2 g more liquid to drip after you disengage the pump).
Stopping the Shot and Reading the Timer
Stop the shot the moment your scale hits the target yield. Using an integrated PID timer? Lowering the brew lever or releasing the pump button will stop the timer automatically. Using a separate device? Hit stop on the timer at the same instant you stop the pump. Some baristas prefer stopping the pump 1 to 2 grams before the final target to account for the extra liquid that drips out after pressure drops. Either way, read the timer immediately, write down the final time and yield, and then taste the shot to complete the feedback loop.
Stopping steps:
- When the scale reads your target weight (or 1 to 2 g below if compensating for drips), disengage the pump or lower the brew lever to stop extraction.
- Using a standalone timer? Press stop at the same moment. Using a PID timer? The display will freeze on the final seconds automatically.
- Note the final time and yield in a notebook or app log (example: 18 g in, 36 g out, 28 seconds, slightly sour).
- Taste the shot, compare the flavor to your time and yield data, and decide on your next grind or dose adjustment before the next pull.
How Shot Time Guides Grind Adjustments and Espresso Quality
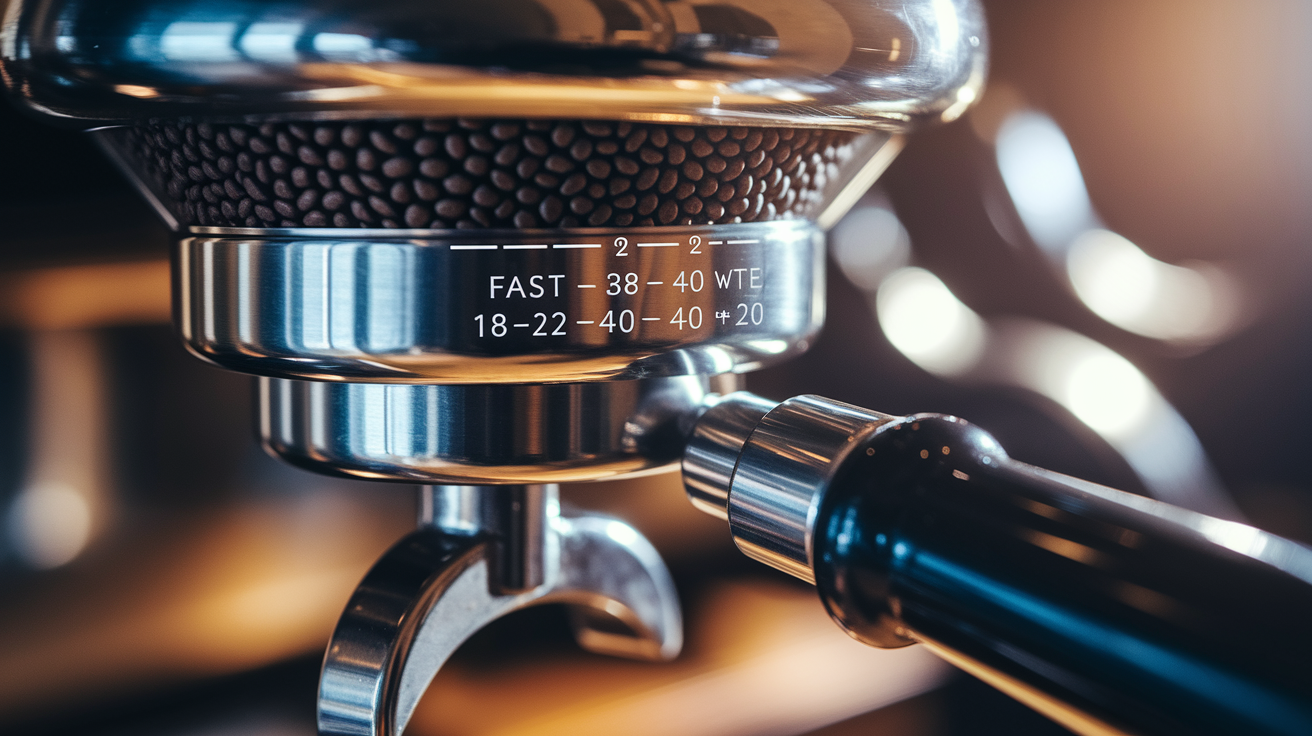
Shot time is the most direct diagnostic tool for adjusting grind size. If your extraction finishes too fast, the grind’s too coarse and water rushes through the puck before pulling enough soluble material. If it takes too long, the grind’s too fine and water struggles to flow, over-extracting harsh or bitter compounds. The timer converts that intuition into a clear number you can act on.
When a shot runs faster than your target window (for example, hitting 36 g in 18 seconds instead of 25 to 30), make your grind finer by one or two clicks or steps on your grinder. Most home grinders will shift extraction time by about 3 to 7 seconds per click, depending on the burr type and step size. Test the adjustment over two or three consecutive shots to confirm the average change. Still too fast? Go finer again. When a shot runs slower than target (hitting 36 g in 38 seconds, or stalling before reaching yield), make the grind coarser by one or two steps and retest. Always change only one variable at a time and keep your dose weight consistent so the timer gives you a clean signal about grind alone.
Timing also maps to flavor. Sour or sharp acidity usually means under-extraction, which pairs with fast shot times (under 20 seconds for a standard pull). Bitter, astringent, or dry flavors signal over-extraction, which pairs with slow times (over 35 seconds). If your timer says 28 seconds but the shot still tastes off, the issue’s likely puck prep, distribution, or water temperature. Not grind size. Use the timer to confirm consistency first, then move to secondary variables.
| Shot Behavior | Corrective Action |
|---|---|
| Shot finishes in under 18 seconds, tastes sour and thin | Grind finer by 1–2 clicks; retest and check for improved body and sweetness |
| Shot takes longer than 35 seconds, tastes bitter or dry | Grind coarser by 1–2 clicks; confirm faster flow and reduced astringency |
| Time varies wildly between pulls (22 s, then 32 s, then 26 s) | Check dose consistency with a scale; inspect distribution and tamp technique; verify grinder isn’t clogged or producing uneven particle size |
| Channeling visible early, time still in target range | Improve puck prep with WDT or better distribution; reduce grind fines if present; confirm basket and portafilter are clean |
| Shot blonds suddenly before reaching target yield | Check for dose too low or puck seal failure; inspect basket for clogs; try 2–4 s pre-infusion at low pressure |
| Time creeps up slowly over multiple shots (28 s, 30 s, 32 s) | Clean group head and shower screen; check grinder burrs for wear or buildup; verify beans aren’t stale or oily |
Single-variable adjustment is the golden rule. If you change grind and dose and tamp pressure all at once, the timer can’t tell you which one moved the needle. Stick to grind adjustments first, keep your dose locked at the same weight with a scale, and use the same tamp pressure. Once you dial in a repeatable time within your target window, taste becomes the final judge of quality.
Combining Shot Timer Data With Weight, Yield, and Taste
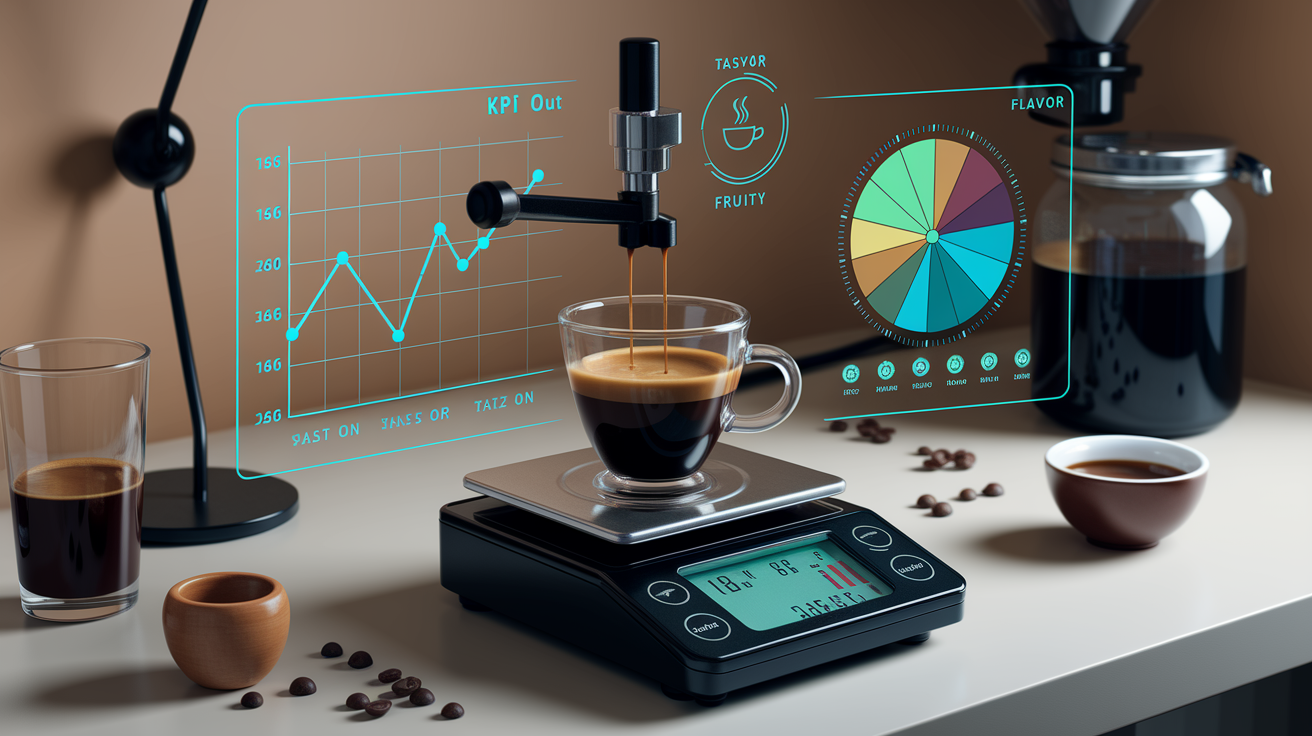
Time alone won’t guarantee a good shot. It just tells you how long the extraction lasted. Pairing timing with yield weight and tasting notes gives you the full picture. A standard baseline recipe uses a 1:2 brew ratio (dose to yield), such as 18 g in to 36 g out, with a target extraction time of 25 to 30 seconds. If you hit that window but the shot tastes flat or unbalanced, the ratio or temperature might be off, even though the timer says you’re in range. If you miss the time window but the shot tastes good, the timer’s telling you to lock in your current grind setting and accept a slightly different time target for those particular beans.
Practical cues from the combination of time, yield, and taste:
Sour and fast (example: 20 seconds, 36 g yield, sharp acidity): Typical under-extraction. Grind finer to slow extraction and increase soluble yield, aiming for 25 to 30 seconds.
Bitter and slow (example: 38 seconds, 36 g yield, dry finish): Typical over-extraction. Grind coarser to speed up flow and reduce contact time, targeting the same 25 to 30 second window.
Time on target, flavor thin or weak (example: 28 seconds, 36 g yield, watery body): Dose may be too low or distribution uneven. Increase dose by 0.5 to 1.0 g or improve puck prep, then retest timing.
Time on target, flavor harsh or astringent (example: 27 seconds, 36 g yield, rough texture): Water temperature may be too high or beans over-roasted. Lower brew temp by 2 to 3°C or try a shorter ratio (1:1.5) and faster time (22 to 25 s).
Consistent time across three shots, consistent good flavor: You’ve dialed in. Record grinder setting, dose, yield, time, and temp as your baseline for these beans.
Weight-based yield measurement is more reliable than visual volume because crema height and cup size vary. Always use a scale to confirm your target ratio. Aiming for 40 g out from a 20 g dose (1:2)? The scale’s your reference, and the timer’s your consistency check. When both metrics land in your target range and the taste confirms balanced extraction, you’re done dialing in. If timing’s repeatable within plus or minus 2 seconds over three consecutive shots, your workflow’s solid and you can trust the data to catch problems early.
Recommended Shot Timers, Scales, and Apps for Espresso Dialing In
Choosing the right timer depends on your budget, counter space, and how much logging you want to do. Smartphone shot-timer apps cost nothing to around five dollars and offer features like lap timing, shot logging, and sometimes camera-assisted flow analysis. They’re convenient for beginners and useful for tracking long-term trends, but you have to start and stop them manually and keep your phone dry and visible near the machine.
Dedicated hardware shot timers run from about twenty to sixty dollars. These are small, tactile devices with large displays, physical start and stop buttons, and sometimes footswitch compatibility. Durable, easy to read mid-pull, and they don’t require charging or app updates. The downside? They add another piece of gear to your counter and won’t integrate with yield data unless you pair them with a separate scale.
Scales with integrated timers are the best option for dialing in because they combine weight and time in a single display. Prices range from roughly two hundred to two hundred and seventy dollars for models accurate to 0.1 g with fast refresh rates and clear timer readouts. These scales start the timer when they detect flow (or when you press a button), stop when the shot ends, and let you read both yield and time without looking away. The upfront cost’s higher, but the workflow efficiency and reduced chance of error make them worth it for anyone serious about consistency.
Smartphone apps: Free to five dollars. Pros include flexible logging, cloud sync, and no extra hardware. Cons are manual start/stop, distraction risk, and no water resistance.
Hardware timers: Twenty to sixty dollars. Pros are durability, clear tactile controls, and easy visibility. Cons are lack of yield integration and the need for counter space.
Scales with timers: Two hundred to two hundred and seventy dollars. Pros are combined time and weight display, fast data refresh, and streamlined workflow. Cons are higher cost and the need to calibrate occasionally.
Troubleshooting Shot Timing Problems Using a Timer
When your shot times start behaving unpredictably, the timer becomes a diagnostic tool that points to specific problems in your workflow or equipment. Inconsistent times between pulls (one shot at 22 seconds, the next at 32 seconds, then 26 seconds) usually trace back to inconsistent dosing, uneven distribution, or variable tamp pressure. Weigh every dose on a scale and aim for within 0.2 g shot to shot. Use a WDT tool to break up clumps and distribute grounds evenly before tamping. Tamp with the same pressure and angle every time, or use a calibrated tamper if you’re struggling with consistency.
Very fast shots that finish in under 18 seconds despite a fine grind setting often signal channeling, a dose that’s too low, or a basket mismatch. Using a 14 g basket with an 18 g dose, for example. Check your puck prep first. Make sure you’re distributing grounds into every corner of the basket and tamping without tilting. Inspect the basket and portafilter seal for clogs, cracks, or worn gaskets that let water bypass the puck. Verify your grinder burrs are sharp and producing a consistent particle size. Not a mix of boulders and fines that creates gaps.
Very slow shots that creep past 45 seconds, or shots that start normally then stall, point to an over-fine grind, a blocked shower screen, or an overfilled basket. Grind coarser by one or two clicks and retest. Pull the shower screen and diffusion plate and clean them with a brush and backflush detergent to remove built-up oils. Confirm your dose isn’t higher than the basket’s rated capacity. Most double baskets handle 16 to 20 g. Going over can compress the puck too much and choke flow. Adding 2 to 5 seconds of pre-infusion at low pressure can also help stabilize flow and reduce the chance of a stalled shot.
Here are seven common timing issues and their fixes:
-
Shot finishes in 15 to 18 seconds, very thin and sour: Grind finer by 2 clicks, confirm dose is at target weight, improve distribution with WDT, and check that the basket isn’t damaged.
-
Shot takes 40 to 50 seconds, tastes bitter and over-extracted: Grind coarser by 2 clicks, reduce dose by 0.5 g if at the high end of your range, clean the group head and shower screen, and verify grinder isn’t producing excessive fines.
-
Time jumps around wildly (20 s, 35 s, 28 s across three consecutive shots): Weigh dose with a scale every time, check for static in the grinder causing clumping, inspect tamp consistency, and confirm beans are fresh. Stale or oily beans clump and flow unpredictably.
-
Channeling visible early, but time still lands in 25 to 30 seconds: Improve puck prep with better distribution, reduce or get rid of grind fines with a higher-quality grinder or sifting, and make sure the portafilter basket and group gasket are clean and sealing properly.
-
Shot starts well then suddenly blonds and thins out before hitting target yield: Check for dose too low (increase by 1 g), inspect basket for partial clogs, try pre-infusion for 3 to 4 seconds at low pressure to wet the puck evenly, and verify the pump’s maintaining stable pressure.
-
Time creeps up slowly over the day (28 s in the morning, 32 s by afternoon): Machine temperature may be drifting. Allow longer warm-up, check PID calibration, clean the group head to remove buildup that restricts flow, and inspect grinder burrs for wear or coffee oil accumulation.
-
Bottomless portafilter sprays or spurts despite being in the target time range: Re-distribute grounds more thoroughly, reduce dose slightly if overfilling the basket, check for uneven tamp or basket damage, and confirm the grinder isn’t producing a bimodal particle distribution.
Timing anomalies almost always trace back to grind consistency, dose accuracy, or puck prep. If you’ve ruled out those three and your timer still shows erratic behavior, check your machine’s pump pressure. It should hold steady around 9 bar during extraction. Inspect the group gasket and shower screen for wear, and verify your water isn’t too soft or too hard. Extreme water chemistry can affect flow rate. For a detailed example of how a built-in shot timer integrates into the dialing workflow, see Mastering your espresso: How to use the Profitec Go shot timer for a machine-specific walkthrough.
When your timer gives you a clean, repeatable number across three or more shots and the taste matches your target profile, you’ve locked in your variables. Any future drift in timing will point you straight to the source: stale beans, dirty equipment, grinder drift, or a change in dose. The timer won’t make the espresso taste good. It just makes the process repeatable so you can find what works and keep doing it.
Final Words
Start the timer at pump activation or the first drop, pull to your baseline (18 g → 36 g), and aim for 25–30 seconds. That one move gives you a repeatable anchor for adjustments.
You now have the basic timing procedure, how different timers fit into the workflow, and simple rules for matching grind, yield, and taste. Change one thing at a time and read the timer against weight and flavor.
Practice the steps and you’ll get steady results—learning how to use a shot timer for espresso dialing in makes dialing faster and less wasteful.
FAQ
Q: How to dial in espresso step by step?
A: The step-by-step way to dial in espresso is set a baseline (18 g → 36 g yield), grind/distribute/tamp, start the timer at pump or first drop, aim 25–30 s, then adjust grind one click.
Q: What is the 15-15-15 coffee rule?
A: The 15-15-15 coffee rule is a loose brewing shortcut—often 15 g coffee, 15 second bloom, 15 second main pour—used in some pour-over recipes to simplify timing; it’s not a standard espresso rule.
Q: How often should you dial in espresso?
A: You should dial in espresso whenever variables change—new beans, roast date shifts, grinder cleaning, humidity—or check daily with fresh beans and anytime shot time or taste drifts beyond ±2 seconds.
Q: What is the 30 second rule for espresso?
A: The 30 second rule for espresso says a standard shot should extract about 25–30 seconds; near 30 s is usually balanced, much faster is under-extracted, and much slower is over-extracted.