

Think a few frames of timecode drift won’t ruin your edit?
It can happen slowly and silently.
A ten-minute take can end up half a second off by wrap.
This post gives a simple, repeatable way to stop that.
You’ll get quick monitoring steps, easy checklist templates to fill between takes, and the one maintenance habit that actually prevents drift.
Read on if you want fewer reshoots, less guessing in post, and a clear log that tells you when to swap gear or re-sync.
Immediate Steps for Monitoring and Documenting Timing Discrepancies
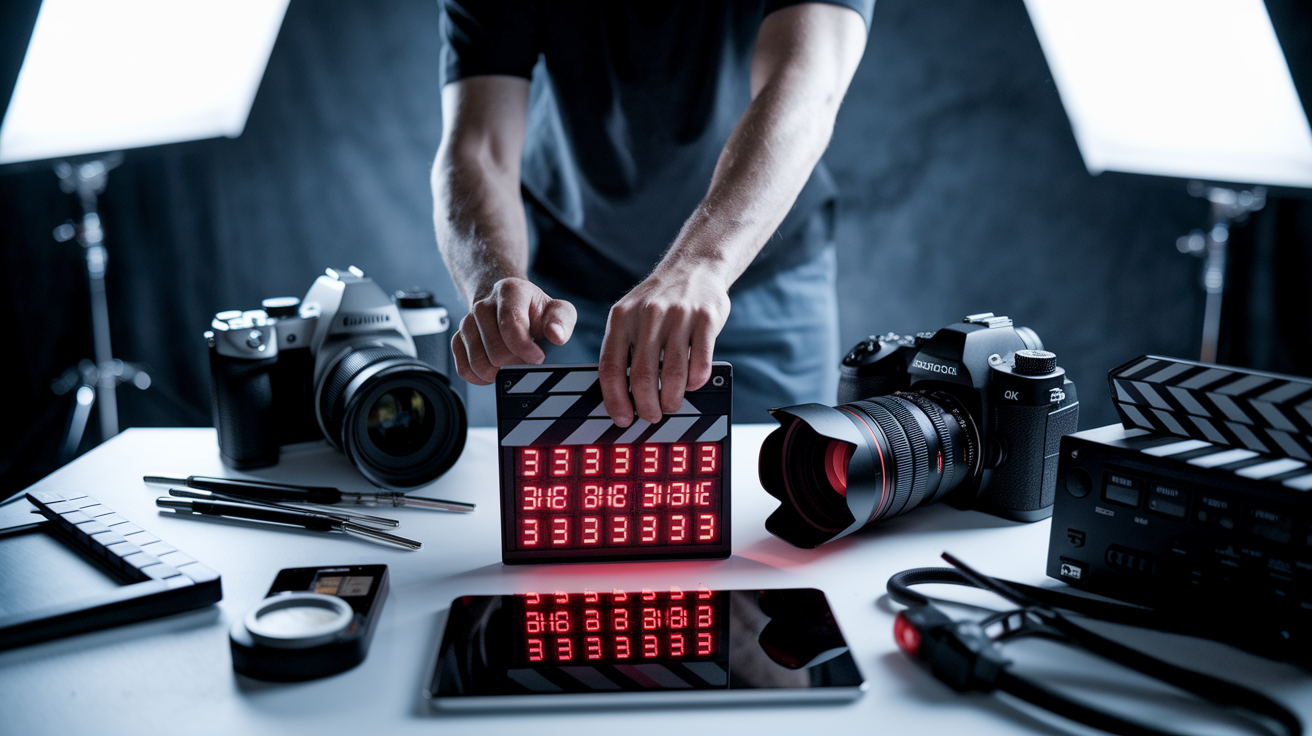
You’ll notice drift when audio starts feeling late or a second camera’s slate looks wrong. That’s the moment to check, not after you’ve wrapped the scene. Most drift doesn’t hit you all at once. It adds up frame by frame until you’re staring at a half-second slip across a ten-minute take.
Here’s how to catch it:
-
Lock timecode at call time. Power everything up, cameras and recorders, and make sure the hours and minutes match. Check that your genlock or sync cable shows green or locked.
-
Slate every take with visible timecode. Use a slate that prints or displays timecode. Frame it clearly. Editorial needs to compare the clapper closing against the recorded code.
-
Verify sync every 30 to 60 minutes. Between setups, compare all camera and recorder timecodes to your master clock. If anything drifts more than one frame, re-sync right away.
-
Compare real-time duration to recorded duration. After you wrap a take, check your stopwatch or master clock against the in and out timecodes on each camera. Log any difference in seconds.
-
Log every variation in a shared sheet. Write down device ID, take number, expected duration, measured duration, drift in frames. Even small numbers show you patterns.
-
Flag anything above your threshold. If drift goes past two frames at 24 fps (about 83 milliseconds), mark the take. Tell the DIT or script supervisor so post knows which clips need an offset correction.
Once you’ve logged three or four takes, scan for trends. A camera that always runs fast or always runs slow has a clock problem and needs calibration or an external timecode feed. Random jumps? You’re looking at loose sync cables or battery sag. Catch the pattern early and you can swap hardware or adjust your workflow before the next scene.
Repeat these checks at the top of every new camera setup and after any power cycle. Consistency stops drift before it piles up.
Practical Checklist Templates for Drift Tracking
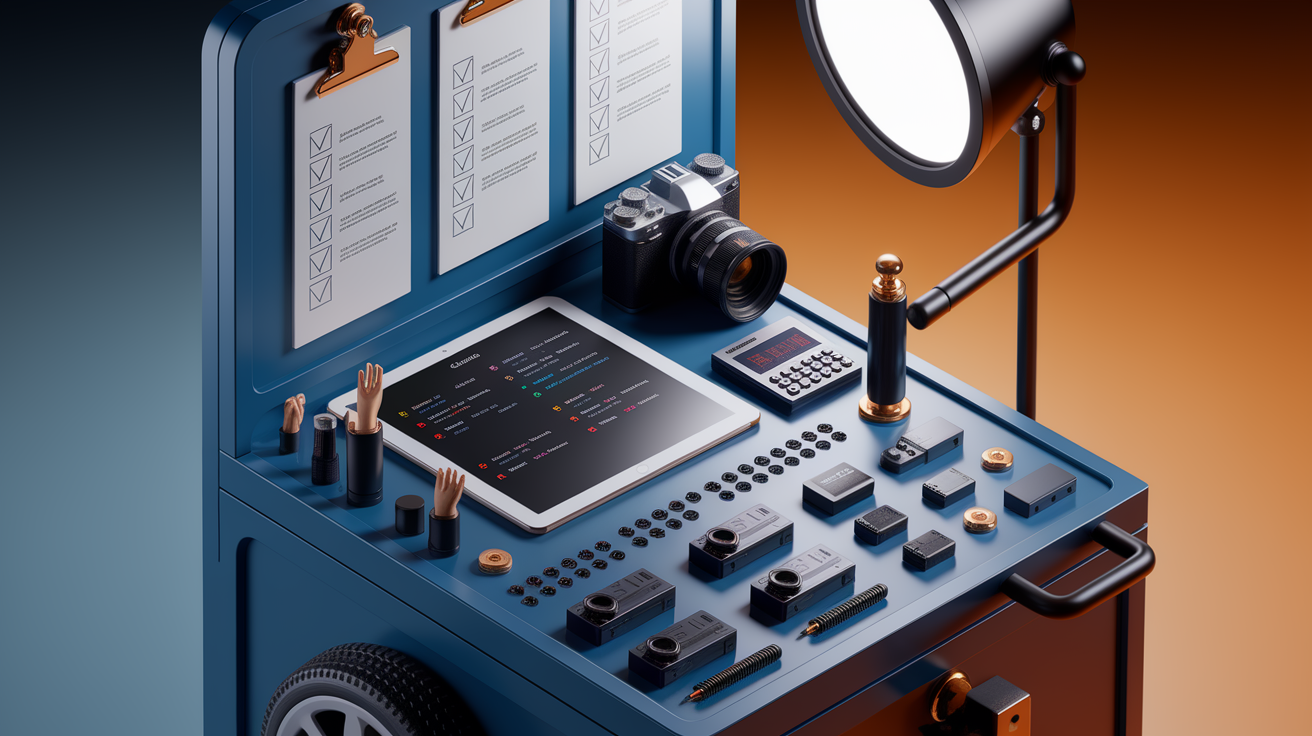
Checklists keep everyone on the same page. Camera assistants, sound mixers, DITs, all checking the same things in the same order. Without a template, one person checks battery voltage while another skips timecode verification. Small oversights stack into sync disasters. A shared checklist makes sure nothing falls through and creates a paper trail when post asks why Take 14 is three frames off.
Templates work when they’re simple enough to fill out between takes but detailed enough to capture device quirks. Print them on waterproof card stock, clip them to camera carts, or use a shared tablet that syncs to the DIT station. You need documentation that survives a twelve-hour shoot day and travels intact into editorial.
| Template Type | Key Fields | Typical Use Case |
|---|---|---|
| Daily Pre-Shoot | Device IDs, firmware versions, battery %, timecode sync status, reference clock source | Morning equipment check before first slate |
| Between-Take Timing | Take number, start/end timecode, expected vs measured duration, drift (frames), action taken | Logged immediately after wrapping each take |
| Multi-Camera Sync | Camera A/B/C timecodes, slate frame, offset deltas, sync-cable status | Multi-cam shoots requiring frame-accurate alignment |
| Audio-to-Video Match | Recorder timecode, camera timecode, audio waveform peak frame, visual clapper frame | Dual-system sound recording with separate audio devices |
| Monthly Maintenance | Last calibration date, next due date, oscillator drift test result, parts replaced | Periodic deep check of all timing-critical gear |
When you’re running three or more cameras, assign one crew member (usually the second AC or a dedicated sync tech) to cross-reference all devices after every major setup change. Use the multi-camera template to record each camera’s timecode at the same real-world moment. Call “mark” over comms and note the frame, then subtract to find offsets. If Camera B is consistently five frames behind Camera A, note it in the log so editorial applies a fixed offset instead of hunting frame by frame.
Methods for Measuring Timing Drift Accurately
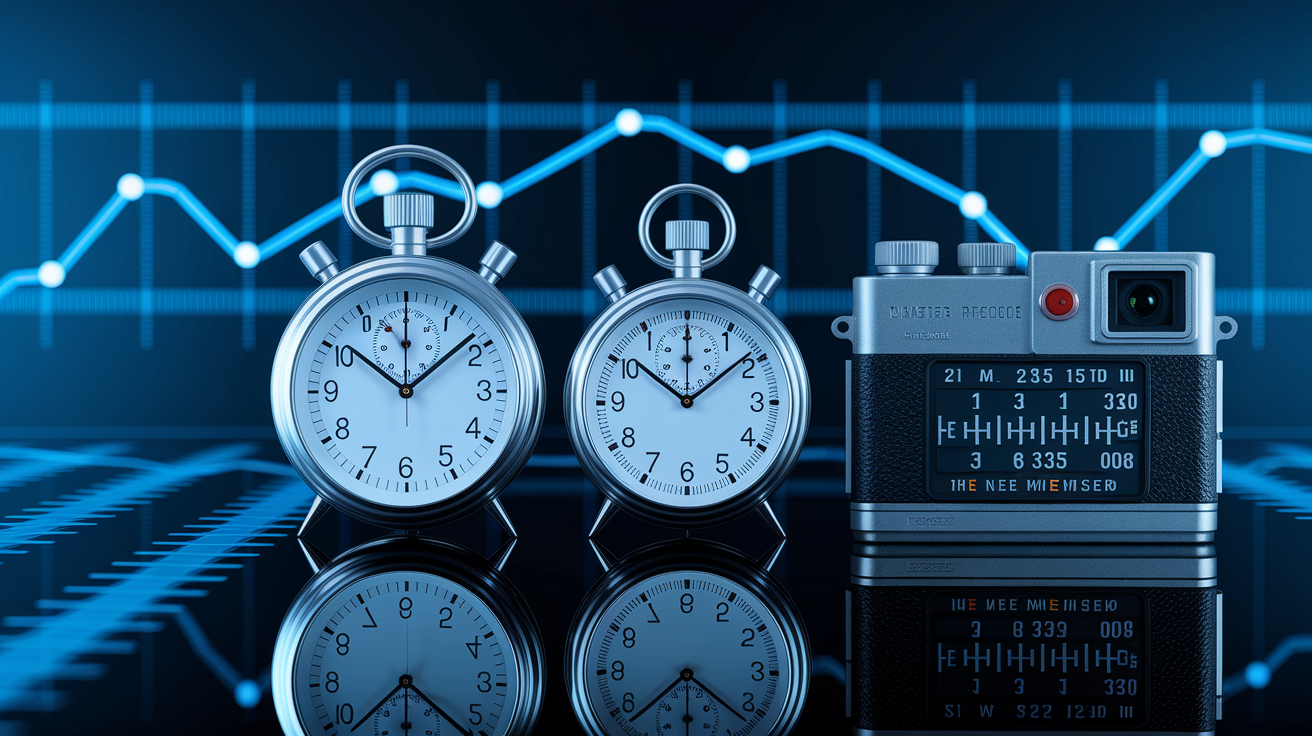
You need a baseline before you can spot drift. That baseline is usually a master reference clock. An external timecode generator, an NTP server, maybe a GPS-locked device. All cameras and recorders sync against it. Once everything matches at the start of a take, any divergence over time is your drift.
Timecode Comparison
Fastest field check. At the head of a take, record the timecode displayed on Camera A, Camera B, your audio recorder, and your master clock. Write all four down or capture a photo of all screens at once. At the tail of the take, do it again. Subtract the start timecode from the end timecode for each device, then compare the calculated durations. If Camera A shows 00:05:30:00 (5 minutes, 30 seconds, 0 frames at 30 fps) and your master clock shows 00:05:30:02, Camera A drifted two frames fast. Two frames at 30 fps is roughly 67 milliseconds. Not catastrophic, but loose enough to feel wrong in a tight edit.
Real-Time Clock Verification
Use a stopwatch, smartphone timer, or dedicated timing device running independent of your video gear. Start the reference timer the instant you call “action,” stop it when you call “cut,” then compare that elapsed time to the difference between in and out timecodes on each camera. If your stopwatch reads 3 minutes 12.4 seconds and Camera B’s timecode span converts to 3 minutes 12.8 seconds, that camera is running 0.4 seconds fast. This method catches drift even when all cameras are genlocked to each other but the whole system is drifting relative to true time. Common when the master generator’s crystal oscillator has a frequency offset.
Duration-Based Measurement
Pattern detection over multiple takes. Log the planned shot duration (from your shot list or rehearsal timing), then log the actual recorded duration from timecode or file metadata. If Take 1 runs 0.1 seconds long, Take 2 runs 0.2 seconds long, and Take 3 runs 0.3 seconds long, you’ve got linear drift. Probably a clock running slightly fast. If the error jumps around (Take 1 +0.1 s, Take 2 −0.05 s, Take 3 +0.2 s), you’re seeing intermittent sync loss, loose cables, or thermal drift as components heat up.
Check at least every third take during the first hour of shooting to establish your system’s baseline behavior. After that, verify once per hour and immediately after any equipment power cycle or cable swap.
Sample Logging Sheets and How to Use Them
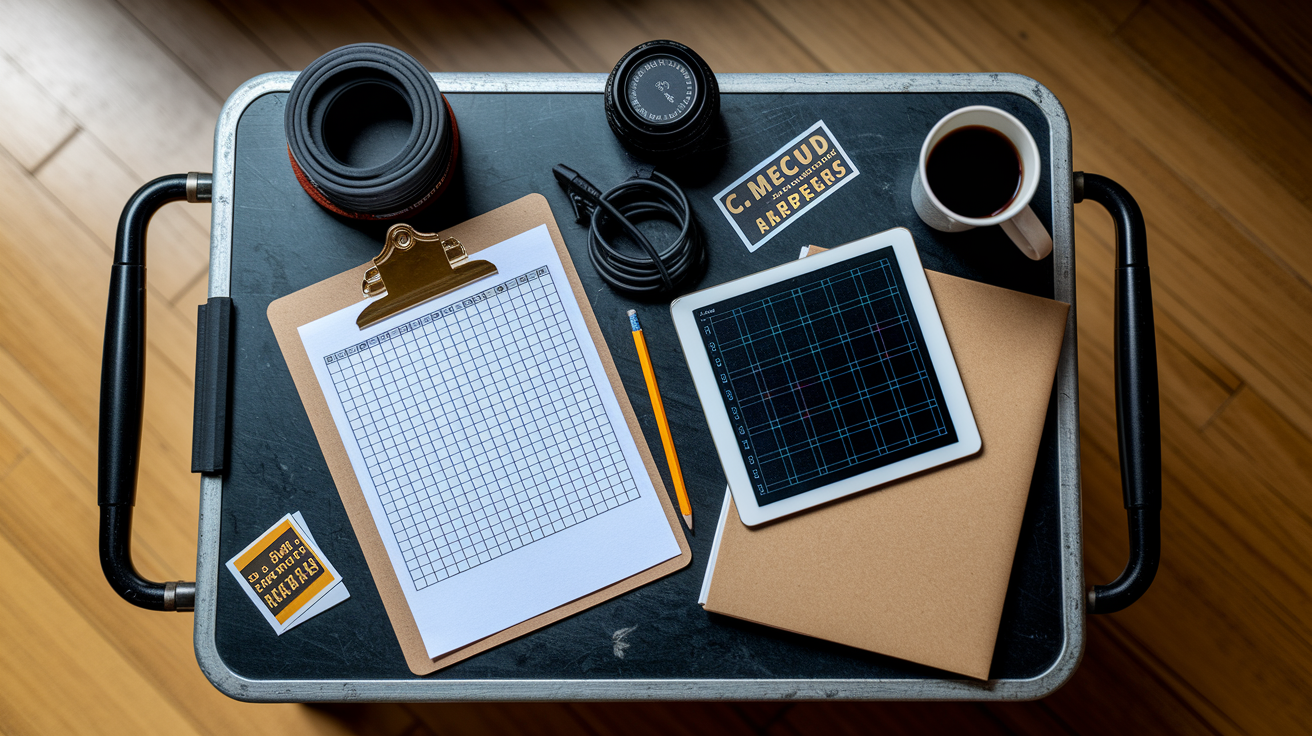
A logging sheet is your production’s timing insurance. It records who checked what, when they checked it, and what the numbers were. If post calls three weeks later asking why Scene 12 is drifting, you have data instead of guesswork. The sheet should live on a clipboard or tablet near the camera cart, filled in by the 1st or 2nd AC between takes, and handed to the DIT at the end of each shooting day for archival with the camera reports.
| Field Name | Purpose | Example Entry |
|---|---|---|
| Date / Shoot ID | Identifies the production day and scene | 2026-05-12 / Scene 12A |
| Camera ID | Specifies which device was measured | CAM02 |
| Start Timecode | Timecode at head of take | 01:00:00:00 |
| End Timecode | Timecode at tail of take | 01:10:00:12 |
| Observed Drift (frames) | Difference vs master clock, converted to frames | +3 frames |
| Action Taken | What was done to correct or note the issue | Rebooted camera, re-synced TC |
Fill in each field right after wrapping the take, while the numbers are fresh and the crew is still standing by. Start Timecode and End Timecode come straight from the camera’s display or the recorded file metadata. Don’t rely on memory. Observed Drift is your calculated delta: if the master clock says the take was 600 frames and the camera file shows 603 frames at 24 fps, write “+3 frames.” Action Taken is your breadcrumb trail: “Checked sync cable, tight,” “Swapped to backup timecode generator,” or “No action, within tolerance.”
Ensuring Accurate Equipment Calibration
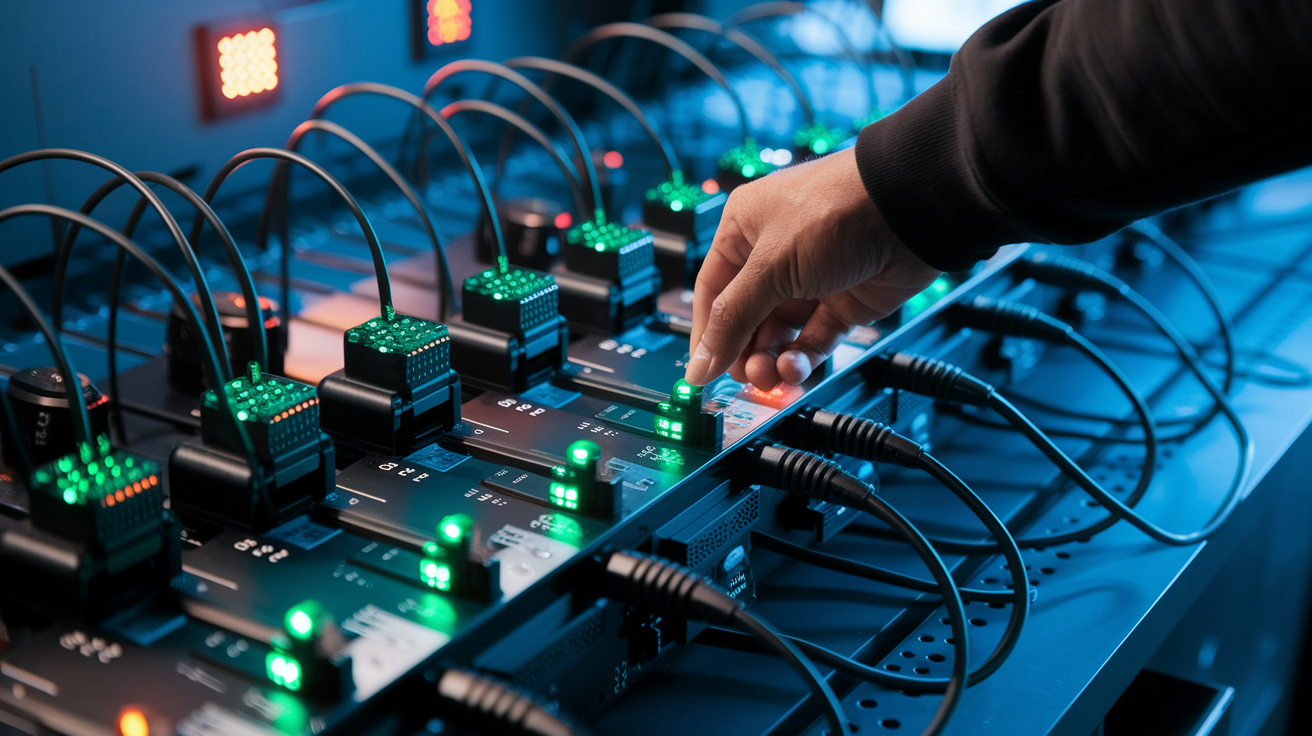
Calibration is what separates a timing system that holds sync all day from one that drifts every hour. Most professional cameras and recorders have internal crystal oscillators that keep time, but those crystals aren’t perfect. They can be off by 10 to 50 parts per million right out of the box, and temperature swings or component aging make it worse. Calibration syncs each device’s internal clock to a known-good reference so they all agree on what one second means.
Run a full calibration cycle before the first shoot day of any multi-day production and after any firmware update. Power up your master timecode generator, let it stabilize for five minutes (especially if it’s GPS-synced and needs satellite lock), then connect each camera and recorder via timecode cable or wireless sync. Use the device’s menu to “jam sync” or “slave to external TC,” confirm the displayed timecode matches the master, then let everything run for at least ten minutes while you monitor for drift.
Five steps:
-
Power master clock first. Let it stabilize. If it’s GPS-based, wait for solid satellite fix (usually 3 to 5 minutes outdoors).
-
Connect devices one at a time. Use quality BNC or LEMO cables. Loose connectors cause intermittent sync and false drift readings.
-
Jam-sync each device. Access the timecode menu, select “external” or “regen,” and confirm the displayed code locks to the master within one frame.
-
Run a ten-minute test record. Start recording on all devices at once, let them roll, then compare end timecodes. Any drift over one frame suggests the device needs service or an upgraded oscillator.
-
Document firmware and oscillator specs. Write down each camera’s firmware version and, if available, oscillator type (TCXO vs standard crystal). This helps diagnose recurring drift patterns.
Temperature and battery voltage both affect clock stability. A camera sitting in direct sun can see its internal temperature rise 15 to 20°C over an hour, and some oscillators drift 1 to 2 ppm per degree Celsius. Enough to accumulate several frames over a long take. Keep gear shaded when possible, and swap batteries before they drop below 20% charge. Low voltage can destabilize power rails and nudge clock frequencies. If you’re shooting in extreme cold or heat, budget extra time for warm-up and run calibration checks more often.
Troubleshooting Timing Mismatches
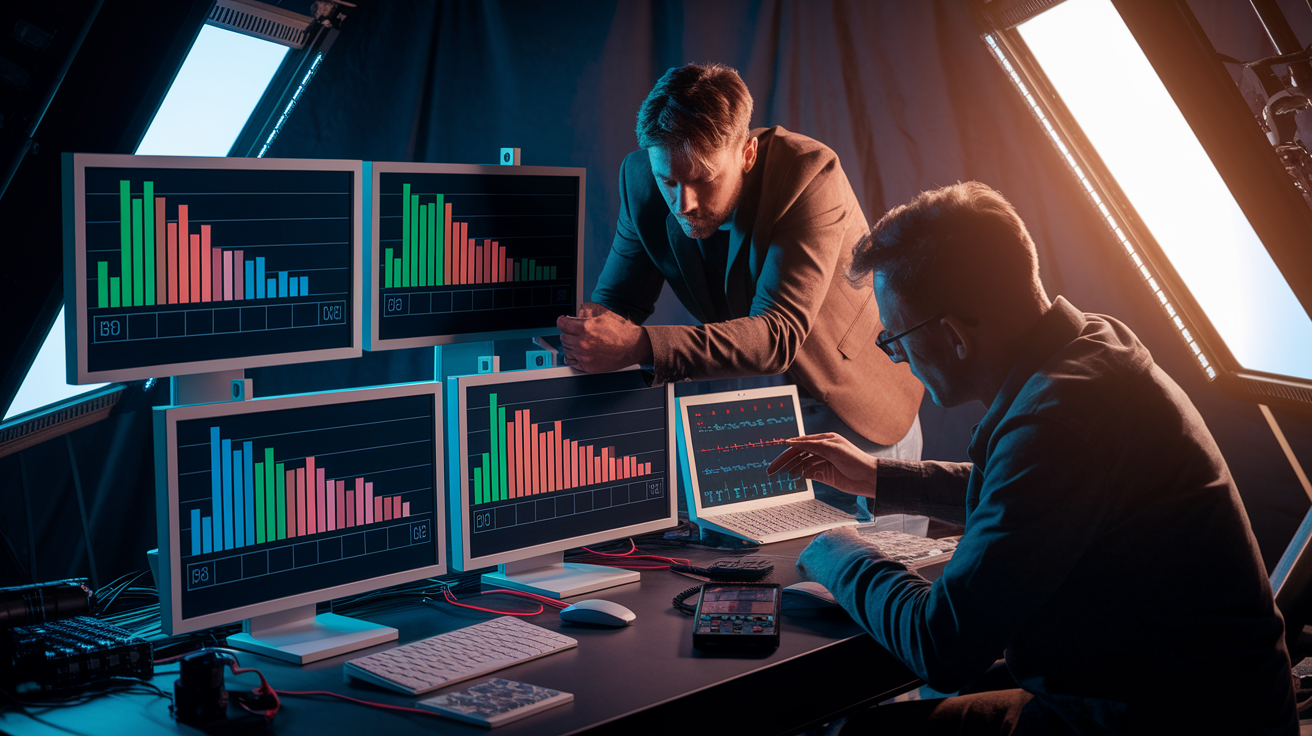
Timing mismatches show up in editorial as clips that won’t line up no matter how you nudge them, or in dailies as audio that drifts a few frames off sync halfway through a take. The symptoms are obvious. The cause often isn’t. You need a methodical check to isolate whether the problem is one rogue camera, a faulty cable, a wireless sync dropout, or environmental interference.
Start by identifying the pattern. Does the same camera always drift? That’s a hardware issue, internal clock or oscillator. Does drift only happen on certain takes? Check for sync cable disconnects, wireless range limits, or crew accidentally bumping cables mid-take. Does every device drift together in the same direction? Your master clock might be the problem, or you skipped a calibration step.
Six common causes:
- Unstable or uncalibrated master clock (GPS lock lost, battery dying, firmware bug)
- Loose or damaged sync cables (intermittent connection, oxidized pins, wrong impedance)
- Wireless sync dropout (range exceeded, RF interference, low transmitter battery)
- Skipped jam-sync at power-on (device free-running on its own clock instead of locked to reference)
- Thermal drift (device temperature changed significantly during long takes)
- Frame-rate mismatch (one camera set to 24 fps, another to 23.976 fps, causing slow accumulation)
To isolate the source, cross-compare timecodes across all devices at the same real-world moment. Call “mark” over the walkie, then immediately photograph or note the timecode on every camera and recorder. If Camera A reads 02:15:30:10 and Camera B reads 02:15:30:13, you’ve got a three-frame offset. Check which one matches the master clock. The device that’s off is your culprit. Swap its timecode cable, re-jam-sync it, and run a five-minute test. If drift persists, swap the camera or recorder itself.
When you catch a mismatch mid-day, decide whether to re-sync or re-slate. If the offset is under two frames and you’re shooting single-camera coverage, note it in the log and let post handle the shift. Editorial can slip the clip. If you’re running multi-camera and the offset is three frames or more, stop and re-jam all devices, then slate a fresh sync point so you have a clean reference for the rest of the scene.
Integrating Timing Checks into Production Workflow
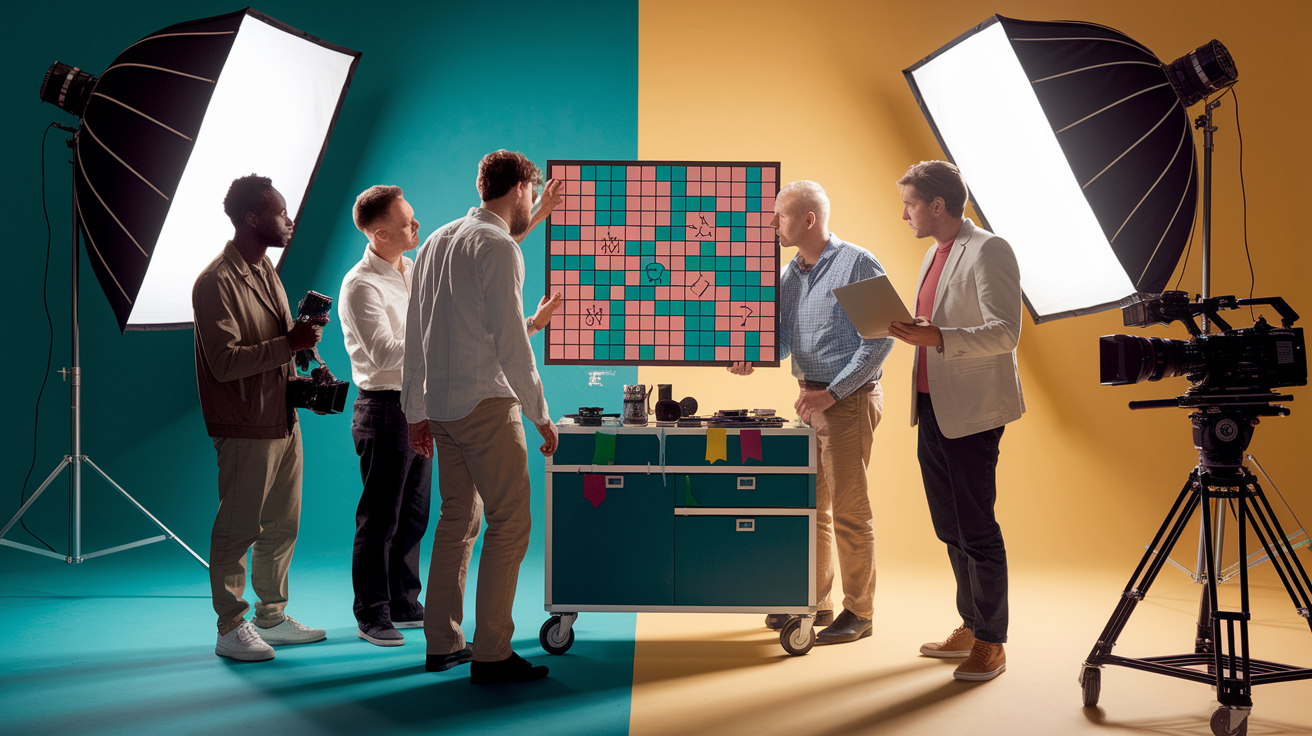
Timing checks only work when they’re built into the daily rhythm, not tacked on as an afterthought. The 1st AC already runs through a pre-shoot checklist (lens height, focus marks, iris), and adding four timing steps takes an extra two minutes but prevents hours of post pain. The key is assigning clear ownership: one person checks sync at call time, another logs drift between takes, and a third archives the sheets with the camera reports.
Schedule your first timing check during the morning camera prep, right after you load media and set white balance. Power up the master clock, jam-sync every camera and recorder, and let everything run for five minutes while you finish other setup tasks. Photograph all timecode displays together or use a slate that shows all codes side by side, then file that image as your “Day Start Sync Proof.” If post questions a file later, you have evidence that everything was locked at the beginning of the day.
Between setups, coordinate a quick sync-check huddle. The 1st AC calls out Camera A’s timecode, the sound mixer calls out the recorder’s code, and the DIT verifies the master clock. All within thirty seconds. If any device is off by more than one frame, re-jam and re-slate before rolling the next take. This habit catches drift early, when it’s a one-minute fix instead of a half-day editorial problem.
Five best practices:
- Assign one crew member as “sync lead.” Usually the 1st AC or a dedicated DIT. This person owns the timing log and calls for checks.
- Add timing fields to your shot list. Include planned duration and critical beats so you can compare expected vs actual right after wrapping a take.
- Use color-coded flags on your slate. If drift exceeds your threshold, mark that take with a red or yellow sticker so editorial knows to expect an offset.
- Archive timing logs with camera reports. Store them in the same folder as your dailies paperwork. Use consistent file names like “SCENE12ATimingLog20260512.pdf.”
- Run a timing post-mortem at wrap. Spend five minutes at the end of the day reviewing logged drift with the DIT and camera team. If you see patterns, adjust calibration or swap gear before call time tomorrow.
Final Words
Start logging and checking timecodes now. This post gave step-by-step checks, printable checklist templates, measurement methods, sample logs, calibration tips, troubleshooting steps, and how to fold timing checks into your daily workflow.
Follow one change at a time: check timecode offsets, use slates, compare recorded duration, and keep a clear drift log so you can spot patterns.
Use the tracking shot time drift with maintenance checklist as your daily routine. You’ll catch drift early and make post work easier.
FAQ
Q: What are some creative tracking shot techniques and how do you plan a tracking shot?
A: Creative tracking shot techniques and planning steps include choosing movement (push, pull, lateral, arc), mapping the path, rehearsing blocking, setting focus anchors, picking focal length and speed, and marking safety and camera positions before rolling.
Q: What are the 7 camera movements?
A: The seven basic camera movements are pan (left/right), tilt (up/down), dolly (move in/out), truck (move side-to-side), pedestal (move up/down), zoom (change focal length), and roll (rotate the camera).
Q: How do you stabilize a tracking shot?
A: To stabilize a tracking shot, use a dolly or gimbal, lock settings, balance the rig, rehearse smooth operator moves, control acceleration, secure mounts, and review playback to fine-tune balance and focus.