

Think hotter makes better microfoam? Think again.
Steaming between 140–160°F (60–70°C) is the sweet spot for velvety microfoam and real sweetness.
Go hotter and proteins break down; go cooler and the milk stays thin and won’t marry the crema.
This post gives clear temp targets for whole milk, skim, oat and soy, a simple steaming workflow, and one tactile check so you can hit the range reliably and waste fewer shots.
Core Temperature Targets for Perfectly Steamed Milk
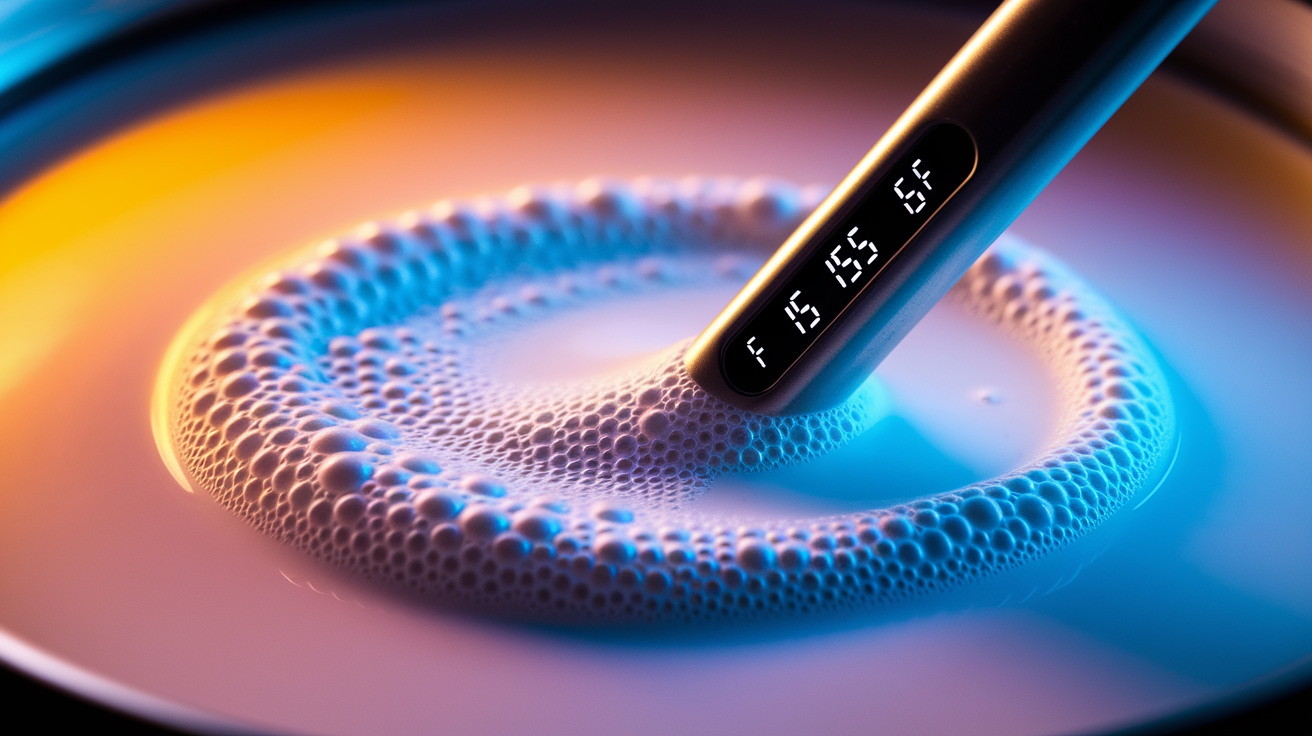
The sweet spot for steaming espresso milk is 140–160°F (60–70°C). That’s your window for velvety microfoam and the kind of sweetness that makes a drink worth drinking. Go below 140°F and you’re left with thin milk that won’t integrate with crema. Push past 160°F and the proteins start breaking down, sweetness disappears, and your microfoam collapses into big, useless bubbles.
This range works across nearly every milk type and drink you’ll make because it keeps milk sugars intact while building stable foam. Most espresso drinks land somewhere in this zone depending on how much foam you need and what the customer wants. It gives you room to adjust without sliding into watery mess or scalded disaster.
Below 140°F, the milk feels weak, cools too fast in the cup, and leaves crema floating on top instead of blending through. Above 160°F, you get burnt flavor, dead sweetness, and stiff foam that collapses mid-pour. Both waste good espresso and slow down your workflow.
140°F (60°C): Cool, silky, maximum sweetness.
150°F (65°C): Balanced sweetness, stable foam, comfortable to drink.
160°F (70°C): Upper edge. Any hotter and you’re risking protein breakdown.
Below 140°F: Weak texture, poor integration, drink goes cold fast.
Above 160°F: Scalded taste, unstable microfoam, sweetness gone.
Temperature Science Behind Steamed Milk Sweetness and Texture

Heating milk changes how sweet it tastes. Between 131–140°F (55–60°C), lactose becomes more noticeable on your palate without any actual chemical shift. That’s why milk steamed on the cooler end often tastes richer and sweeter than milk pushed to the top of the range. It’s about perception, not chemistry.
Around 158°F (70°C), milk proteins start to denature. That breakdown kills your foam stability and creates a cooked, scalded flavor. The foam you do get turns stiff and brittle instead of creamy. Fat globules also behave differently under heat. Moderate warmth keeps them suspended and smooth. Too much heat makes them separate or clump, wrecking the silky mouthfeel you’re after.
Push past 180°F (82°C) and you’ve done serious damage to both protein structure and sweetness. You’re left with flat, burnt-tasting milk and foam that collapses almost instantly. Even a few seconds in the high 160s can start this process, which is why stopping between 140–160°F preserves both the science and the experience.
Dairy vs Non‑Dairy Milk Temperature Differences for Steaming
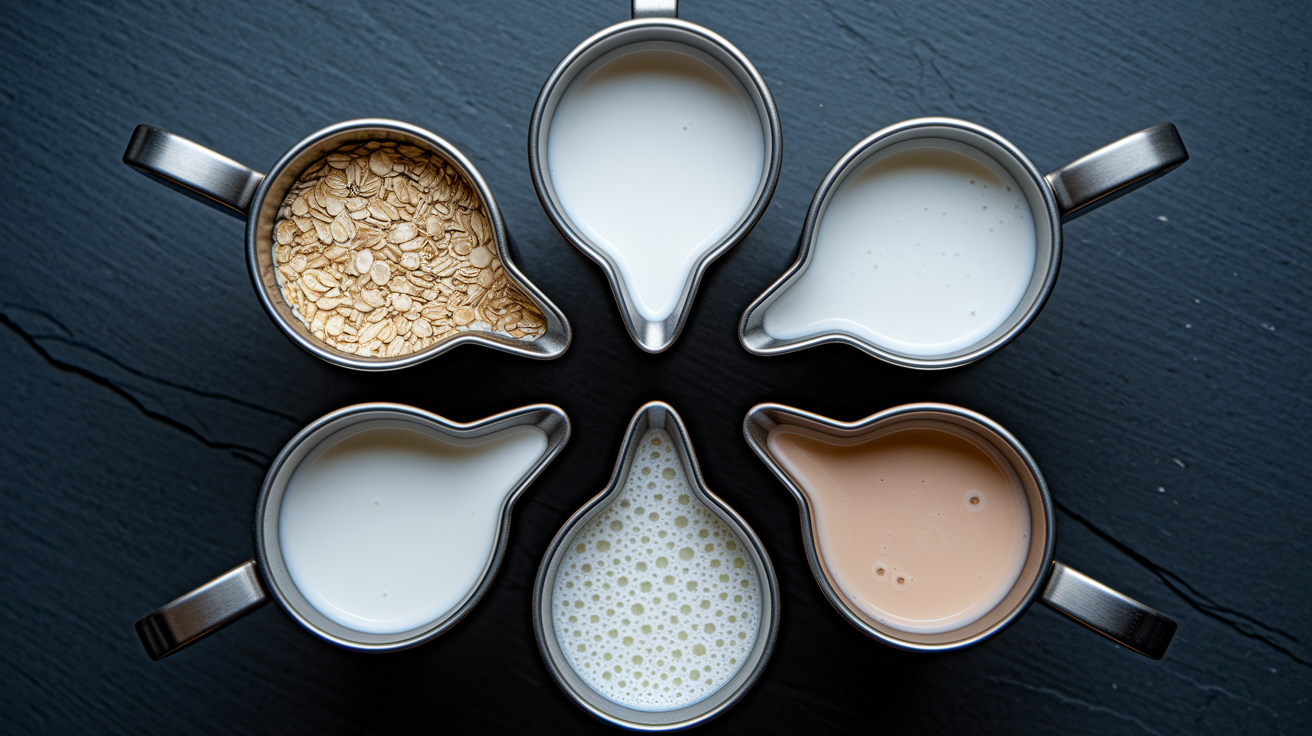
Whole dairy milk performs best at 140–155°F (60–68°C). Its fat and protein content creates the richest microfoam and the most forgiving steaming window. Skim and low-fat milks can handle slightly higher temps, 150–160°F (65–70°C), because they foam more aggressively thanks to higher protein ratios. But the texture is thinner and dries out faster if you overheat.
Plant-based milks need lower targets and tighter control. Oat milk, especially barista blends, steams cleanly at 140–150°F (60–65°C) and produces microfoam nearly as stable as dairy. Soy and almond milks are fragile. Aim for 130–145°F (55–63°C) depending on the brand, and watch closely. Overheating causes curdling, separation, or a chalky mouthfeel. Coconut milk and other nut blends behave similarly. Lower heat preserves texture and prevents split.
| Milk Type | Recommended Temp (°F/°C) | Notes |
|---|---|---|
| Whole Dairy | 140–155°F (60–68°C) | Best texture and sweetness, very forgiving. |
| Skim/Low-Fat | 150–160°F (65–70°C) | Foams readily but can dry out, thinner mouthfeel. |
| Oat (Barista Blend) | 140–150°F (60–65°C) | Stable microfoam, avoid overheating to preserve sweetness. |
| Soy | 130–145°F (55–63°C) | Curdles easily above 145°F, brand-dependent. |
| Almond/Nut Blends | 130–145°F (55–63°C) | Low protein, separates or goes chalky if overheated. |
| Coconut | 135–145°F (57–63°C) | Fragile texture, lower heat prevents split. |
Brand variability among plant milks is huge. Califia Farms Barista Series oat milk steams exceptionally well and can handle the upper end of the oat range. Generic oat or soy blends often curdle or produce watery foam at the same temperature. Test each brand individually and adjust your target down by 3–5°F (2–3°C) if you see separation or texture loss. Lactose-free and high-protein dairy alternatives usually sit somewhere between whole milk and plant milks. Reduce the target slightly if microfoam degrades at standard dairy temps.
Practical Steaming Workflow to Hit the Ideal Temperature

Start with refrigerator-cold milk, around 39–45°F (4–7°C). Cold milk gives you more working time to build texture without overshooting the target. Fill the pitcher to roughly one-third full. This leaves room for expansion and helps the whirlpool form cleanly. Purge the steam wand briefly to clear any condensed water, then submerge the tip just below the milk surface, positioned halfway between the center and the outer wall of the pitcher.
Tilt the pitcher at a 20–30° angle to encourage radial flow. As soon as you open the steam valve, slowly lower the pitcher until you hear a gentle hissing or “kissing” sound. This is the aeration phase, and it should last only 2–5 seconds. You’re introducing air to expand the milk volume by roughly 5–15%. Stop lowering the pitcher once the surface temperature reaches approximately 90–100°F (32–38°C). The pitcher will still feel cool to the touch at this point.
Once aeration is complete, raise the pitcher slightly so the steam tip is fully submerged and continue heating without adding more air. This is the texturing or whirlpool phase. Keep the whirlpool strong and steady by maintaining the wand angle and position. Watch the thermometer or monitor the pitcher temperature by touch. When the outside of the pitcher becomes too hot to hold comfortably for more than 1–2 seconds, you’re approaching 150–160°F (65–70°C).
- Purge the steam wand to remove condensate.
- Fill pitcher to one-third full with cold milk.
- Submerge steam tip just below surface, angled 20–30°.
- Open steam valve fully and slowly lower pitcher.
- Aerate for 2–5 seconds until gentle hissing stops (milk reaches ~90–100°F / 32–38°C).
- Raise pitcher to submerge tip and create a strong whirlpool.
- Continue steaming until target temperature (140–160°F / 60–70°C).
- Turn off steam, wipe and purge wand, tap pitcher and swirl milk to integrate foam.
Using Thermometers to Control Milk Temperature Accurately
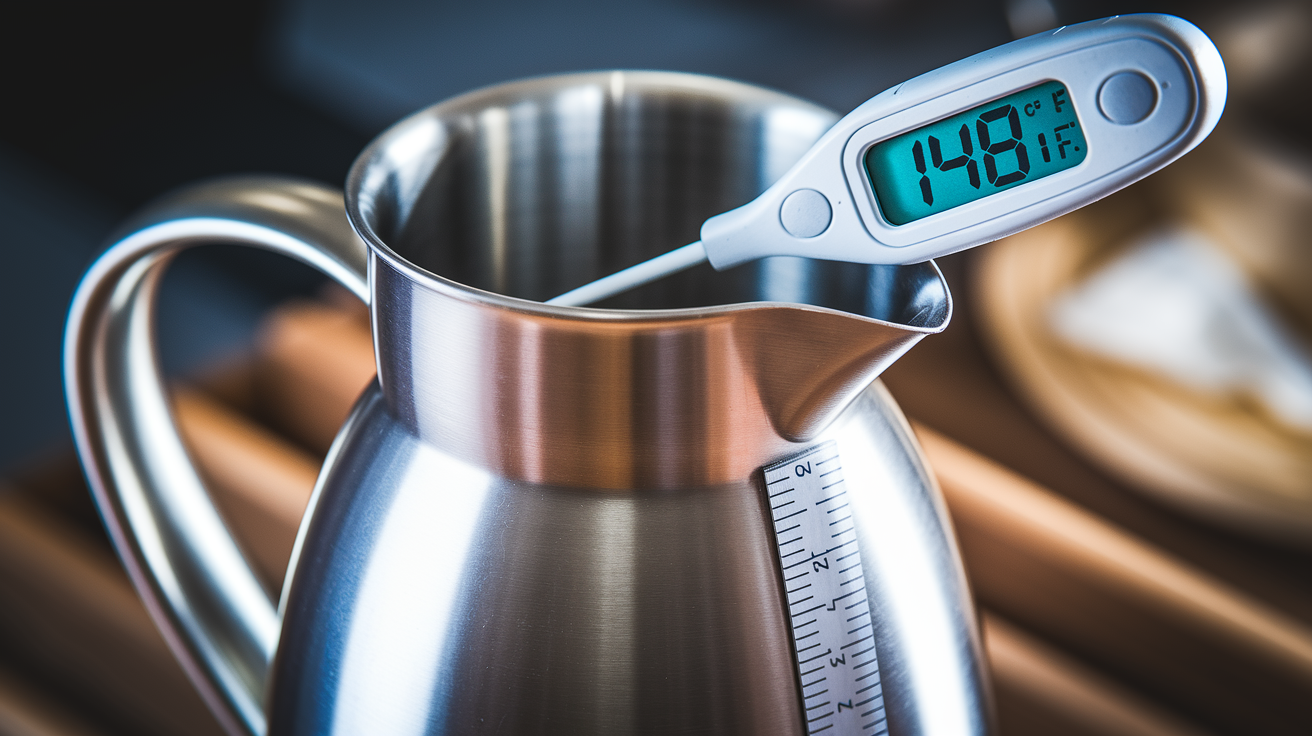
Place the thermometer probe in the milk body, 1–2 cm (about 0.5–1 inch) above the bottom of the pitcher, without touching the metal sides or steam wand. Touching the pitcher bottom gives you a falsely high reading because the metal heats faster than the milk. An instant-read or clip-on probe with ±2°F (±1°C) accuracy is enough for consistent results. Monitor the temperature as you steam and stop the wand as soon as the probe hits your target.
Remove the thermometer and steam wand before pouring. Leaving either in the pitcher risks burns or spills. If you don’t have a thermometer, use the tactile backup. When the pitcher becomes too hot to hold comfortably for more than about one second, you’re in the 150–160°F (65–70°C) zone. This method works well once you’ve calibrated yourself with a thermometer a few times, but hands lose accuracy over shifts or after multiple steamings in a row. Test and re-check temperatures regularly to stay calibrated.
Probe placement: 1–2 cm from pitcher bottom, away from wand and walls.
Accuracy target: ±2°F (±1°C) for consistent microfoam.
Tactile backup: Pitcher too hot to hold for >1 second ≈ 150–160°F.
Removal timing: Pull thermometer and wand before pouring to avoid spills.
Overheating, Scalding, and Common Steaming Mistakes
Heating milk above 160°F (70°C) produces a noticeable drop in sweetness and a cooked, scalded flavor. The foam becomes unstable, with large bubbles that collapse quickly or turn stiff and dry. Sustained temperatures above 180°F (82°C) severely degrade both texture and taste, leaving milk that’s flat, burnt, and unusable for espresso drinks. Even a few degrees over target can begin this process, so stopping on time matters.
The most common steaming mistakes are over-aerating (wand too high, creating large bubbles), under-aerating (wand too deep, producing no foam and a screeching sound), and failing to create a whirlpool during the texturing phase. Overfilling the pitcher leaves no room for expansion, and placing the thermometer probe against the pitcher bottom gives a false high reading that causes you to stop too late. Starting with warm milk shortens your working time and makes it harder to control texture before hitting the upper temperature limit.
If your milk tastes burnt or flat, you’ve overheated it. If the foam is stiff and airy instead of glossy and velvety, you’ve either over-aerated or heated too high. If you see large bubbles on the surface after steaming, tap the pitcher on the counter and swirl to integrate, then reduce aeration time on the next shot. If the milk separates or curdles, especially with plant-based options, you’ve exceeded that milk’s heat tolerance and need to lower your target by 5–10°F (3–5°C).
Overheating symptoms: Scalded taste, reduced sweetness, unstable or stiff foam.
Over-aeration: Large bubbles, dry texture, reduce aeration time.
Under-aeration: No foam, screeching sound, lower pitcher slightly.
False thermometer reading: Probe touching pitcher bottom, reposition 1–2 cm higher.
Overfilled pitcher: No room for foam expansion, fill to one-third only.
Plant milk curdling: Temperature too high, reduce target by 5–10°F (3–5°C).
Drink‑Specific Milk Temperature Targets for Espresso Beverages

Different espresso drinks need slightly different milk temperatures to balance foam volume, drinking comfort, and flavor. Lattes use more milk and less foam, so a cooler target, 140–150°F (60–65°C), preserves sweetness and creates a silky, integrated texture. Cappuccinos have more foam and less liquid milk, so steaming to 150–160°F (65–70°C) helps the foam hold structure and keeps the drink warm longer. Flat whites sit in the latte range, around 140–150°F (60–65°C), with tighter microfoam and a thinner layer.
| Drink | Target Temp (°F/°C) | Foam Level Notes |
|---|---|---|
| Latte | 140–150°F (60–65°C) | Silky microfoam, minimal aeration, sweetness priority. |
| Cappuccino | 150–160°F (65–70°C) | More foam, firmer texture, higher temp preserves structure. |
| Flat White | 140–150°F (60–65°C) | Thin, velvety microfoam, tight integration with espresso. |
| Macchiato (Latte) | 150–155°F (65–68°C) | Slightly hotter to support foam retention in layered pour. |
| Cortado | 140–150°F (60–65°C) | Minimal foam, equal espresso-milk ratio, lower temp balances intensity. |
Different drinks need different heat levels because of foam stability and drinking temperature. Cappuccinos have a higher foam-to-liquid ratio, so the foam layer insulates the drink and keeps it warmer longer. Steaming slightly hotter compensates for that insulation and ensures the liquid underneath stays pleasant to drink. Lattes and flat whites have more liquid milk and thinner foam, so they cool faster and benefit from a slightly lower steaming temperature that prioritizes perceived sweetness and silky mouthfeel. Customer preference also plays a role. If someone orders “extra hot,” you’ll need to steam closer to 165–170°F (74–77°C) and accept the trade-off in sweetness and texture.
Workflow Variables That Affect Milk Temperature Control

Starting milk temperature has the biggest impact on your steaming window. Milk straight from the refrigerator at 39–45°F (4–7°C) gives you more time to build texture before hitting the upper limit. Milk that’s been sitting at room temperature shortens your working time and makes it harder to stop at the target without overshooting. Always use cold milk for consistent results.
Pitcher size and material also matter. Larger pitchers heat more slowly because there’s more thermal mass to bring up to temperature, which gives you a slightly longer window for aeration and texturing. Stainless steel conducts heat faster than plastic or ceramic, so you’ll feel the temperature rise more quickly. Steam pressure accelerates heating. Commercial machines with high-pressure boilers can go from cold to 160°F in under 20 seconds, while lower-pressure home machines take 30–40 seconds and require more careful wand positioning to generate the same microfoam.
Starting milk temp: Use refrigerator-cold (~4–7°C / 39–45°F) for maximum working time.
Pitcher size: Larger pitchers heat slower, small pitchers reach target faster.
Pitcher material: Stainless steel conducts heat faster than plastic or ceramic.
Steam pressure: High-pressure commercial machines heat milk in 15–25 seconds, home machines take 30–40 seconds.
Machine differences: Commercial boilers deliver consistent steam, home machines may cycle pressure during steaming.
Visual and Sensory Cues for Hitting the Ideal Temperature

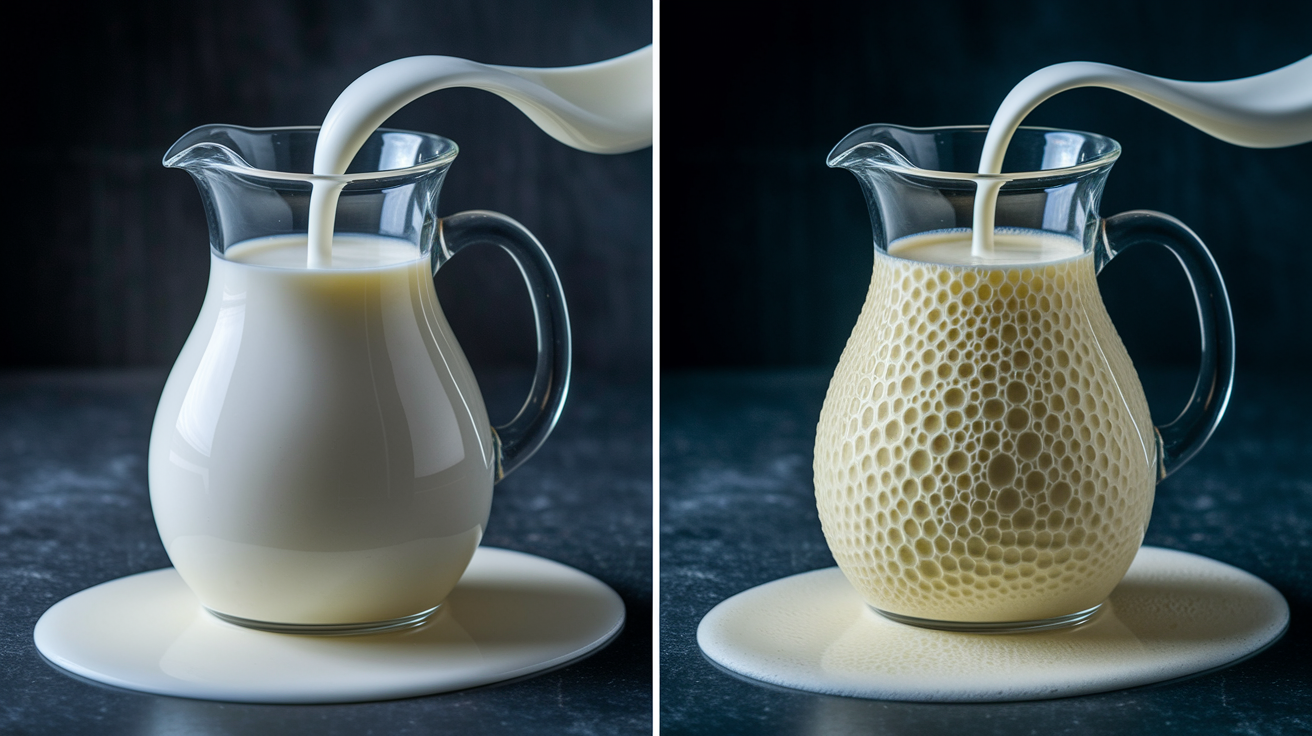
Properly steamed milk has a glossy, reflective surface with microfoam bubbles so small they’re barely visible. If you see large bubbles or a matte, dull finish, the foam hasn’t integrated fully. Tap the pitcher on the counter and swirl to break up the bubbles and blend the texture. The milk should pour like wet paint, flowing smoothly without separating into liquid and foam layers.
The pitcher becoming too hot to hold comfortably for more than one or two seconds signals you’re in the 150–160°F (65–70°C) range. This tactile cue works well as a backup when you’re steaming without a thermometer, but it’s less precise than a probe. Your hands lose calibration over time, especially after multiple steamings in a row.
After steaming, let the milk rest for 5–10 seconds before pouring. This brief pause allows the microfoam to settle and integrate fully, giving you a smoother pour and better crema blending. If the milk separates into liquid and foam during the rest, you’ve either under-textured or overheated. Adjust aeration time or lower your target temperature on the next shot.
Final Words
Start steaming toward 140–160°F (60–70°C) and aim for a glossy, reflective surface as your cue.
This guide covered the core temperature range, why heat boosts sweetness and stability, and how different milks and drinks tweak the target. We walked a step‑by‑step workflow, thermometer placement, common overheating fixes, and quick sensory checks.
Next step: use a probe 1–2 cm above the pitcher bottom and stop when the pitcher’s just too hot to hold briefly.
Hitting the ideal milk temperature for steaming espresso makes every cup taste cleaner and more consistent.
FAQ
Q: How hot should steamed milk be for espresso?
A: The ideal steamed milk temperature for espresso is 140–160°F (60–70°C). This range gives stable microfoam, enhanced sweetness, and a smooth mouthfeel without denaturing proteins.
Q: What happens if I steam milk beyond 70 degrees?
A: Steaming milk beyond 70°C (158°F) causes proteins to denature, reduces sweetness, produces a scalded taste, and makes foam thin and unstable.
Q: Is 44 degrees cold enough for milk?
A: If you mean 44°F (7°C), 44°F is cold enough to start steaming for proper texture; if you mean 44°C, that is already too hot for steaming.
Q: How hot does Starbucks steam their milk?
A: Starbucks typically steams milk to about 150°F (65°C) for standard hot drinks; “extra hot” orders aim near 170°F (77°C), which risks reduced sweetness and scalding.