

Are giant bubbles wrecking your microfoam?
They almost always come from two simple things: the tip sitting too high and the wand angled wrong.
Fix depth and angle and you stop splashes, popping, and clumpy foam fast.
This post shows the exact tweaks — how to angle the wand about 15 to 20 degrees, set the tip 1 to 3 mm under the surface, and read the sounds and look for the right vortex.
Do these steps next and you’ll pull smooth, glossy microfoam every time.
Correcting Wand Angle and Tip Depth to Eliminate Large Bubbles
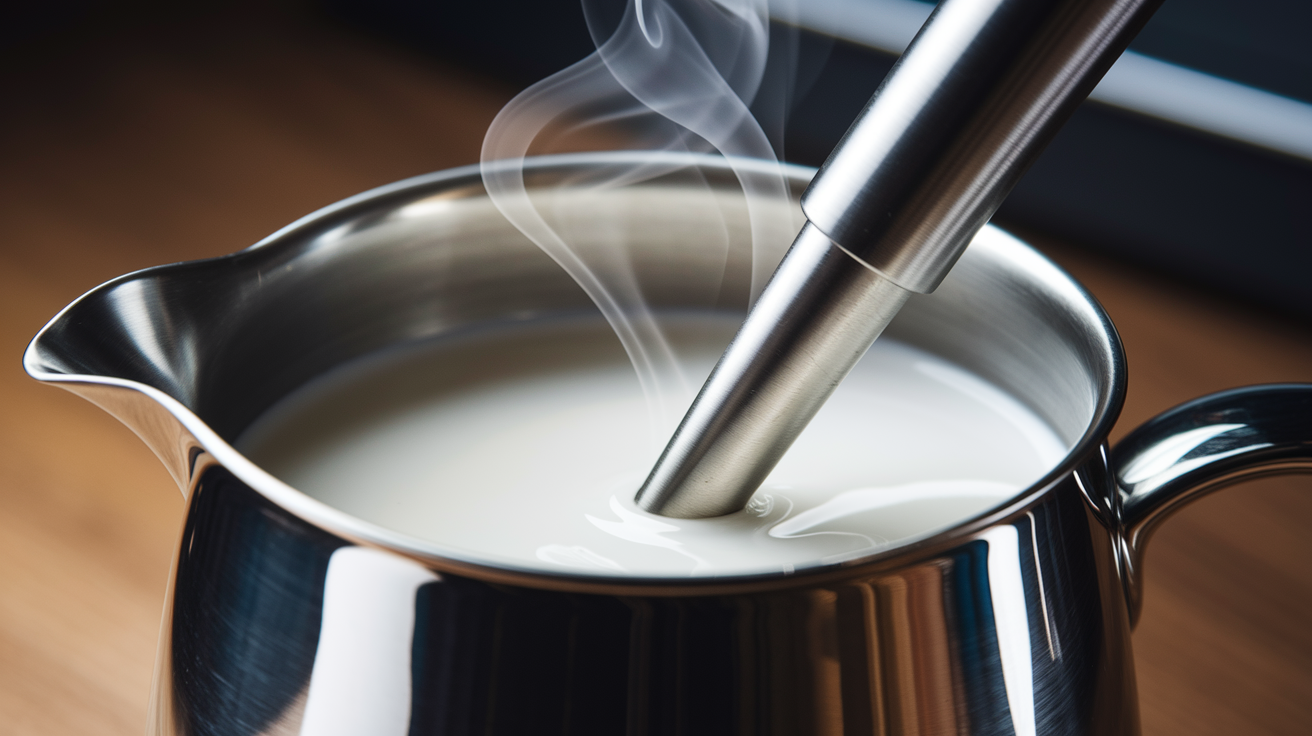
Large bubbles happen when your steam wand dumps air into the milk without any real control. Two things cause this almost every time: wrong tip depth and bad wand angle. When the tip sits too high, you get splashing and these chaotic gulps of air instead of a smooth, fine stream. When the angle’s off, the milk can’t form a stable spin, so bubbles just sit there instead of folding into microfoam. Fix depth and angle, and you’ll control bubble size immediately.
Think of the steam wand entering at about 15 to 20 degrees off vertical, not straight down. The tip should rest just under the milk surface while you’re aerating, maybe 1 to 3 millimeters below. At that depth, you introduce air without totally breaking surface tension, creating this gentle paper tearing sound instead of violent sputtering. Tilt the pitcher slightly, around 15 to 20 degrees from upright, so the wand naturally enters at that shallow angle and aims toward the side wall. Not the center. This encourages controlled air intake and starts a circular flow.
Here’s how to fix large bubbles mid-steam or before your next attempt:
- Drop the tip by 1 to 3 millimeters if you hear loud popping or see splashing. The tip’s too high.
- Tilt the pitcher 15 to 20 degrees and angle the wand to match, pointing the steam jet toward the pitcher wall.
- Keep aeration to 2 to 6 seconds while the milk’s still cold. Stop introducing air once the pitcher feels warm or hits 100 to 120°F.
- Submerge the tip a few millimeters deeper as soon as you’ve added enough air. You’re moving from aeration to texturing without lifting the wand out.
- Aim the wand halfway between the pitcher’s center and its wall to create a stable whirlpool that folds foam into the milk.
- Keep that vortex steady through the whole heating process. If the whirlpool weakens, adjust pitcher tilt or wand depth until the swirl comes back.
Test each adjustment by listening. A gentle paper tearing hiss or soft whisper means the tip’s kissing the surface correctly and pulling in fine air. Loud sputtering, popping, or a sucking sound? Tip’s too high or the angle’s wrong. Lower the tip and shallow the angle until the sound smooths out. Fix the noise, fix the bubbles.
Understanding Milk Stretching and Texturing to Avoid Macrofoam
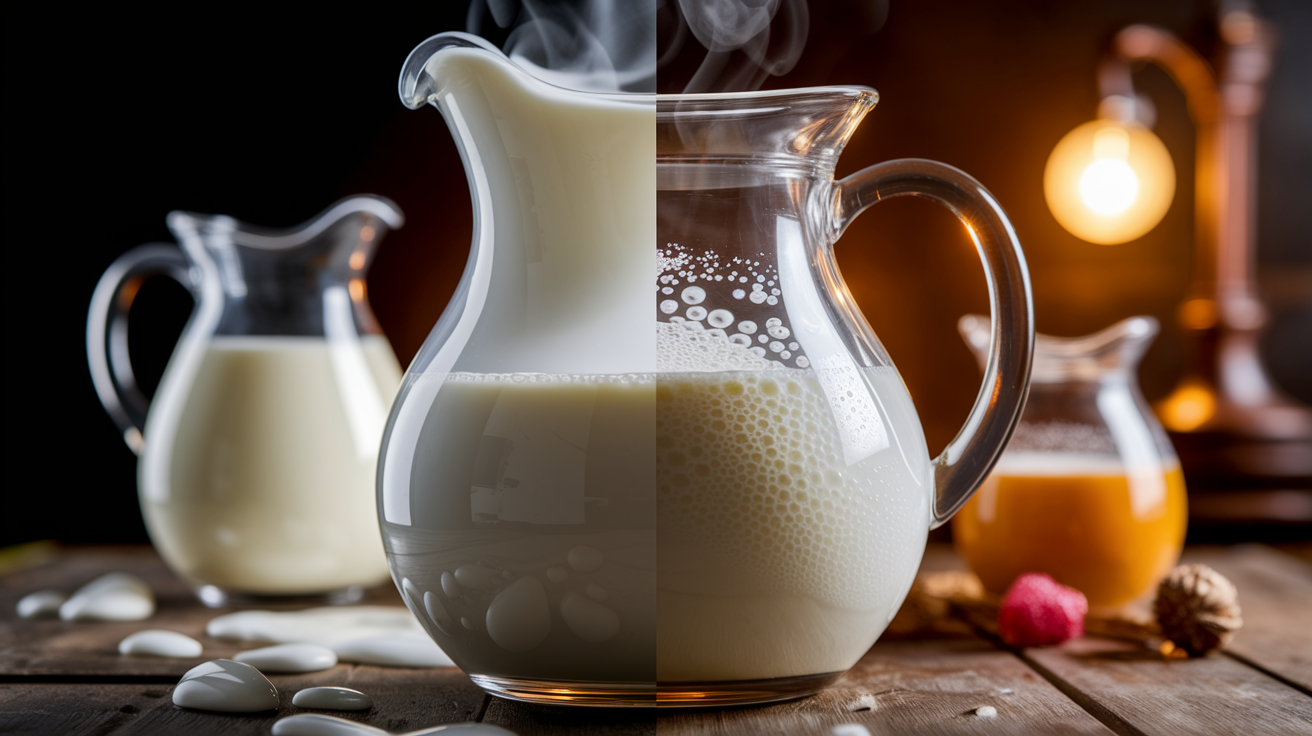
Steaming milk breaks into two phases: stretching (aeration) and texturing (emulsification). Stretching pulls controlled air into cold milk, expanding volume and creating the foundation for microfoam. Texturing happens after you stop adding air. The steam wand stays submerged, generating a vortex that folds air pockets into the milk and breaks them down into tiny, evenly distributed bubbles. Large bubbles show up when you stretch too long, add air after the milk’s warmed past the ideal window, or skip texturing completely. You need to know when to stop one phase and start the next.
Air only works while milk’s cold, roughly below 100 to 120°F. Once milk proteins start heating and unfolding, they can’t trap new air efficiently. Any air added late stays as large, unstable bubbles on the surface. That thick, seafoam-like macrofoam that wrecks pour definition. Over-aeration floods the milk with more air than proteins and fats can stabilize, leaving you with stiff, dry foam instead of wet, glossy microfoam. Texturing is what transforms initial air into microfoam, so cut aeration short and spend most of your steam time building a strong vortex.
Identifying Incorrect Aeration
Wrong aeration looks like violent bubbling, a jacuzzi effect with large pockets breaking and reforming on the surface, or audible popping and splashing. If you hear those sounds after the first few seconds, you’re either still aerating when you should’ve submerged the tip, or your tip depth and angle are letting uncontrolled air rush in. The jacuzzi look specifically signals that the wand’s positioned dead center or angled too aggressively, disrupting the milk instead of organizing it. Once milk temperature climbs past 100 to 120°F, any continued surface noise or expanding foam layer means you’ve missed the aeration cutoff. Stop adding air immediately, submerge the tip, and focus on vortex creation.
Pitcher Angle, Wand Placement, and Creating a Stable Vortex

A stable vortex turns scattered air pockets into microfoam. The vortex acts like a blender, constantly circulating milk from bottom to top, folding bubbles into the liquid and breaking them down smaller and smaller until they disappear into a glossy, paint-like texture. To create that whirlpool, you need the right combo of pitcher tilt and wand placement. Tilt the pitcher about 15 to 20 degrees from vertical and place the steam wand halfway between the center of the milk and the pitcher wall. This off-center position directs the steam jet at an angle that pushes milk in a circular path around the pitcher.
When the vortex works, you’ll see a smooth, fast-moving swirl and hear consistent whooshing or light hissing. No pops, no splashes, just steady motion. The milk surface should roll gently, not erupt. If the whirlpool weakens or stops, check your wand placement and pitcher angle. A wand too close to center creates turbulence instead of rotation. A wand too close to the wall makes the milk spin too fast and climb the side, destabilizing foam. Adjusting pitcher tilt by a few degrees or nudging the wand slightly usually brings the vortex back.
Watch for these vortex cues to confirm your setup’s correct:
- Smooth, circular milk movement visible on the surface
- Consistent soft hissing or whooshing sound with no popping
- Milk surface staying relatively flat and glossy, not erupting or foaming up rapidly
- No large bubbles forming or lingering after the first few seconds
- Pitcher feels balanced and stable in your hand, not shaking or vibrating
| Placement Error | Result | Correction |
|---|---|---|
| Wand dead center | Jacuzzi bubbling, splashing, no vortex | Move wand halfway to the wall, tilt pitcher 15 to 20 degrees |
| Wand too close to wall | Runaway whirlpool, milk climbing side, unstable foam | Bring wand closer to center line, reduce pitcher tilt slightly |
| Wand angled straight down | Flat milk, weak circulation, no air incorporation | Tilt pitcher and angle wand 15 to 20 degrees to direct steam sideways |
Optimal Tip Depth Techniques for Microfoam Consistency

Tip depth changes as you move from aeration to texturing. At the start, the tip should barely break the milk surface, just 1 to 3 millimeters under, so it can introduce fine air without splashing. As you finish aeration and the milk begins warming, you submerge the tip a few millimeters deeper to stop pulling in air and focus entirely on creating and keeping the vortex. The difference between too deep and too shallow is often less than half a centimeter, so learning to read the milk’s behavior in real time beats trying to measure exact distances.
When the tip’s too deep, you’ll hear almost no sound from the milk surface, and the volume won’t expand. The milk heats quickly but stays flat, with little to no foam forming. You might still feel movement in the pitcher from steam pressure, but without air incorporation the texture stays thin and liquid. When the tip’s too shallow or breaks the surface, you’ll hear loud sputtering, popping, or a slurping sound, and you’ll see large bubbles forming rapidly. The milk might splash or spray slightly, and the surface looks chaotic. Correct depth sits right in the middle. You hear a gentle paper tearing hiss, the milk surface rolls softly, and volume expands gradually without erupting.
Adjust tip depth by lowering or raising the pitcher in your hand rather than trying to reposition the wand mid-steam. If you hear sputtering, lower the pitcher slightly to submerge the tip more. If the sound goes silent and the milk isn’t expanding, raise the pitcher to bring the tip closer to the surface. Small movements make a big difference. Once you’ve added the air you need and the milk reaches around 100 to 120°F, drop the pitcher another few millimeters so the tip fully submerges and the vortex takes over. From that point until you hit your target temperature, the tip should stay submerged and the sound should shift from a hiss to a steady, muffled whoosh.
Temperature and Timing Controls That Prevent Large Bubbles
Milk chemistry changes as it heats, and those changes dictate when air can be incorporated and when foam becomes unstable. Cold milk, below 100°F, has tightly folded proteins and solid milk fats that can trap and stabilize air bubbles. As milk heats past 100 to 120°F, proteins begin unfolding and fats start melting, creating the creamy, emulsified texture that makes microfoam glossy. But if you keep adding air after that point, proteins can’t organize new bubbles efficiently. You end up with large, separated pockets that won’t integrate. Stop aeration early and finish with pure texturing. This gives proteins time to wrap around existing air and lock it into stable foam structure.
The target finish temperature for most drinks is 130 to 150°F. In that range, milk sugars break down into simpler forms that taste sweeter, fats fully emulsify into the liquid, and proteins create a stable network that holds microfoam together long enough to pour and drink. Heat beyond 160°F denatures the proteins completely, breaking the foam structure and giving the milk a cooked, slightly sour taste. Burnt milk also develops larger, more fragile bubbles because the protein scaffolding collapses. Stay in the 130 to 150°F window to keep foam wet, glossy, and pourable, with bubbles too small to see individually.
Follow these temperature checkpoints to control bubble formation:
- Start aeration immediately while milk’s cold (below 100°F) to take advantage of stable protein structure.
- Stop adding air once milk reaches 100 to 120°F. Proteins are warming and can’t trap new air cleanly.
- Continue texturing and heating until milk hits 130 to 150°F, focusing on vortex strength and bubble integration.
- Shut off steam before 160°F to avoid protein breakdown, burnt flavor, and foam collapse.
Milk Type, Volume, and Pitcher Size Effects on Bubble Formation
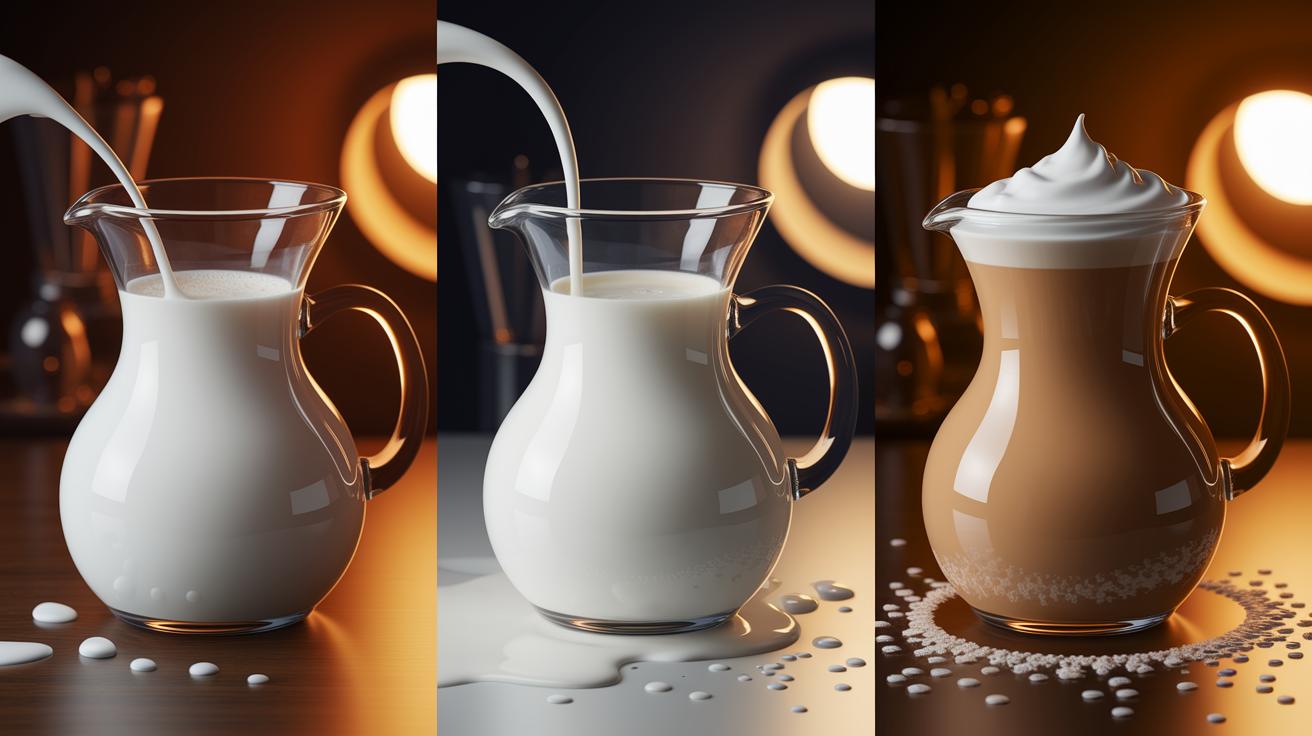
Whole milk creates the most reliable microfoam because its fat content, around 3.25%, helps stabilize bubbles and gives foam a rich, creamy texture. The fat coats air pockets and slows down bubble coalescence, keeping foam smooth and glossy longer. Skim milk and low-fat milk have less fat to work with, so their foam tends to be thinner, drier, and more prone to large bubbles if you over-aerate. Non-dairy milks vary widely. Barista-formulated oat and soy blends often include added fats and stabilizers to mimic whole milk’s behavior, but many alternatives produce weaker, less stable foam that requires gentler technique and shorter aeration.
Pitcher size and milk volume also affect bubble formation. Fill the pitcher about one-third full, roughly 150 to 250 milliliters of milk for an 8 to 12 ounce drink. Too little milk creates turbulence because the steam wand dominates the small volume, making it hard to control air intake and vortex formation. Too much milk leaves no room for expansion and makes it difficult to see or hear what’s happening at the surface. A pitcher that’s a few ounces larger than your finished drink gives you the headroom to aerate, texture, and swirl without spilling or losing control.
Different milks behave differently under steam:
- Whole milk (3.25% fat): easiest to steam, produces thick microfoam, forgiving on timing and technique
- Low-fat milk (1 to 2% fat): aerates faster, dries out quickly, needs shorter stretching phase and careful temperature control
- Skim milk (0% fat): foams easily but unstably, prone to large bubbles, requires minimal aeration and immediate texturing
- Barista oat milk: steams similarly to 2% dairy, stable foam, slightly less heat tolerance, benefits from slower aeration
| Milk Type | Foam Stability | Bubble Risk |
|---|---|---|
| Whole dairy | High | Low (fat stabilizes bubbles) |
| Skim dairy | Low | High (minimal fat, protein-only structure) |
| Barista non-dairy | Medium | Medium (depends on formulation and added stabilizers) |
Maintenance, Cleaning, and Wand Performance for Reducing Big Bubbles

A clogged or dirty steam wand disrupts airflow and creates the exact conditions that cause large bubbles: uneven steam pressure, sputtering, and chaotic air intake. Mineral buildup inside the wand or around the tip holes restricts steam flow, forcing it out in uneven bursts instead of a smooth, controlled jet. Milk residue left on the tip or inside the holes also creates turbulence and can introduce off flavors. Regular cleaning and inspection keep the wand performing consistently and eliminate a common hardware cause of poor foam.
Purge the steam wand for one to two seconds before you begin steaming and again immediately after you finish. Purging before clears any condensed water sitting in the wand, which would otherwise dilute the milk and create weak, watery foam. Purging after blasts out milk that might’ve been pulled into the tip during steaming, preventing it from drying and clogging the holes. Wipe the wand with a damp cloth right after purging to remove surface milk, then purge one more time to clear anything left inside.
Inspect the steam tip holes at least once a week, and descale the wand whenever you descale the machine. Look for white mineral deposits, crusty milk residue, or any sign that the holes aren’t perfectly round and clear. Even a small burr or piece of buildup can redirect the steam jet and destabilize your vortex. A clogged tip also reduces effective steam pressure, making it harder to create microfoam and easier to over-aerate because slower steam flow requires more time at the surface.
Routine steam wand maintenance steps:
- Purge 1 to 2 seconds before steaming to expel condensation
- Wipe tip immediately after steaming with a clean, damp cloth
- Purge again after wiping to clear milk pulled into the wand
- Inspect tip holes weekly for residue, burrs, or mineral buildup
Troubleshooting Large Bubbles With Fast Fixes and Corrections

Most large-bubble problems can be fixed mid-steam or salvaged after steaming with quick corrections. If you notice big bubbles forming while you’re still steaming, lower the tip slightly to reduce air intake and re-establish the vortex by adjusting pitcher angle. Often, a stable whirlpool will pull those bubbles back into the milk and break them down within a few seconds. If bubbles persist or milk volume has already expanded too much, stop aerating immediately and focus entirely on texturing. Submerge the tip, strengthen the vortex, and let the circulation do the work.
After you finish steaming, tap the bottom of the pitcher firmly on the counter once or twice to collapse any remaining macro-bubbles, then swirl the milk gently in a circular motion. The swirl reintegrates separated foam and creates a glossy, pourable consistency. If large bubbles are still visible on the surface, you can scoop them off with a spoon or pour a small amount of milk into a second pitcher and pour it back to force reincorporation. These post-steam fixes won’t create perfect microfoam, but they can rescue a pour that would otherwise be unusable.
Six fast fixes for large bubbles:
- Lower the tip 1 to 3 millimeters if you hear sputtering or see surface splashing
- Tilt the pitcher another 5 to 10 degrees to shallow the wand angle and stabilize the vortex
- Stop adding air immediately and submerge the tip fully to shift from aeration to texturing
- Adjust wand placement toward the halfway point between center and wall if the whirlpool’s weak or chaotic
- Tap the pitcher on the counter after steaming to collapse macro-bubbles
- Swirl the milk in a tight circle for 5 to 10 seconds to reintegrate foam and create gloss
| Symptom | Cause | Fix |
|---|---|---|
| Loud sputtering, surface splashing | Tip too high, breaking surface tension | Lower tip 1 to 3 mm, listen for paper tearing hiss |
| Seafoam texture, stiff dry bubbles | Over-aeration, air added after 100°F | Shorten aeration to 2 to 4 seconds, stop air earlier, tap and swirl after steaming |
| Jacuzzi bubbling, no vortex | Wand positioned dead center or angled too steep | Move wand halfway to wall, tilt pitcher 15 to 20 degrees, re-establish circular flow |
Final Words
You now have the actions: lower the tip by millimeters, set wand angle to 15-20°, aerate 2-6 seconds, then submerge for a steady vortex. Those moves stop splashing and uncontrolled air.
Test by sound and look: gentle paper-tear hiss and a tight whirlpool mean you’re golden; spluttering and big bubbles mean tip’s too high or timing’s off.
Try one change per shot: make the 1-3 mm and 15-20° checks, listen for the hiss, and watch the whirlpool. With fixing large bubbles steam wand angle and tip depth corrections you’ll get smoother microfoam and fewer wasted cups. You’ve got this.
FAQ
Q: How to fix a loose steam wand?
A: Fixing a loose steam wand starts by turning off and purging the wand, then tightening the wand’s locking nut or clamp. Inspect and replace worn O‑rings or stripped fittings; call a tech for internal leaks.
Q: Why is my steamed milk too foamy?
A: Your steamed milk is too foamy because you’re adding air too long or the tip sits too high. Shorten aeration to 2–6 seconds, lower the tip 1–3 mm, then submerge to create a vortex and smooth the foam.
Q: How to adjust steam wand pressure?
A: Adjusting steam wand pressure means changing the machine’s steam regulator or OPV setting, if available. Make small turns per the manual, test steam flow and sound, and call service for boiler or safety‑valve adjustments.
Q: Why do baristas tap the milk jug?
A: Baristas tap the milk jug because tapping breaks large bubbles and helps foam settle into smooth microfoam. Tap then swirl; it makes pouring easier and removes visible big bubbles before latte art.