

Think inconsistent tamping is the main cause of channeling? Not quite.
Uneven distribution and variable pressure stack up and let water find shortcuts.
A distribution tool evens the bed and breaks clumps.
A calibrated tamper gives the same downward force every time.
Use both and you cut channeling, get steadier flow from a bottomless portafilter, and make shot times and flavor more predictable.
Start by matching your distribution tool depth to your dose; this post shows the simple workflow and what to watch for.
How Distribution Tools and Calibrated Tampers Work Together for Reduced Channeling

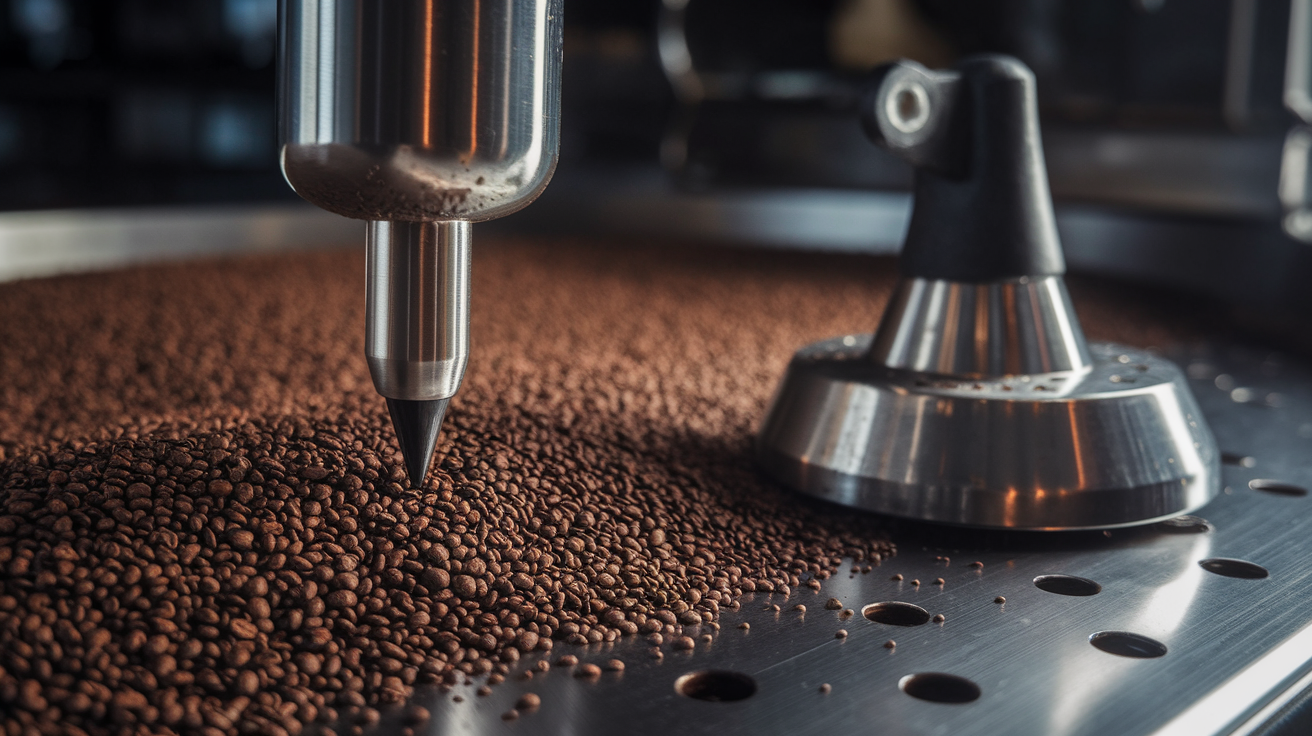
Distribution tools and calibrated tampers tackle two separate problems that stack together. A distribution tool levels the coffee bed and gets rid of high spots, low spots, and clumps before you compress anything. A calibrated tamper then delivers the same downward force every time, usually around 30 pounds, so each shot gets identical puck density and surface seal. Use both and you’ve eliminated the two biggest channeling triggers: uneven ground spread and inconsistent tamp pressure.
Channeling happens when water finds a crack, void, or soft patch in the puck and rushes through. That path gets over-extracted and bitter. The dense parts around it stay under-extracted and sour. You end up with both problems in one cup. Even distribution means the grounds are spread uniformly through the basket with no gaps or clumps. Calibrated force means you’re compressing that even bed with the same pressure every single time, so puck density stays uniform shot to shot. Together, they give water no shortcuts.
When both tools are used correctly, you’ll see steadier flow from a bottomless portafilter, more predictable shot times, fewer thin jets spraying sideways. Crema looks more uniform, flavor balance improves, and you stop getting those sour-bitter split shots. The combination removes human variability at two critical steps. That’s why cafés training new baristas and home users chasing consistency both rely on this pairing.
How to combine distribution and tamping in your workflow:
-
Dose your grounds into the portafilter and use a dosing funnel if you’re working with WDT or a distribution tool to keep grounds contained.
-
Set your distribution tool to the correct depth for your dose, place it flat on the basket, and rotate smoothly two or three times to level the bed and break up any clumps.
-
Remove the distribution tool and check visually that the coffee bed is flat and even across the entire surface with no visible gaps or mounds.
-
Place your calibrated tamper flat on the leveled bed. Make sure it’s centered and sits evenly on all edges before you apply any pressure.
-
Press down gradually until you feel or hear the tamper’s feedback, usually a click or increased resistance. Stop there. You’ve hit the preset pressure and more force won’t help.
Techniques for Effective Coffee Bed Distribution
Distribution starts the moment grounds leave the grinder. Moving the portafilter in small circles while dosing spreads the grinder’s output more evenly across the basket, giving you a better starting point. Once you’ve dosed, you’ve got three main options: manual techniques like the Stockfleth move or side-tapping, WDT tools with thin needles, or purpose-built distribution tools with rotating blades. WDT is particularly useful with clumpy grinders because the needles break up clumps through the full depth of the puck, not just the top layer. Distribution tools with adjustable depth settings level the bed quickly and create a consistent top surface for tamping.
Proper technique matters more than the tool you pick. Set your distribution tool’s depth to match your dose. Too shallow and you’ll only skim the top. Too deep and you risk compressing grounds unevenly before tamping. Rotate the tool smoothly without rocking or pressing down hard. Let the blades do the work. If you’re using WDT, work the needles gently through the entire bed in a circular or grid pattern, lifting clumps and redistributing fines. Manual methods like side-tapping work fine for many home setups, but be careful. Too much tapping can cause fines to migrate toward the bottom and create channeling lower in the puck.
Key distribution technique tips:
- Match tool depth to your dose and basket size. Most adjustable distributors range from 5 mm to 14 mm.
- Rotate distribution tools at a steady, moderate speed. Aggressive or uneven motion creates new imbalances instead of fixing them.
- When using WDT, pair it with a dosing funnel to contain grounds and prevent mess while you’re stirring through the bed.
- Check the bed visually after distribution. It should look flat and uniform with no visible peaks, craters, or gaps before you tamp.
Understanding Calibrated Tamper Mechanics

Calibrated tampers use internal springs to limit how much force reaches the coffee. When you press down, the spring compresses until it hits a preset threshold, usually 30 pounds or about 15 kilograms. Then you feel a click, a sudden stop, or increased resistance. That feedback tells you the tamper has delivered its maximum force. Pressing harder won’t add more compression. The result is the same downward pressure on every shot, removing one of the biggest sources of variability in home espresso.
Why 30 pounds? Testing and experience have shown that level of force compresses most medium-roast espresso doses into a firm, sealed puck without over-compacting the bed or making it impermeable. Some baristas go slightly lighter or heavier depending on the coffee or basket, but 30 is the working default. Calibrated tampers make that number repeatable. Without one, your pressure can drift between 20 and 40 pounds depending on how tired you are, how rushed you feel, or whether you’re on your first shot or your tenth.
Consistent tamping pressure creates consistent puck density. That gives you predictable resistance and flow rate. When resistance is predictable, you can dial in grind size with confidence. If one shot chokes and the next one gushes, it’s hard to know whether the problem is grind, dose, distribution, or tamping. A calibrated tamper removes tamping from the list of variables. You’ll still need to distribute evenly and dose accurately, but once those are handled, the tamp becomes a known constant. That makes troubleshooting faster and dialing in more reliable.
Ideal Workflow Order for Puck Preparation
The sequence you follow matters because each step builds on the one before it. Distribution only works if the grounds are already in the basket. Tamping only works if distribution has already leveled the bed. Skipping a step or doing them out of order leaves gaps, voids, or uneven density that water will exploit during extraction.
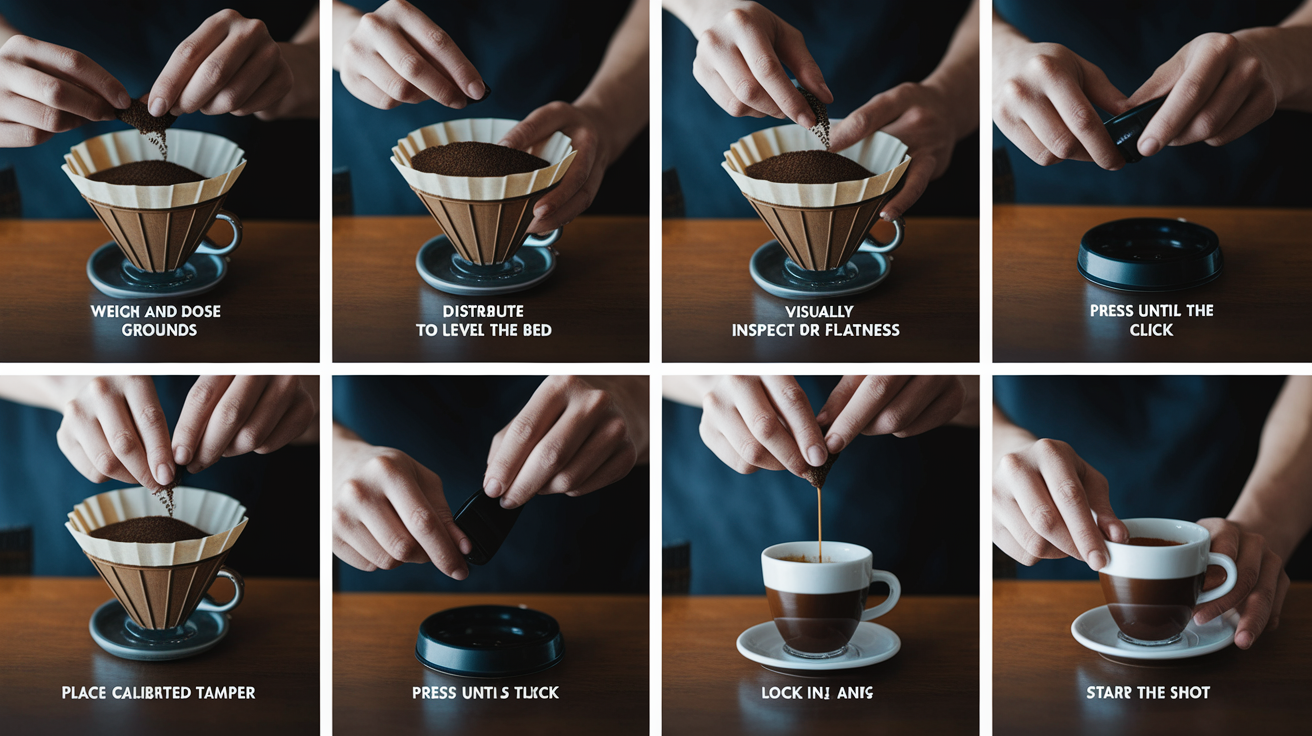
Complete puck preparation workflow:
-
Dose your grounds by weight into a clean, dry portafilter basket, using a dosing funnel if you’re working with a distribution or WDT tool.
-
Distribute the grounds using your chosen method (WDT, a distribution tool, or a manual technique like Stockfleth) to level the bed and eliminate clumps and voids through the full depth of the puck.
-
Remove the distribution tool or funnel and visually inspect the coffee bed to confirm it’s flat, even, and free of obvious gaps or mounds.
-
Place your calibrated tamper flat on the leveled bed. Check that it’s centered and sitting evenly on all edges, then apply gradual downward pressure.
-
Press until you feel or hear the tamper’s feedback (click or resistance), then stop. Lift the tamper straight up without twisting or tilting.
-
Wipe the basket rim clean of stray grounds, lock the portafilter into the group head, and start your shot immediately.
Order matters because tamping a poorly distributed bed just locks in the existing imbalances. If you tamp first and then try to distribute, you’re working against compressed coffee instead of loose grounds, and you won’t be able to move anything. Distribution creates the even foundation. Tamping seals it. Reversing the steps or skipping distribution leaves you relying entirely on tamp pressure to fix density problems, and pressure alone can’t eliminate voids or redistribute clumps. Consistency comes from doing the same steps in the same order every time. That’s why cafés train new baristas on fixed workflows and why experienced home users develop routines they can repeat on autopilot.
Common Mistakes That Cause Channeling
Even with good tools, technique errors will still create channels. Most mistakes happen during distribution or tamping, and they’re easy to spot once you know what to look for.
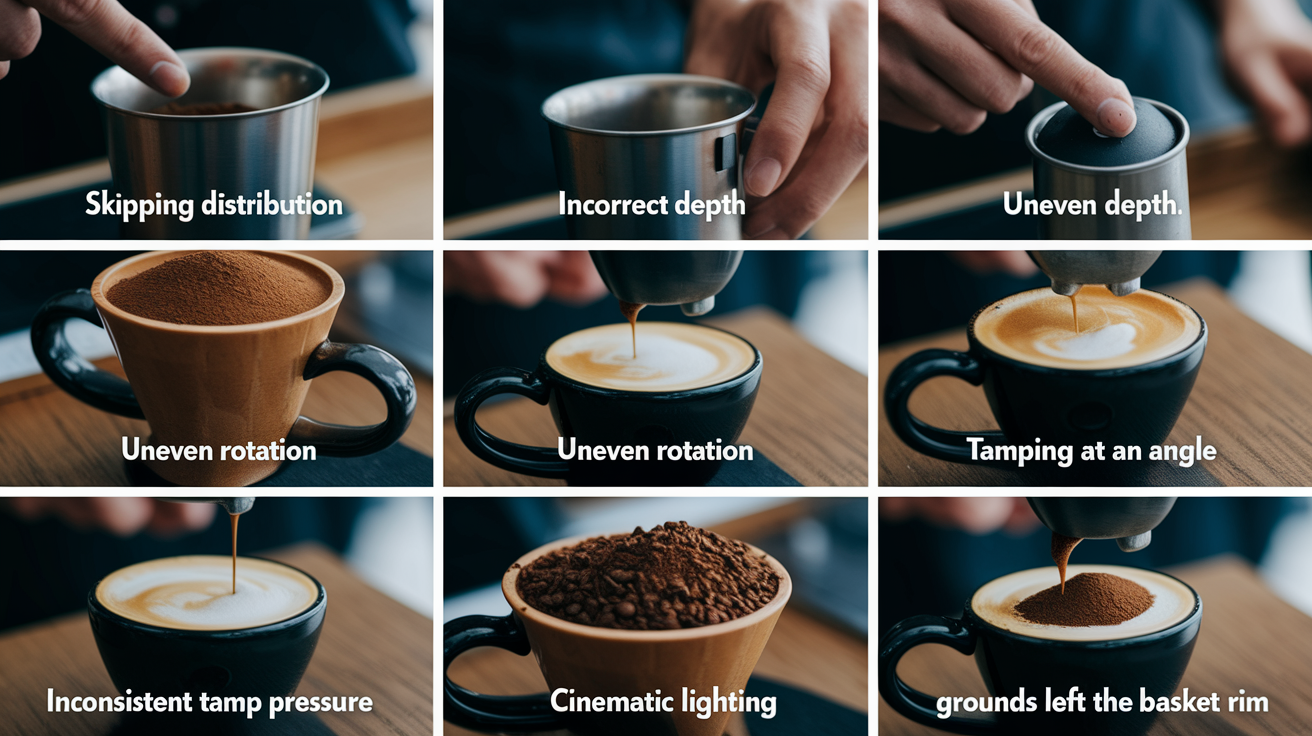
Six common puck-prep mistakes and how to fix them:
-
Skipping distribution and relying only on tamping: Grounds from the grinder rarely land evenly. Tamping an uneven bed just compresses the existing high and low spots. Fix: always distribute before you tamp, even if it’s just a quick manual method like side-tapping or Stockfleth.
-
Setting distribution tool depth incorrectly: Too shallow and you only skim the top layer. Too deep and you pre-compress unevenly or dig into the bed. Fix: match depth to your dose. Start around 10 to 12 mm for an 18-gram dose and adjust until the tool glides smoothly without pushing grounds around.
-
Rotating the distribution tool unevenly or too aggressively: Rocking, tilting, or pressing down hard during rotation creates new peaks and valleys. Fix: keep the tool flat, rotate at a steady moderate speed, and let the blades do the leveling work.
-
Tamping at an angle instead of straight down: A tilted tamp leaves one edge of the puck loose and unsealed. That’s an instant channel. Fix: check that the tamper sits flat on the bed before you apply pressure, and press straight down without twisting or tilting as you lift.
-
Inconsistent tamp pressure shot to shot: If you’re using a non-calibrated tamper and your force varies between 20 and 40 pounds, puck density will vary and so will extraction. Fix: switch to a calibrated tamper or develop highly consistent muscle memory with a standard tamper and regular pressure checks.
-
Leaving grounds on the basket rim before locking in: Stray grounds prevent a clean seal between the portafilter and group gasket. That can cause leaks or uneven pressure distribution during extraction. Fix: wipe the rim with a dry finger or towel after tamping and before you lock in.
Comparing Distribution Tools and Tamper Types

Not all distribution tools and tampers work the same way. Distribution tools come in two main types: WDT tools with thin needles that stir through the entire bed to break clumps, and leveling tools with rotating blades or surfaces that smooth and flatten the top. WDT works better with clumpy grinders or single-dosing workflows. Leveling tools are faster and easier to use consistently. Most adjustable distribution tools let you set depth anywhere from 5 mm to 14 mm, helping you match the tool to your dose and basket.
Tampers split into calibrated and non-calibrated. Non-calibrated tampers are simple: flat or convex base, solid handle, and you control pressure by feel. Calibrated tampers add an internal spring or impact mechanism that clicks or stops at a preset force, usually 30 pounds. Some calibrated models offer adjustable springs so you can tune pressure, and a few include self-leveling bases that help keep the tamp perpendicular even if your wrist isn’t perfectly straight. Flat bases are the standard. Convex bases are less common and mostly used for specific basket or puck-prep styles.
| Tool Type | Key Benefit | Ideal User |
|---|---|---|
| WDT tool (needle-based) | Breaks clumps through full puck depth; excellent for clumpy grinders | Home baristas with single-dose grinders or inconsistent grind output |
| Adjustable leveling distributor | Fast, repeatable surface leveling; easy to use consistently | Cafés and home users prioritizing speed and workflow efficiency |
| Calibrated tamper (spring or impact) | Repeatable 30-lb pressure; removes tamp-force variability | Baristas training consistency, competition prep, quality-focused home setups |
| Non-calibrated flat tamper | Simple, durable, low-cost; effective with practiced technique | Experienced baristas with strong muscle memory and consistent feel |
Recommended Equipment for Consistent Puck Prep

When you’re choosing a distribution tool, look for adjustable depth, a stable base that sits flat on your basket, and smooth rotation. Tools made from stainless steel or machined aluminum tend to hold up better than plastic, and models with clear depth markings make it easier to return to a known setting if you adjust. Common sizes are 53 mm and 58 mm to match standard portafilter baskets. Measure your basket diameter or check your machine’s specs before you buy. If you’re working with a grinder that clumps, a WDT tool is a better first purchase than a leveling distributor. Prioritize declumping over surface smoothing when grounds aren’t spreading evenly on their own.
For tampers, weight and fit matter. A tamper that’s too light (under 300 grams) can feel flimsy and harder to control. Most good tampers fall between 350 and 500 grams, giving enough heft for steady pressure without feeling like you’re lifting a dumbbell. Calibrated tampers in the 30-pound range are the most common, and spring-loaded models tend to be more durable and lower-maintenance than digital versions. Make sure the tamper base diameter matches your basket. 58 mm is standard for most home machines, but some smaller or older models use 51 mm or 53 mm. If you’re on a budget, buy a quality tamper first. Even a non-calibrated tamper with good fit and weight will improve your shots more than a distribution tool alone. Add the distribution tool later once your tamping technique is consistent.
Final Words
In the action, we showed how distribution tools level the bed and calibrated tampers lock in uniform pressure so your puck brews evenly. You got practical distribution techniques, the ideal puck‑prep order, common mistakes that cause channeling, and gear tips to keep shots repeatable.
Next, change one thing at a time and track time and yield. Start today by using a distribution tool with a calibrated tamper to reduce channeling, and enjoy steadier, more reliable shots.
FAQ
Q: Does a calibrated tamper make a difference?
A: A calibrated tamper makes a clear difference: it delivers repeatable tamp pressure (often ~30 lbs), reduces pressure variability, evens puck density, and lowers channeling risk for more consistent extractions.
Q: How do you prevent or stop channeling in an espresso shot?
A: Preventing or stopping channeling means even distribution, consistent tamping (use a calibrated tamper), break up clumps with WDT, check dose and grind, and change only one variable at a time.