

Is your tamping the reason your shot sprays or finishes too fast?
Channeling starts before the machine sees pressure.
Tiny gaps and tilted zones let water race through.
This post shows simple tamping moves you can use right now: one clear routine, how hard to press (aim for about 30 pounds), how long to hold (1–3 seconds), and the visual checks that tell you it worked.
Do one change at a time and you’ll pull fewer wasted shots and more consistent flavor.
Core Tamping Methods That Directly Prevent Channeling Problems

Tamping turns loose grounds into a bed with even resistance. When density is uniform across the puck, water moves through at the same speed everywhere. Soft spots or voids? Water finds them fast and rushes through, skipping most of your coffee. That’s channeling. Level pressure and steady force prevent the tiny fractures and tilted zones that create those fast paths before your shot even begins.
The numbers are straightforward. You want about 30 pounds of downward force, which sits inside the safe 20 to 40 pound range. Keep your tamper within 1° of vertical so you’re not squashing one side harder than the other. Hold that pressure for 1 to 3 seconds to let the grounds settle and lock, then lift cleanly without rocking. You can add a light polish after you release pressure—a gentle clockwise spin to smooth things out—but never twist or tilt while you’re still pressing down.
Step by step tamping routine:
- Set the portafilter on a stable mat or counter edge so the basket stays level.
- Make sure your distributed grounds look flat and uniform, no peaks or valleys.
- Grip the tamper like a doorknob or put your thumb on top with fingers wrapped around the handle. Wrist straight, forearm vertical.
- Place the base flat on the coffee and center it so the rim touches the basket wall evenly all around.
- Press straight down using your body weight, elbow over wrist, until you hit about 30 lbs. Steady motion, not a jerk.
- Hold for 1 to 3 seconds without rocking or spinning, then lift straight up.
- Wipe stray grounds off the rim before you lock in.
Watch for channeling signs with a bottomless portafilter. A solid tamp gives you multiple fine streams that merge quickly into a uniform curtain of crema. If you see a single narrow jet shooting out or patchy spray around the edge, water found a weak spot. Early blonding or watery flow under 18 seconds usually means channeling bypassed most of your coffee.
Distribution Techniques for Even Puck Density Before Tamping
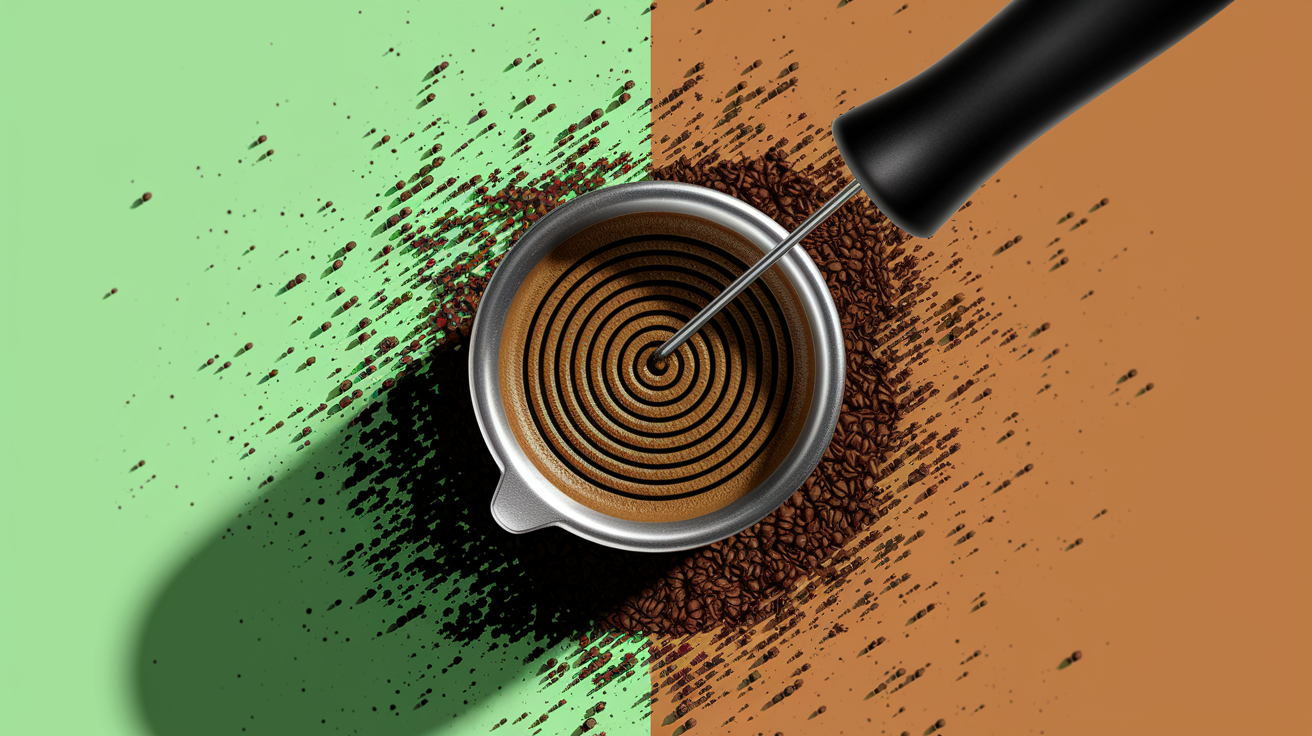
Clumps and voids are where channeling lives. Ground coffee doesn’t land evenly in the basket. Light particles cluster, fines stick to coarse chunks, air pockets form between uneven layers. The second you hit 9 bars, water races through any gap faster than it can push into the tight zones. Distribution is your highest impact step because it kills those gaps before the tamp seals everything.
Five practical distribution methods:
- Weiss Distribution Technique (WDT): Grab a multi-needle tool and stir the grounds with 20 to 40 gentle circular or radial passes. Work from bottom to top, breaking clumps and lifting compressed areas until the surface looks fluffy and uniform. Start with a simple needle or a purpose-built WDT tool. You’re disrupting clumps without packing them down.
- Distribution leveler/spinner: Set the depth so the top edge sits flush with the basket rim, then rotate once or twice to move high spots into low spots and create a flat plane.
- Dosing funnel plus finger leveling: A funnel collar keeps grounds contained while you use a fingertip or small spoon to push mounds into hollows. Remove the funnel, then tamp.
- Cone and tap: Build a small mound in the center, tap the portafilter gently on a mat two or three times to settle it outward, then level with a straight edge.
- Anti-void sweep: After dosing, use a clean finger or distribution pin to sweep across the surface once, filling any visible craters or gaps at the wall.
Why 20 to 40 WDT strokes and rim-flush depth work: repeated gentle needle passes break every clump and scatter particles into a random, loose matrix with uniform void space. Setting a leveler flush with the rim means you don’t compress early or leave a dip in the center. When the tamp presses down on an already even layer, density stays consistent wall to wall. Water has no shortcut.
Matching Tamper Fit, Materials, and Calibrated Pressure Tools to Reduce Channeling
If your tamper doesn’t fill the basket diameter, you leave an uncompressed ring at the edge where water slips past and channels along the wall. Most commercial and prosumer machines use 58 mm baskets. Some compact or older models use 53 mm. Measure your basket or check the manual, then buy a tamper machined to within 0.1 to 0.2 mm of that diameter. Even a 1 mm gap increases edge channeling risk dramatically because unpacked grounds at the perimeter offer almost zero resistance.
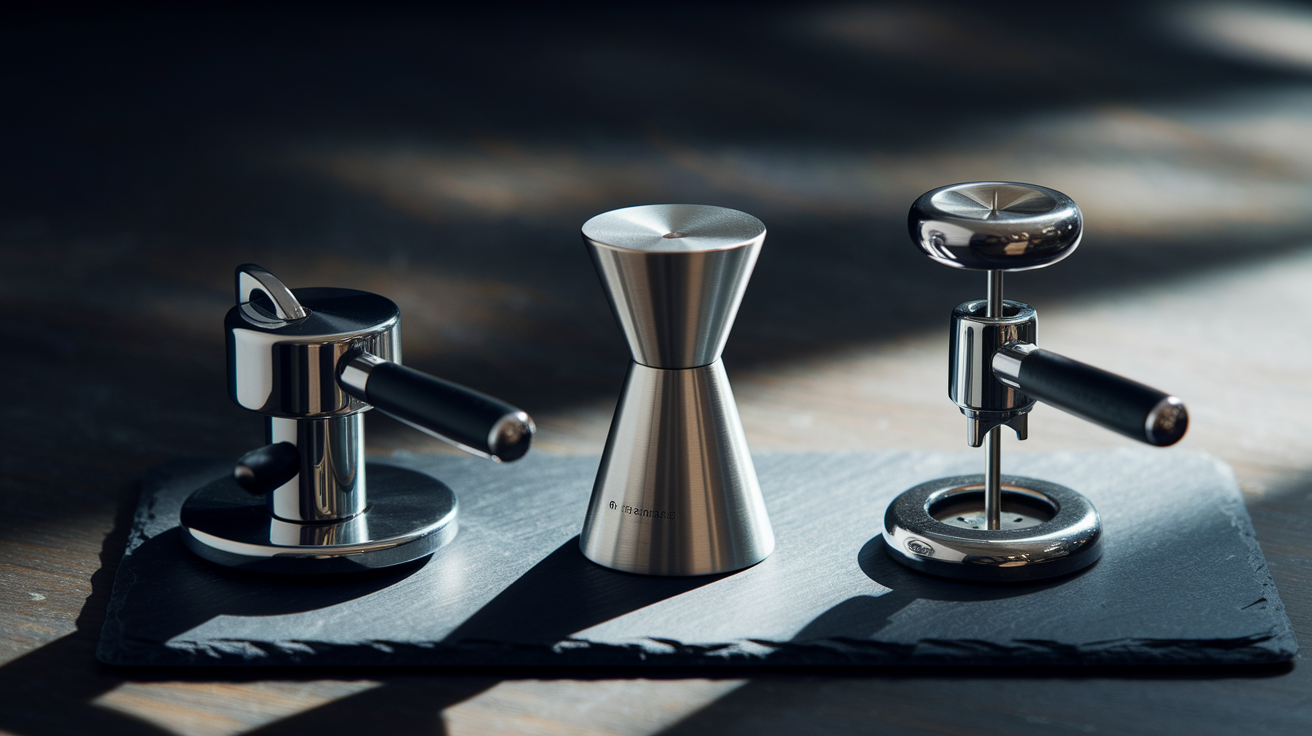
Tool classes and their channeling impact:
- Flat base tamper: The standard. A machined stainless or aluminum base compresses the entire surface evenly when you press vertically. Costs range from $10 to 30 for basic models up to $50 to 150 for precision machined, ergonomic designs.
- Convex (curved) tamper: Slightly domed base that compresses outer edges a bit more than the center. Some baristas say it reduces side channeling, but if the curve is too steep you can end up with a soft middle. Test carefully.
- Calibrated tamper: Pre-set spring or click mechanism releases at 20, 25, or 30 lbs, eliminating guesswork. Typical price: $150 to 400. Great for beginners learning pressure feel or high volume cafés standardizing workflow across staff.
- Variable torque limiter tools: Combine leveling and tamping with an adjustable depth stop. Useful when you want distribution and tamp in one motion, though they need setup and don’t always give tactile feedback on pressure consistency.
Investing in a calibrated tamper improves repeatability when you’re new to espresso. You stop second guessing whether you pressed hard enough or too hard, and every puck gets the same 30 lbs. Once consistent pressure becomes muscle memory, a quality flat tamper that fits your basket will serve for years. Calibrated models stay helpful in shared or training environments where multiple people pull shots and need foolproof pressure cues.
Diagnosing Channeling Through Visual and Puck-Based Feedback
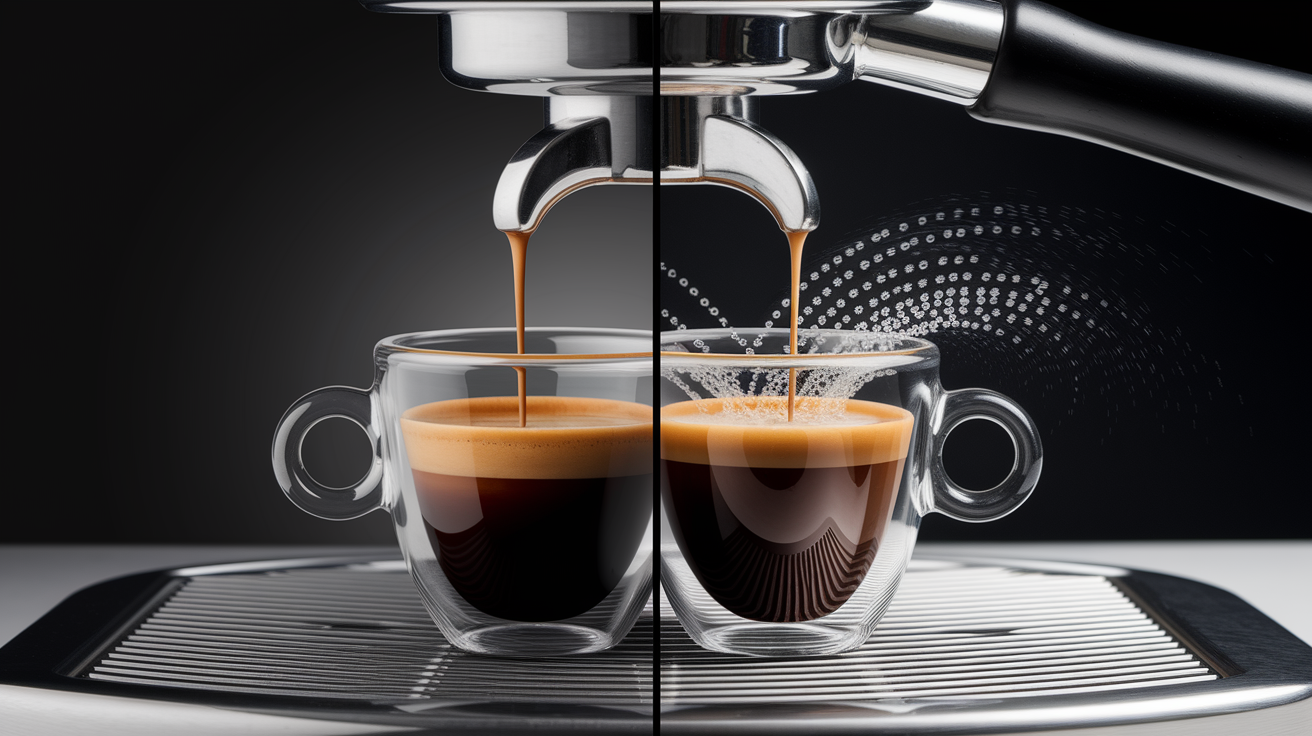
A bottomless portafilter strips away the spout and lets you see exactly where water exits the basket. When extraction starts evenly, you’ll notice many fine streams across the puck surface, quickly merging into a smooth curtain of dark espresso topped with crema. If channeling is happening, you’ll see one or more narrow jets shooting out faster than the rest, sometimes at an angle, or spritzing and spraying as pressure finds a crack. Early blonding—when the flow turns pale and thin before 20 seconds—means water bypassed most of the coffee and over extracted a small zone.
After you pull the shot, knock out the puck and inspect it. A clean, evenly wet surface with no deep holes signals good tamp and distribution. Radial cracks spreading from the center or a single large tunnel usually point to uneven density or a void that opened under pressure. If the puck crumbles or one half is dry while the other is soupy, water took a shortcut through the wet side and left the dry side underextracted.
Timing benchmarks help you connect flow behavior with tamp quality. For a typical double dose around 18 to 20 g, first drops should appear after roughly 3 seconds of pre-infusion and ramp up, and total extraction should finish near 25 to 30 seconds depending on your recipe and grinder. If you see first drops at 1 second and the shot finishes under 18 seconds, suspect a major channel. Tamp again with more attention to levelness and distribution, or adjust grind finer to increase resistance and slow the flow.
Adjusting Grind, Dose, and Pre-Infusion to Support Tamping Consistency

Tamping quality interacts directly with grind fineness. If your grind is too coarse, even a perfect 30 pound tamp won’t create enough resistance, and water flows too fast, finishing extraction before flavor compounds fully dissolve. Grind finer to pack particles closer and slow the shot. If your grind is very fine and you tamp at the upper end of pressure, the puck can become so dense that water struggles to penetrate, stalling extraction beyond 40 seconds or choking the machine. In that case, grind slightly coarser or reduce dose before blaming your tamp.
Dose consistency also determines how stable your puck is under pressure. Modern specialty workflow typically uses 18 to 20 g for a double basket, though ranges from 14 to 20 g are common depending on basket size and roast. Use a scale accurate to ±0.1 g and purge 0.2 to 0.5 g from the grinder before dosing to flush stale grounds and improve particle uniformity. When dose varies shot to shot, puck depth and density shift, and your calibrated tamp pressure becomes less effective because the same 30 lbs compresses different amounts of coffee to different final densities.
Pre-infusion softens the puck by wetting grounds at low pressure before full 9 bar extraction begins. That gradual saturation reduces the risk of fractures forming when pressure ramps up, and it gives fines time to swell and fill microgaps. If your machine offers programmable pre-infusion, try 3 to 6 seconds at 2 to 4 bars before full pressure. You’ll often see more uniform flow and fewer early jets.
| Symptom | Likely Cause | Adjustment |
|---|---|---|
| Shot finishes in <18 to 20 s, weak body | Grind too coarse or channeling path | Grind finer; re-check WDT and tamp levelness |
| Shot runs >35 to 40 s, machine chokes | Grind too fine or excessive dose | Grind coarser; reduce dose by 0.5 to 1.0 g |
| Large hole or crater in spent puck | Void or clump not broken by distribution | Increase WDT passes to 30 to 40; check for stale beans clumping |
| Radial cracks across puck surface | Over-compressed puck fracturing under pressure | Reduce tamp pressure toward 20 to 25 lbs; improve distribution evenness |
Common Tamping Errors That Increase Channeling Risk

Tamp inconsistency shows up as one sided thin zones, soft spots, or surface irregularities that all become express lanes for pressurized water. When you rock the tamper even slightly during the press, you compress one edge harder than the other, creating a wedge shaped density gradient. Water finds the thin side and channels through it, leaving the dense side underextracted. If you twist or polish the tamper while still applying downward force, you shear the top layer of grounds and introduce a horizontal slip plane that can fracture during extraction.
Six frequent mistakes and their fixes:
- Rocking or tilting: Keep your wrist locked and forearm vertical. Practice tamping on a scale to feel when pressure is even and the base stays flat.
- Hitting the portafilter rim: Never strike the basket edge with the tamper to knock grounds loose. That impact can crack the puck or detach the top layer, creating a hidden void.
- Over-polishing or aggressive spinning: A light single rotation after lifting pressure is fine for looks, but repeated or forceful twisting redistributes fines unevenly.
- Tapping after tamp: Banging the portafilter on the counter to settle grounds post tamp disrupts the density you just created and can open micro cracks.
- Light tamp with very fine grind: Insufficient pressure fails to lock particles together, and the ultra fine grind creates high local resistance that fractures the weak puck structure.
- Unsteady cadence: Rushing through distribution and tamp or pausing mid press introduces variability. Develop a smooth, repeatable rhythm.
These errors often compound with poor distribution. If you skip WDT and leave clumps, even a perfect tamp won’t save the shot because the underlying density is already uneven. Build the habit of distributing first, tamping level and steady, and keeping every motion deliberate and consistent.
Workflow, Cleaning, and Maintenance That Support Better Tamping
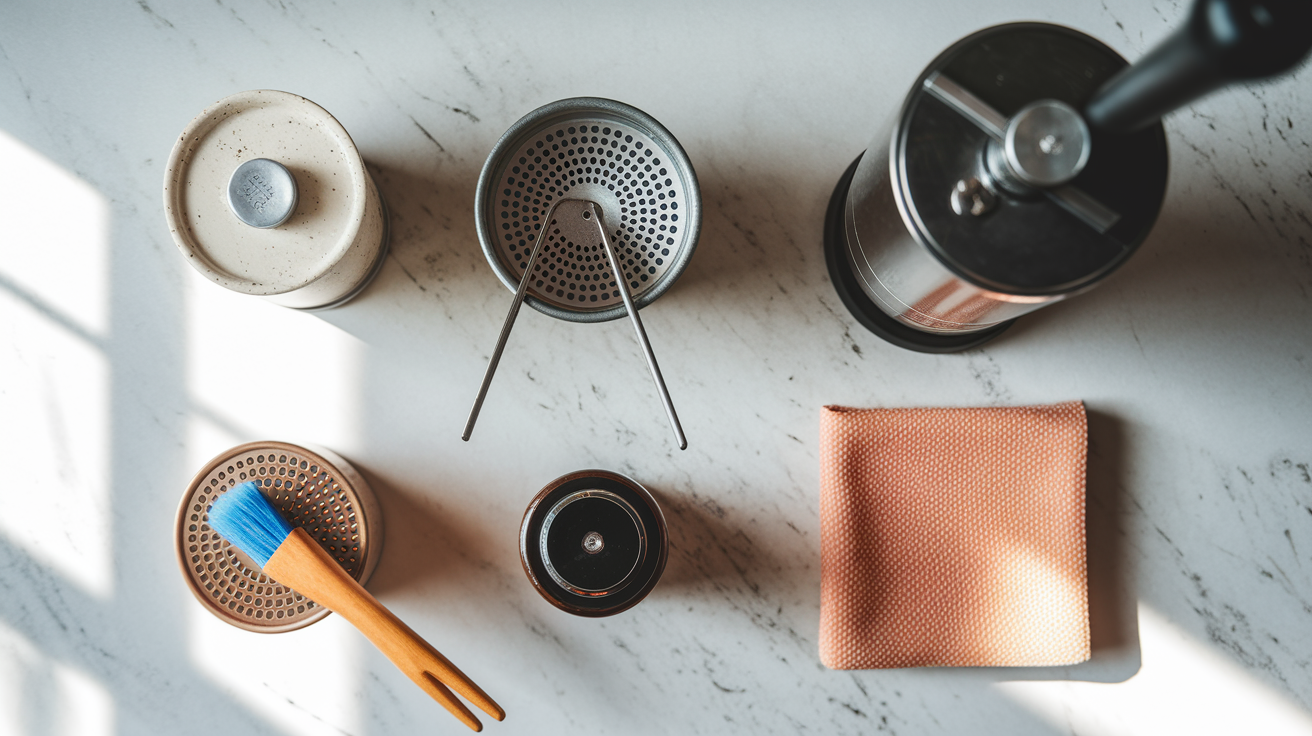
Machine and basket cleanliness directly affect how well your puck seals and resists channeling. Stray grounds on the basket rim prevent the gasket from seating flush, allowing water to seep around the edge instead of through the coffee. Before every shot, wipe the rim clean with a dry finger or cloth. Purge a short burst from the group head to clear residual grounds and ensure the shower screen is clean and evenly distributing water across the puck surface. A clogged or uneven screen creates localized high pressure jets that punch through the puck and start channels.
Grinder consistency is the foundation of good tamping. If your burrs are misaligned or worn, particle size distribution becomes erratic, producing a mix of boulders and excessive fines that clump and resist even distribution. Schedule burr cleaning and alignment checks every few months or after every 50 to 100 kg of coffee. Moisture control in your beans also reduces clumping. Store coffee in an airtight container away from humidity, and avoid grinding straight from the freezer without tempering. Keep your tamp mat clean so grounds don’t stick to the tamper base and transfer into the next puck, and rinse the shower screen daily to prevent oils and fines from building up and disrupting flow.
Final Words
Start by nailing distribution, then tamp straight with about 30 lb (20–40 lb acceptable). Keep tilt under 1°, hold 1–3 seconds, and avoid rocking. Use a bottomless to watch for irregular jets and check the puck for cracks.
Match tamper size to the basket, purge before dosing, and tweak grind or dose if shots run too fast or slow. Adjust one thing at a time.
Use these tamping techniques to prevent channeling and cut wasted shots. Keep practicing — consistent shots are within reach.
FAQ
Q: Does tamping too hard cause channeling?
A: Tamping too hard can cause channeling by overcompressing the puck and creating micro‑cracks; aim for about 30 lb (13.6 kgf), acceptable 20–40 lb range, and hold 1–3 seconds.
Q: How to get rid of channeling? / How to avoid channeling espresso?
A: To get rid of and avoid channeling, start with distribution—WDT 20–40 gentle passes—then tamp level (~30 lb, tilt <1°, hold 1–3 s), avoid rocking, and check flow with a bottomless portafilter.
Q: What is the correct tamping technique?
A: The correct tamping technique is a straight vertical press with a steady wrist: apply ~30 lb (20–40 lb acceptable), keep tilt under 1°, hold 1–3 seconds, avoid rocking or twisting, optionally polish after release.