

Is a calibrated tamper the shortcut to perfect espresso, or an expensive toy that won’t fix bad prep?
If you want shots that behave the same every time, it helps by locking in tamp pressure so you can focus on grind, dose, and distribution.
It’s most useful during dialing, shared setups, training, and troubleshooting because it removes tamp variation from the equation.
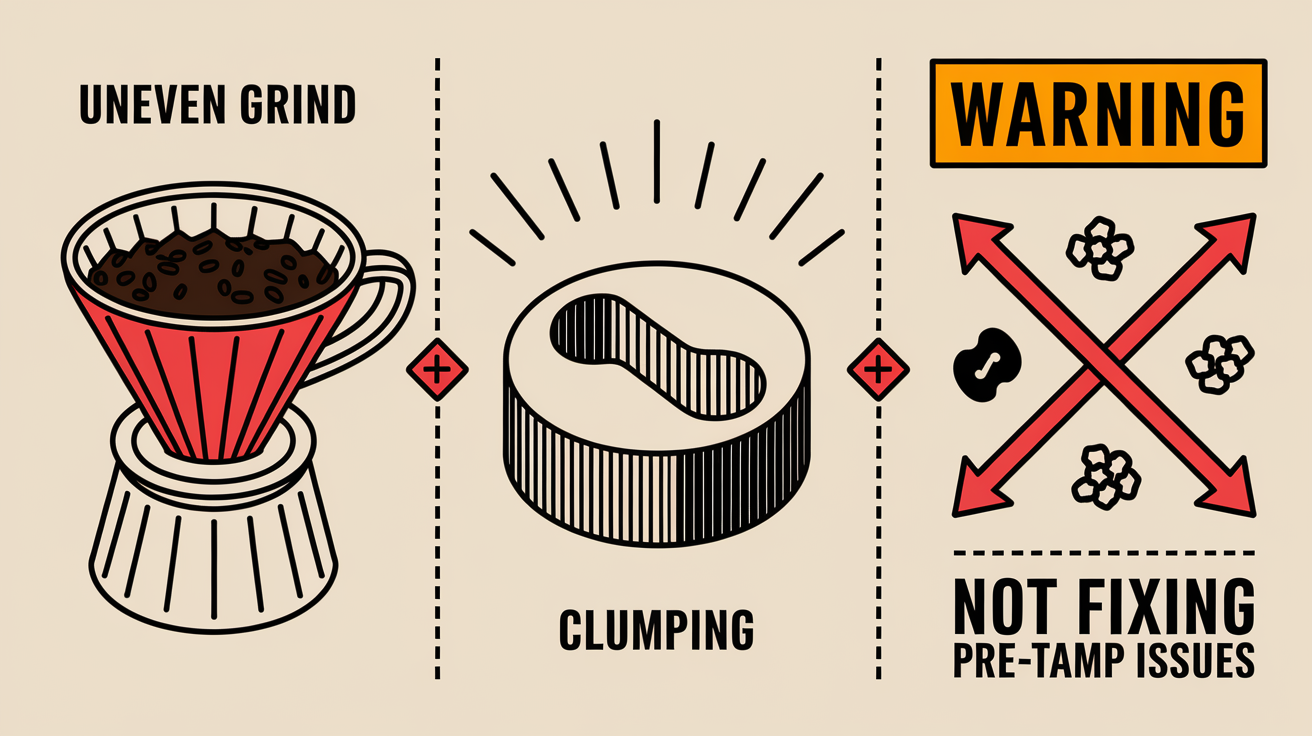
But it won’t hide clumpy grinds, uneven leveling, or stale beans.
Think of it as a pressure standard, not a magic fix.
Key Moments to Use a Calibrated Tamper for Reliable Espresso Consistency

A calibrated tamper makes sense when pressure repeatability matters more than feel. It’s really useful if you’re dialing in a new recipe and don’t want tamp pressure messing with your results while you adjust grind or dose. Shared setups get the most out of it. When three different people are pulling shots on the same machine, locking everyone into the same pressure keeps things from drifting.
If you’re troubleshooting extraction problems and can’t figure out what’s wrong, setting a standard pressure (usually 30 lbs) takes tamping off the suspect list. Then you can focus on grind distribution, water temp, or how you prepped the basket.
The tool actually does something in five situations:
Training beginners who need to build muscle memory without crushing or under-compacting the puck.
Cutting down operator differences in cafés or testing labs where multiple people share one machine and recipe.
Keeping grind tweaks stable by removing tamp drift during long dialing sessions.
Holding things together during busy stretches when you’re tired and your manual technique starts slipping.
Building a diagnostic baseline so you can separate puck prep issues from tamp pressure during troubleshooting.
Standardized pressure creates uniform puck density shot after shot. Water flows more predictably, and extraction timing stays tighter. When compaction doesn’t change, taste or flow differences point straight to grind, dose, or machine variables instead of hidden tamp inconsistencies. You dial faster and waste fewer shots.
But it won’t help if your main problems are clumpy grinds, uneven leveling, or stale coffee. A calibrated tamper can’t fix channeling caused by particle clumps in the basket or a grinder spitting out inconsistent particle sizes. If you already tamp with solid technique and don’t see pressure-related flow issues, upgrading probably won’t change much.
Overview of Calibrated Tamper Mechanics and Pressure-Standardization Function

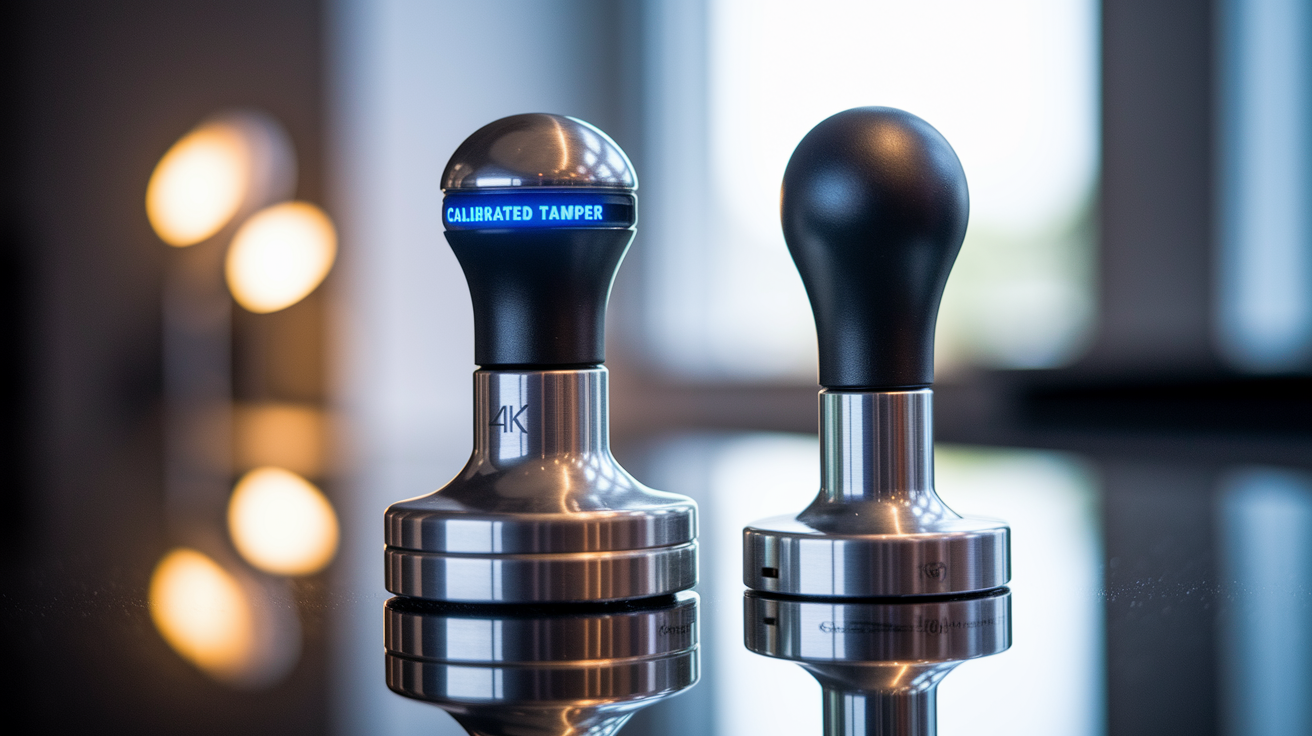
Calibrated tampers use internal parts to control applied force and tell you when you’ve hit the target. Spring-loaded versions compress a coil as you press down. When the spring maxes out, you get a click or sudden give, usually around 30 pounds. Dual-spring designs stack two springs for a smoother pressure curve and a cleaner tactile response. Impact tampers store energy in a spring-driven plunger and release it in one sharp pulse. You hear a snap when it hits target force. Digital models use load sensors that show real-time pressure on a screen or LED, which is helpful for beginners but needs batteries or charging.
Mechanical spring and impact tampers don’t need power and keep working through thousands of tamps if you maintain the springs. Digital versions give you numbers that help you learn what 30 pounds feels like, but the electronics can fail or drift over time. All calibrated designs try to do the same thing: deliver consistent compressive load straight down into the puck, so you’re not guessing at pressure shot to shot.
| Calibrated Tamper Type | Pressure Regulation Method | Feedback Signal | Power Requirement |
|---|---|---|---|
| Spring-Loaded (Single Spring) | Coil compression at preset load | Tactile click or give | None |
| Dual-Spring | Layered springs for smoother curve | Tactile click with refined feel | None |
| Impact (Spring-Driven Plunger) | Spring stores energy, releases pulse | Auditory snap | None |
| Digital Load-Cell | Electronic sensor measures force | Screen readout or LED indicator | Battery or USB rechargeable |
Benefits of Using a Calibrated Tamper for Espresso Precision

Uniform pressure is the big win. Every tamp delivers the same force, which means consistent puck density and predictable resistance when water hits it. You remove one of the biggest sources of shot-to-shot drift.
Six things get better when pressure stays standardized:
Repeatability across hundreds of shots without operator fatigue, posture shifts, or strength changes throwing things off.
Tighter variance in extraction time and yield when you’re comparing pulls during dialing.
Less wrist and shoulder strain during high-volume service or long prep blocks.
Lower channeling risk because the puck stays uniform and you don’t get soft spots from uneven manual pressure.
Better puck integrity after tamping, which holds shape during pre-infusion and full extraction.
Clearer extraction behavior that makes grind and dose adjustments easier to read because tamp pressure isn’t confusing the results.
Mechanical consistency supports taste predictability. Extraction rate and solubility depend on puck permeability. When density stays constant, water contact time and flow distribution even out. Flavor range between shots narrows, and recipe adjustments respond in more predictable ways. You dial faster with fewer throwaway pulls and get clearer feedback when you tweak grind or ratio.
Limitations of Calibrated Tampers and Situations Where They Don’t Help
A calibrated tamper can’t fix uneven grind distribution, clumping in the basket, wrong dose weight, or poor leveling before you tamp. If grounds are piled up on one side or big clumps sit near the puck surface, uniform pressure will compress everything evenly but water will still find the easiest path and channel. The tool also can’t fix problems that happen before tamping. Worn grinder burrs, inconsistent grind settings, stale beans throwing too many fines, unstable machine temp, or pump pressure swings. Applying 30 pounds repeatably to a badly prepped puck just gives you consistent results from bad prep.
The mechanism can slow you down if you’ve got fast, intuitive manual tamping already dialed and prefer direct feel over waiting for a click or checking a screen. Some advanced moves, like varying pressure on purpose or angling the tamp slightly to correct minor leveling errors on the fly, get harder or impossible when the tool locks you into one preset force. High-end manual tampers give you full control over pressure curves and let skilled operators adapt technique shot by shot based on how the grind’s behaving or what the puck looks like.
Calibrated tampers need maintenance that basic flat tampers don’t. Springs lose tension after thousands of compressions. Calibration drifts and you need replacement or factory service. Digital load cells can drift from sensor wear, temperature shifts, or drops, and batteries or charging circuits add more failure points. Mechanisms with moving parts need periodic cleaning to keep coffee oils and fine particles from gunking up the spring chamber or sensor housing. Rough handling or drops can knock internal parts out of alignment and throw off the preset target.
Comparing Calibrated Tampers vs. Standard Tampers
Picking between calibrated and standard comes down to whether you want mechanical repeatability or full manual control and tactile nuance.
| Feature | Calibrated Tamper | Standard (Manual) Tamper |
|---|---|---|
| Pressure Consistency | Preset target enforced by spring or sensor; eliminates operator variance | Fully dependent on operator skill, stance, and fatigue; variance shot-to-shot |
| Tactile Feedback | Click or digital signal at target; limited manual feel during compression | Direct pressure sensation through handle; full control over force curve |
| Learning Curve | Faster for beginners; builds muscle memory around preset target | Longer learning period; requires practice to estimate ~30 lbs consistently |
| Workflow Speed | May add half-second per tamp for feedback confirmation; depends on design | Fast and fluid once technique is dialed; no waiting for mechanical signal |
| Maintenance | Springs wear, sensors drift, moving parts require cleaning and recalibration | Minimal; wipe base clean; no moving parts or calibration |
| Cost | Higher upfront; $60–$150+ depending on mechanism and features | Lower upfront; $20–$80 for quality flat or convex base |
Baristas who want tactile control and advanced techniques (varying pressure slightly to correct leveling issues or adjusting compaction based on particle behavior) usually prefer high-quality standard tampers that let them express full manual skill. People who care more about repeatability, shorter training time, or standardized pressure across multiple operators get more from calibrated designs that remove the skill ceiling and enforce a mechanical baseline. Neither is universally better. The right choice lines up with whether your workflow values consistency over adaptability or the other way around.
Practical Scenarios: When You Should and Should NOT Use a Calibrated Tamper

Calibrated tampers work best when multiple people share equipment and consistent tamping protects quality. Barista training programs use them to teach correct pressure without relying on verbal cues or instructor demos. Chain operations use calibrated tampers to cut variance between locations and make sure espresso stays on-brand no matter who’s pulling shots. Quality-control labs testing grinders, beans, or machines use preset pressure to isolate variables and produce repeatable shot profiles for comparison.
Home baristas serious about consistency gain value when repeatability matters more than workflow speed. If you’re methodically dialing a new roast or experimenting with dose and yield, locking in tamp pressure removes one variable and makes it clearer how grind changes affect extraction. High-turnover cafés (frequent staff changes or seasonal hiring spikes) benefit because new people reach baseline faster and pressure variance drops right after onboarding.
Calibrated tampers don’t help or can even get in the way in seven contexts:
Solo experienced baristas who have repeatable manual technique and prefer direct feel over mechanical enforcement.
Workflows where the main extraction problems come from poor grind distribution, clumping, or basket prep rather than tamp pressure drift.
Competition prep where rules allow manual tamping and competitors rely on muscle-memory nuance developed over thousands of practice shots.
Situations needing deliberate pressure variation as part of advanced puck-prep techniques or experimental recipes.
Cafés with fast-paced service where half-second delays for tactile feedback slow throughput during peak volume.
Tight budgets where the cost gap versus a quality manual tamper can’t be justified by measurable improvements.
Setups where maintenance access is limited and spring replacement or recalibration services are hard to get.
If channeling keeps happening after you switch to a calibrated tamper, the root cause is almost always uneven distribution, wrong grind size, or basket-fit issues. A tamper applying 30 pounds perfectly every time won’t fix a puck with clumps on one side or a grinder producing two different particle sizes. In those cases, investing in distribution tools, grinder alignment, or basket upgrades will improve results more than upgrading the tamper.
Some expert baristas find calibrated tampers restrictive because they kill the ability to make micro-adjustments based on real-time observations of grind behavior, basket fill, or puck appearance. Advanced manual technique lets you increase pressure slightly to compress high-mounted doses or go lighter to preserve delicate puck structure with very fine grinds. Calibrated tools enforce one setpoint and remove that adaptive control, which can feel limiting after years of developing intuitive manual skill.
Choosing the Right Calibrated Tamper: Size, Compatibility, and Features

Portafilter basket diameter determines base size, and precision fit matters. Common sizes are 51 mm, 53 mm, and 58 mm. 58 mm is standard for most commercial and prosumer machines. Measure your basket’s inner diameter or check manufacturer specs before you buy. A tamper base too small leaves an untamped ring around the puck edge, creating a channel path. A base too large won’t fit inside the basket rim. Many calibrated tampers offer interchangeable bases so one handle fits multiple diameters. That adds flexibility if you own machines with different basket sizes or upgrade equipment later.
| Feature | Why It Matters |
|---|---|
| Base Diameter Match (51/53/58 mm) | Prevents edge channeling and ensures full puck compression; measure basket ID before buying |
| Flat vs. Convex Base Profile | Flat bases work with most baskets; convex bases (slight curve) can improve contact on some basket geometries |
| Mechanical vs. Digital Pressure Feedback | Mechanical (spring/impact) requires no batteries and is more durable; digital offers precise readouts but needs power and recalibration |
| Adjustable Pressure Preset | Some models allow you to change target pressure (25–35 lbs range); useful for recipe experimentation or lighter/darker roast adaptation |
| Ergonomic Handle Design and Weight | Comfortable grip reduces wrist strain during high-volume use; heavier handles provide stability but may fatigue over long shifts |
Recalibration capability extends tool lifespan and keeps accuracy up. Spring-loaded models may let you replace the spring or adjust via set screws to restore factory pressure targets after wear. Digital tampers should include a recalibration procedure in the manual, often needing a known weight or force standard to reset the sensor baseline. Check whether the manufacturer offers recalibration service or replacement parts before you buy, especially for commercial use where daily volume speeds up wear and drift.
Maintenance, Calibration Drift, and Longevity of Calibrated Tampers
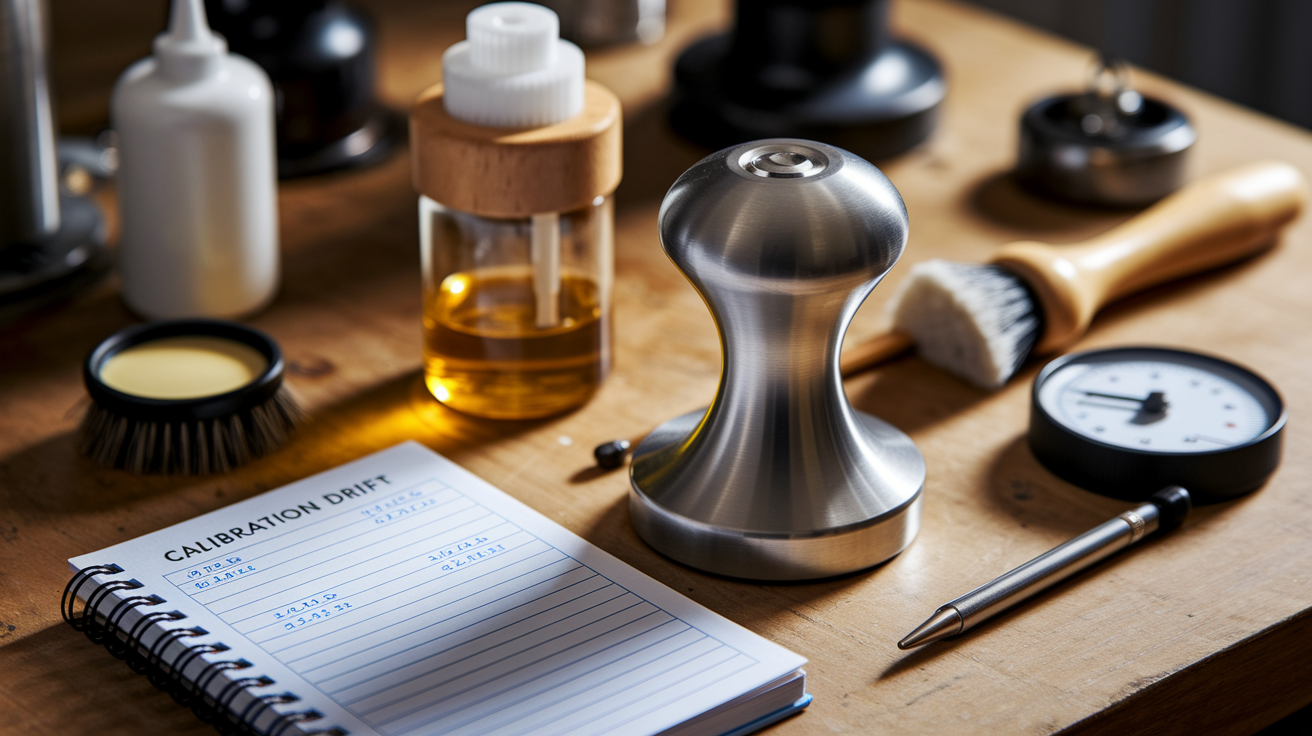
Spring tension drops over time as coils fatigue from repeated compression. The tactile click starts happening at lower actual pressures and drift creeps in. Digital load-cell sensors experience zero-point shift from thermal cycling, minor impacts, or electronic component aging. That skews displayed pressure readings even if applied force stays the same. Regular inspection catches drift early. Compare your calibrated tamper’s feel or readout against a known force standard (like a bathroom scale) every few months. If the click or digital display reads 30 pounds but the scale shows 27, you’re due for recalibration or spring replacement.
Cleaning stops residue buildup that can gum up moving parts or mess with sensor accuracy. Wipe the tamper base after every session to remove coffee oils and fine particles. For spring-loaded models, periodically disassemble the handle (if design allows) and clean the spring chamber with a dry brush or compressed air. Digital tampers with sealed electronics should be wiped externally only. Don’t submerge or use water near battery compartments or charging ports. Lubricate moving parts sparingly with food-safe grease if the manufacturer recommends it.
Four maintenance priorities keep calibrated tampers working longer:
Inspect springs or sensors every 1,000 to 2,000 tamps for drift. Recalibrate or replace parts when pressure deviates more than 2 to 3 pounds from target.
Clean the base and handle daily to stop oil and fine-particle buildup that can interfere with mechanical action or sensor contact.
Replace springs proactively in high-volume commercial settings (every 6 to 12 months depending on daily shot count) before drift becomes noticeable.
Check warranty terms and replacement-part availability before purchase. Models with accessible springs and user-serviceable designs cut long-term costs.
Cost, ROI, and Whether a Calibrated Tamper Is Worth It

Calibrated tampers typically run $60 to $150, compared to $20 to $80 for quality standard tampers. The price premium buys mechanical repeatability, which cuts shot waste during dialing and lowers variance in multi-operator setups.
| Cost Factor | Calibrated Tamper | Standard Tamper | Net Benefit |
|---|---|---|---|
| Upfront Purchase | $60–$150 | $20–$80 | Higher initial outlay |
| Training Time Reduction | New baristas reach consistent pressure in days | May take weeks to develop repeatable manual feel | Faster onboarding, less supervision |
| Shot Waste During Dialing | Fewer throwaway shots when isolating grind/dose variables | More trial pulls needed if tamp pressure drifts | Reduced coffee and time waste |
| Maintenance and Parts | Spring or sensor replacement every 1–2 years in high use | Minimal; occasional base polishing | Added long-term cost for calibrated |
Return on investment is clearest in commercial settings with multiple baristas or high daily shot counts. If calibrated tamping cuts per-barista variance by 10 percent and reduces dialing waste by three shots per new recipe, the tool pays for itself within months through tighter consistency and lower coffee costs. Home users pulling fewer than ten shots per week might not see measurable ROI unless repeatability directly solves a persistent technique problem or speeds up skill development. The value calculation depends on whether pressure inconsistency is currently bottlenecking your workflow and whether mechanical enforcement will unlock better results than focused manual-technique practice.
Buying Checklist and Final Decision Framework for Calibrated Tampers
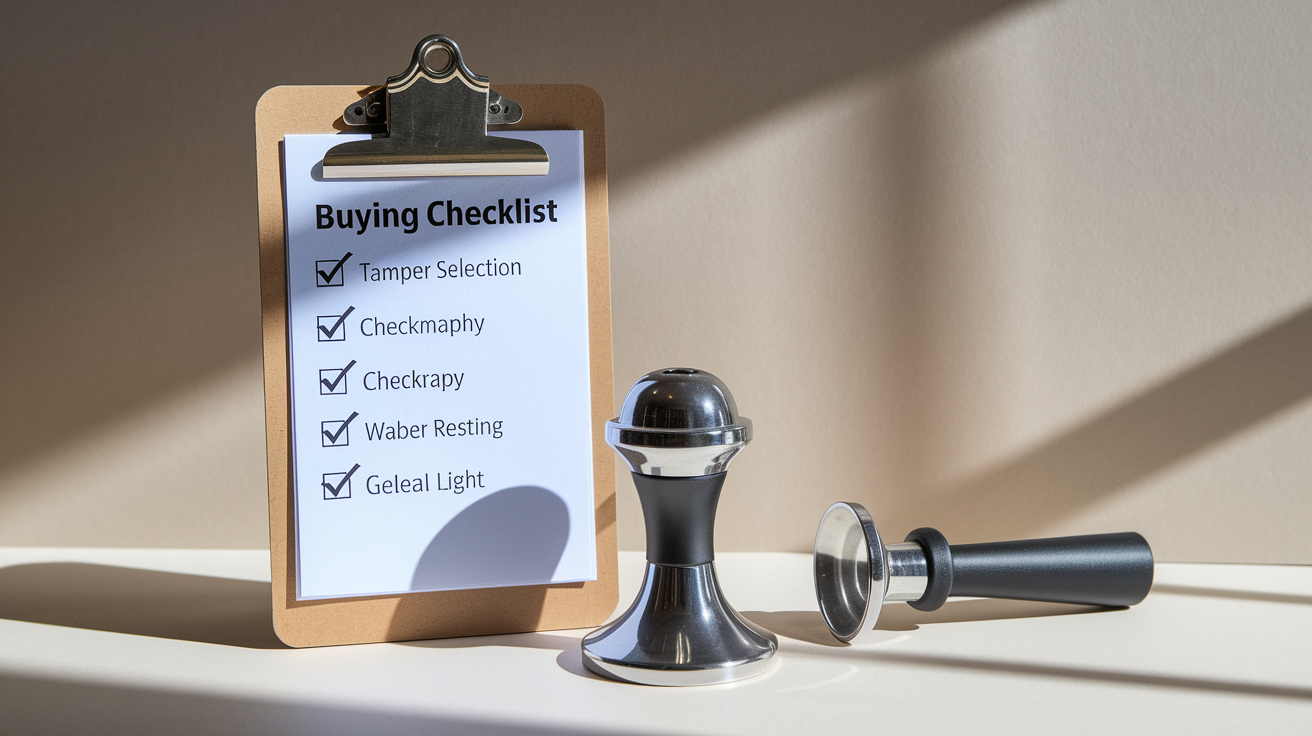
Seven decision points guide calibrated-tamper selection:
Verify portafilter basket diameter (51, 53, or 58 mm) and confirm the tamper base matches or includes interchangeable sizes.
Choose mechanical (spring or impact) for durability and no-battery operation, or digital for precise numeric feedback and learning support.
Confirm preset pressure target (typically 30 lbs / 15 kg) and check whether the model allows adjustment if you want flexibility for lighter or darker roasts.
Test handle ergonomics and weight in hand if possible. Comfort during repetitive use stops wrist fatigue.
Check manufacturer support for recalibration, replacement springs, or warranty service to make sure long-term usability.
Look at your current workflow. If tamp-pressure variance is a known problem or you’re training new operators, a calibrated tamper addresses a real gap.
Plan to pair the tamper with good distribution technique (WDT, leveling tools) because consistent pressure can’t fix uneven ground distribution or clumping.
Final evaluation comes down to whether the tool solves a specific problem or just adds cost without measurable improvement. If you already tamp with repeatable technique and see minimal shot-to-shot variance, a calibrated tamper may not change results. If you notice extraction-time drift between morning and afternoon pulls, struggle to train new baristas to consistent pressure, or spend too much time dialing due to tamp inconsistency, the mechanical enforcement delivers clear value. Test your current manual tamping against a scale or ask someone to compare your tamp feel across ten consecutive shots. If pressure varies more than five pounds between pulls, calibration is worth the investment.
Final Words
Reach for a calibrated tamper when you want reliable 30 lb pressure, consistent puck density, and a repeatable baseline. This post walked the key moments to use one, explained how they work, outlined benefits and limits, compared calibrated vs standard tampers, and covered sizing, maintenance, cost, and a buying checklist.
If you’re unsure, match the tamper to your portafilter and test a 30 lb press for a week. This short guide — when to use a calibrated tamper benefits and limitations — should make the choice easier. Enjoy steadier shots.
FAQ
Q: Does a calibrated tamper make a difference? What is the difference between spring and calibrated tamper?
A: A calibrated tamper makes a difference by giving repeatable tamp pressure—usually about 30 lbs—so shots vary less. Spring-style tampers give a tactile click; digital calibrated tampers show pressure numerically.
Q: How to use a calibrated coffee tamper?
A: To use a calibrated coffee tamper, center the tamper over the puck, press straight down until the tool signals the target pressure, stop and lift, then check the puck is level with even edges.
Q: What are some common tamping mistakes?
A: Common tamping mistakes are uneven distribution, off-center tamping, inconsistent pressure, tamping too hard, and a dirty basket. Fix by leveling the dose, tamping straight with consistent pressure, and cleaning the basket.