

You don’t need to crush the puck to pull great espresso.
Repeatable tamping matters more than brute force.
Start with about 30 pounds as a practical baseline your hands can learn.
But the real point is consistency, tamp the same way each time so grind stays the primary dial for shot speed.
Press straight down until the tamper stops moving and that hits maximum puck density without extra strain.
Read on for simple checks and one-change-at-a-time steps to make tamping a non-variable in your workflow.
Understanding the Ideal Tamping Pressure for Consistent Espresso
Most baristas land around 30 pounds of tamping pressure (about 13.6 kilograms) as a repeatable baseline. That number isn’t magic. It won’t guarantee perfect shots on its own, but it gives you a practical starting point your body can learn to repeat shot after shot.
The real goal? Consistency. Not hitting an exact number.
If you tamp at 25 pounds every single time, that’s better than bouncing between 15 and 40 pounds across shots. The key is pressing until the tamper stops moving downward. That simple checkpoint tells you the coffee bed has reached maximum density, air pockets have been compressed out, and particles are pressed together as tightly as they’ll go. Once the tamper stops traveling, applying more force won’t compress the puck any further.
Consistency matters more than raw force because grind size controls how fast water flows through your puck. Not tamp pressure. If you tamp at 30 pounds every time, you can dial in your grinder to hit your target extraction time. If you change your tamp pressure shot to shot, you’re adding a second variable, and suddenly you can’t tell if a sour shot was caused by too coarse grind or too light tamping. Repeatable tamping turns it into a non variable.
You can see the impact of tamping pressure in real time. If you tamp very lightly, using just a few pounds of pressure, the same grind that normally pulls in 25 seconds might rush through in 10 seconds. Thin, sour shot. If you press extremely hard, the same grind can stretch the extraction past 40 seconds, sometimes into the 50 to 60 second range if you’re also using a fine grind, and you’ll often end up with bitter, over extracted flavors. When you tamp to maximum density at around 30 pounds, the puck offers consistent resistance, and your shot times become predictable. If your extraction is running too fast or too slow at that point, adjust your grind. Not your tamp.
How Proper Tamping Technique Influences Espresso Extraction

Tamping does one essential job. It removes air pockets between coffee particles and creates even density across the puck. When water hits the puck under 9 bars of pressure, it takes the path of least resistance. If one side of the puck is looser because the tamper was tilted, water rushes through that weak spot, creating channeling. The coffee in the channel gets over extracted and bitter while the denser zones stay under extracted and sour. You end up with a shot that tastes like both mistakes at once.
A perfectly horizontal tamp ensures the entire puck is compressed evenly. If the tamper is even slightly tilted, the high side gets less pressure and the low side gets more, and that imbalance stays locked in when you brew. Even density means water moves through the puck at the same speed everywhere, extracting flavor uniformly and giving you a balanced shot.
To maintain level, even tamping every time, follow these checkpoints:
- Stand square to the counter with your elbow directly above the portafilter so your arm presses straight down
- Hold the tamper handle lightly and let gravity and your arm weight do most of the work
- Keep your wrist straight and aligned with your forearm, not bent to the side
- Press straight down until the tamper stops moving, then stop immediately
- Check visually that the tamper sits flat against the coffee before you pull it away
- Wipe the basket rim clean before locking the portafilter so no stray grounds break the seal
Comparing Tamping Pressure Methods: Fixed Force vs “Tamper Stops Moving”

The traditional fixed force method tells you to tamp at 30 pounds every time. Many baristas train by pressing a tamper onto a bathroom scale until they can feel what 30 pounds of downward pressure is like. Once you’ve practiced that enough times, your muscles remember the feeling, and you can repeat it without a scale. That method works well and gives you a measurable target to build consistency around. Some baristas use calibrated tampers that click, release, or stop applying force once you reach a preset pressure, usually 30 pounds. These tools make repeatability easier, especially in busy cafés where speed and uniformity matter.
The “tamper stops moving” method is simpler and doesn’t require any tools. You press down with increasing pressure until the tamper won’t travel any further into the basket. That stopping point tells you the puck has reached maximum density. After that, pressing harder doesn’t compress the coffee any more because the particles are already packed as tightly as they can go.
This method is popular because it’s intuitive. It doesn’t depend on calibration, and it naturally adjusts for slight differences in dose or grind without you having to think about it.
Both methods work. Many baristas find they arrive at roughly the same place. The tamper stop method tends to land in the 20 to 30 pound range for most people when measured. From an ergonomics standpoint, the tamper stop approach is slightly friendlier because it encourages you to use the lightest pressure that achieves full compression, which reduces repetitive strain on your wrist and elbow over hundreds of shots per day. If you’re using a calibrated tamper, make sure it’s set to a force that matches your grind and dose, and check occasionally that you’re still hitting the target as your technique evolves.
The Science of Tamping Pressure and Water Flow Resistance

Espresso machines push water through the coffee puck at around 9 bars of pressure, which is roughly 130 pounds per square inch. Tamping doesn’t create that pressure. What tamping does is remove the air gaps between coffee particles so the water has to work its way through a dense bed of grounds instead of rushing through open channels. When you tamp, you’re compressing the coffee vertically, squeezing out the voids, and turning a loose pile of grounds into a compact puck. That puck creates hydraulic resistance, slowing the water down enough to extract flavor compounds before it drips into your cup.
If you skip tamping or tamp too lightly, the puck stays loose and porous. Water finds the gaps, flows through them quickly, and extracts unevenly. The result is a fast shot with weak, sour flavors because the water didn’t spend enough time in contact with the coffee. If you tamp to maximum density, the puck offers consistent resistance across its entire surface, so water moves through at a steady, controlled rate.
Grind size is still the main control for flow rate. A finer grind creates smaller particles and tighter spaces between them, slowing water down. A coarser grind opens up the spaces and speeds flow. Tamping just makes sure the spaces are consistent.
| Tamp Pressure Level | Effect on Flow | Common Result |
|---|---|---|
| Light tamp (under 15 lb / 6.8 kg) | Low resistance; water flows quickly through loose areas | Fast extraction (10 to 20 seconds), sour, weak, thin body, channeling visible with bottomless portafilter |
| Standard tamp (~30 lb / 13.6 kg or tamper stop) | Even resistance; water flows steadily through uniform puck | Balanced extraction (20 to 30 seconds), even flow, full flavor, smooth crema |
| Extreme/hard tamp (over 40 lb / 18 kg) | Very high resistance; water struggles to penetrate puck | Slow extraction (30 to 40+ seconds), bitter, over extracted, potential machine strain, little added benefit over standard tamp |
Adjusting Grind, Dose, and Tamping Pressure Together
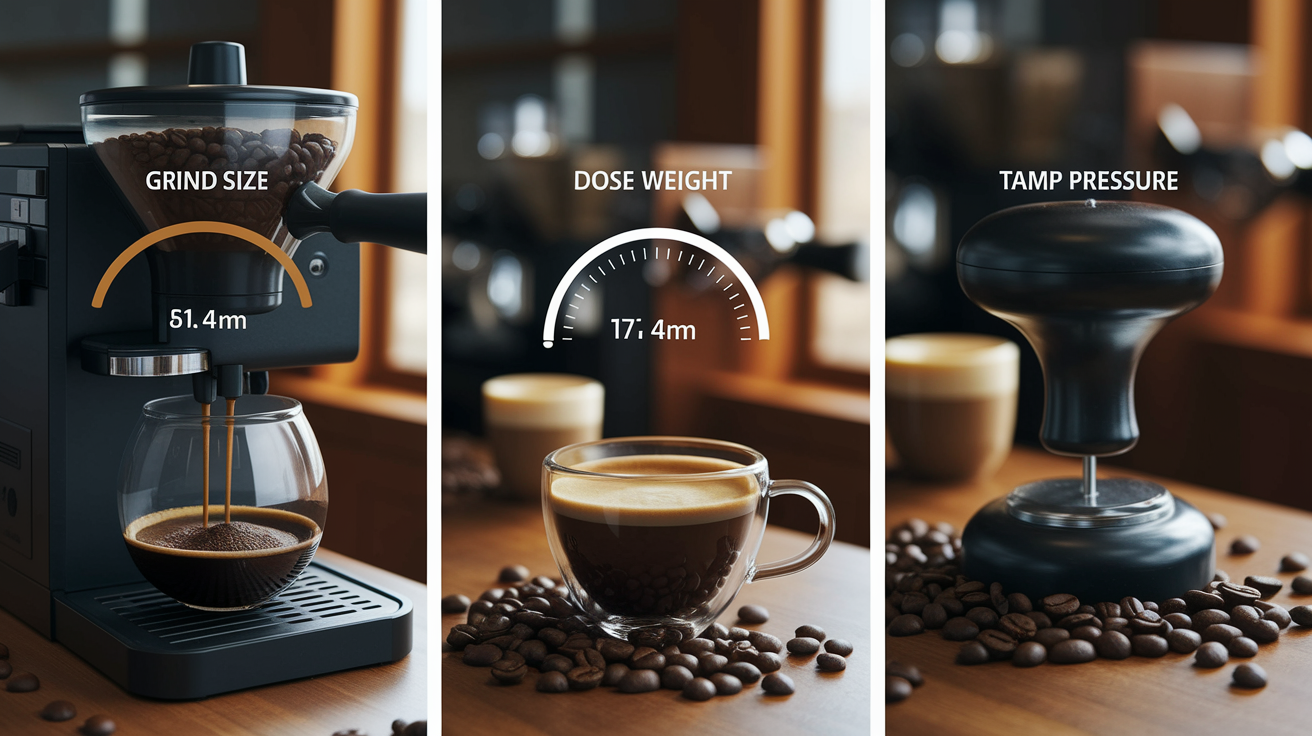
Tamping doesn’t work in isolation. It’s part of a system that includes grind size, dose weight, and how your machine delivers water. If you change one variable, the others shift to compensate.
For example, if you dose 18 grams into your basket and tamp lightly while using a coarse grind, water will rush through in 10 to 15 seconds, and your shot will taste thin and sour. If you dose 20 grams, grind fine, and tamp hard, the same machine might take 40 to 50 seconds to push water through, and you’ll end up with bitter, over extracted espresso. The goal is to find the balance where all three variables work together to produce a shot that extracts in a reasonable time window, usually 25 to 30 seconds for a double shot, with balanced flavor.
Grind size should be your primary adjustment tool. If your shots are running too fast even after tamping to maximum density, grind finer. If they’re running too slow, grind coarser. Tamping stays constant. Think of tamping as the foundation that keeps puck density even, and grind size as the dial that controls how quickly water moves through that foundation.
Dose weight also plays a role. A thicker puck created by a higher dose gives water more coffee to move through, which slows extraction slightly. A thinner puck from a lower dose speeds things up. If you increase your dose, you might need to grind slightly coarser to maintain the same extraction time. If you reduce your dose, you might need to grind finer.
When you’re dialing in a new coffee or adjusting your recipe, follow this order:
- Set your dose to a consistent weight, usually 18 to 20 grams for a double basket
- Tamp to maximum density every time using the same technique
- Pull a test shot and time the extraction from the moment you start the pump until you stop it
- If the shot pulls too fast and tastes sour, grind finer; if it pulls too slow and tastes bitter, grind coarser
Repeat until you hit your target time and flavor. Only change your tamp pressure if you’re experimenting with a totally different style or if you notice your technique has drifted and become inconsistent.
Using Tools to Train and Maintain Consistent Tamping Pressure

If you’re new to espresso or want to build repeatable muscle memory, a bathroom scale is the simplest training tool. Place your portafilter on the scale, dose your coffee, zero the scale, and press down with your tamper until the display reads 30 pounds. Do that 20 or 30 times over a few days, and your arm will learn what 30 pounds feels like. After that, you can tamp without the scale and still land close to the target. Some baristas keep a scale near the espresso station and check themselves once a week to make sure they haven’t drifted.
Pressure training pads are another option. These are small silicone or foam pads that sit under your portafilter and give tactile feedback when you hit a specific pressure. Some have built in indicators that light up or click at 30 pounds. They’re helpful for baristas who want instant feedback without looking at numbers.
Digital tampers with built in pressure readouts are the most precise option. These tampers have a small screen that shows real time force as you press, so you know exactly when you’ve reached your target. They’re useful in training environments and high volume cafés where consistency across multiple baristas is critical, but they’re expensive and not necessary for home use if you’ve already trained with a scale.
Tools that help maintain tamp consistency:
- Bathroom scale: free or cheap, trains muscle memory for target pressure
- Pressure training pad: tactile feedback, helps build repeatable feel
- Calibrated tamper: clicks or stops at preset force, eliminates guesswork
- Digital tamper with readout: real time pressure display, useful for training and quality control
- Properly sized tamper: must match basket diameter (58mm for most commercial machines, 54mm for some home machines) to avoid gaps at the puck edges that cause channeling
The most important tool is a flat tamper that fits your basket. If the tamper is too small, you’ll leave an uncompressed ring of coffee around the edge, and water will channel through that gap. If the tamper is convex, it compresses the center more than the edges, creating uneven density.
Distribution Techniques That Improve Tamping Results

Tamping compresses whatever distribution pattern you put into the basket. If coffee is clumped on one side or piled unevenly, tamping locks that unevenness in place, and you’ll get channeling no matter how level your tamp is. Distribution removes clumps, breaks up dense pockets, and spreads grounds evenly across the basket before you tamp. Good distribution makes tamping more effective because you’re compressing a uniform layer instead of trying to force lumps flat.
The simplest distribution technique is to dose carefully and tap the portafilter gently on the counter or your hand to settle the grounds, then use your finger to smooth the top before tamping. That works for some coffees, but it doesn’t break up clumps that form inside the grinder or during dosing.
Leveling tools, sometimes called distribution tools or OCD tools, have spinning fins that rotate across the top of the basket, redistributing coffee and flattening the surface. They work quickly and help maintain consistency, especially in busy cafés, but they don’t penetrate deeply into the puck, so internal clumps can still cause problems.
The Weiss Distribution Technique, often shortened to WDT, is the most thorough method. You use a small tool with thin needles, something like a set of acupuncture needles mounted in a cork or handle, and stir through the entire depth of the coffee bed in the basket. The needles break up every clump, aerate the grounds, and mix the dose into a fluffy, even layer. After WDT, the coffee looks uniform and settles evenly when you tamp. The process takes about 10 to 15 seconds, but it dramatically reduces channeling, especially with single dose grinders or coffees that clump heavily. Once you’ve distributed with WDT, tamping compresses a consistent bed, and you’ll see much more even extraction and better tasting shots.
WDT Overview
WDT stands for Weiss Distribution Technique, named after John Weiss, who popularized it in espresso forums. The method involves using a tool with multiple thin needles to stir the coffee grounds in the portafilter basket before tamping. You insert the needles into the coffee bed and move them in small circles, breaking up clumps and redistributing particles evenly. The goal is to turn a lumpy, unevenly packed dose into a fluffy, uniform layer that compresses evenly when you tamp.
WDT is especially helpful for light roast coffees, single dose grinders, and any setup where channeling has been a persistent problem. You can buy a WDT tool or make one by pushing thin needles or wires through a cork. The process adds a few seconds to your workflow, but it often makes the difference between frustrating, inconsistent shots and reliable extractions.
Diagnosing Espresso Problems Caused by Incorrect Tamping Pressure

If your shots are consistently running too fast, pulling in under 20 seconds and tasting sour, weak, or watery, the most common cause is under extracted coffee. That can come from too light tamping, too coarse grind, or both. If you’re already tamping to the point where the tamper stops moving, the problem is almost always grind size. Make the grind finer and pull another shot. If the shot still runs fast and you know your grind is fine, check your tamping technique. A tilted tamp leaves one side of the puck loose, and water channels through that side, speeding up the overall flow. You’ll often see this as uneven streams or spraying from a bottomless portafilter.
Shots that run too slow, stretching past 30 or 35 seconds and tasting bitter, astringent, or harsh, usually mean over extraction. If you’re tamping with a lot of force, more than 35 or 40 pounds, and your grind is already on the fine side, you might be over compacting the puck. Try easing back to a lighter tamp that just reaches the tamper stop point. If that doesn’t help, coarsen the grind slightly. Over extraction is more commonly a grind problem than a tamping problem, but excessive tamping force combined with a fine grind can push you over the edge.
Common tamping related symptoms and fixes:
- Fast shot (under 20 seconds), sour and thin: tamp to maximum density and grind finer; check for channeling with a bottomless portafilter
- Slow shot (over 30 seconds), bitter and harsh: ease tamp pressure slightly or grind coarser; reduce dose if puck is very thick
- Uneven flow, spraying, or multiple streams from bottomless portafilter: check tamp level; improve distribution before tamping; clean basket rim
- Mixed sour and bitter flavors in the same shot: strong sign of channeling; improve distribution and ensure tamp is perfectly horizontal
- Puck sticks to shower screen after shot: often caused by over tamping or very fine grind; try lighter tamp or slightly coarser grind
- Shot starts well then speeds up dramatically (blonding early): weak spot in puck, usually from uneven distribution or tilted tamp; focus on level technique
If you’re still seeing problems after adjusting grind and tamp, check your distribution, make sure your portafilter basket is clean and free of old coffee oils, and confirm your machine is holding stable pressure and temperature.
Creating a Repeatable Tamping Workflow for Home or Café Use
Consistency comes from doing the same steps in the same order every time. If you change your routine shot to shot, small variations creep in, and you lose the ability to track what’s actually affecting your espresso. A repeatable workflow takes the guesswork out and turns tamping into a habit you can do quickly and correctly, even during a morning rush or after pulling fifty shots in a row.
Your workflow should start the moment you dose coffee into the portafilter. If you’re using a scale, zero it, dose to your target weight, and remove the portafilter. If you’re dosing by volume or using a grinder with a timer, check visually that the dose looks consistent with previous shots.
Next, distribute the grounds. Use WDT if you have a tool, or at minimum tap and smooth the top so the coffee sits evenly in the basket. Once distribution is done, place the portafilter on a stable surface, a counter or tamping mat, at a comfortable height where your elbow can stay above the portafilter and your arm can press straight down.
Hold the tamper lightly, position it flat on the coffee, and press down steadily until the tamper stops moving. Don’t twist, don’t rock, don’t bounce. Just press, stop when it stops, and lift the tamper straight up. Check the puck surface. It should look flat, smooth, and level, with no visible tilt. Wipe any loose grounds off the basket rim with your finger or a cloth. That’s important because stray grounds break the seal between the portafilter and the group head, causing leaks and uneven pressure. Lock the portafilter into the machine immediately and start your shot. Delaying between tamping and brewing can let the puck settle or shift slightly, especially if you’ve dosed a fluffy, light roast coffee.
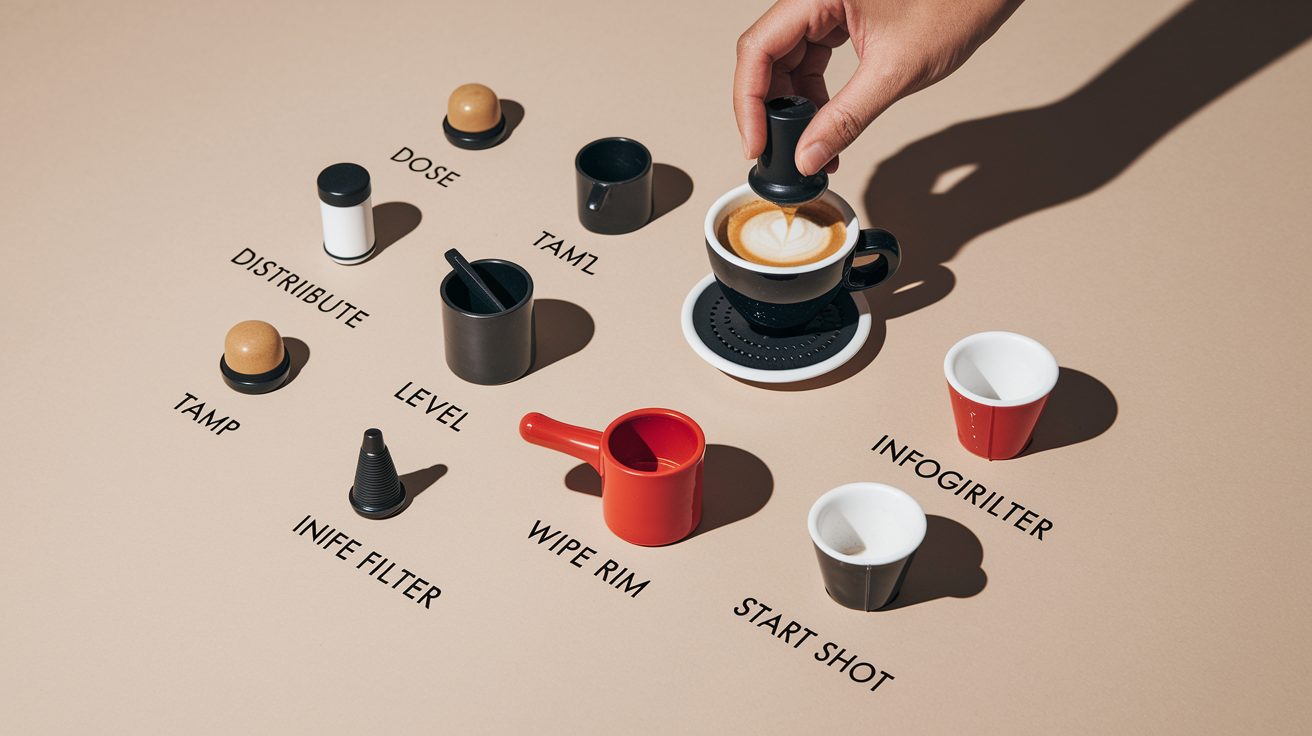
Step by step repeatable tamping routine:
- Dose your target weight into the portafilter basket (e.g., 18 grams for a double)
- Distribute the coffee using WDT or a leveling tool to break up clumps and even out the bed
- Place the portafilter on a stable, level surface at a comfortable working height
- Hold the tamper handle lightly and position it flat on the coffee surface
- Press straight down with steady, increasing pressure until the tamper stops moving
- Lift the tamper straight up without twisting or tilting
- Wipe the basket rim clean, lock the portafilter into the machine, and start the shot immediately
This workflow works at home and in cafés. For café baristas pulling dozens of shots per shift, ergonomics become critical. Keep your wrist straight, let your shoulder and arm do the work instead of your wrist, and use the lightest effective pressure to avoid repetitive strain injuries. Tamping stations that hold the portafilter at the correct height can reduce awkward bending and wrist angles.
Quick Reference: Visual and Sensory Cues of Correct Tamping Pressure

When you’ve tamped correctly, the puck should feel firm under light finger pressure but not rock hard. If you press gently on the surface with your fingertip after tamping, there should be almost no give, maybe a tiny amount of springback, but the puck shouldn’t dent or shift. The surface should look smooth, flat, and evenly compacted from edge to edge. If one side looks fluffier or sits higher than the other, your tamp was tilted.
When you pull a shot with a bottomless portafilter, correct tamping produces a single, centered stream of espresso that flows smoothly and evenly from the bottom of the basket. The stream should start dark and thick, then gradually lighten as the shot progresses. If you see multiple thin streams, spraying, or liquid shooting out from the sides of the puck, that’s a sign of channeling caused by uneven tamping or poor distribution.
A properly tamped puck also releases cleanly from the portafilter after the shot. When you knock out the spent puck, it should drop out as a solid, dry disc. If it’s wet, soupy, or sticks to the shower screen, you might be over tamping or using too fine a grind.
Quick checklist of correct tamping cues:
- Tamper stops moving downward with steady pressure, no further compression possible
- Puck surface is flat and level, visually parallel to the basket rim
- Light finger pressure on puck surface after tamping shows firm resistance with minimal springback
- Bottomless portafilter shows single, centered stream of espresso at the start of extraction
- Spent puck releases cleanly as a solid, dry disc with no excess moisture or sticking
- Consistent extraction time shot to shot (within 2 to 3 seconds) when using the same grind, dose, and tamp pressure
If you’re hitting these cues consistently, your tamping technique is working. If you’re missing one or more, focus on leveling your tamp, improving your distribution, or adjusting your pressure to reach the tamper stop point every time.
Final Words
Press the tamper until it feels steady and the puck firms up. This post showed why starting at about 30 lb makes sense, why even distribution and level tamping matter more than brute force, and how grind size is the main tool to control flow.
Use a scale, pressure pad, or a calibrated tamper to train one consistent motion. Check shot times and puck appearance to diagnose tweaks.
Next step: practice hitting a single target with a scale. That focused work locks in the recommended tamping pressure for consistent espresso and brings steadier, better shots.
FAQ
Q: How to get consistent tamping pressure?
A: To get consistent tamping pressure, train a steady one-motion press on a scale aiming for about 30 lb, use a calibrated tamper or pressure pad, and keep stance and tamper angle identical each shot.
Q: What is the 30 second rule for espresso?
A: The 30 second rule for espresso is that a standard double should extract in about 25–30 seconds; faster shots point to coarse grind or light tamp, slower shots suggest finer grind or excessive resistance.
Q: Does tamping pressure really matter?
A: Tamping pressure really matters for repeatable puck density and sealing the basket edges; aim for a consistent press around 30 lb, but adjust grind size to control flow rate rather than increasing force.
Q: Is 9 bar or 15 bar better for espresso?
A: The 9 bar pressure is the brewing target; a 15 bar spec usually refers to pump peak. Pick a machine that delivers stable 9 bar and steady temperature control for reliable extractions.