

Your tamper might be the reason your wrist hurts.
If so, the wrong tamper is often to blame.
Handle shape, weight, balance and diameter push your wrist out of neutral and force tiny corrections that add up fast.
This post shows how to pick a tamper that keeps your wrist straight, spreads force across your palm, and cuts repetitive strain so you stop fighting the tool.
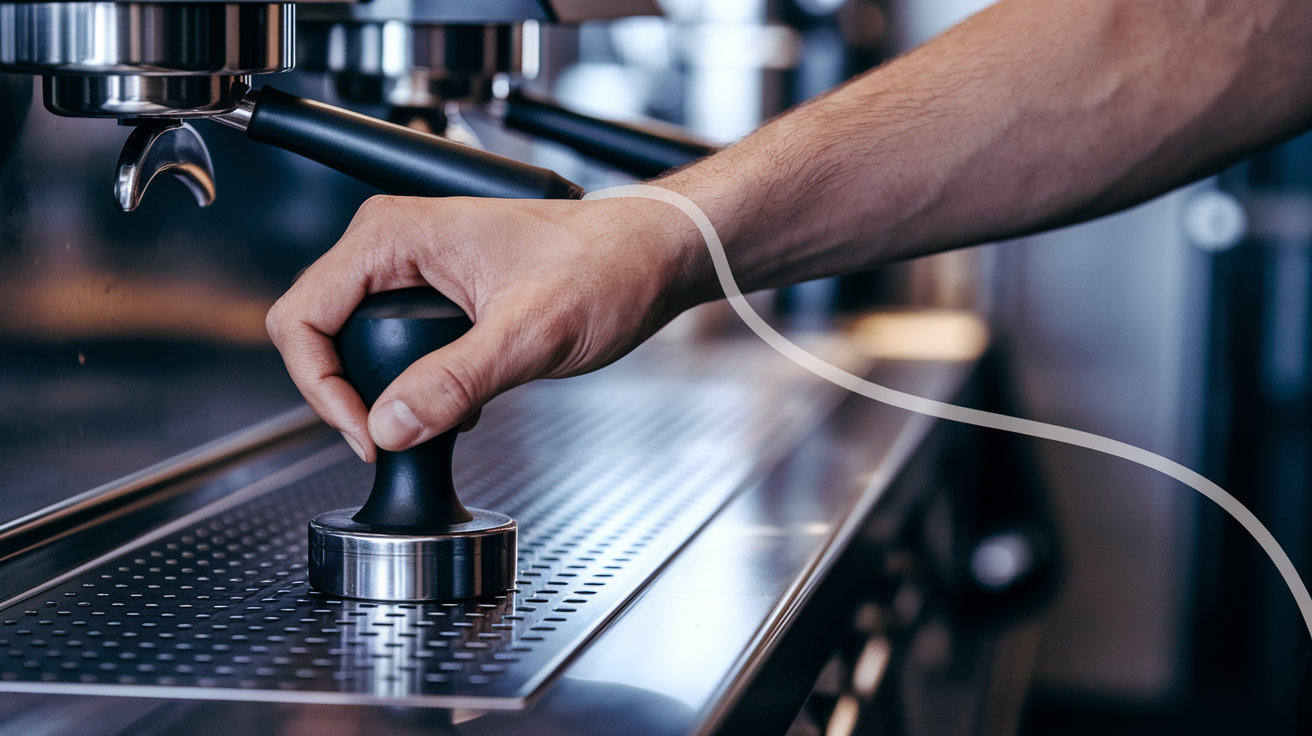
First, check handle fit: if the top touches the base of your thumb and your fingers can wrap, try that tamper first.
Key Ergonomic Tamper Factors That Immediately Reduce Wrist Strain
Neutral wrist alignment is the single biggest thing standing between you and injury when you’re tamping. Bend your wrist while you press, and your flexor tendons start rubbing against the narrow channels inside the carpal tunnel (that’s the little passage on your palm side where tendons and the median nerve run). That friction? It scrapes the tendons, causes swelling, and can squash the median nerve. You’ll get numbness, tingling, and if you keep at it, carpal tunnel syndrome. Keep your wrist straight, lined up with your forearm like one solid piece, and the tendons glide smoothly. Nerve pathways stay open. Think of your wrist like a garden hose: straight path, water flows. Sharp bend, and you’re pinching the flow and stressing the walls.
Tamping force usually sits between 10 and 30 pounds. Once you push past 15, how your tamper spreads that load becomes everything. Short handle or weird shape? All that force jams into your fingertips or the heel of your palm, overloading small joints and ligaments. A good handle spreads the pressing force across the base of your thumb and your fingers at the same time. Nothing gets hammered alone. High force with bad distribution is the express lane to tendonitis and joint pain.
Good tamping posture means your body does the work. Not your wrist. Stand perpendicular to the counter, portafilter at waist height, press straight down using your shoulder and core. Your arm becomes a stable column transferring weight, instead of a lever twisting at the wrist. This keeps your elbow close to neutral and stops extreme flexion that can irritate the ulnar nerve in the cubital tunnel at the inside of your elbow.
- Wrist angle: Keep it straight (neutral, zero degrees of bend) through the entire press. Use your weight, not your wrist.
- Tamper weight: Pick one that feels balanced without needing a death grip. Most people find 400 to 600 grams comfortable for repetitive use.
- Handle fit: The handle should let your fingertips and the base of your thumb share force. If you’re using only fingers or only palm, sizing’s wrong.
- Body positioning: Stand at 90° to the counter, portafilter at waist level. Gravity and your torso drive the tamp, not wrist muscles.
- Counter height: The work surface has to let your elbow stay near your side without lifting or dropping too much. Mismatched height forces you to bend your wrist to compensate.
- Straight down force: Press vertically into the basket. Any side tilt or twisting motion shifts load onto wrist stabilizers and cranks up injury risk.
Handle Geometry and Grip Design for Ergonomic Tamper Selection
Handle length and diameter control how force moves from your body into the puck. Handle too short? You’re stuck in one of two bad spots: pressing with fingers alone (overloads finger flexor tendons, raises tendonitis risk), or flattening your palm and bending your wrist down to make contact, which crushes everything inside the carpal tunnel. Handles that are too long won’t let your fingers wrap around the base. All the pressure goes to the top of the handle, and you have to squeeze the cylinder harder to keep control. That extra grip effort tires out your forearm and pulls your wrist out of line. For tamping above 15 pounds, the top of the handle needs to touch the base of your thumb so force splits between your thumb pad and your fingers at the tamper’s base. That’s the sweet spot.
Material texture matters just as much as shape. Wood gives you natural grip and warmth but can get slick when it’s wet or oily. Aluminum is durable and stable but feels cold and slippery without knurling or a coating. Silicone and rubberized surfaces give you high friction, cut down on clenching, and absorb small vibrations. This keeps your hand relaxed and your wrist straighter. When you don’t have to fight the tool to keep it stable, you stop using extra wrist torque to make up for slippage. Slip resistant materials also help with alignment because the tamper stays where you put it during the press.
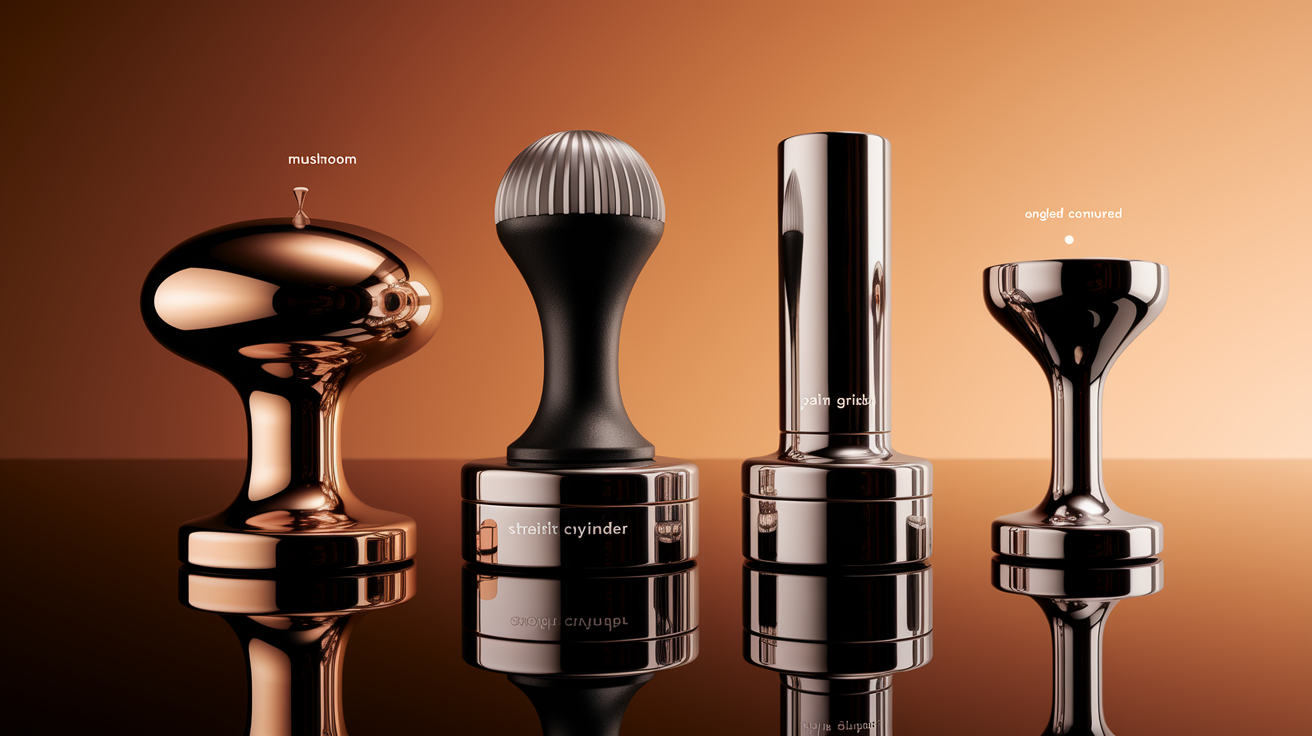
Comparing Handle Shape Styles
Different handle tops spread pressure differently across your palm. The right choice depends on your hand size and how hard you tamp. Mushroom handles have a wide, rounded cap that spreads contact over a big area. Comfortable for larger hands, helpful for higher tamping forces because the load never piles onto one spot. Palm grip handles are flatter and sit snugly into the natural cup of your palm, giving you maximum surface area and easy centering. They work well for medium to small hands. Straight cylindrical handles give you a neutral wrap and let you adjust grip height during the two phase tamp (light finger alignment, then full wrap for the press), but they don’t offer as much natural palm support as contoured designs. Subtly angled or contoured tops guide your hand into proper alignment and cut down the chance of tilting. Useful if you’re learning technique or moving fast under pressure.
| Handle Style | Key Ergonomic Benefit | Potential Drawback |
|---|---|---|
| Mushroom (wide rounded cap) | Spreads force over large palm area; comfortable for higher tamping pressure | Can feel bulky for users with small hands; may limit grip height adjustment |
| Palm grip (flat contoured) | Nestles into palm cup; intuitive centering and maximum contact surface | Less versatile for grip style variation; may not suit very large hands |
| Straight cylinder | Neutral wrap; allows grip height shifts during two phase tamping sequence | Offers minimal palm support; requires more active hand positioning |
| Angled or contoured top | Guides hand into correct alignment; reduces tilt and compensatory wrist movement | Fixed shape may not fit all hand geometries; less adaptable than neutral designs |
Weight Distribution and Balance Considerations in Ergonomic Tampers
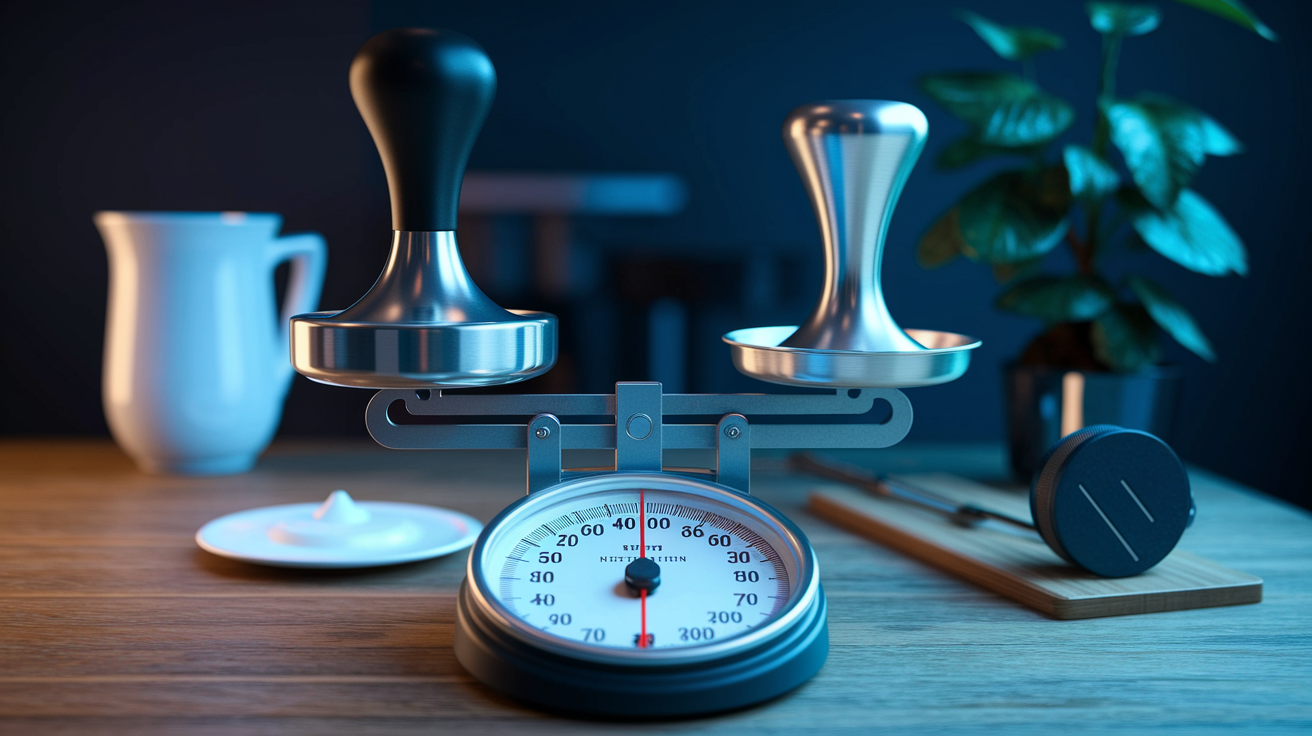
A tamper’s center of gravity controls how much wrist effort you need to keep it vertical during the press. Handle too light compared to the piston, or piston excessively thick and heavy? The tool becomes top heavy or bottom heavy. Either way, the tamper wants to tilt. Correcting that tilt mid press takes quick wrist torque. That’s exactly the motion you’re trying to avoid. Aim for total weight between 400 and 600 grams for most users. This range gives you enough heft to feel stable without causing arm fatigue during long shifts. Heavier stainless steel tampers sit solidly in the basket and resist wobble, but after fifty or a hundred tamps, that extra mass adds up and your forearm starts working harder. Lighter aluminum or composite tampers reduce fatigue but need more deliberate control to stay aligned. You have to guide them, not just let gravity do the work.
Flat base tampers create a broad, stable footprint and resist tilt naturally. Helps you keep your wrist straight because the tool doesn’t fight you. Convex bases concentrate force in the center and can rock slightly if the piston isn’t perfectly centered. That rocking invites small corrective wrist movements. For wrist friendly tamping, flat bases are the safer bet. The key is spreading pressing force through the heel of your palm and the base of your thumb, not your fingertips. When a tamper’s weight is balanced around its central axis and the handle shape supports a wrap grip, your hand becomes a stable platform and your wrist stays neutral through the whole stroke.
- Handle density: Heavier handles near the top can cause arm fatigue. Lighter handles reduce load but may feel less stable during the press.
- Piston thickness: Thicker, heavier pistons lower the center of gravity, which can improve stability but increase total weight and fatigue risk over time.
- Material choice: Stainless steel offers durability and heft. Aluminum and composite reduce weight and arm strain but need more control to stay aligned.
- Fatigue during high volume shifts: Total tamper weight above 600 grams gets tiring after dozens of tamps. Lighter tools preserve endurance without losing control if balance is correct.
- Alignment stability: A well balanced tamper stays vertical with minimal wrist correction. Poor balance demands constant micro adjustments that stress wrist stabilizers and crank up injury risk.
Tamper Diameter, Fit, and Basket Matching for Wrist Friendly Tamping

Your tamper diameter has to match your portafilter basket size. Most home and commercial machines use 58mm baskets, so a 58mm tamper piston is the standard choice. When the tamper’s too small, it leaves a gap around the edges and you have to tilt or wiggle the tool to compress the outer ring of coffee. Forces your wrist into side to side deviation and repeated corrective motions. Each correction is a small wrist twist. Across dozens of shots those twists pile up into strain. An undersized tamper also creates uneven density in the puck, which leads to channeling. Water rushes through weak spots. You pull a bad shot, dump it, re dose, and tamp again. That’s double the wrist work for the same cup of coffee. If the tamper’s even slightly oversized, it jams against the basket wall, needs extra downward force to seat, and can stick during the lift, jerking your wrist upward.
Proper fit gives you instant feedback: the piston glides into the basket with light resistance, contacts the full surface of the coffee bed, and compresses evenly without binding or gaps. You feel the puck forming under your hand. That feedback lets you stop pressing at the right moment without guessing or over tamping. Over tamping with a poor fit tool means you’re grinding your wrist through unnecessary force just to fix a diameter mismatch. Measure your basket diameter, buy a tamper that matches within half a millimeter, and your wrist will thank you by staying straight and pain free shift after shift.
Ergonomic Technique Adjustments That Complement Tamper Selection

Even the best designed tamper can’t protect your wrist if your movement strategy loads the joint wrong. Advanced baristas cut wrist dependency by pushing force through their shoulder and elbow instead of isolated wrist muscles. Start the tamp with your elbow bent about 90 degrees and your upper arm close to your torso. As you press, extend your elbow smoothly and let your shoulder drop slightly. This stacks your joints into a stable column from shoulder to wrist, and gravity does most of the work. Your wrist becomes a passive link in the chain instead of an active force generator. Think of it like a push up: your shoulder and chest move the load, not your wrist. This joint stacking approach keeps your wrist neutral and transfers pressing force along the bones of your forearm, which handle compression way better than the small ligaments and tendons around your wrist.
Preventive strategies matter just as much as real time mechanics, especially in high volume environments where you might tamp a hundred shots in a shift. Before service, spend two minutes on wrist warm ups: slow circles in both directions, gentle flexion and extension, finger spreads to wake up the small stabilizer muscles. Every twenty or thirty tamps, take a ten second microbreak. Shake out your hands, roll your shoulders back, reset your posture. These microbreaks interrupt the repetitive load cycle and give soft tissues time to recover before micro damage becomes inflammation. Pacing helps too: if you’re working a rush, alternate tasks so you’re not tamping continuously. Pull a shot, steam milk, wipe the counter, then tamp again. Task variation spreads the work across different muscle groups and joints. Nothing gets overloaded.
Shoulder and Elbow Mechanics for Healthier Tamping
Transferring force through your upper arm joints means your shoulder extends and your elbow straightens during the press, while your wrist stays locked in neutral. Picture your arm as a single rigid beam hinged at the shoulder. The hinge opens and closes, but the beam itself doesn’t bend. To keep joint stacking, position your body so your shoulder sits directly above your elbow, your elbow above your wrist, and your wrist above the tamper. This vertical alignment lets gravity pull straight down through the bones, which are built to bear load. Tendons and ligaments don’t have to stabilize a crooked lever. Start each tamp by lightly placing the tamper in the basket with your fingers (phase one: alignment), then smoothly shift your grip to a full wrap and let your body weight drop through your shoulder (phase two: press). Release and spin the tamper with your fingers only. No wrist twist. These upper body mechanics work seamlessly with a well selected ergonomic tamper because the tool’s handle supports the wrap grip and its balance keeps the piston vertical while your shoulder and elbow do the heavy lifting.
Workspace, Counter Height, and Station Setup for Reduced Wrist Load

Counter height is one of the most overlooked pieces in espresso prep. If your work surface is too high, you’re forced to lift your shoulder and bend your elbow past 90 degrees. Compresses the ulnar nerve in the cubital tunnel at the inside of your elbow and causes numbness or tingling down into your pinky and ring finger. A too high counter also makes you reach up and forward, pulling your torso out of alignment and forcing your wrist to bend extra just to keep the tamper level. Counter too low? You hunch forward and drop your wrist into extreme extension, collapsing the carpal tunnel and stressing the median nerve. Neither extreme is sustainable. You’ll feel discomfort within minutes and develop chronic pain over weeks or months.
Portafilter support tools (rests, cradles, or tamping mats with built in edges) stabilize the portafilter during the press and remove the need for your non tamping hand to grip and hold it steady. When you don’t have to clench the portafilter handle, your opposite wrist stays relaxed and your tamping wrist doesn’t have to counterbalance an unstable target. Especially important for back to back shots where fatigue piles up. A simple silicone edge or small cradle absorbs the downward force and keeps the portafilter from sliding, so your pressing motion stays clean and vertical.
In cafés where multiple baristas share the same station, workstation adjustments become essential. Install height adjustable counters, platforms, or anti fatigue mats so each person can set the work surface to their own waist height. The sweet spot puts the top of the portafilter basket at the barista’s waist when standing upright with shoulders relaxed. That’s the 90 degree stance referenced in foundational guidance. If adjustable surfaces aren’t possible, provide step platforms for shorter baristas so they aren’t reaching up, and lower tamping blocks for taller team members. One fixed counter height will never fit everyone. Forcing workers into mismatched postures guarantees someone will develop wrist, elbow, or shoulder problems.
Comparing Ergonomic Tamping Tools: Calibrated, Spring Loaded, Palm, Lever, and Automated Options
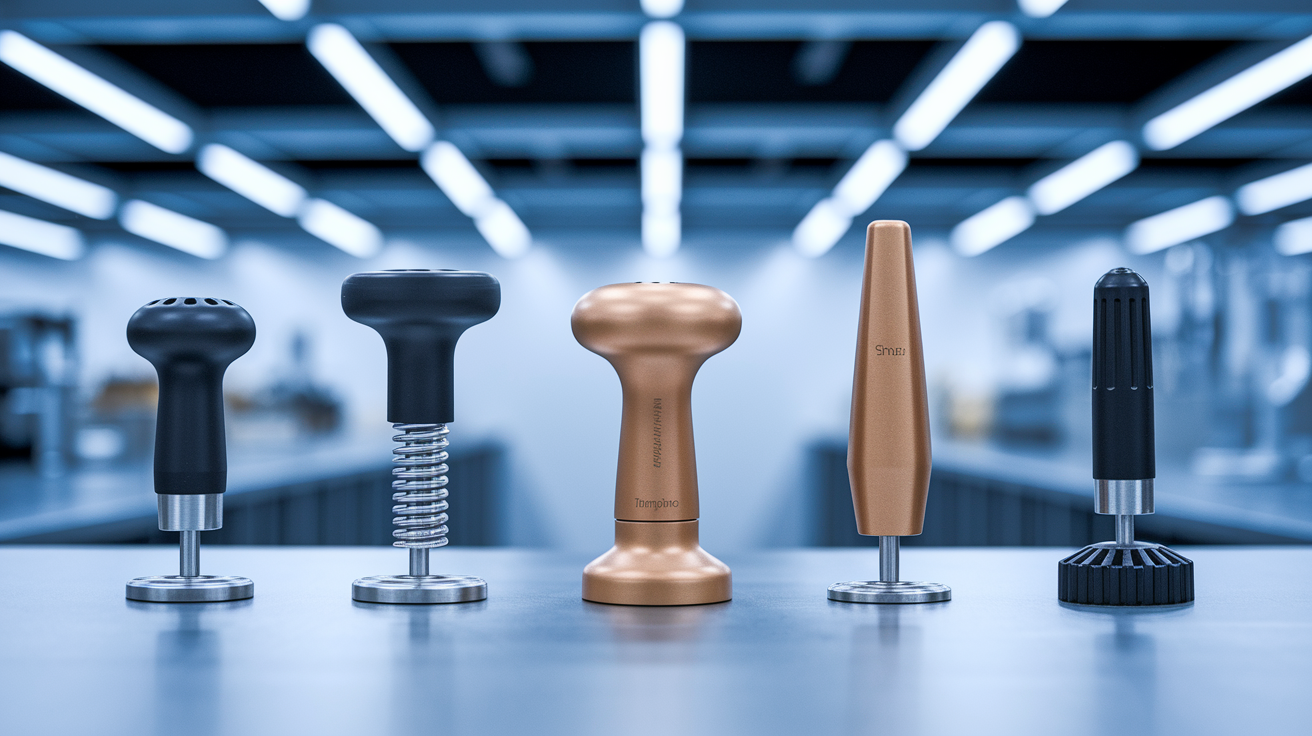
Calibrated tampers have an internal mechanism that clicks or releases at a preset force (usually 30 pounds) so every tamp delivers the same pressure without you having to guess or measure. Removes force variability, which cuts down the temptation to push harder “just to be sure” and protects your wrist from unnecessary overload. Calibrated designs are especially helpful for new baristas still learning to judge pressure by feel. Spring loaded tampers use a compression spring to absorb and regulate downward force. You press until the spring bottoms out, then stop. The spring buffers the impact on your wrist and makes sure you’re not grinding the puck with excess force at the end of the stroke. Both tools add consistency and reduce the mental load of tamping. Lets you focus on alignment and posture instead of force estimation.
Palm tampers flip the traditional design upside down: you place a flat, wide cap on top of the puck and press straight down with your palm, keeping your wrist in maximum neutral extension because there’s no handle to grip. Your entire hand surface spreads the load, and your forearm stays perfectly straight. Palm tampers eliminate wrist flexion entirely and work well for baristas with existing wrist pain or small hands that struggle to wrap traditional handles. Lever based tampers mount to the counter and use a long arm to multiply force. You pull or push the lever, and mechanical advantage does the heavy compression. Your wrist barely moves because the lever pivots around a fixed point. Automated tamping machines remove the human wrist from the equation altogether: you dose the basket, press a button, and a motorized piston tamps to a programmed depth and force. Common in ultra high volume settings where wrist health is a workforce sustainability issue.
- Calibrated tamper: Built in click or stop at a specific force (commonly 30 lbs). Reduces guesswork and prevents over tamping that increases wrist load and puck damage.
- Spring loaded tamper: Internal spring absorbs downward force and provides tactile endpoint feedback. Buffers impact on wrist joints and delivers repeatable pressure without excessive effort.
- Palm tamper: Wide flat cap pressed with open palm instead of fingers. Keeps wrist in neutral extension and spreads load across entire hand surface. Great for users with wrist pain or small hands.
- Lever based tamper: Counter mounted mechanical arm that multiplies force through leverage. Wrist stays mostly stationary while arm or shoulder moves the lever. Eliminates repetitive wrist compression.
- Automated tamping machine: Motorized piston controlled by button. Removes wrist involvement entirely. Common in high volume commercial settings to protect barista health and deliver shot to shot consistency.
Palm Tamper Ergonomics
Palm tampers place a broad, flat disc or square cap on top of the grounds, and you press straight down with the heel of your palm and the base of your fingers. Your wrist stays in line with your forearm. No bending, no twisting. Because the contact surface is large, pressure spreads over your entire hand instead of concentrating at your fingertips or thumb base. There’s no handle to grip or stabilize. This design is especially useful if you’ve already developed mild carpal tunnel symptoms or tendonitis, because it avoids the gripping and wrist flexion that make those conditions worse. Palm tampers need a bit more attention to centering since you lose the tactile feedback of a traditional handle, but once you get used to the flat cap feel, they deliver highly consistent tamps with minimal joint stress. They’re also faster to clean and lighter to carry, which matters if you’re moving between stations or traveling to competitions.
A popular accessory for palm tampers is the 58mm distributor tool. A heavy, adjustable leveler that you twist on top of the grounds before tamping. Adjust the base by screwing it up or down to match your basket depth, place the distributor on the freshly dosed coffee, twist it a few times, and lift. The angled underside spins the grounds into an even, level bed, cutting down high and low spots that cause channeling. After distribution, your palm tamp compresses an already flat surface, which takes even less wrist effort because you’re not fighting an uneven mound. The distributor itself is heavy (this added weight helps it glide smoothly), but you’re only holding it for a few seconds, and the reduced tamp effort more than makes up for the brief extra lift.
Testing, Evaluating, and Choosing the Best Ergonomic Tamper for Your Needs
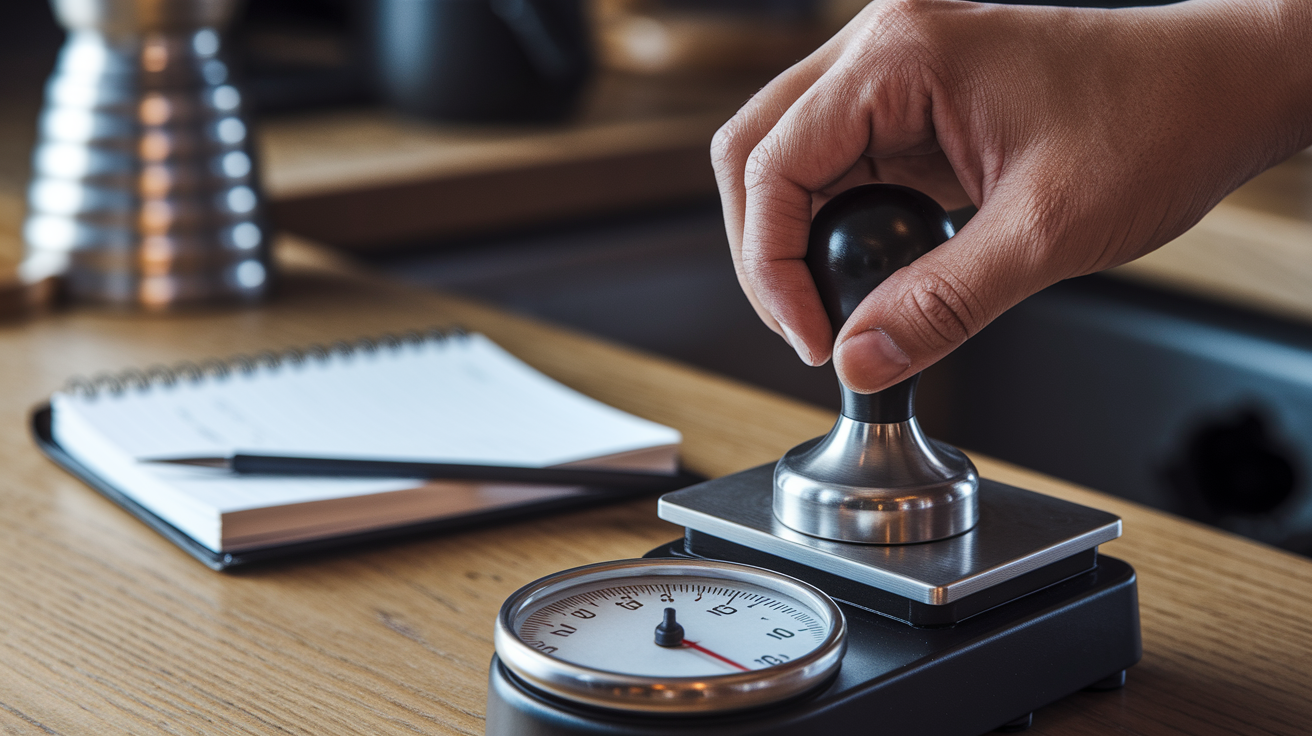
Before buying, test the tamper with the actual force you’ll use during service. Hold the tamper in your usual grip, press down on a scale until it reads your target weight (anywhere from 15 to 30 pounds), and notice where the pressure lands on your hand. If it digs into one spot, the handle geometry’s wrong. If you have to clench hard to keep it stable, the material or diameter’s wrong. Your hand should feel evenly loaded, the tamper should stay vertical without wrist correction, and you should be able to complete the press, release, and spin without shifting your grip. Test for at least five consecutive tamps to catch fatigue or awkward transitions that don’t show up on the first press.
Hand size is critical: small hands need shorter handle lengths and narrower diameters so your fingers can wrap and reach the base. Larger hands need taller handles and wider tops to avoid cramping your fingers or forcing your palm into a shallow, unstable grip. Try tampers from friends, at equipment demos, or in store before committing. Photos and specs can’t tell you how a tool will actually feel under load. Pay attention to your wrist angle throughout the motion: if you notice any bending or twisting, the tool doesn’t fit your body. Doesn’t matter how good the reviews are.
- Press the tamper on a scale at your target force and watch pressure distribution across your palm. No hot spots, no finger only loading.
- Check wrist alignment in a mirror or video during the full tamp sequence. Wrist must stay straight from setup through release and spin.
- Perform five consecutive tamps to detect grip fatigue, slippage, or awkward transitions that show poor fit under realistic conditions.
- Match handle height and diameter to your hand size. Small hands need shorter, narrower handles. Large hands need taller, wider designs to avoid cramping or shallow, unstable grips.
Maintenance, Grip Longevity, and Care for Ergonomic Efficiency

Worn or damaged grip surfaces destroy the ergonomic advantage of even the best designed tamper. When a rubberized coating starts to peel, a wood handle becomes smooth and oily, or a silicone sleeve cracks, you lose friction and have to clench harder to prevent slippage. That extra gripping effort tires out your forearm, tightens your wrist flexors, and shifts your wrist out of neutral alignment. All the compensatory strain you bought the ergonomic tamper to avoid. Inspect your tamper’s grip surface weekly. If you see cracks, smooth wear spots, or sticky residue buildup, clean it thoroughly with mild detergent and water, and replace any removable sleeves or coatings. For wood handles, a light sanding and a thin coat of food safe mineral oil restores texture and prevents the surface from becoming slick.
Material degradation speeds up when tampers are left wet, stored in direct sunlight, or cleaned with harsh chemicals. Aluminum can corrode if moisture sits in surface scratches. Stainless steel resists corrosion but can still collect coffee oils that make the handle slippery. After each shift, wipe the handle dry and store the tamper in a cool, dry spot away from steam and splashing water. Clean removable grips separately and let them air dry completely before reassembly. A tamper that feels secure and stable in your hand at the start of the shift should feel exactly the same at the end. If it doesn’t, wear or contamination is messing with your technique and increasing wrist load with every tamp.
Final Words
Keep your wrist neutral and use your body weight, not wrist torque. Start by checking wrist angle and counter height before changing anything else.
This post ran through wrist alignment, tamping force (10–30 lbs), handle geometry, weight balance, diameter fit, posture and workspace, tool options, testing, and maintenance.
Make one test – adjust counter to waist height and try a tamper that fits your hand. That simple move proves the value of ergonomic tamper selection to reduce wrist strain and helps you pull steadier shots.
FAQ
Q: What are the ergonomic advice for wrist pain? / In what position should your wrist be held to avoid ergonomic related injuries? / How to stop wrist pain from using a mouse?
A: Ergonomic advice for wrist pain is to keep the wrist neutral (straight), use forearm and shoulder force not wrist torque, set mouse/desk height so the wrist stays flat, use a supportive mouse, and take microbreaks and stretches.
Q: Are self-leveling tampers worth it?
A: Self-leveling tampers are worth it when you want consistent pressure, less wrist torque, and faster workflow; they suit high-volume or multi-user stations but can mask poor distribution and add cost, so try before switching.