

Think one steam-wand angle works for every milk drink?
It does not.
Lattes and cappuccinos want different angles and different results.
For lattes aim 15–20° with the tip 2–3 mm below the surface for a tight vortex and paint-like microfoam.
For cappuccinos go 30–45° with the tip at or just below the surface to pull in more air and build a light, airy cap.
This post shows the exact angles, tip depths, timings, and sound cues to get those textures every time.
Key Steam-Wand Angle Differences for Lattes vs Cappuccinos

Lattes need a shallow angle, somewhere around 15–20° relative to the milk surface. You’re building a smooth, controlled vortex that folds tiny microbubbles into the milk without dumping in tons of air. What you end up with is silky microfoam, barely any visible bubbles, the kind of texture you can pour latte art through. Stretch for maybe 1–3 seconds, just enough to bump volume by 10–20%. Wand tip sits about 2–3 mm below the surface.
Cappuccinos want a steeper angle, more like 30–45°. That lets you hit the surface harder and pull in way more air during the stretch. You’re looking at 6–10 seconds of stretching to get a 30–50% volume jump, which gives you that thick, airy foam cap people expect. Tip rides closer to the surface, around 1–2 mm or just breaking through.
Shallow angles (15–20°) keep the tip deeper in the milk, so you get more vortex power and less surface air intake. Think tight whirlpool that drags microbubbles down and blends them smooth. Steeper angles (30–45°) tilt the pitcher so the tip rides higher, and that geometry forces more air into the milk with every spin.
At 15–20°, the vortex spins faster and tighter. Breaks big bubbles quick, leaves you with paint-like microfoam. At 30–45°, the whirlpool goes wider and shallower, which lets you keep aerating instead of just blending what’s already there. Change your angle by even 10° and you’ll shift the whole balance between stretching and texturing. Go too shallow on a cappuccino and you won’t get enough air. Too steep on a latte and you’ll end up with dry, clumpy foam that won’t pour.
A latte should feel like melted whipped cream when it’s done. Smooth, glossy, no bubbles when you tap and swirl the pitcher. Cappuccino foam sits on top as a separate, airy layer. Lighter, thicker, with slightly bigger bubbles that still look uniform and hold their shape when you pour.
How Steam-Wand Angle Controls Milk Texture
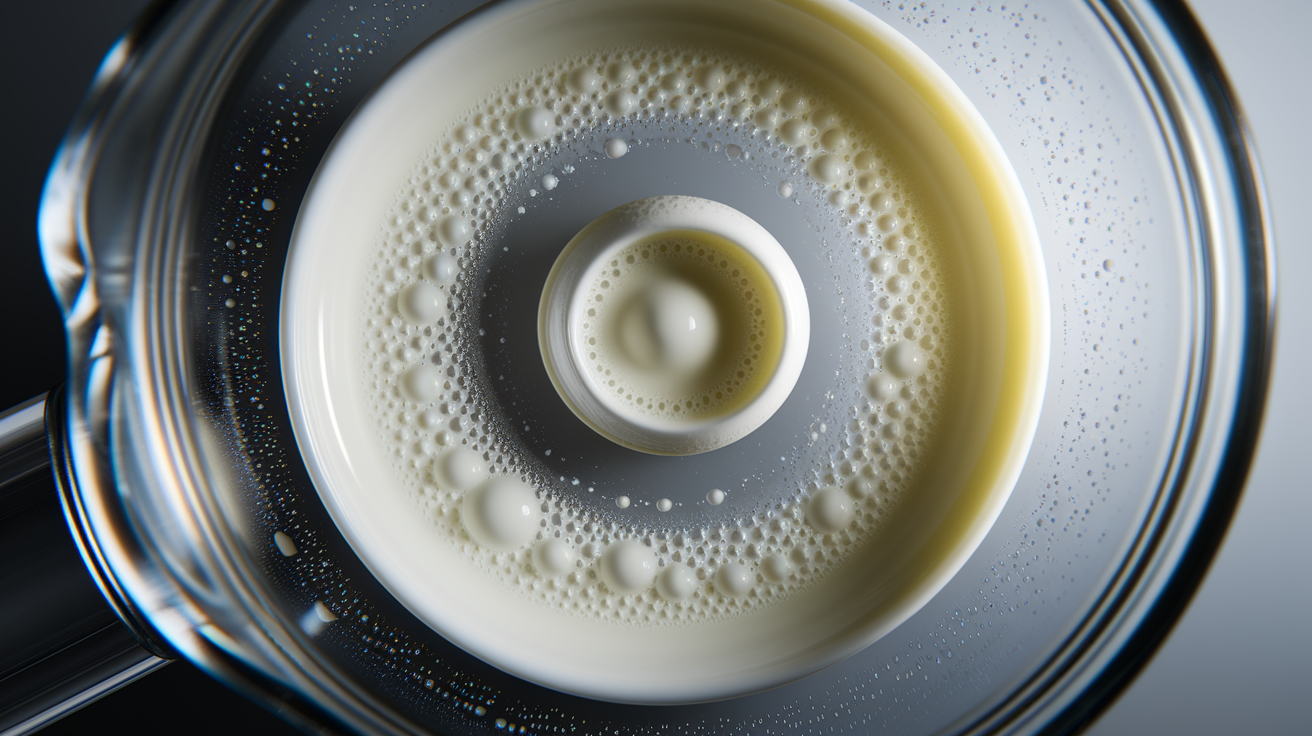
Angle decides whether your wand is mostly aerating the milk or blending the air you already added. Shallow angle drives a strong rotational current, pulls the steam jet across the milk in a tight spiral. That motion breaks big bubbles into microbubbles and spreads them evenly through the liquid. The vortex takes over, and you get dense, creamy microfoam.
Steeper angle tilts the pitcher so the wand tip hangs near the surface longer during each rotation. More steam energy goes into lifting and aerating the top layer instead of spinning the whole pitcher. You’ll hear a gentle tearing sound as air folds in. Hold that steep angle through the entire stretch and volume climbs fast, foam gets lighter and airier.
Tip depth fine-tunes everything. Tip too deep and steam never reaches the surface, so aeration stops and you’re just heating and spinning milk. Tip at the surface or above it and you get noisy splatter with big, unstable bubbles. Sweet spot is just below the surface for lattes, right at the surface for cappuccinos, matched to whatever angle you’re holding.
15–20° angle with the tip 2–3 mm below surface gives you tight microfoam with barely any volume gain. Perfect for latte art. 30–45° angle with the tip 1–2 mm at surface builds high volume foam with a dry, airy cap, exactly what cappuccinos need. Wand too deep at any angle kills stretching completely, leaves you with hot milk and no foam. Wand breaking surface at a shallow angle creates uneven aeration, screeching noise, and big bubbles that won’t blend.
Pitcher Positioning and Jug Tilt for the Correct Wand Angle
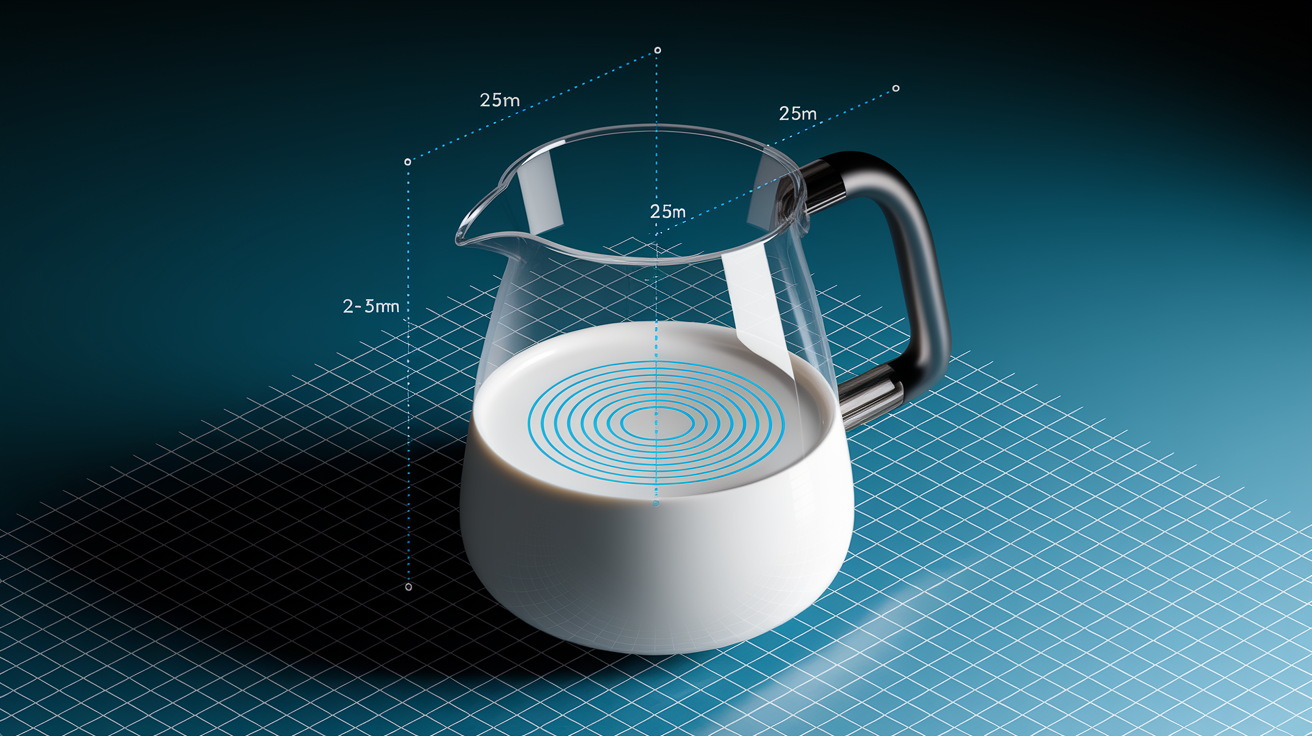
Hold the pitcher with a slight tilt, about 20–30°, to lock the vortex in place. This tilt moves the center of rotation a bit off axis, which somehow makes the whirlpool stronger and more consistent. Fill the pitcher to roughly one third before you start so the milk has room to expand without spilling over. A 600 ml (20 oz) pitcher filled to the base of the spout works for one or two drinks.
Put the wand near the inside wall of the pitcher instead of dead center. Steam flows along the wall and curves back toward the middle, which creates a stable rolling motion. Center the wand and the vortex tends to wobble or collapse, leaving you with patchy foam. Keep the pitcher fairly flat once you’ve set your initial tilt so milk can climb to the surface and fall back down in a smooth loop.
Optimal Jug Tilt for Stable Vortex
A 20–30° tilt shifts the wand entry point just enough to lock the vortex without tilting so far that milk sloshes or the wand loses contact with the liquid. Tilt more than 30° and the vortex goes shallow and weak, air won’t integrate right. Less than 20° and the whirlpool can stall, especially in wider pitchers. Adjust tilt a little as the milk heats and expands, keep the wand tip at the target depth for your drink.
Step-by-Step Wand-Angle Guide for Lattes

Start with cold milk filled to one third of your pitcher and purge the steam wand with a quick burst to clear condensation.
- Tilt the pitcher about 20–30° and insert the wand at a shallow 15–20° angle, tip sitting 2–3 mm below the milk surface near the pitcher wall.
- Turn steam to full and listen for a quiet tearing or hissing sound. That confirms the wand’s at the right depth for gentle aeration.
- Hold the wand at the surface for 1–3 seconds to stretch the milk, shooting for 10–20% volume increase. You’ll see the milk level rise a bit.
- Lower the wand deeper into the pitcher to spin up a strong whirlpool, keep the angle shallow so the vortex tightens and blends microbubbles.
- Hold the whirlpool for 10–20 seconds while the milk heats, keep the pitcher tilt steady and the wand near the wall.
- Stop steaming when the pitcher gets too hot to hold comfortably, usually 60–65°C (140–149°F). Milk will keep heating a degree or two after you stop.
- Tap the pitcher base on the counter right away to pop any big surface bubbles, then swirl in a circle to polish the microfoam.
Your latte milk should look glossy and paint-like, no visible bubbles. When you pour, it flows smooth and holds a crisp contrast against the espresso. Texture feels dense and creamy, not airy or dry.
Step-by-Step Wand-Angle Guide for Cappuccinos

Same cold milk and purged wand, but get ready for a longer stretch and higher final foam volume.
- Tilt the pitcher 20–30° and insert the wand at a steeper 30–45° angle, tip right at the milk surface or 1–2 mm below, near the pitcher wall.
- Turn steam to full and listen for a consistent tearing sound. Louder and more active than a latte because you’re pulling in more air.
- Hold the wand at or near the surface for 6–10 seconds, let the milk volume jump 30–50%. Watch it climb noticeably up the pitcher.
- Once you hit your volume target, drop the wand a bit deeper to spin a whirlpool that smooths out big bubbles while keeping the airy foam structure.
- Keep the whirlpool going for another 10–15 seconds as the milk heats, hold that steep angle so foam stays on top instead of fully blending in.
- Stop steaming when the pitcher’s too hot to hold, around 65–70°C (149–158°F). Cappuccino foam can take slightly higher temps without breaking down.
- Tap the pitcher and swirl to catch any stray big bubbles, but expect to see a thick foam cap that stays separate from the liquid milk underneath.
Cappuccino foam should sit as a visible, airy layer with a light, mousse-like feel. When you pour, the foam holds its shape and creates the classic dome on top of the espresso. It’s thicker and less dense than latte microfoam, with slightly bigger but uniform bubbles that feel soft and dry instead of wet and heavy.
Milk Type Effects on Wand-Angle Performance
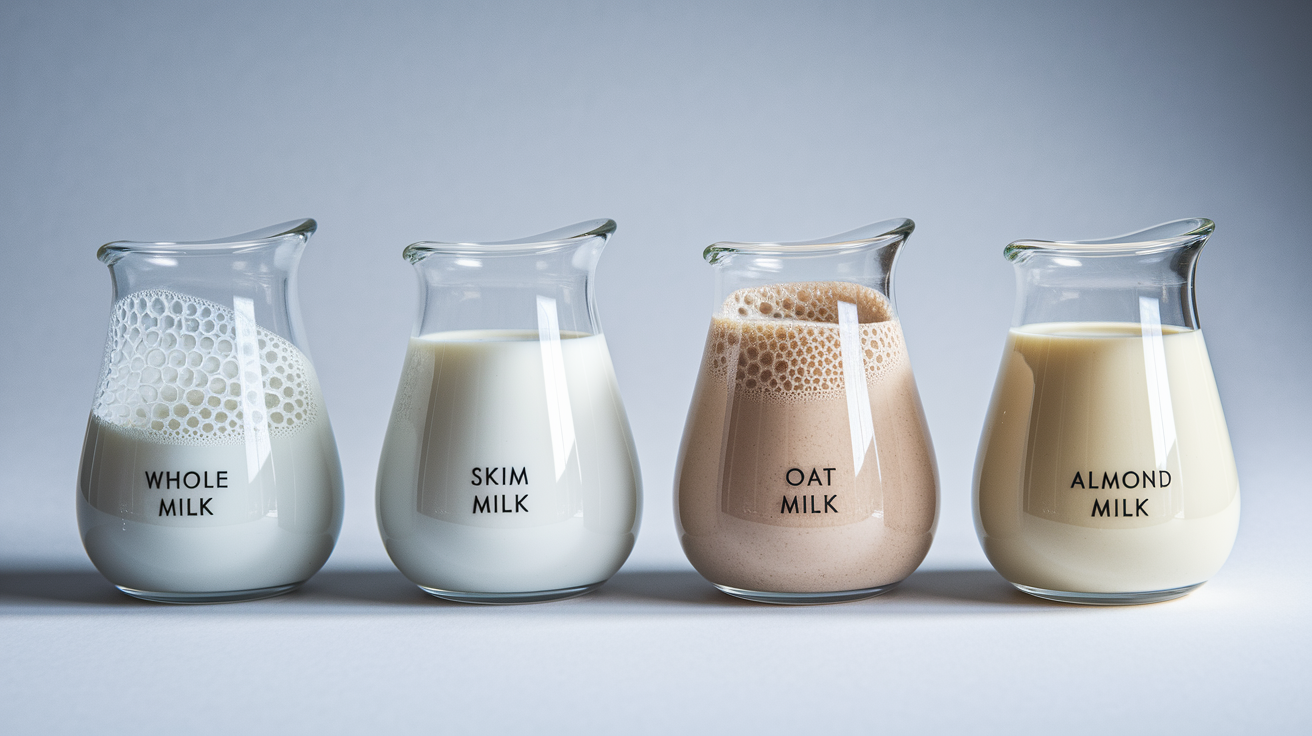
Whole milk gives you the richest, most stable microfoam because its fat content supports fine bubble structure and gives you the widest margin for error on angle and timing. If you’re learning wand-angle control, whole milk forgives small depth or timing mistakes better than anything else. Stretches predictably at both shallow and steep angles.
Skim milk makes lighter, airier foam with more volume for the same stretching time. You’ll hit your cappuccino volume target faster, sometimes in 4–6 seconds instead of 6–10. Tradeoff is thinner body and less creamy mouthfeel. Skim also breaks down faster if you overheat it, so keep temps closer to 60–65°C even for cappuccinos.
Non-dairy milks are all over the place. Barista-formulated oat and soy blends froth reasonably well, but they usually need a steeper angle and longer stretching time to build comparable foam volume. The whirlpool phase gets even more important because plant proteins don’t hold bubbles as well as dairy fat. Almond milk typically produces the least foam and does better with a very aggressive 35–45° angle and extended aeration. Always start with cold plant milk, ideally 3–5°C from the fridge, to max out your control window before proteins break down from heat.
Whole milk works across the full 15–45° angle range with predictable, creamy results and the easiest microfoam blending. Skim milk aerates faster and needs slightly shorter stretching times. Angle control gets more critical because over-aeration happens quick. Oat milk (barista blend) does best at 25–40° with extended stretching and a strong vortex to break down bigger bubbles. Almond milk wants steep angles near 40–45° and patient stretching because it fights foam formation. Expect thinner body and less volume than dairy.
Temperature Targets and How Angle Interacts With Heat

Lattes finish best at 60–65°C (140–149°F), a range that keeps the milk’s natural sweetness and holds microfoam stable for pouring. Cappuccinos can handle 65–70°C (149–158°F) because the thicker foam structure insulates the liquid milk underneath and the drink gets consumed faster. Go above 70°C and you scald the milk, which creates a cooked flavor and breaks down the proteins that hold foam together.
Wand angle shifts how fast the milk heats. Shallow angle drives a tight vortex that circulates the entire milk volume, spreads heat evenly and heats more slowly. Steep angle concentrates steam energy near the surface, heats the top layer faster while the bottom stays cooler. You’ll hit your temp target sooner with a steep angle, so cappuccino steaming often finishes in less total time than latte steaming even though the stretching phase runs longer.
Shallow angles (15–20°) stretch out heating time because the vortex spreads thermal energy through the whole pitcher. Useful if you need more control. Steep angles (30–45°) speed up surface heating, so watch temperature closely and be ready to stop steaming as soon as the pitcher gets too hot to hold. Switching from steep to shallow mid-steam (after stretching) slows the final heating phase and buys you a few extra seconds to nail your exact target without overshooting.
Troubleshooting Wand-Angle Errors and Foam Problems

Screeching or screaming sounds mean the wand tip is too close to the surface or the angle’s too steep for the current tip depth. Lower the wand a bit or dial back the angle until you hear a steady tearing sound. Silence or very quiet steaming means the wand’s too deep and no air’s getting into the milk. Raise the tip toward the surface or bump up the pitcher tilt until you hear aeration start.
Big bubbles that won’t blend mean either weak vortex or over-aeration. If you stretched too long, you’ve dumped in more air than the vortex can break down. Next time, cut your stretching phase by 2–3 seconds. If your vortex is weak, check that the wand sits near the pitcher wall and your tilt angle is around 20–30°. Overheating past 70°C scalds the milk and creates a flat, cooked flavor. Foam might look okay but tastes burnt and separates quick. Stop steaming the moment the pitcher’s too hot to hold for more than one second.
| Error | Cause | Wand-Angle Fix |
|---|---|---|
| Screeching sound | Wand too high or angle too steep for tip depth | Lower wand 2–3 mm or reduce angle to 15–25° |
| No sound, no foam | Wand too deep, no surface aeration | Raise wand toward surface or increase tilt to 25–30° |
| Large bubbles, no integration | Weak vortex or over-aeration | Steepen angle slightly during vortex phase (20–25°) and shorten stretch time |
| Milk scalded, flat taste | Overheated past 70°C | Stop steaming sooner; shallow angle during final heating to slow temperature climb |
What tips should you consider for using a steam wand to froth milk? covers additional common errors and solutions that pair with wand-angle adjustments.
If you’re working with non-dairy milk and getting watery results, try bumping your angle to 30–35° and stretching longer. Barista blends respond better to more aggressive aeration. Track each variable separately so you know which change actually fixed the problem.
Visual Wand-Angle Examples and Practice Drills

Side-view photos showing 15–20° versus 30–45° wand angles make the positioning click immediately. Look for images where the wand, pitcher wall, and milk surface are all visible in the same frame. Depth reference shots help too. Pictures marking 2–3 mm below surface for lattes and 1–2 mm for cappuccinos give you a mental benchmark when you’re holding the pitcher. Time-stamped video clips are especially useful because you can see and hear the difference between 1–3 seconds of stretching and 6–10 seconds, matching sound cues to foam volume changes in real time.
How To Steam Milk For Latte Art demonstrates angle and tip-position technique with clear visual examples that match these principles.
Drill 1: Angle calibration without steam. Hold the pitcher and wand at 15°, 20°, 30°, and 45° angles while looking in a mirror or recording video. Compare your setup to reference images until muscle memory sets in.
Drill 2: Timed stretching runs. Steam a pitcher while counting seconds out loud. Aim for exactly 2 seconds of surface sound, then move the wand deeper. Repeat until you can hit 2, 4, 6, and 8 seconds on demand.
Drill 3: Volume-increase tracking. Mark your pitcher at one third and two thirds fill. Steam to different stretch times and note which second count produces which expansion level. Write it down.
Drill 4: Temperature-stop consistency. Steam five pitchers in a row, stop each when it’s too hot to hold. Measure final temps with a thermometer and adjust your hand sensitivity until you land in the 60–65°C range every time.
Drill 5: Angle-shift mid-steam. Start at 30° for 6 seconds, then drop to 20° for the vortex phase. Practice the transition until it’s smooth and you don’t lose the whirlpool or spin up new bubbles during the switch.
Final Words
Dial the wand to 15–20° for a latte and 30–45° for a cappuccino. Keep the tip 2–3 mm below the surface for lattes, at or near the surface for cappuccinos, and time aeration 1–3 seconds vs 6–10 seconds.
Watch the vortex, feel the heat, and fix one thing at a time—angle, tip depth, or aeration time. Use a thermometer and a quick visual check of microfoam.
For a simple test, repeat the same lift and angle until you nail the best steam wand angle for latte vs cappuccino. You’ll get consistent texture fast.
FAQ
Q: Do you steam milk differently for latte vs cappuccino?
A: Steaming milk for lattes and cappuccinos differs: lattes use a shallow 15–20° wand angle, 1–3 seconds of aeration, tip 2–3 mm below surface, 60–65°C for silky microfoam; cappuccinos need steeper angle and more aeration.
Q: When making a cappuccino, the steam wand should?
A: When making a cappuccino, the steam wand should sit steeper (30–45°) with the tip at or just breaking the surface, aerate 6–10 seconds for 30–50% volume, then deepen to create a thick foam cap, finish 65–70°C.
Q: How hot should I steam my milk for a latte?
A: The milk for a latte should be steamed to 60–65°C (140–149°F); stop before 70°C to avoid scorched flavor and unstable foam, using a thermometer or a gentle wrist check to confirm.