

Does backflushing actually shorten the life of your espresso gasket?
Short answer: not if you do it right.
Most group seals are built to handle standard backflush detergents, but damage comes from wrong chemicals, too much powder, long soaking, or skipped rinses.
This post shows the safe technique, which cleaners to trust, and simple checks to keep seals flexible and shots tasting clean, one clear step at a time.
You’ll learn exact doses, rinse counts, and what to avoid.
Definitive Guidance on Backflushing Safety for Espresso Gaskets
Backflushing with detergent won’t hurt your gasket if you do it right. Most group seals are EPDM, nitrile, or silicone, all chosen because they can handle the alkaline cleaners you’re supposed to use. Standard espresso detergents sit around pH 10–12, strong enough to break down coffee oils but not aggressive enough to eat rubber when you stick to normal doses and contact times.
Gaskets fail because people mess up the process. Using too much detergent (more than 3 grams of powder or jamming in multiple tablets), soaking seals in straight cleaner for hours, grabbing household bleach or petroleum stuff from under the sink, running detergent cycles constantly without rinsing. That’s what kills gaskets.
Done correctly, backflushing means short bursts of diluted detergent during pump cycles, then a good rinse. Cafés and home users have followed this routine for decades without trashing their seals early.
What actually wrecks gaskets:
- Cleaners that aren’t made for espresso machines (bleach, oven cleaner, strong acids, anything petroleum based)
- Leaving the gasket sitting in concentrated detergent overnight or for hours
- Dumping in way too much powder or using multiple tablets per session
- Skipping the rinse cycles after detergent (you need at least 4 to 8 water only passes)
- Daily detergent backflushing on a home machine that pulls four shots a week
How Backflushing Interacts With Espresso Gaskets and Internal Seals
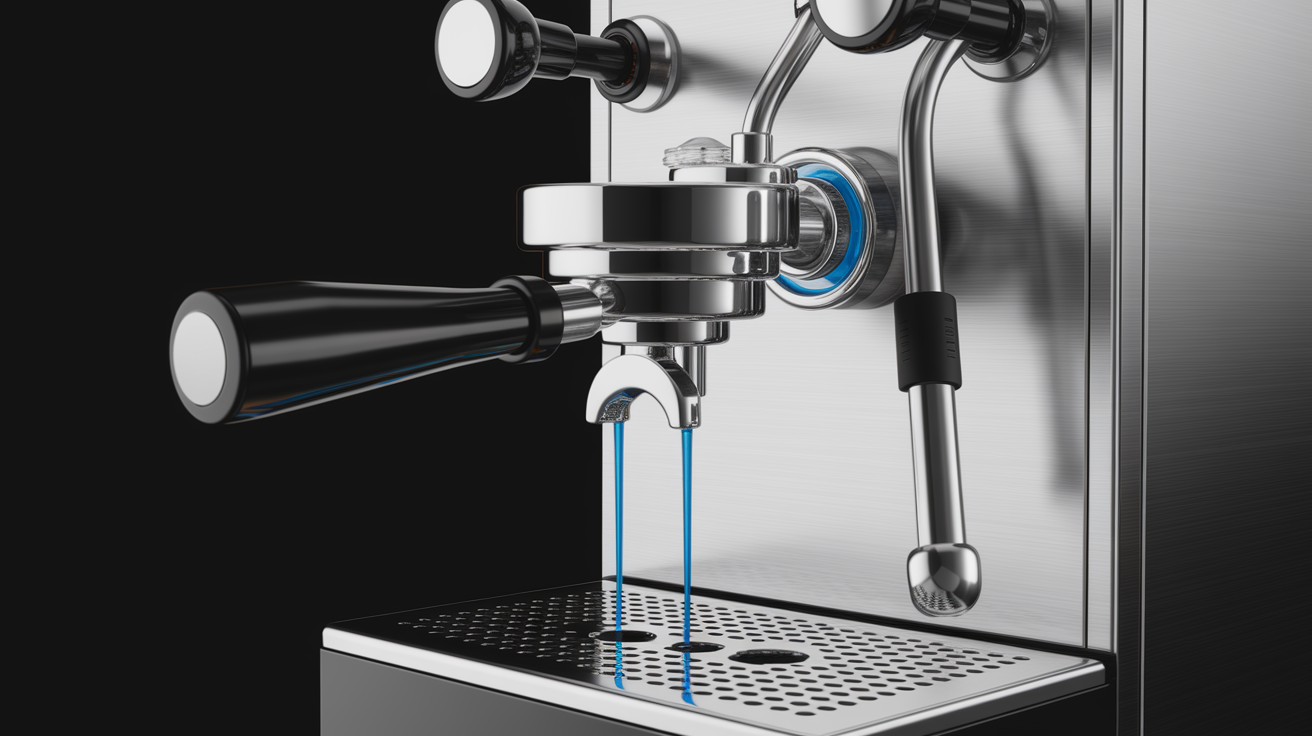
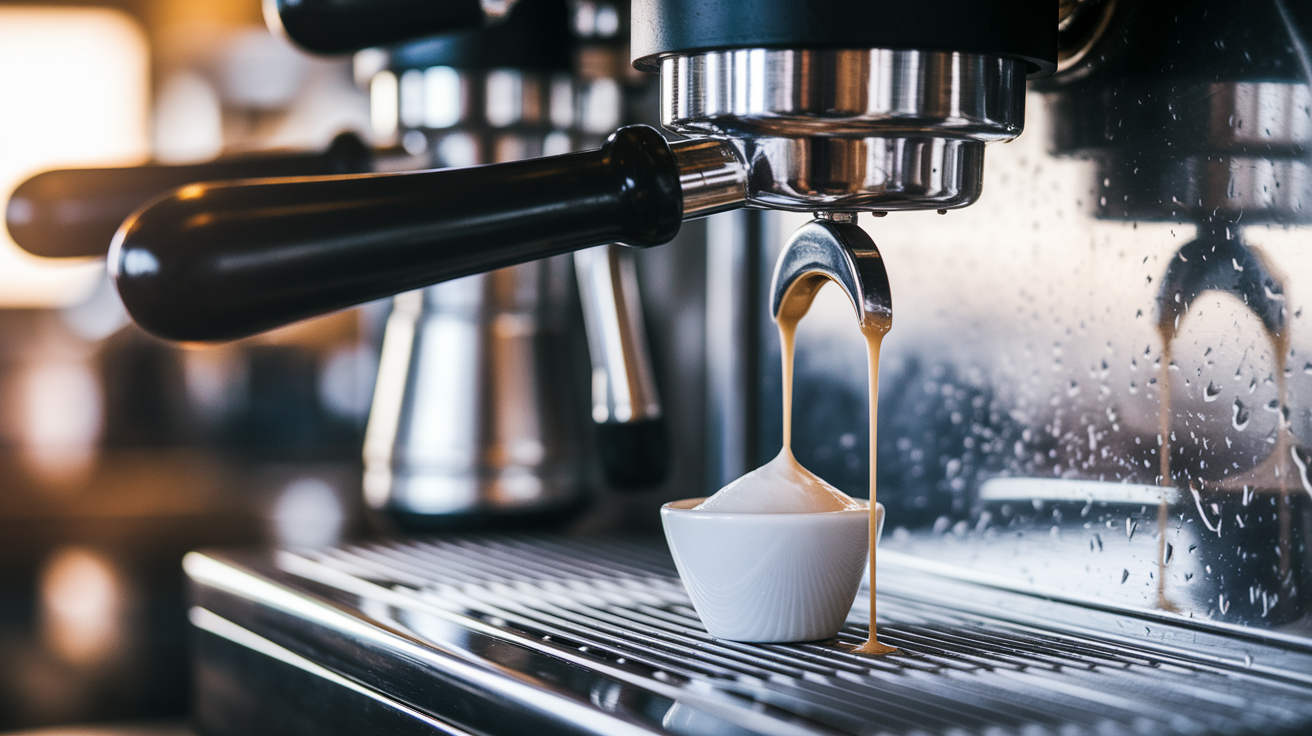
Backflushing uses a blind basket to redirect water and detergent through the 3-way solenoid instead of through your coffee puck. Normally water flows through the grounds and into your cup. Block that path with a blind disc and the 3-way valve opens, sending pressure back to the drip tray.
Your gasket doesn’t see weird or dangerous pressure during this. The pump still makes 9 bar like always, and the machine’s over-pressure valve and solenoid are built to handle the redirect safely. Water and detergent circulate around the grouphead chamber, shower screen, and dispersion plate, not through the boiler or reservoir. So the gasket experiences the same pressure environment it gets during a normal shot.
Key interaction points:
- The portafilter gasket seals between the lugs and the group head, same as when you’re pulling espresso
- Proper portafilter torque (snug, not cranked down) prevents you from grinding and distorting the gasket edges
- Short detergent cycles (5 to 10 seconds) limit how long the chemical touches the gasket surface
- The blind basket stops coffee debris from getting wedged in the gasket, which would cause abrasive wear later
Safe and Effective Cleaners for Backflushing Espresso Machines

Espresso backflush detergents are designed to strip polymerized oils and tannins that water can’t touch, while staying safe for the EPDM, silicone, and brass inside your group when you use the right amount. These alkaline formulas (pH 10–12) do the job without attacking components.
Tablets are easier for home users because each one is pre-measured. You can’t accidentally dump in double the dose. Powders let you adjust for different machine sizes but you have to measure carefully, usually 3 grams per cycle for E61 and standard commercial groups. Both work fine if you dose correctly.
Common backflush cleaners:
- Urnex Cafiza (powder 500 g around $12–20, tablets 50 count around $8–20). Alkaline detergent, everywhere in cafés and home setups, dissolves fast.
- Puly Caff (powder 500 g around $15–30). European market alkaline cleaner, popular with prosumer machines.
- Cafetto (powder 500 g to 1 kg around $15–30). Similar formula to Cafiza, comes in bulk.
- Urnex Biocaf. Enzyme based, works at lower pH, gentler chemistry if you’re worried about wear.
- Pallo JoeGlo. Alkaline powder for backflushing and soaking baskets.
- Generic espresso group cleaning tablets. Usually alkaline formulations. Check the label says it’s safe for internal group head use.
| Cleaner Type | Why It’s Safe | Typical Use Case |
|---|---|---|
| Alkaline detergent powder/tablets (pH 10–12) | Built for coffee oil removal, EPDM and silicone resist alkaline attack at these concentrations and contact times | Standard backflushing on semi-automatic and E61 machines, daily to weekly frequency |
| Enzyme-based cleaners (neutral to mildly alkaline pH) | Biological breakdown of oils with less chemical stress, longer contact time needed but gentler on seals | Users who backflush often or worry about material longevity, compatible with all gasket types |
| Water-only backflush | Zero chemical exposure, mechanical flushing only | Daily maintenance between detergent cycles, clears loose grounds and stops early buildup |
Never use these for backflushing: household bleach or chlorinated cleaners, concentrated sodium hydroxide (lye), descaling acids (citric, acetic, phosphoric) run through the group, oven cleaners, petroleum solvents, or anything not explicitly labeled safe for espresso machine internals.
Correct Backflushing Technique to Keep Espresso Gaskets Safe
Right cleaner is half the equation. Technique decides whether backflushing protects or harms your gaskets. You want short, repeated contact cycles that flush oils out, then complete removal of detergent through thorough rinsing.
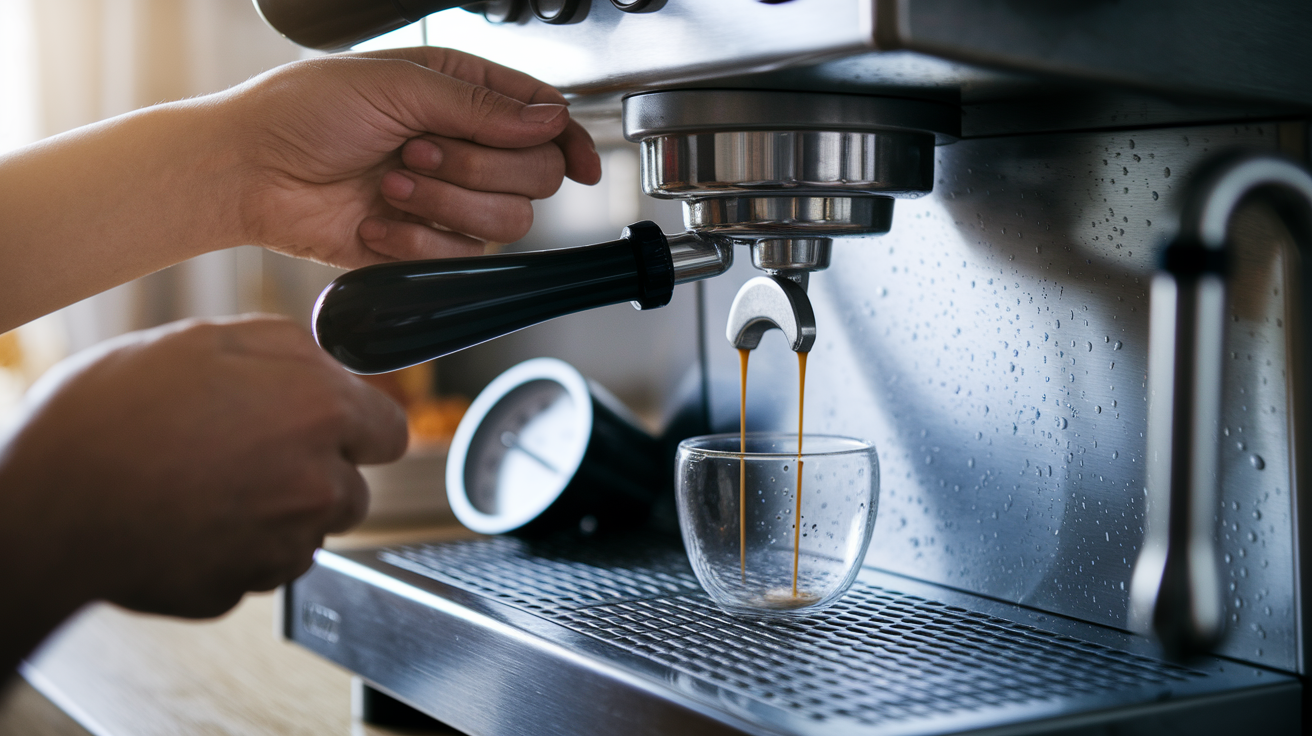
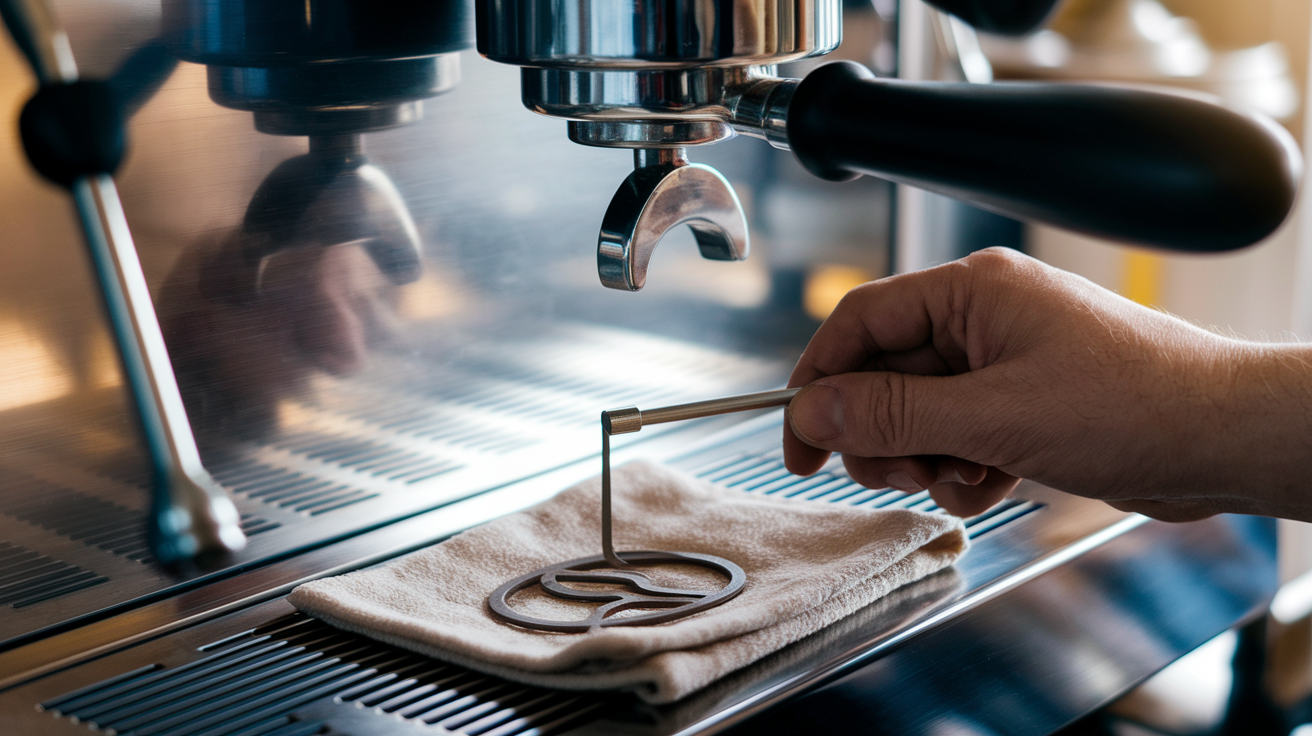
Start by putting your blind basket into a clean portafilter. Add one tablet or 3 grams of backflush powder directly into the basket. Don’t dissolve detergent in the water reservoir. Lock the portafilter into the group with the same snug pressure you use for brewing. Over-tightening distorts the gasket and creates unnecessary wear. Run the brew switch for 5 to 10 seconds to pressurize the system, then stop and wait 5 to 10 seconds while pressure releases through the 3-way valve. Repeat this on/off cycle 3 to 5 times total.
After the detergent cycles, pull the portafilter, dump any residue from the blind basket, rinse the basket under running water, and put it back without adding more detergent. Run 4 to 8 water only backflush cycles, each one 10 to 20 seconds long, until the water draining into your drip tray runs completely clear with no foam, no color, no detergent smell. This rinse phase matters. Any detergent left on gasket surfaces can dry into a film that speeds up rubber hardening.
Safe backflush process:
- Insert blind basket and add 3 g powder or 1 tablet
- Lock portafilter snugly (don’t overtighten)
- Run 3 to 5 detergent cycles: 5 to 10 seconds on, 5 to 10 seconds off
- Remove portafilter, rinse blind basket, reinsert without detergent
- Run 4 to 8 water only cycles until rinse water is clear and odor free
Cleaning Frequency: How Often to Backflush Without Wearing Out Gaskets

Backflushing frequency should match your machine’s workload and how fast coffee oils pile up in the group head. More frequent cleaning keeps flavor consistent and means you don’t need aggressive chemical cycles later. But overdoing detergent backflushing on a lightly used home machine does nothing useful and wastes cleaner.
For home machines with regular daily use (two to four shots per day), a detergent backflush once per week is enough to keep the group clean. Do a water only backflush daily or after your last shot of the day to clear loose grounds and stop oil films from hardening overnight. If your machine sees light use (only a few shots per week), stretch detergent backflushing to every 2 to 4 weeks and rely on daily water only cycles to maintain the system between chemical cleans.
Commercial environments and high volume prosumer setups need daily detergent backflushing, often at the end of each shift. Machines pulling 100+ shots per day accumulate oils fast. Delaying chemical cleaning leads to rancid flavors and clogged dispersion screens that need harsher intervention later. Water only backflushing should happen between rush periods to keep grounds from building up in the group.
| Usage Level | Water-Only Frequency | Detergent Frequency | Notes |
|---|---|---|---|
| Light home use (few shots per week) | Daily or after last shot | Every 2–4 weeks | Extend detergent interval if you taste no staleness, prioritize water rinses |
| Regular home use (2–4 shots daily) | Daily | Weekly | Standard home maintenance schedule, adjust if you notice flavor drift sooner |
| Heavy prosumer or small café | Multiple times daily | Daily | Backflush with detergent at end of day or between peak service periods |
| Commercial / high-volume café | Between rushes | Daily or per shift | Some operations backflush twice daily during split shifts, follow machine manual |
Identifying Signs of Gasket Wear and Possible Damage From Improper Backflushing
Espresso gaskets wear gradually from heat cycling, mechanical compression, and age. Not primarily from detergent exposure when backflushing is done correctly. But improper backflushing (overdosing cleaner, skipping rinses, using the wrong chemicals) can speed up degradation and produce specific symptoms that look different from normal wear.
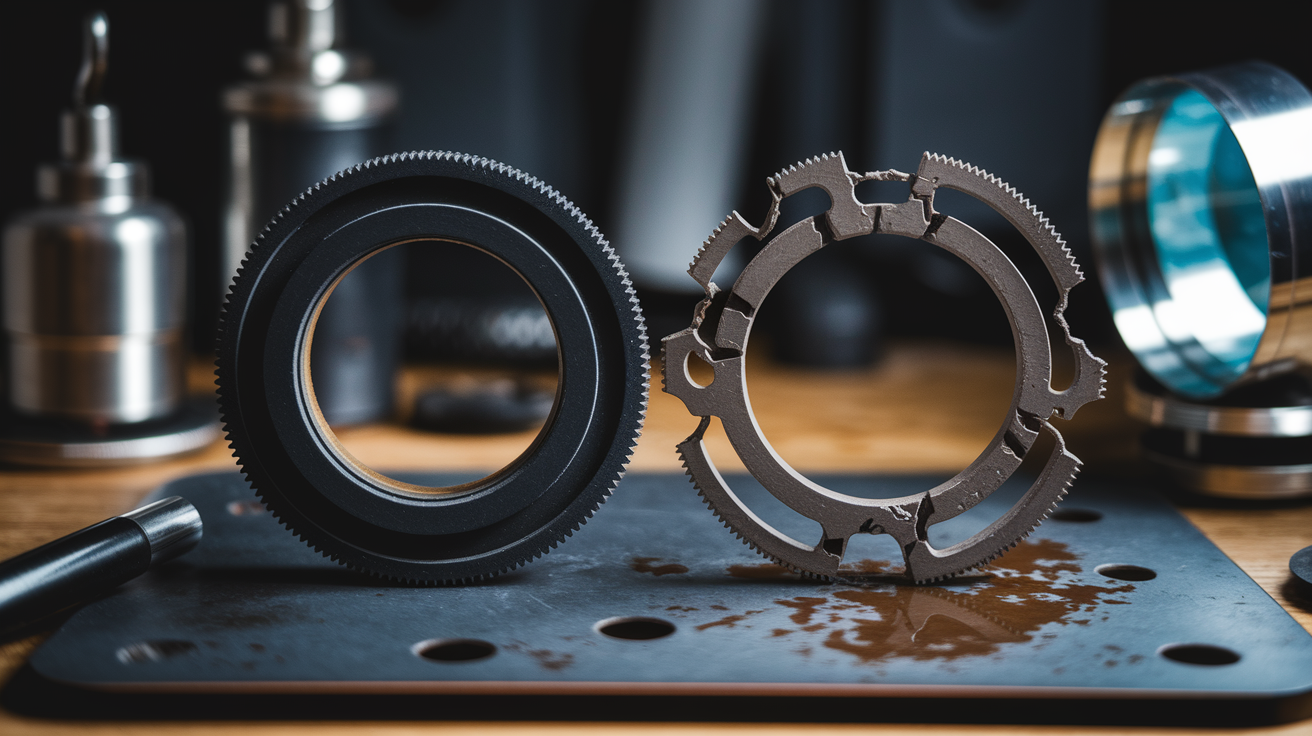
Check your gasket visually every few months by removing the shower screen and inspecting the rubber seal around the group head. Normal wear shows up as gradual flattening, slight compression marks from the portafilter lugs, and minor surface staining from coffee oils. Replace the gasket when you see visible cracks (especially radial cracks running from the inner to outer edge), chunks missing or nibbled away, or the rubber feels hard and brittle instead of flexible.
Six signs your gasket needs replacement or has suffered damage:
- Water or espresso leaking from the group head perimeter during extraction, even with proper portafilter torque
- Portafilter becomes difficult to lock into place or needs excessive force to seal
- Rubber has visible cracks, tears, or chunks missing from the sealing surface
- Gasket feels hard, brittle, or has lost its elasticity (won’t compress and spring back)
- Persistent coffee staining and puck residue embed in the gasket grooves despite regular cleaning
- Sudden increase in channeling or pressure inconsistencies that line up with poor sealing at the group interface
Chemical damage from misuse (prolonged soaking in concentrated detergent, exposure to bleach or solvents) often appears as swelling, softening, or a strong chemical odor that hangs around after rinsing. If you notice rapid gasket deterioration shortly after starting a new cleaning routine or switching cleaners, stop detergent backflushing immediately, inspect the gasket material, and replace it. Test your next backflush cycles with plain water only, then bring detergent back at half the previous dose to confirm compatibility.
Replacement Guidance: When and How to Change Espresso Gaskets Safely
Gasket replacement is straightforward preventive maintenance that restores a perfect seal and prevents extraction problems. Most home machines need a new gasket every 12 to 24 months under regular use. Commercial machines running high shot volumes may need replacement every 6 to 12 months. Cost is minimal, typically $5 to 25 per gasket depending on machine model and whether you buy OEM or compatible aftermarket parts.
Replace gaskets proactively when you see the wear signs outlined above, or on a schedule based on your usage level. Waiting until a gasket fails completely (severe leaking, inability to lock the portafilter) risks damaging the group head threads or shower screen from excess pressure blowout.
Step-by-Step Replacement
- Remove the shower screen and dispersion plate. Unscrew the central screw holding the shower screen in place, lift out the screen and set aside for cleaning.
- Pry out the old gasket. Use a gasket pick, small flathead screwdriver, or dedicated gasket removal tool to hook the inner edge and lever the gasket out of its groove. Work gently to avoid scratching the brass group head.
- Clean the gasket groove. Wipe out any embedded coffee oils, scale deposits, or detergent residue using a damp cloth or group brush. A clean surface helps the new gasket seat evenly.
- Install the new gasket. Press the gasket into the groove starting at one point and work around the circle, making sure it sits flush and even with no twists or folds. The gasket should fit snugly without force.
- Reassemble and test. Replace the dispersion plate and shower screen, lock an empty portafilter (no coffee) into the group, and run a test shot. Check for leaks around the group perimeter and confirm the portafilter locks with normal effort.
Tools for gasket replacement:
- Gasket pick or small flathead screwdriver
- Screwdriver sized for your machine’s shower screen screw (often Phillips or hex)
- Clean cloth or group brush for cleaning the gasket groove
Apply only a thin film of food safe silicone grease to the gasket surface if your machine manufacturer recommends it. Some brands say this helps portafilter insertion, but many modern EPDM and silicone gaskets install dry. Over-lubricating attracts coffee debris and creates a slippery surface that stops proper sealing.
Complementary Cleaning Methods That Support Gasket Longevity
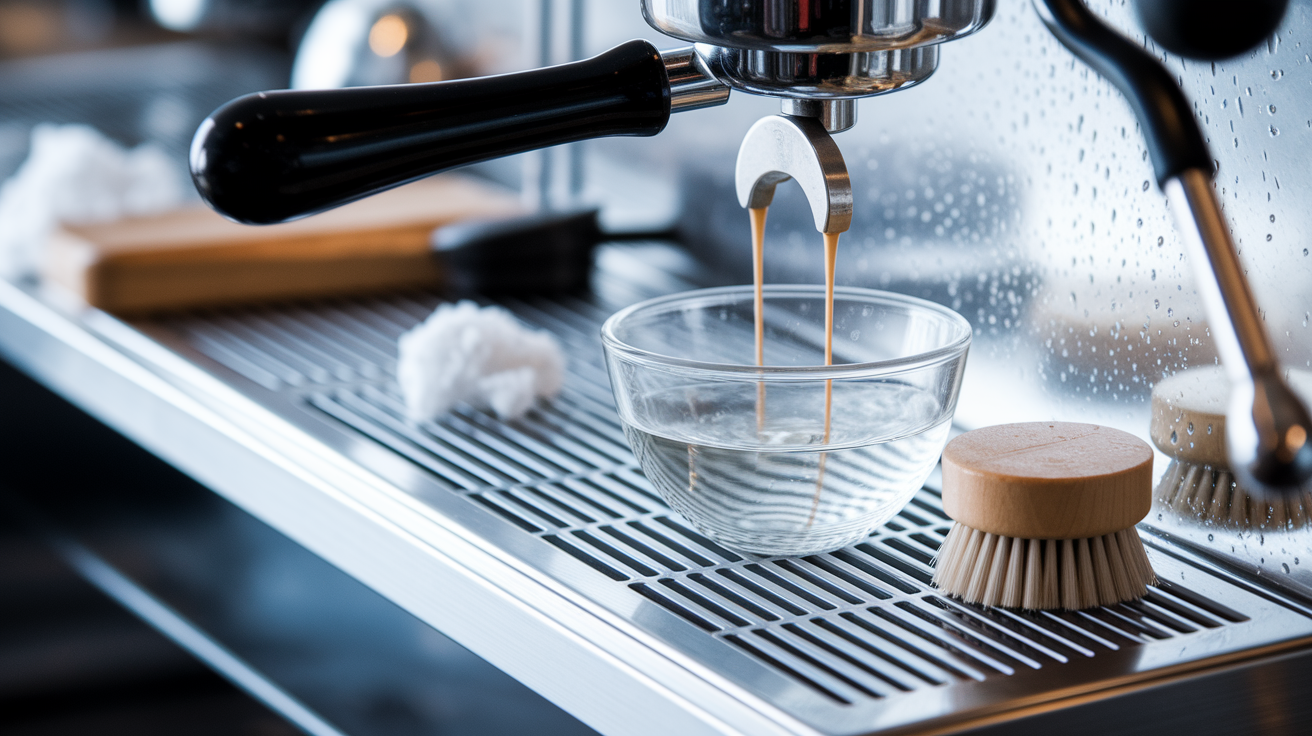
Backflushing keeps the grouphead internals clean, but other maintenance tasks reduce the total cleaning burden and stop abrasive debris from wearing down gasket surfaces. Removing and soaking the shower screen separately means you don’t need extended detergent exposure inside the group head. Regular brushing clears particulate coffee that can embed in gasket grooves.
Remove your shower screen and dispersion plate weekly (for home machines) or daily (for commercial units) and soak them in a small container of backflush detergent solution mixed per the product label. A 15 to 30 minute soak dissolves polymerized oils without making the gasket sit in contact with cleaner. Scrub the screen with a dedicated group brush, rinse thoroughly under running water, and reinstall. This routine cuts down on detergent backflush cycles and stretches time between deep cleans.
Five complementary cleaning practices that protect gaskets:
- Remove and soak the shower screen separately in detergent solution weekly. Rinse completely before reinstalling.
- Use a group brush to scrub the gasket surface and dispersion plate after each service period, clearing grounds and stopping abrasive buildup.
- Inspect and clean your blind basket regularly. Clogged holes reduce backflush effectiveness and force you to run more cycles than necessary.
- Wipe the portafilter lugs and basket rim before locking into the group. Grit on metal surfaces grinds against the gasket during insertion.
- Run a water only backflush (no detergent) daily to flush loose debris and prevent oils from hardening on gasket surfaces between chemical cleans.
Key Points to Keep in Mind About Backflushing and Gasket Care
Detergent backflushing is an industry standard procedure cafés have used safely for decades. The materials in modern group gaskets (EPDM, nitrile, and silicone) are picked specifically because they resist the alkaline detergents and temperatures involved in espresso brewing and cleaning. When you follow manufacturer dosing instructions, use short contact cycles, and rinse thoroughly, backflushing removes flavor damaging oils without speeding up gasket wear.
Most gasket failures trace to age, heat cycling, mechanical abrasion, or misuse of cleaning chemicals rather than routine backflushing. Over-tightening the portafilter, using household cleaners not made for espresso equipment, or skipping rinse cycles cause far more damage than proper detergent backflushing ever will. Keep spare gaskets on hand, inspect seals visually during routine maintenance, and replace them proactively based on the usage intervals outlined in this guide.
Five reminders for safe backflushing and long gasket life:
- Use only espresso specific backflush detergents (Cafiza, Puly Caff, Cafetto, or equivalent). Never use bleach, oven cleaners, acids, or solvents on group gaskets.
- Dose correctly. 3 grams of powder or one tablet per backflush cycle. Always follow detergent cycles with thorough water only rinses until no foam or odor remains.
- Match backflush frequency to your usage level: water only daily, detergent weekly for regular home use. Daily detergent cycles for commercial environments.
- Inspect gaskets every few months for cracks, flattening, leaks, or loss of elasticity. Replace proactively every 12 to 24 months for home machines, 6 to 12 months for commercial units.
- Combine backflushing with complementary practices (shower screen soaking, group brushing, and portafilter cleaning) to reduce total chemical exposure and prevent abrasive debris from wearing gasket surfaces.
Final Words
In the action, proper backflushing—short detergent cycles, correct dose, and thorough rinses—keeps EPDM and silicone gaskets safe. Real damage usually comes from overdosing, long soaks, or using bleach and solvents.
Stick to the step-by-step routine, watch for cracking or soft spots, and use water-only rinses until no foam remains.
If you’re wondering is backflushing safe for espresso gaskets and which cleaners to use, the short answer is yes when you use recommended detergents at the right dose and rinse well. You’ll protect seals and keep shots tasting great.
FAQ
Q: What can I use to backflush my espresso machine?
A: You can use a blind (backflush) disc with either water-only cycles or a purpose-made espresso detergent (powder or tablet). Use short 5–10 second cycles and follow manufacturer dosage, then rinse 4–8 times.
Q: How to clean an espresso gasket?
A: Cleaning an espresso gasket is done with regular short backflush cycles, brushing the group, and removing the shower screen for inspection; avoid soaking seals, check for cracking, and apply a thin film of food-safe silicone grease when reinstalling.
Q: What is the best espresso backflush detergent?
A: The best espresso backflush detergent is a purpose-made alkaline cleaner like Urnex Cafiza, Puly Caff, or Cafetto; tablets reduce overdosing risk—always follow the recommended dose to protect gaskets.
Q: What is the 30 second rule for espresso?
A: The 30 second rule for espresso refers to aiming for a roughly 25–30 second extraction for a standard shot; if it runs faster or slower, adjust grind size or dose to reach that window.