

Do you wipe your distribution tool and call it clean?
Think again.
Even one shot leaves oils and micro-grounds that wedge into needles, screens, and grooves.
Left to dry, that film hardens and leads to channeling, uneven leveling, and off flavors in your next cup.
This post shows simple, timed routines you can use now—90-second post-shot wipes, a quick daily rinse, a weekly soak, and a monthly full strip-down—to stop buildup before it starts and keep your shots steady and repeatable.
Immediate Grind Buildup Prevention Methods for Distribution Tools

Distribution tools collect coffee oils and micro-grounds fast. Every shot leaves a thin layer behind. Some of it you can see, some you can’t. Grounds wedge into WDT needle tips, puck screen holes, leveler grooves. Oils spread across stainless steel, plastic handles, rubber gaskets. Let these sit and they harden into sticky deposits that cause channeling, uneven tamping, and off flavors in your next shot.
Cleaning right after use stops that layer from bonding. A 90-second wipe and brush keeps surfaces neutral and holes open. You don’t need chemicals or disassembly. Just clear what you can see before it becomes what you can’t reach.
Early buildup shows up as dark streaks on handles, faint oily film on screens, fine grounds stuck in crevices that won’t knock out. If you see residue along the rim of your basket after leveling or notice a slick feel on your WDT tool, you’re already behind schedule. Immediate action keeps these signs from turning into blockages.
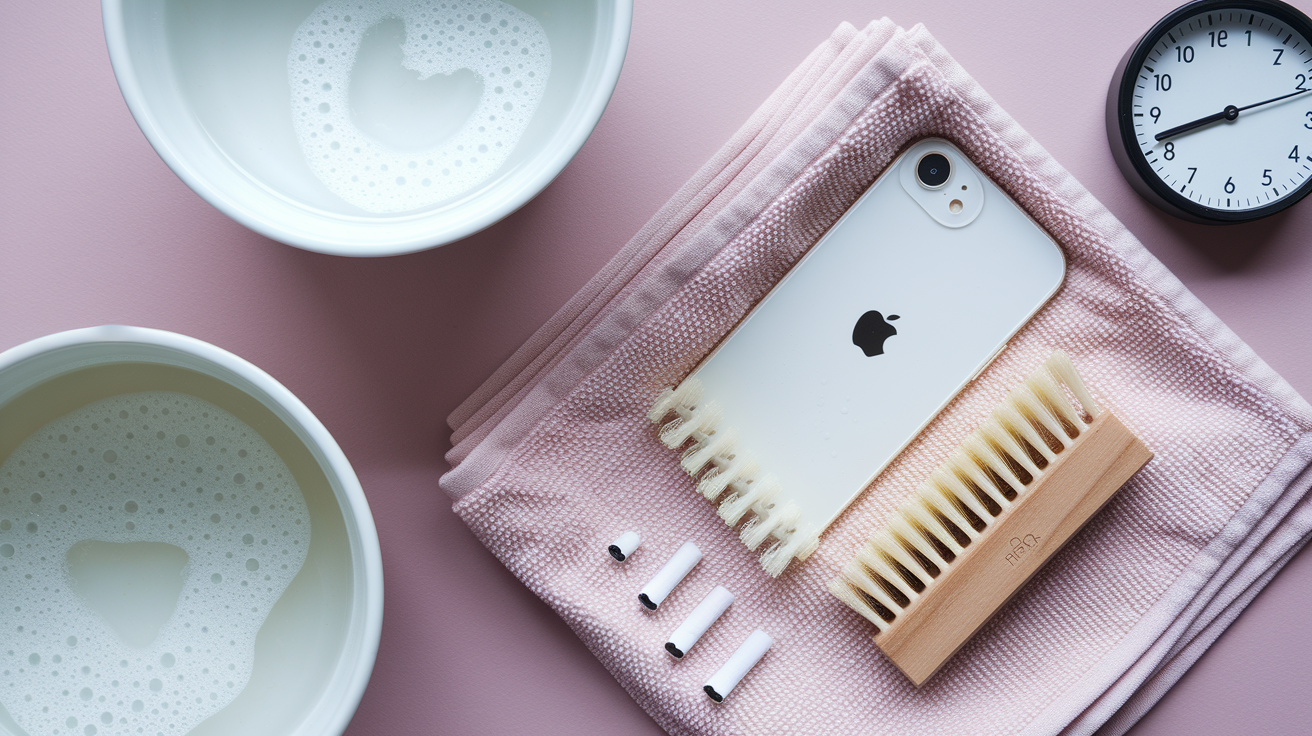
Fast post-use cleaning steps:
- Knock or tap the distribution tool over a knock box to release loose grounds. Most surface particles fall free with gentle impact.
- Wipe all exterior surfaces with a lint-free microfiber cloth to remove oils and residue before they bond.
- Use a soft nylon brush (a dedicated espresso brush or clean toothbrush works) to sweep WDT needles, leveler edges, puck screen mesh.
- Check holes and slots under direct light. If you see dark spots or clumps, brush again until they clear.
- Dry any damp areas with a dry corner of your cloth to prevent moisture-triggered corrosion or stickiness.
- Place the tool on a clean, dry surface with airflow. Don’t seal it in a drawer while still warm or damp.
Daily Distribution Tool Maintenance to Reduce Grind Accumulation

A daily routine builds on your post-shot wipe. Once a day, usually at the end of a session or shift, give distribution tools a slightly deeper pass. This catches oils that cling after multiple uses and confirms yesterday’s cleaning actually worked.
Warm water and a drop of mild dish soap help dissolve coffee oils that a dry cloth can’t lift. Rinse under running water, then dry completely. Check every hole in your puck screen and every gap in your leveler or WDT base. Grounds compact in corners when you’re busy, and a daily visual inspection stops small clogs from becoming monthly problems.
Quick daily care checklist:
- Wipe all tool surfaces with a damp microfiber cloth and warm water, adding a small amount of dish soap if you feel residue.
- Brush puck screens and WDT needles with a soft nylon brush, working from base to tip or edge to center.
- Inspect every hole and slot under good light. Use an interdental brush or toothpick (gently) to clear lodged particles.
- Rinse thoroughly under warm running water to remove soap and loosened oils, then shake off excess.
- Dry completely with a lint-free cloth or let air-dry in a well-ventilated spot before storing.
Weekly Deep Cleaning of Distribution Tools for Grind Buildup Prevention
Weekly deep cleaning targets the oils and micro-grounds that survive daily wipes. Coffee oils polymerize over time, forming a film that traps new particles and reduces tool performance. A soak and scrub session every seven days resets your tools to near-new condition and gives you a chance to spot early wear or damage.
Use warm water between 40°C and 50°C mixed with an alkaline coffee detergent or a small amount of mild dish soap. Soaking loosens compacted residue without the need for hard scrubbing. After 15 to 30 minutes, oils lift away easily, and a brush finishes the job. Hot rinse water above 60°C helps flush remaining oils. Full drying before reassembly prevents rust and mold.
Step-by-Step Weekly Soak and Scrub Process
Start by photographing your tool if it has multiple parts. This makes reassembly obvious. Work over a towel or tray to catch small screws, springs, or washers.
- Remove retaining screws, springs, and any detachable screens or inserts using the correct screwdriver or by hand if threads are finger-tight.
- Place all removable metal and plastic parts into a bowl or container filled with warm water (40–50°C) and a small amount of alkaline coffee cleaner or dish soap.
- Let parts soak for 15 to 30 minutes. Set a timer so you don’t forget and over-soak plastic components.
- Use a soft nylon brush or toothbrush to scrub holes, threads, and any textured surfaces, working debris free without forcing bristles.
- Rinse each part under hot running water (around 60°C if your hands can tolerate it with a cloth barrier) to dissolve and flush remaining oils.
- Dry every component completely with a lint-free cloth or use low-pressure compressed air (30–40 psi) to clear water from blind holes and threads.
- Reassemble once everything’s bone-dry, checking that screens sit flush, springs engage properly, and screws tighten without binding.
Monthly Full Disassembly and Precision Cleaning for Distribution Tools
Monthly cleaning goes deeper. Full disassembly lets you inspect every component, remove mineral deposits from hard water, and verify that springs, gaskets, and threads still function as designed. This is when you catch problems before they cause a breakdown mid-shift.
Use a 1:10 dilution of alkaline coffee cleaner (follow the product label) or a dedicated espresso machine cleaning powder dissolved in warm water. Soak small parts for 20 to 30 minutes. If you have mineral scale (white, chalky deposits on metal), use white vinegar diluted 1:1 with water for 15 to 30 minutes, then rinse and neutralize thoroughly with clean water. Never mix vinegar and alkaline cleaners. Photograph each step of disassembly so reassembly order’s clear, and confirm thread engagement and component alignment before you tighten anything.
| Part | Cleaning Method | Warnings |
|---|---|---|
| Puck screens and mesh inserts | Soak 20–30 min in 1:10 alkaline cleaner, scrub with soft brush, rinse hot water | Inspect for distorted holes or tears; replace if flow pattern changes |
| Springs and fasteners | Soak in cleaner, rinse, dry fully; check for corrosion or weak tension | Do not over-tighten on reassembly; replace if tension is visibly reduced |
| Handles and bodies (plastic/aluminum) | Wipe with mild soap and warm water; avoid prolonged soaking in hot or alkaline baths | Do not use boiling water or strong solvents; can cause warping or crazing |
| Rubber or silicone gaskets | Mild soap and cool water; inspect for brittleness or cracks | Replace immediately if material feels hard or shows surface cracks |
Material-Specific Care to Prevent Grind Buildup on Espresso Distribution Tools

Different materials need different treatment. Stainless steel, anodized aluminum, plastic, and rubber each react to heat, chemicals, and scrubbing in unique ways. Using the wrong cleaner or technique can strip protective coatings, cause corrosion, or create surface roughness that traps more oils and grounds than before.
Stainless steel handles high heat and most cleaners but will rust if stored wet. Anodized aluminum’s colored finish can dull or pit if exposed to extreme pH. Plastics crack or craze under heat or solvents. Rubber gaskets dry out and harden if over-cleaned or exposed to alcohol too often.
| Material | Safe Cleaners | What to Avoid |
|---|---|---|
| Stainless steel | Alkaline coffee detergent, mild dish soap, warm to hot water; food-grade mineral oil for long-term storage | Wire brushes, steel wool, prolonged exposure to moisture without drying |
| Anodized aluminum | Mild dish soap, warm water (below 60°C), soft nylon brush only | Strong alkaline or acidic cleaners, abrasive pads, boiling water |
| Plastic and polymer parts | Mild dish soap, cool to warm water (below 60°C), gentle wipe | Hot water above 60°C, alcohol-based solvents, acetone, prolonged soaking |
| Rubber and silicone gaskets | Mild soap, cool water, monthly visual inspection | Repeated alcohol wipes, high heat, prolonged exposure to strong detergents |
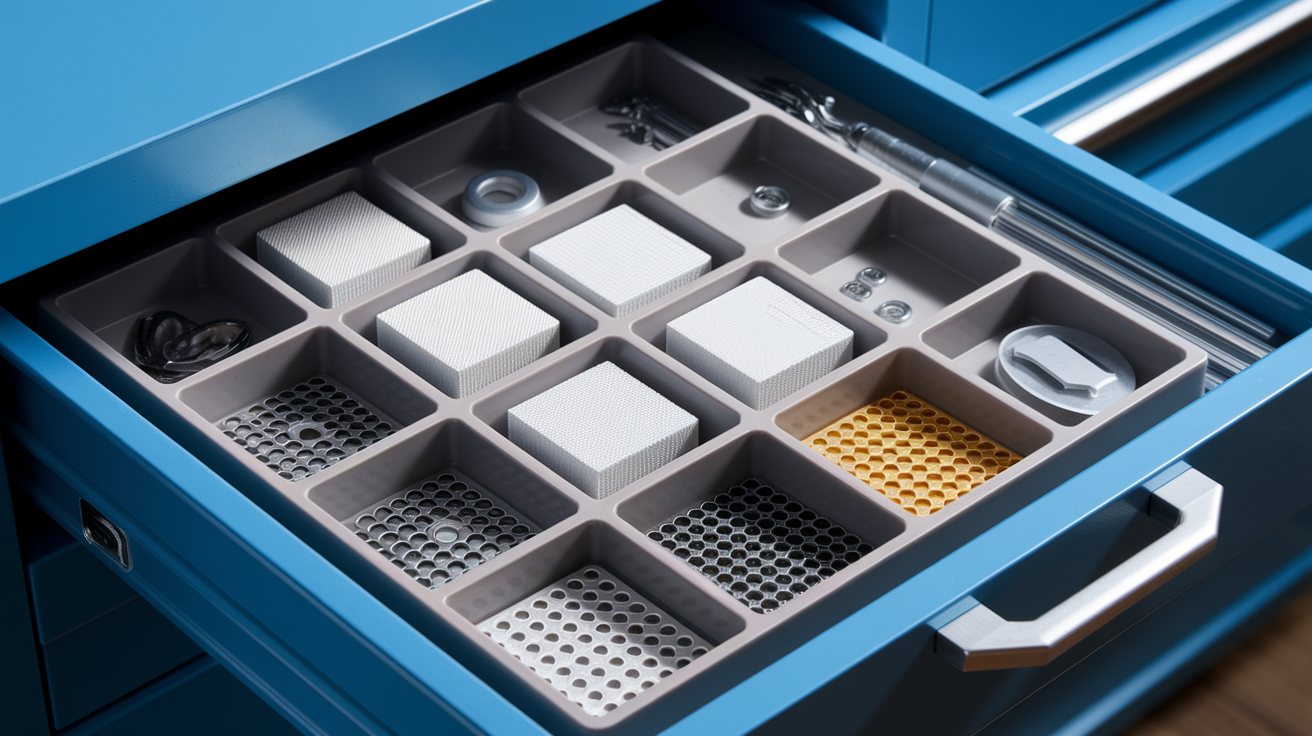
Choosing Brushes and Cleaning Tools for Superior Grind Buildup Prevention

The right brush clears buildup without creating new problems. Soft nylon bristles flex into crevices and slots without scratching stainless steel or gouging anodized finishes. Hard bristles or metal tools leave micro-scratches that catch oils and grounds, making future cleaning harder.
Recommended cleaning tools:
- Soft nylon espresso brush or dedicated group-head brush for daily sweeping of screens and leveler edges.
- Small toothbrush (soft or medium bristle) for scrubbing WDT needle bases and handle grooves.
- Interdental brushes (the kind used for braces) to reach inside puck screen holes and narrow slots.
- Microfiber cloths for wiping and drying. Lint-free and absorbent without leaving fibers behind.
- Low-pressure compressed air (30–40 psi) for blowing water out of blind holes and threads after rinsing.
- Silicone-tipped picks or wooden toothpicks for gently dislodging compacted grounds in tight corners.
Avoid wire brushes, steel wool, abrasive scouring pads, and stiff metal picks. These tools scratch protective finishes and create rough surfaces that hold oils. Once the surface is damaged, every cleaning cycle becomes less effective, and replacement parts become necessary sooner.
Preventing Rust, Corrosion, and Electrostatic Buildup in Distribution Tools
Moisture and oxygen cause rust. Static electricity makes fine grounds cling to dry metal and plastic. Both problems feed grind buildup, but both are easy to prevent with a few simple habits.
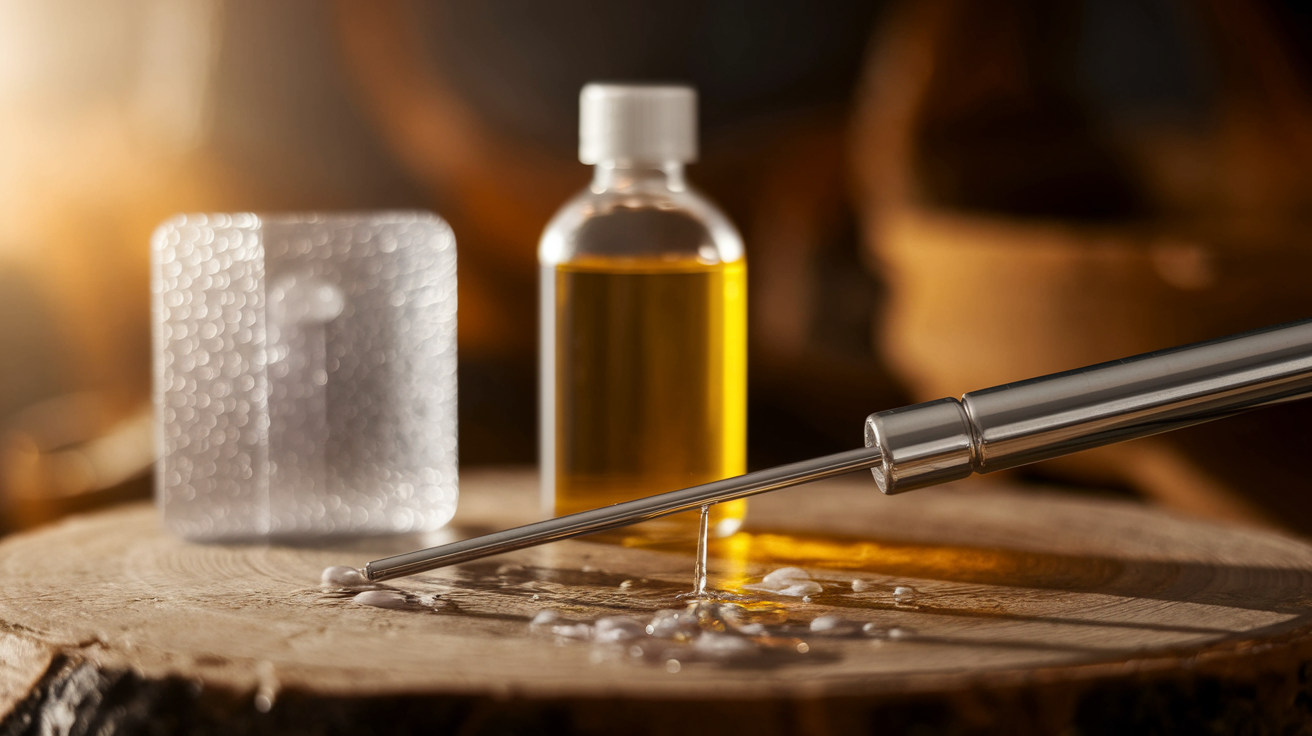
Dry every component completely after cleaning. Use a lint-free cloth first, then let parts air-dry in a well-ventilated area for 10 to 15 minutes. For stainless steel tools stored longer than 30 days, apply a very thin coat of food-grade mineral oil with a cloth, then wipe off the excess. This blocks oxygen and moisture without contaminating your next puck. Store tools in a closed container with a small silica gel pack to control humidity. Anti-static brushes or a quick wipe with a barely damp cloth before use can reduce particle cling, especially in dry climates.
Protective care steps:
- After every wash, dry all parts immediately with a microfiber cloth, then allow them to air-dry fully before reassembly or storage.
- For long-term storage (more than one month), lightly coat stainless steel surfaces with food-grade mineral oil and wrap in a lint-free cloth.
- Store cleaned and dried tools in a drawer or sealed container with a silica gel pack to absorb ambient moisture.
- Before first use each day, wipe tools with a barely damp cloth to discharge static and remove any dust settled overnight.
- Inspect rubber gaskets and plastic parts monthly. If they feel sticky or show surface cracks, replace them to prevent contamination and maintain seal integrity.
Maintenance Schedules for Preventing Grind Buildup in Distribution Tools

Frequency matters more than intensity. A quick daily routine prevents the need for aggressive monthly scrubbing. Schedules should match your volume. Home setups pulling two shots a day need less than café counters running 200 shots. Tracking tasks in a simple log or calendar reminder keeps cleaning consistent and reduces forgotten maintenance.
Low-volume users (home, small office) can often extend weekly tasks to every 10 days without issue. High-volume environments (busy cafés, training labs) benefit from daily deep wipes and twice-weekly soaks. Professional setups should schedule part inspection and replacement checks every six months, while home users can stretch that to 12 months if tools show no wear.
Cleaning Frequency by Usage Volume
Light-use setups prioritize simplicity and convenience. High-volume environments prioritize speed and contamination control. Both need the same core tasks, just at different intervals.
| Frequency | Tasks | Ideal For |
|---|---|---|
| After every use (1–2 minutes) | Knock out loose grounds, wipe exterior, brush screen/needles, visual check of holes | All setups (home and commercial); prevents compaction between shots |
| Daily (end of session) | Full wipe with warm water and mild soap, thorough brush of all crevices, rinse, dry completely | Moderate to high-volume cafés; home users pulling 5+ shots per day |
| Weekly | Disassemble removable parts, soak 15–30 min in alkaline cleaner, scrub, hot rinse, full dry, reassemble | All users; critical for consistent puck prep and flavor clarity |
| Monthly | Full disassembly, extended soak (20–30 min), descale if needed, inspect springs/gaskets, check thread engagement | All users; prevents long-term wear and hidden contamination |
| Every 6–12 months | Professional inspection or DIY parts replacement (screens, springs, gaskets); precision alignment check | High-volume commercial (6 months); home setups (12 months) |
Common Cleaning Mistakes that Increase Grind Buildup on Distribution Tools
Mistakes often stem from trying to clean faster or using whatever tool’s nearby. Abrasive scrubbing damages surfaces, creating texture that holds oils. Reassembling wet parts traps moisture and starts corrosion. Over-lubricating moving parts transfers oil to the coffee puck, altering extraction and flavor.
Frequent errors to avoid:
- Using wire brushes, steel wool, or abrasive scouring pads that scratch stainless steel, anodized aluminum, or plastic, leaving rough surfaces that trap grounds and oils.
- Soaking plastic handles or anodized parts in water hotter than 60°C or in strong solvents like acetone, causing warping, crazing, or finish damage.
- Reassembling tools while parts are still damp or wet, which promotes rust on steel components and mold growth in crevices.
- Applying food-safe lubricant to threads or pivots that contact the coffee puck, transferring oil into the grounds and altering extraction.
- Skipping spring and gasket inspections during monthly cleanings, allowing worn components to degrade puck prep consistency.
- Neglecting to photograph multi-part tools before disassembly, leading to incorrect reassembly, misaligned screens, or lost small parts.
Cleaning tools should make your workflow easier, not create new problems. If a method leaves residue, damages a finish, or takes longer than brewing the shot, it’s time to adjust your technique or tools.
Storage Techniques to Prevent Grind Buildup in Distribution Tools
Proper storage keeps cleaned tools clean. Open drawers collect dust. Humid environments invite corrosion. Mixing dirty and clean tools cross-contaminates surfaces you just scrubbed.
Store tools in a closed drawer, small toolbox, or dedicated container. Add a silica gel pack to control moisture, especially in kitchens with high humidity or near steam wands. Keep puck screens and precision inserts separated in small labeled containers or compartments to prevent dents, scratches, and dust exposure. For travel or multi-station setups, a portable cleaning kit with brush, cloth, and a small sealed case keeps tools ready and protected.
Storage best practices:
- Store all distribution tools fully dry in a closed drawer or container to block dust and airborne oils from the kitchen.
- Use silica gel packs (replace or recharge every 2–3 months) to absorb moisture and prevent rust or corrosion on metal parts.
- Separate precision components like puck screens, springs, and small inserts into individual compartments or small zip bags to avoid scratches and dents.
- Keep cleaning tools (brushes, cloths) in the same storage area so the full cleaning routine’s always within reach.
- Avoid stacking heavy items on top of distribution tools, which can bend WDT needles, warp plastic handles, or deform mesh screens.
Final Words
Wipe, brush, and check crevices after every shot — that one-minute habit prevents most problems.
You’ve got fast after-shot fixes, a simple daily wipe-and-rinse routine, weekly soaks, and monthly full disassembly. We also covered material-specific care, the right brushes, rust and static prevention, and common mistakes to avoid.
Following the steps for maintaining and cleaning distribution tools to prevent grind buildup turns random shots into reliable ones. Make one small change, track it, and enjoy steadier, better-tasting espresso.
FAQ
Q: What are the 10 ways of maintaining tools and equipment?
A: The 10 ways to maintain and clean tools and equipment are: wipe after every use, brush crevices, warm-water daily rinse, weekly soak with mild detergent, full monthly disassembly, dry fully, inspect seals, use silica gel, replace worn parts, log schedule.
Q: How should cleaning tools and supplies be stored to prevent contamination?
A: Cleaning tools and supplies should be stored to prevent contamination by keeping them clean, dry and separated from beans in closed containers; use silica gel, allow airflow to dry, label kits, and avoid damp counters.
Q: What should be avoided when grinding tools on the grinder?
A: You should avoid grinding tools on the grinder by not inserting metal or plastic parts into burrs or the hopper, not forcing objects, and never using the grinder to remove stuck grounds or clean tools.