

Think holding the steam wand straight gives the best microfoam? Think again.
The sweet spot is 15–20° off-center, not vertical.
That small tilt starts a steady vortex that folds tiny bubbles into glossy, paint-like milk.
In this post I’ll show the exact setup: tip depth, pitcher tilt, fill level and timing.
So you can stop guessing and get repeatable microfoam every shot.
Start by placing the tip 0.5–1.0 cm below the surface and tilting the pitcher 15–30° toward the wand.
One small change that fixes a lot.
Ideal Wand Angle and Complete Setup for Consistent Microfoam

The sweet spot for microfoam sits at 15–20° off-center. You’re tilting the wand toward the pitcher wall, not aiming it straight down. This angle kicks off a stable vortex that drags air bubbles under the surface and folds them into the milk, giving you that glossy, paint-like texture that blends into espresso instead of just sitting on top like a pile of bubbles. Most people starting out center the wand or hold it vertically. Both moves kill the circulation and leave you with either flat milk or chunky foam.
Start with the steam tip 0.5–1.0 cm below the milk surface when you turn on the steam. Fill your pitcher about one-third full so the milk can expand 20–30% while you’re stretching. Tilt the pitcher 15–30° toward the wand to help the vortex catch. When you combine off-center angle, shallow depth, and pitcher tilt, you get a rolling whirlpool that spreads tiny air pockets evenly before they balloon. Skip the tilt or center the wand and the milk barely spins. You’ll be fishing out bubbles with a spoon.
Keep the wand near the pitcher wall but don’t let it touch. Aim the steam flow along an imaginary line that wraps around the inside curve. Picture the wand “chasing” the milk clockwise or counterclockwise, depending on which side feels natural. This works on most home machines. If your wand has multiple holes or sits at a fixed angle, tweak the pitcher tilt or rotate the pitcher a bit until you see smooth surface motion. The stretching phase only lasts 3–5 seconds. After that you drop the wand deeper, about 2–3 cm from the bottom, to finish heating to 140–150°F (60–65°C) while the vortex blends everything together.
Five setup variables that lock in consistent microfoam:
- Wand angle: 15–20° off-center, never vertical or dead-centered
- Tip depth at start: 0.5–1.0 cm below the surface for air intake
- Pitcher tilt: 15–30° toward the wand to get the whirlpool going
- Pitcher fill level: one-third capacity to leave room for 20–30% expansion
- Off-center placement: wand near the wall, steam flow wraps along the curve
Technique Guidance for the Stretching Phase

Stretching is that short window, 3–5 seconds, where you hold the steam tip just under the surface and let it pull air into the milk. Get it right and you hear a steady “tss-tss” or soft hiss, like gently tearing paper. The milk volume climbs about 20–30% and you see small ripples spreading across the surface without wild splashing. Stop stretching the second the pitcher feels warm to the touch, around 100°F / 38°C, or when the hiss starts to get erratic. Past that point you’re heating, not aerating.
If the sound turns into loud sputtering or milk sprays onto the wand, the tip is too shallow. Pull the pitcher down a bit or ease off the tilt until the noise smooths out. Silence means the tip dropped too deep and you’re just heating liquid without adding air. Raise the pitcher or flatten the tilt angle until the hiss comes back. Beginners chase the hiss by moving the pitcher constantly, which breaks the vortex and scatters big bubbles everywhere. Once you find the right depth and angle, hold still and let the steam do the work.
Sensory Indicators of Correct Stretching
Look for a rolling, glossy surface with a gentle swirl and no volcano of foam climbing the pitcher wall. The milk should look alive but controlled, not chaotic. Tiny bubbles fold in immediately. If you see white foam piling on top, you either stretched too long or held the tip too shallow. The pitcher handle warms noticeably during this phase. When it shifts from cold to lukewarm in your grip, stretching time is over. Trust sound first, surface motion second, temperature third. Together they tell you whether the 15–20° angle is working or needs a small tweak.
Technique Guidance for the Texturing (Whirlpool) Phase

After stretching ends, drop the steam wand deeper. Aim for about 2–3 cm from the bottom of the pitcher and keep the same off-center angle to sustain the whirlpool. The tip should sit well below the surface now so no more air enters. All you’re doing is heating and spinning the milk to fold the microfoam evenly throughout. The vortex speed stays steady. If it slows or dies, nudge the pitcher tilt slightly or rotate the pitcher a few degrees until the swirl picks up again. This phase lasts longer than stretching, usually another 10–15 seconds depending on volume, and finishes when the pitcher becomes too hot to hold comfortably at 140–150°F / 60–65°C.
You’ll know texturing is working when the milk surface stays smooth and glossy without fresh bubbles popping up. If new foam keeps climbing or the whirlpool turns choppy, the wand drifted back toward the surface or the angle shifted too vertical. Drop the pitcher slightly or double-check your tilt. Stop heating before the milk hits 160°F (71°C). Beyond that, proteins break down, sweetness drops, and you get a burnt-sock flavor no amount of angle correction will fix.
Once you shut off the steam, give the pitcher two firm taps on the counter to pop any remaining surface bubbles, then swirl in a smooth circle for a few seconds. Properly textured milk looks like wet paint: thick, shiny, and uniform, with no visible bubbles or separated layers.
Common texturing faults:
- Weak or disappearing vortex: wand too deep or angled too steeply. Raise slightly or flatten the tilt.
- Foam climbing the pitcher wall: wand too shallow again. Drop deeper and hold position.
- Temperature climbing too fast: wand buried near the bottom. Raise to mid-depth and check steam pressure setting.
- Milk looks thin and watery: insufficient stretching time or wand centered, killing circulation. Restart with better off-center placement.
How Pitcher Tilt and Shape Influence Wand Behavior
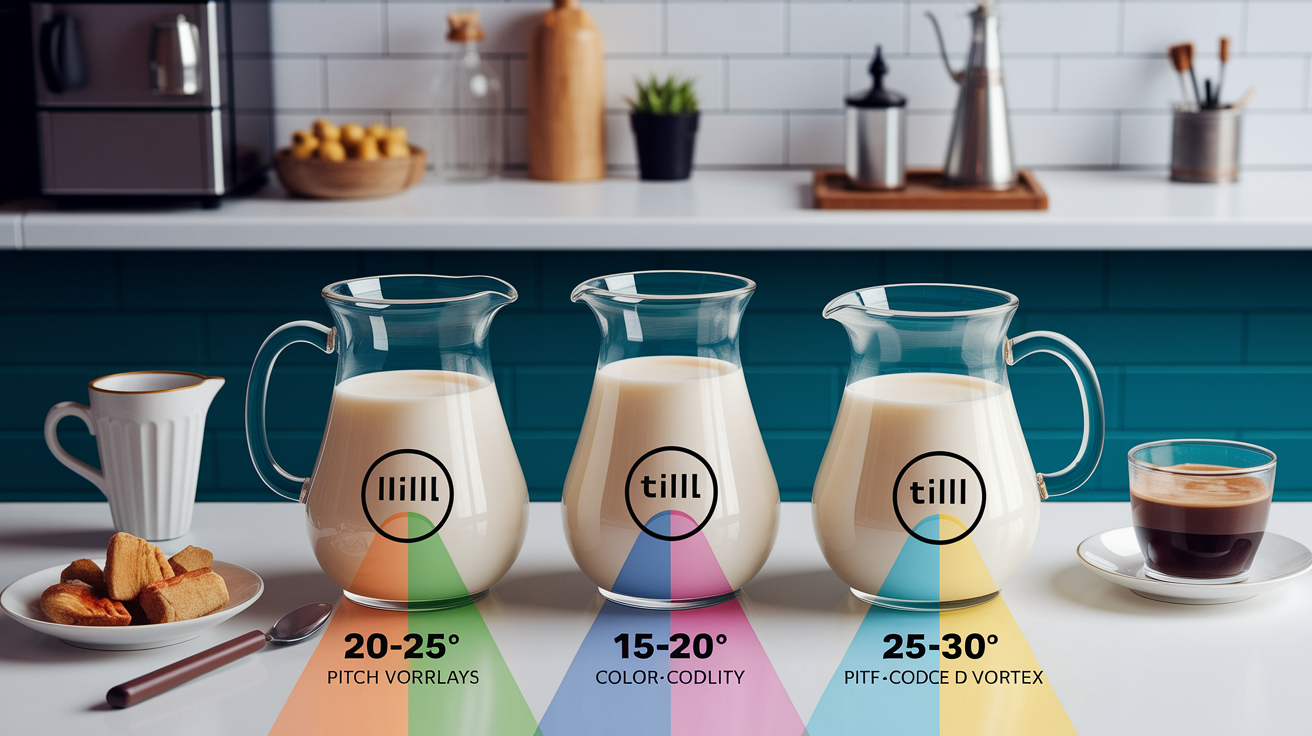
Pitcher tilt does more than help the vortex start. It changes how aggressively the steam grabs the milk and how much room you have to correct depth mistakes. A 15° tilt gives you a gentler, slower whirlpool that’s easier to control on low-pressure home machines. A 30° tilt speeds up circulation and works better on commercial setups or when steaming larger volumes. If your tilt is too steep, the wand can break the surface and splatter. Too shallow and the milk barely moves. Find the angle where the whirlpool looks steady and the hiss stays consistent, then lock your wrist in that position for every session.
Pitcher shape matters because narrow, tall pitchers concentrate the vortex and need less tilt to spin effectively. Wide, shallow pitchers spread the milk out and need a steeper tilt or deeper initial placement to get circulation going. Spout design also affects pour control. Sharper spouts let you place latte-art patterns precisely, but they can make it harder to see the milk surface during steaming. Always fill the pitcher only one-third full no matter the size. Overfilling leaves no room for expansion. Underfilling makes it nearly impossible to keep the wand at the right depth without plunging straight to the bottom.
| Pitcher Size | Recommended Tilt | Angle Behavior Notes |
|---|---|---|
| 12 oz / 350 ml | 20–25° | Narrow diameter needs moderate tilt; vortex forms quickly; easy to overheat if wand goes too deep |
| 20 oz / 600 ml | 15–20° | Standard home-barista size; balanced tilt; forgiving depth range during stretching |
| 32 oz / 950 ml | 25–30° | Wider base requires steeper tilt to catch vortex; longer heating phase; wand may need to start deeper (1 cm) |
Adjusting Technique for Different Types of Milk

Whole milk is the most forgiving. Its 3.5% fat and higher protein content stabilize bubbles easily, so the standard 3–5 second stretch at 15–20° off-center works without adjustment. You get a wide margin for error on depth and timing, and the milk rarely separates or turns watery if you stay below 150°F. Most cafés train on whole milk for this reason. Once you can produce consistent microfoam with whole, the fundamentals transfer to everything else.
Oat milk needs 5–7 seconds of stretching instead of 3–5 because it incorporates air more slowly. Barista-blend formulas often include stabilizers that perform best with slightly longer aeration. Keep the same 15–20° angle but expect a thinner, faster vortex. If the foam looks flat after your usual stretch time, add another second or two and check the final texture. Stop heating oat milk around 140°F (60°C) because many brands separate or turn gritty above that point. Soy milk behaves similarly: longer stretch, lower final temperature. But it can curdle if your espresso is too acidic, so test small batches first.
Almond milk requires more aggressive aeration and a slightly steeper angle, closer to 20–25° off-center, because it has almost no natural protein to hold bubbles. Stretch for the full 5 seconds and tilt the pitcher more assertively to speed up the vortex, but still stop before the milk exceeds 130–140°F (54–60°C). Almond proteins break down fast under heat and the foam collapses within seconds if you push too far. Barista-specific almond formulations add gums and emulsifiers that help, but the margin for error stays narrow compared to dairy. If you’re new to plant-based steaming, start with oat. It’s the closest analog to whole milk and teaches you how to adjust stretching time without completely relearning angle control.
Troubleshooting Microfoam Issues

Most steaming problems trace back to one of four variables: wand depth, angle placement, air-injection timing, or final temperature. When a shot goes wrong, change only one thing and steam again. If you tweak depth and angle and timing all at once, you won’t know which fix worked. Start with the easiest check: did you purge the wand for a full second before inserting it? Condensed water sitting in the tip dilutes the first few seconds of steam and leaves you with thin, flat foam no amount of angle correction will rescue.
| Symptom | Likely Cause | Corrective Action |
|---|---|---|
| Loud sputtering, milk spraying onto wand | Steam tip too shallow, breaking the surface | Lower pitcher slightly or reduce tilt angle until hiss smooths out; keep tip 0.5–1 cm submerged |
| Silence during stretching, no foam forming | Wand too deep, no air intake | Raise pitcher or increase tilt to bring tip closer to surface; listen for return of hissing sound |
| Large bubbles floating on top, rough texture | Stretched too long or wand centered, killing vortex | Cut stretching time to 3–4 seconds; confirm wand is 15–20° off-center; tap and swirl pitcher after steaming |
| Burnt or bitter milk flavor | Temperature exceeded 160°F (71°C) | Stop steaming earlier (140–150°F); use thermometer or hand-sense cue (too hot to hold = stop) |
If the vortex never starts or dies halfway through, the wand is either dead-centered or aimed at the wrong tangent. Shift it toward the pitcher wall and tilt the pitcher more aggressively until you see smooth circular motion. Weak foam despite correct angle usually means insufficient stretching time. Add one second and test again. Watery, thin milk that won’t integrate points to a dirty steam wand or a machine that’s venting too much condensate. Run a cleaning cycle, purge longer, and check the boiler pressure setting if your machine allows adjustments. When in doubt, go back to the five-variable checklist in the first section: angle, depth, tilt, fill level, and off-center placement. One of them drifted. Isolating it systematically beats guessing.
Angle Adjustments for Different Machine Types
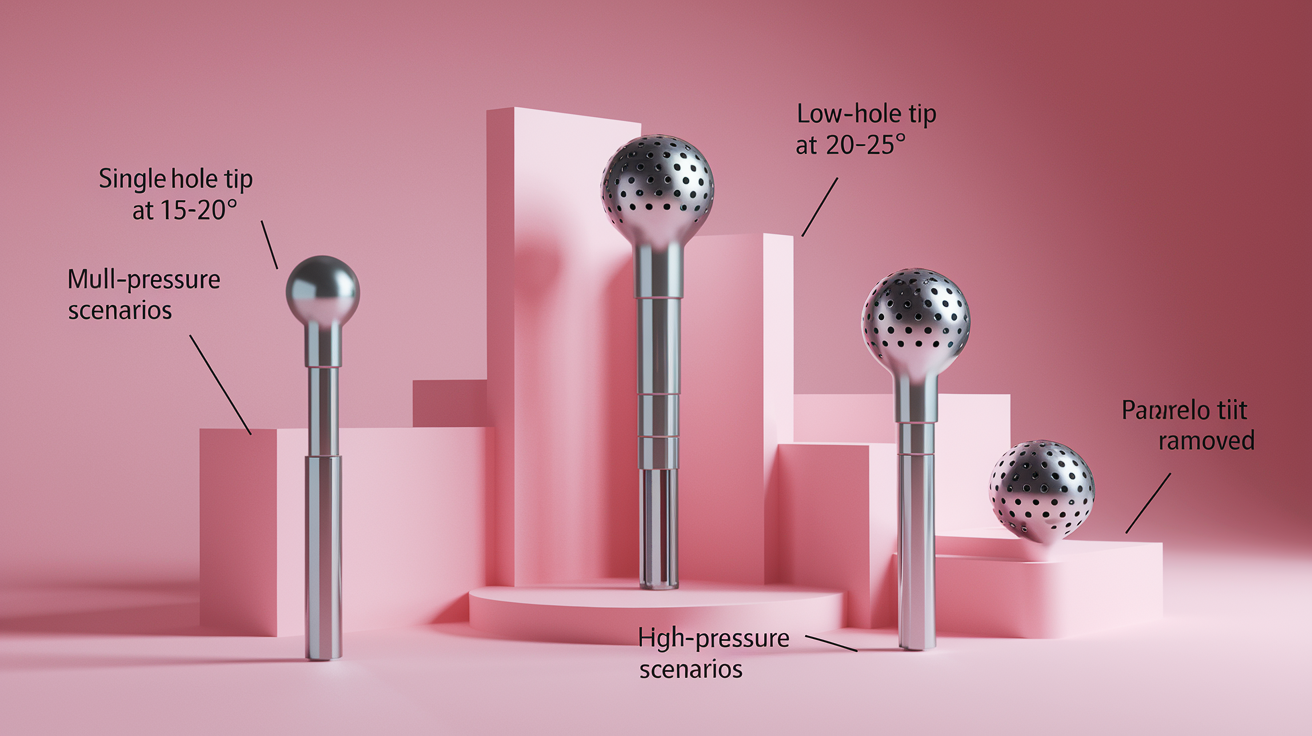
Single-hole wand tips concentrate steam into one narrow jet, making it easier for beginners to find the sweet spot for a vortex. Just aim the hole toward the pitcher wall at 15–20° and hold steady. Multi-hole tips spread steam across a wider area, which generates more turbulence and can require a steeper tilt (20–25°) or slightly deeper starting depth to avoid chaotic surface splashing. If your machine has a four-hole or “panarello” tip designed for automatic frothing, remove it if possible. Those attachments inject air in uncontrolled bursts and make precise angle work nearly impossible.
Low-pressure home machines, below 1.0 bar steam pressure, take longer to heat milk and produce weaker circulation. You may need to extend the stretching phase to 5–7 seconds and increase pitcher tilt to 25–30° to compensate. High-pressure commercial machines at 1.2+ bar heat fast and create aggressive vortexes with less tilt. If you’re used to a home setup and switch to a café machine, flatten your tilt angle slightly and shorten stretching time or you’ll over-aerate in the first three seconds. Wand articulation also varies. Some wands swivel or extend, letting you fine-tune angle on the fly. Fixed wands force you to adjust only via pitcher position and tilt.
Machine-specific angle adjustments:
- Single-hole tip: Start at 15° off-center. Easiest to control, forgiving depth range.
- Multi-hole tip: Increase tilt to 20–25°. Watch for surface turbulence. May need to start 1 cm deep instead of 0.5 cm.
- Low steam pressure (<1.0 bar): Steepen tilt to 25–30°. Stretch 5–7 seconds. Expect slower vortex formation.
- High steam pressure (>1.2 bar): Flatten tilt to 15–20°. Shorten stretch to 3–4 seconds. Vortex appears almost instantly.
- Panarello or auto-froth attachment: Remove if possible. If fixed, tilt pitcher aggressively and accept rougher texture. Angle control is limited.
Practice Methods for Consistent Angle Control

Consistency comes from isolating variables and training your hands to repeat the same motion every time. That means practicing the setup sequence even when you’re not making coffee. Fill your pitcher with cold water, never hot because temperature feedback matters. Position the wand at 15–20° off-center and run the steam for 3–5 seconds while watching the surface. Water won’t foam, but you’ll see whether the vortex forms cleanly or dies out. You can adjust tilt and depth without wasting milk. Run ten water-only cycles in a row, resetting to the same starting position each time, until the whirlpool looks identical from rep to rep.
Next, switch to cold milk and focus on sound rather than result. Your goal is to hear the same hiss start at the same moment and fade at the same temperature every session. Use a thermometer for the first twenty reps so you learn what 100°F and 150°F feel like in your grip, then try five rounds without the thermometer and check your accuracy afterward. Track your results on paper: date, milk type, stretch time, final temp, and a one-word texture note (smooth, rough, thin). Patterns emerge fast. If every “rough” entry corresponds to a 6-second stretch, you know to cut back to 4 seconds.
Simple Steaming Drills for Home Baristas
Angle-locking drill: Mark a piece of tape on the pitcher at the 15° and 20° tilt points. Measure with a protractor or phone app. Practice holding the pitcher so the tape aligns with a fixed reference point on your counter. Steam five rounds at 15°, then five at 20°, and compare vortex speed and foam volume. Pick the angle that gives you the smoothest result and make that your default.
Sound-recognition drill: Close your eyes during the stretching phase and listen for the transition from hiss to silence. Stop steaming the instant the sound changes, then check the thermometer. If you’re consistently within 5°F of your target, your ears are calibrated. If you’re off by more than 10°F, adjust your timing and repeat until the cue is reliable.
One-variable-change drill: Steam a baseline shot, then change only wand depth by 0.5 cm and steam again. Compare textures. Reset, then change only tilt angle by 5° and steam again. This teaches you exactly what each variable controls, so when something goes wrong mid-shift, you know which knob to turn without guessing.
FAQs About Microfoam Quality, Temperature, and Technique
At what temperature should I stop aerating and switch to heating only?
Stop pulling air into the milk around 100°F (38°C), which usually happens 3–5 seconds after you start steaming. At that point the pitcher feels warm but not hot and the milk has expanded about 20–30%. Keep steaming to heat the milk to 140–150°F (60–65°C), but don’t introduce any new air. Just maintain the vortex to integrate the foam you’ve already created.
Can I steam milk without a thermometer?
Yes. Once you’ve practiced with a thermometer for a few weeks, your hand becomes accurate within 5–10°F. When the pitcher shifts from warm to “almost too hot to hold for two seconds,” you’re at roughly 140–150°F and should stop. If you can still grip the handle comfortably, the milk is below 130°F and needs more time. If the metal burns your palm instantly, you’ve passed 160°F and the milk is scorched.
What does properly textured microfoam look like in the pitcher?
The surface should be glossy and smooth, like wet paint, with no visible bubbles or separated layers. When you tilt the pitcher, the milk moves as one thick sheet rather than sloshing around or leaving foam stuck to the sides. If you see bubbles, tap the pitcher twice on the counter and swirl in a circle. Any foam that doesn’t integrate after that means you over-aerated or the vortex failed.
Why does my milk look foamy during steaming but turn flat when I pour?
The vortex didn’t blend the foam into the liquid, so large bubbles sat on top and then collapsed once you stopped agitating. Check that your wand was truly 15–20° off-center and that you maintained the whirlpool through the entire heating phase. Also confirm you’re not stretching past 5 seconds. Excess air creates unstable foam that looks good for ten seconds and dies before it hits the cup.
How do I adjust steaming technique for oat or almond milk?
Stretch oat milk for 5–7 seconds instead of 3–5 and stop heating at 140°F (60°C) to prevent separation. Use the same 15–20° angle but expect a thinner vortex. For almond milk, increase the angle slightly to 20–25°, stretch the full 5 seconds, and stop even earlier at 130–140°F (54–60°C) because almond proteins collapse under heat. Both alternatives require barista-blend formulations with added stabilizers. Standard shelf varieties rarely foam well no matter how precise your angle.
Final Words
Start with the setup: angle 15–20 degrees off center, tip 0.5–1.0 cm deep, pitcher 1/3 full and tilted 15–30 degrees to build a steady vortex. That combo makes small, glossy microfoam repeatable.
Work the phases: stretch 3–5 seconds until you hear a soft paper tearing, then deepen the tip to 2–3 cm and whirl to 140–150°F. Practice single changes and use water drills to lock the feel.
Ask yourself what is the ideal steam wand angle for microfoam and then try it. You’ll get there.
FAQ
Q: What is the best steam tip for microfoam and where should the steam wand be placed for foamed milk?
A: The best steam tip and placement for microfoam is off‑center at about 15–20°, with the pitcher tilted 15–30°, initial tip depth 0.5–1.0 cm and the pitcher one‑third full to form a vortex.
Q: How to get microfoam with a steam wand?
A: To get microfoam with a steam wand, stretch 3–5 seconds (gentle paper‑tearing sound), stop aeration near 100°F, deepen to sustain a vortex, then finish at 140–150°F for glossy, tiny‑bubble milk.
Q: What are some common steamed milk mistakes?
A: Common steamed milk mistakes are a tip too shallow (sputtering), too deep (silent, flat foam), no vortex, overheating above 160°F, and over‑aerating; fix one variable at a time.