

What if the difference between good and great microfoam is just 15 degrees?
Angle controls the whirlpool that folds tiny bubbles into silky texture.
Get the wrong angle and you get big bubbles, cold spots, or thin milk.
This post shows how to measure steam wand angle in degrees and gives three simple, repeatable ways to hit the sweet spot, 15 to 20 degrees, every time.
Use your pitcher, a phone level, or a tiny jig to lock the angle so your milk spins right and your pours look the same.
The Correct Steam Wand Angle (15–20 Degrees) Explained in 30 Seconds

You’re looking for 15 to 20 degrees off vertical. That’s the zone where steam cuts through milk at a diagonal instead of straight down, which creates the rolling whirlpool that folds microfoam evenly. No big bubbles. No cold spots.
When the wand enters at the right angle, milk spins in one smooth circle from top to bottom. Go too steep and the whirlpool stalls. Too shallow and you just get surface splashing instead of real circulation. Staying inside that 15 to 20 degree window keeps the vortex stable and your texture silky.
Three fast ways to set it without tools:
-
Hold the pitcher handle straight toward you. Picture the wand entering perpendicular to the handle, then nudge the pitcher about one thumb width left or right.
-
Look at the wand from the side. Imagine a clock hand pointing to 1 or 11, not straight down at 6.
-
Rest your forearm on the drip tray edge and let your wrist naturally tilt the pitcher 15 to 20 degrees. Don’t force it.
Step by Step Positioning for Consistent Frothing

Repeatable microfoam is about putting the wand, pitcher, and your hands in the same spots every time. Small shifts in depth or tilt create big texture swings.
-
Fill the pitcher to the bottom of that V shaped pour channel. You need headspace for the milk to expand 20 to 30 percent.
-
Hold the pitcher in your non dominant hand, thumb resting on the handle, palm wrapped around the body so you can feel the temp rising.
-
Insert the steam tip just under the surface, off center by about a centimeter, angled 15 to 20 degrees toward the wall.
-
Tilt the whole pitcher forward slightly, another 10 to 15 degrees from vertical. This helps the whirlpool catch and spin.
-
Lock your elbow at a comfortable height. Use only wrist movements to raise or lower the pitcher as foam builds, keeping constant tip depth and angle through the stretch phase.
The trick is anchoring one reference point. Pick either your elbow position on the machine edge or the angle of your wrist, then keep that fixed. When you repeat the same body posture, the wand lands in the same spot inside the pitcher every time.
If a shot runs fast or slow and you’re waiting, step away and reset your stance before steaming. Keeps muscle memory clean.
How to Measure Wand Angle Accurately (No Tools, Phone Tools, and Barista Tools)
Simplest method uses the pitcher handle as a visual reference. Hold the handle pointing straight at your chest. The correct wand angle should cross the pitcher at roughly 45 degrees to the handle direction. If the wand runs parallel to the handle or perpendicular to it, something’s off. Quick eyeball check that works every time.
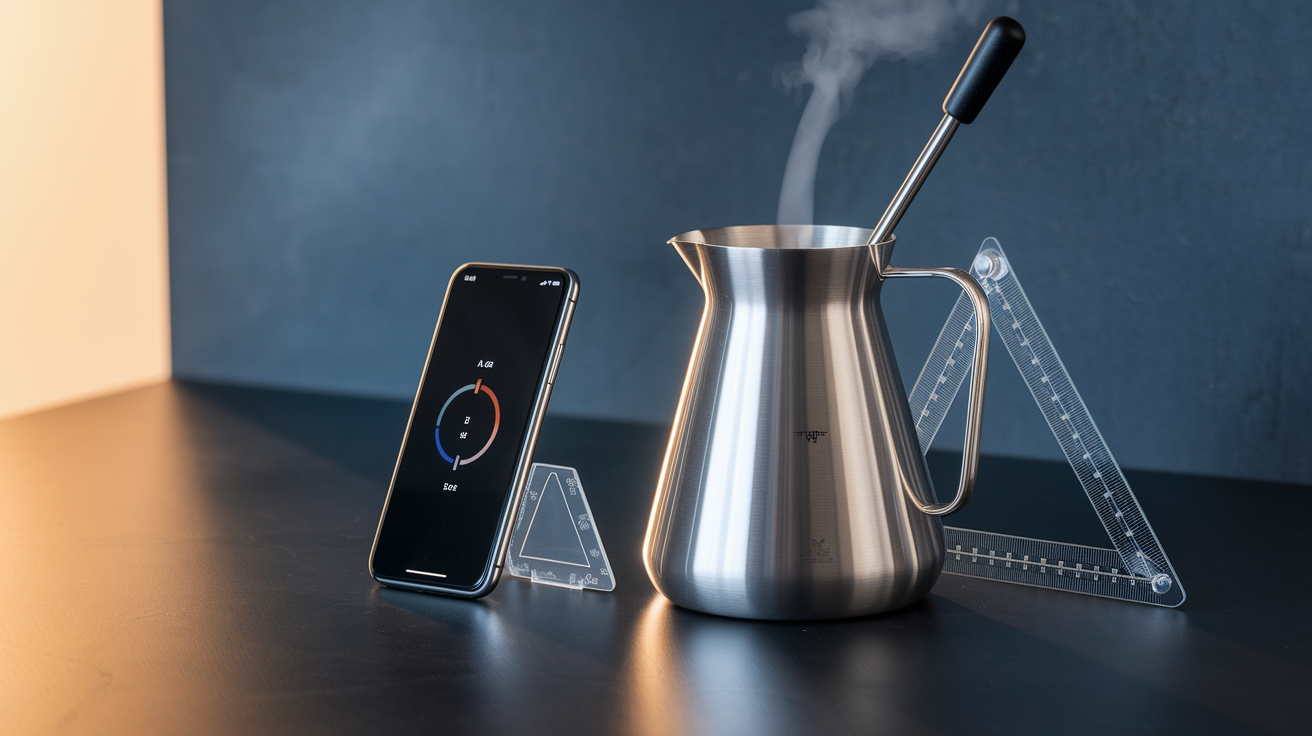
Most smartphones include a level or angle meter app in the utilities folder. Place your phone flat against the side of the pitcher near the top rim while the wand is inserted and locked in position. The screen shows the pitcher’s tilt in degrees. Subtract pitcher tilt from 90 degrees to get the wand’s angle relative to vertical. For example, if the app reads 25 degrees of pitcher tilt and the wand appears perpendicular to the pitcher wall, the wand is entering at roughly 65 degrees from vertical or 25 degrees from horizontal, which translates to the target 15 to 20 degree range when measured against the pitcher’s long axis. Free apps like Angle Meter or Bubble Level work fine.
Barista training tools include small plastic angle jigs that clip onto the pitcher rim or magnetic protractors that attach to the machine’s steam arm. These tools lock the pitcher at a preset tilt and show exact degree markings. Specialty suppliers sell them for around fifteen dollars. A clear plastic protractor from a school supply store works just as well. Hold it vertically against the outside of the pitcher and align the wand tip shadow or reflection with the 15 or 20 degree line.
Common Frothing Problems Caused by Wrong Angle

When the steam wand enters at the wrong angle, milk either churns into soup or stays flat and hot. Most frothing failures trace back to angle mistakes, not machine pressure or milk freshness. Fixing the angle solves the texture problem immediately.
Large bubbles on the surface. Wand angled too shallow, less than 10 degrees, or held vertically. Steam pushes straight up instead of circulating. Milk aerates without folding, leaving foam that looks like soap suds.
No foam at all, just hot milk. Wand angled too steeply, over 30 degrees, or inserted too deep from the start. Creates turbulence at the bottom but no air intake at the surface.
Loud screeching or jet engine sound. Wand positioned vertically with the tip right at the surface, sucking air violently instead of gently stretching. Angle and depth are both wrong.
Whirlpool won’t start or dies quickly. Wand centered in the pitcher or angled directly toward the center, blocking circular flow. Off center placement and correct tilt are required to sustain spin.
Temperature climbs too fast with thin texture. Wand too deep and too steep, heating milk rapidly without building foam structure first. Shallow angle during stretch phase controls this.
Milk separates into layers after sitting 10 seconds. Inconsistent angle during texturing phase, leaving some milk under aerated and some over frothed. Steady 15 to 20 degree hold integrates everything evenly.
Adjusting Angle for Different Pitcher Sizes

The 15 to 20 degree guideline shifts slightly depending on pitcher volume because headspace and milk depth change how the whirlpool forms. Smaller pitchers need more tilt to keep the vortex tight. Larger pitchers need less because the longer steam path and greater mass create momentum on their own.
In a 12 ounce pitcher filled to the spout V, the milk sits shallow and the wand tip reaches halfway down with only slight insertion. Tilt closer to 20 degrees or even 22 to force the spin and prevent the tip from sitting too vertical. Smaller diameter means less natural circulation, so angle does more of the work.
A 20 ounce pitcher holds enough milk that even a 12 to 15 degree tilt generates a strong rolling whirlpool. Tilting past 18 degrees can push the vortex off center and create uneven heating, especially during the texturing phase when you’re working with 400 to 500 milliliters of liquid.
| Pitcher Size | Recommended Tilt Adjustment | Why It Works |
|---|---|---|
| 12 oz (350 mL) | 18–22 degrees | Shallow depth and narrow diameter need extra angle to initiate spin and prevent vertical steam path. |
| 20 oz (600 mL) | 12–18 degrees | Greater milk mass and depth create natural momentum; moderate tilt sustains circulation without over tilting. |
| 32 oz (1 L) | 10–15 degrees | Large volume and wide diameter produce strong convection; minimal tilt keeps vortex centered and stable during long heating phase. |
Memory Hacks to Reproduce the Same Angle Every Time

Consistency comes from turning the correct angle into a physical habit your hands can repeat without thinking. Small reference points and tactile cues remove guesswork and make every pitcher feel identical.
Pitcher handle alignment. Always start with the handle pointing at your chest or at a fixed spot on the machine, like the front corner of the drip tray. When the handle stays in the same position, the wand enters from the same relative angle every time.
Thumb placement marker. Rest your thumb on the same spot on the pitcher body. For example, always one centimeter below the rim on the left side. Your thumb becomes a depth gauge and angle anchor. If your thumb moves, the angle drifts.
Forearm anchor on the machine. Rest your forearm or the heel of your palm on the drip tray edge or the front of the machine. Lock that contact point and tilt only from the wrist. Keeps your elbow height and shoulder position constant, which stabilizes wand angle shot after shot.
Visual spout reference. Watch where the pitcher spout points while you steam. Pick a fixed target. A knob, a gauge, a tile on the backsplash. Keep the spout aimed there. Spout direction controls pitcher rotation, and pitcher rotation controls wand angle inside the milk.
Final Words
Quick recap: set the steam wand at 15–20 degrees, create a steady vortex, keep the tip just below the milk surface, and tweak tilt for pitcher size. Use visual checks, phone angle apps, or a protractor to confirm.
Practice the three-step positioning and the memory hacks until it feels automatic. Measure one change at a time.
Including measuring steam wand angle degrees and simple guides for consistency in your routine turns trial-and-error into repeatable results. You’ll be pouring smoother microfoam in no time.
FAQ
Q: How to angle a steam wand? / What is the angle for frothing milk?
A: The correct steam wand angle for frothing milk is 15–20 degrees. Tilt the pitcher slightly to create a steady vortex, keep the tip just below the surface, and hold that angle for repeatable microfoam.
Q: What temperature should a steam wand be?
A: The steam wand should heat milk to 55–65°C (130–150°F). Aim 60–65°C for lattes and about 65°C for cappuccinos; use a thermometer or stop when the pitcher feels too hot to comfortably hold.
Q: What are some common steamed milk mistakes?
A: Common steamed milk mistakes are large bubbles, dead foam, screeching sounds, no whirlpool, overheating, and a clogged tip. Fix by adjusting angle and depth, lowering temp, purging, and cleaning the tip.