

Think a quick wipe fixes a gummy group head gasket? Think again.
Coffee oils and fine grounds build into a sticky crust that makes water seep and pressure escape, leaving hissy leaks and sour, thin espresso.
This post gives a simple, step-by-step routine you can do with a blind basket, about 5 grams of cleaner, and a nylon group brush.
You’ll learn a safe backflush cycle, how to scrub and soak removed parts, and the one visual check to know you’re done.
Do the steps and you’ll stop leaks, get steadier pressure, and taste cleaner shots.
Step-by-Step Procedure to Clean the Espresso Group Head Gasket

Coffee oils, fine grounds, and mineral deposits pile up around the group head gasket every time you brew. These residues wedge into the rubber seal and the area behind the shower screen, creating a film that blocks water flow and messes with pressure. After a few weeks, the buildup turns into a sticky crust that causes leaks around the portafilter, uneven extraction, and bitter off flavors in your cup.
Most gasket cleaning happens without removing any parts. You need a blind basket, a measured dose of espresso machine cleaning powder, and a nylon group brush. The blind basket plugs the portafilter so water and detergent backflush through the group head and gasket instead of flowing into your cup. If your machine doesn’t have a 3 way solenoid valve (most consumer machines under $500 don’t), backflushing isn’t safe and you’ll rely on manual brushing and wiping instead.
Before you start, turn off the machine and let the group head cool for two minutes so you don’t burn your hand. Wear safety glasses if you’re using concentrated cleaner powder because residual pressure can spray soapy water when you unlock the portafilter. Keep your face to the side when you release the handle.
-
Remove the filter basket from your portafilter and insert the blind basket (the solid metal disk with no holes).
-
Add one level teaspoon (about 5 grams) of espresso machine cleaning powder into the center of the blind basket.
-
Lock the portafilter into the group head, then turn on the brew switch and let the pump run for 5 seconds.
-
Turn off the brew switch and wait 5 seconds, then repeat the cycle. Do this 5 times total so pressure and detergent break up the oils stuck to the gasket and internal surfaces.
-
Unlock the portafilter carefully (some soapy water will spill), rinse out the blind basket under the faucet, lock it back in with no detergent, and run another 5 cycles of 5 seconds on, 5 seconds off with plain water to rinse all the soap residue.
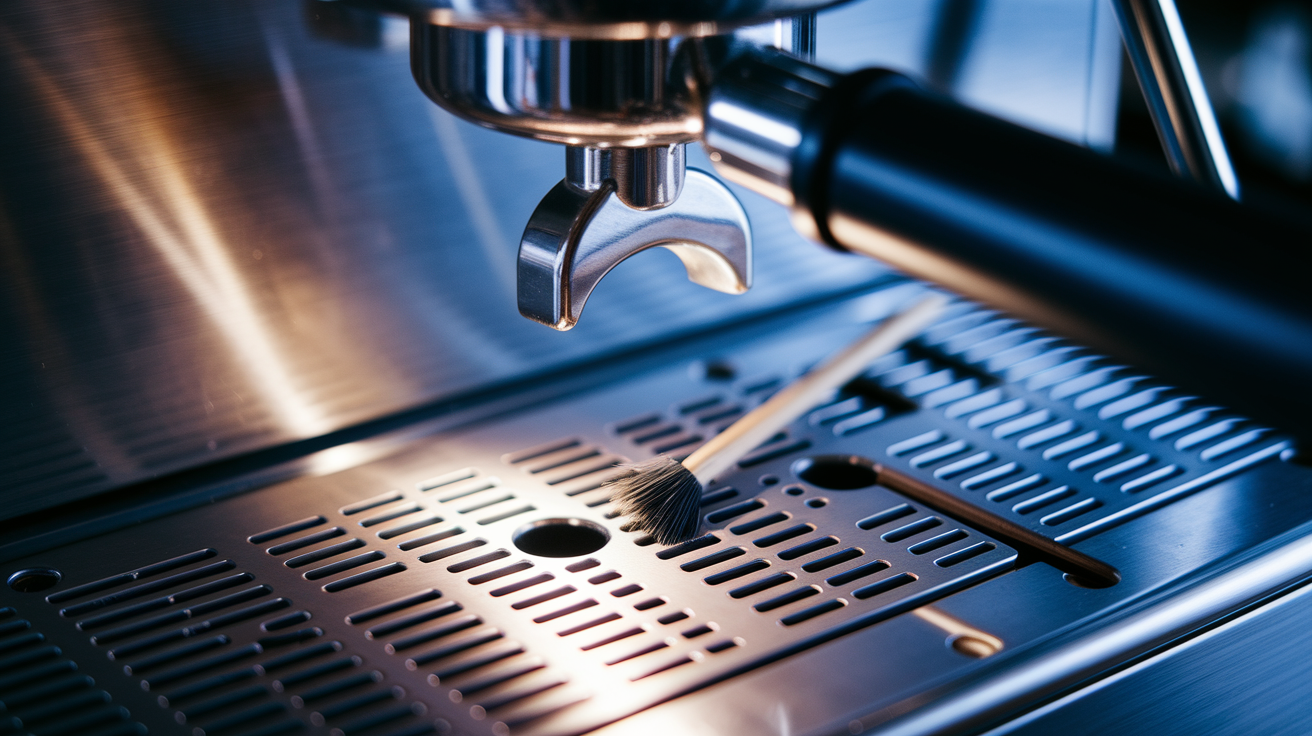
-
Remove the blind basket one more time, take your nylon group brush, and scrub the rubber gasket surface in a circular motion while running a slow stream of water through the group head to flush loosened debris.
-
Run two final brew cycles with the empty group head (no portafilter) and check the water that comes out. If you see no suds, you’re done.
Understanding the Espresso Group Head Gasket and Its Role in Extraction

The group head gasket is a rubber or silicone ring seated at the top of the brew chamber. When you lock the portafilter in, the gasket compresses to form an airtight seal so 9 bars of brewing pressure stays inside the system and pushes water evenly through the coffee puck. If the gasket’s coated with old coffee oils or has picked up grounds, the seal weakens and pressure escapes as a hissing leak or visible drip around the portafilter ears.
Dirty gaskets also create uneven flow. Grounds and oil residue turn into gummy spots that redirect water toward weaker areas of the puck, causing channeling. Thin, fast jets carve through your coffee and leave the rest under extracted. You’ll see this as a wet, soupy center in the spent puck and taste it as sour, thin espresso with weak crema.
E61 style group heads, which circulate hot water continuously to stabilize temperature, trap more oils behind the shower screen because the flow keeps depositing microscopic particles into the gasket groove and screen pocket. Machines without thermal circulation still suffer the same buildup but at a slower rate, so cleaning frequency depends on how many shots you pull per week.
Tools and Cleaning Solutions for Proper Group Head Gasket Care
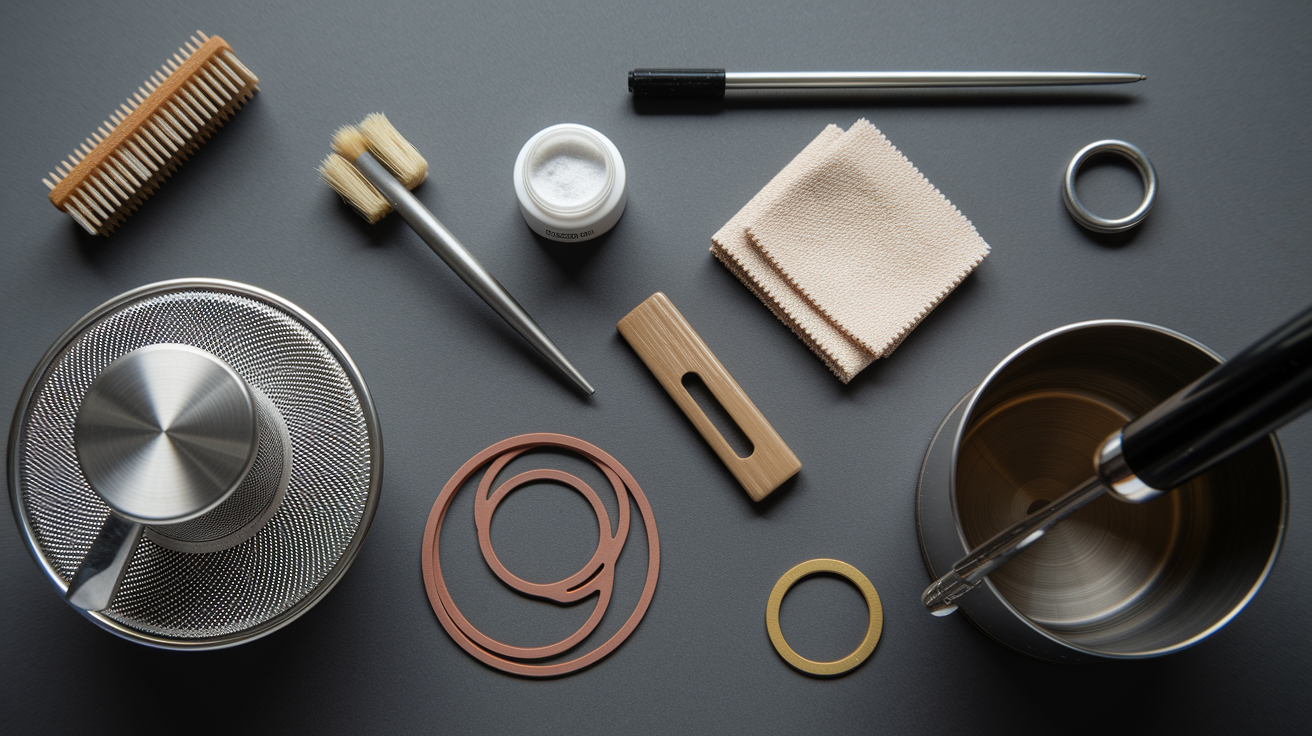
A basic cleaning kit costs less than three bags of coffee and handles both daily backflushing and monthly deep cleaning. Start with a blind basket or backflush disk (a solid portafilter insert with no holes), one small container of espresso machine cleaning powder such as Cafiza or Puro Caff, and a nylon group brush with a narrow tip. The brush should have a bent or angled head so you can scrub the gasket surface while water’s running.
For measuring, use 5 to 10 grams of powder per backflush session. About one level teaspoon or the small scoop that comes with group brushes like the Pallo Coffeetool. If your cleaner comes in tablet form, use one tablet per session and crush it before placing it in the blind basket so it dissolves faster.
Blind basket or rubber backflush disk: blocks portafilter holes to redirect pressure back through the group head.
Espresso machine cleaning powder or tablets: breaks down coffee oils and tannins. Use the manufacturer’s dose if provided, otherwise 5 to 10 g per session.
Nylon group brush: safe for rubber gaskets and stainless screens. The tip can clear dispersion jet holes.
Brass brush: for scrubbing brass dispersion plates only. Never use brass on gaskets, plastic parts, or stainless steel.
Lint free cloths: wipe the gasket and portafilter basket rim after each cleaning cycle.
Food grade silicone grease: apply a thin film to the gasket every few months to keep the rubber supple and help the portafilter lock smoothly.
Removing and Reinstalling the Espresso Group Head Gasket Safely

Gasket removal’s only necessary when you see permanent compression (the rubber won’t spring back), visible cracks, or buildup so heavy that backflushing didn’t clear it. Most E61 and commercial groups secure the gasket behind a removable shower screen held by one central screw. Before you start, turn off the machine, release any residual pressure by running the group head briefly, and let everything cool.
Use a short flat head screwdriver to loosen the center screw that holds the shower screen. If the screw’s stuck because of coffee grit or oxidation, don’t force it. Instead, wedge the screwdriver tip or a spoon handle under the edge of the screen and gently bend it downward to break the seal. Bending the screen’s fine if you’re planning to replace it anyway. Once the screw turns, remove the screen, then use a long screwdriver, dental pick, or gasket removal tool to hook under the gasket lip and pry it out. Older gaskets may crumble as you pull, so keep a damp cloth ready to wipe away rubber fragments.
-
Loosen the central shower screen screw counterclockwise. If stuck, pry the screen edge down to break the seal before applying more turning force.
-
Lift out the shower screen and set it aside for soaking (see the next section).
-
Insert a pick or screwdriver tip under the inner edge of the gasket and pull upward and outward in a circular motion until the gasket pops free.
-
Wipe the gasket seat (the machined groove in the group head) with a damp cloth to remove any leftover rubber, grounds, or oils. Don’t scrape with metal tools.
-
Seat the new gasket by pressing it evenly into the groove, making sure no section’s twisted or pinched, then reinstall the shower screen and tighten the screw finger tight plus a quarter turn.
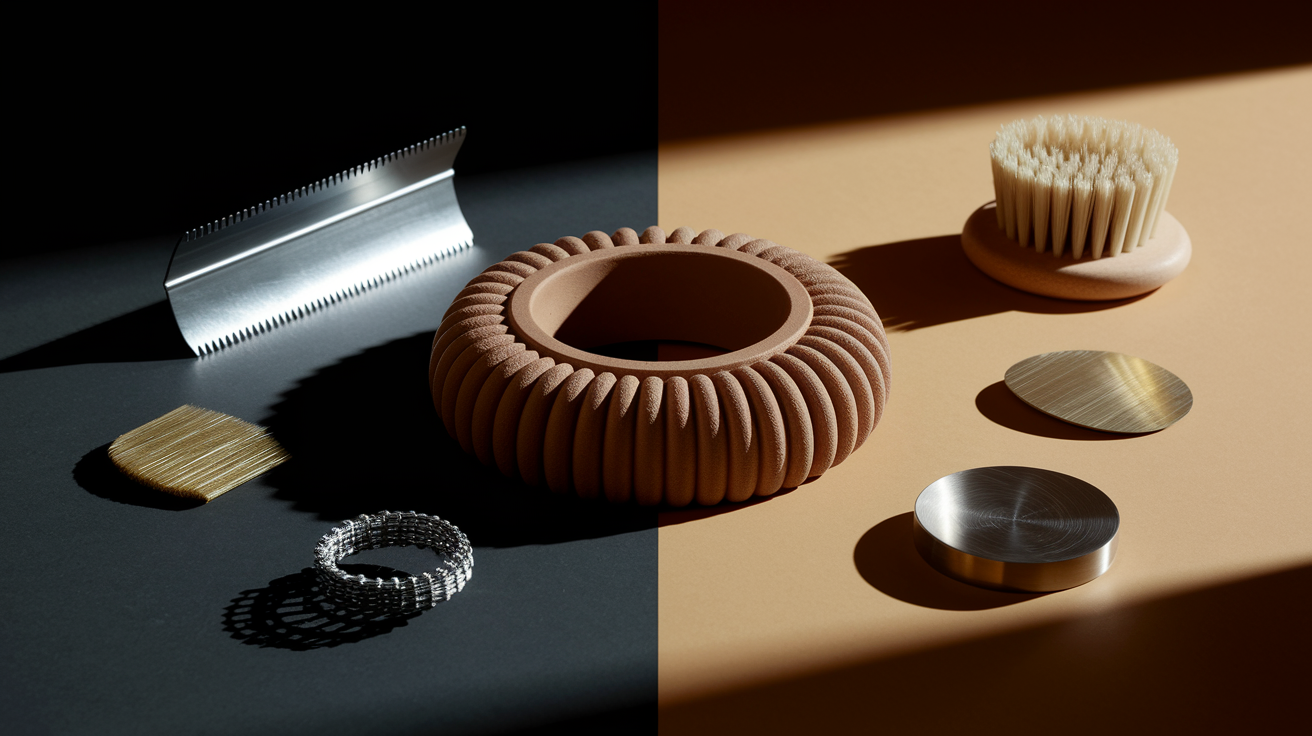
Deep Cleaning: Soaking Gaskets, Shower Screens, and Dispersion Plates

When backflushing no longer removes stubborn brown stains or if you see visible scale around the gasket or screen holes, a soak treatment breaks down what brushing can’t reach. This step only applies to parts you’ve already removed. Don’t submerge gaskets or screens while they’re still installed. Fill a heat safe container with hot water at 60 to 80°C (140 to 175°F) and dissolve one level tablespoon of espresso machine cleaning powder per liter of water. Drop in the shower screen, dispersion plate, and gasket (if you removed it), then let them sit.
Light soil, surface oils and a few days of residue, loosens in 15 to 30 minutes. Heavy buildup, especially if you see thick brown crust or the screen pocket (the space between the two mesh layers) is clogged, requires 45 to 60 minutes. Check halfway through by lifting a part and rubbing it with your thumb. If the film comes off easily, move to scrubbing. If it’s still sticky, return the part to the solution for another 15 minutes.
After soaking, use a nylon brush to scrub both sides of the screen, the dispersion plate jets, and the gasket surface. Hold the screen up to a light and look through the mesh. If you still see trapped coffee grounds in the internal pocket, tap it on the counter or use a soft pick to clear the gap. Rinse every part under hot running water for at least 20 seconds to wash away all detergent residue. Before reinstalling the gasket, apply a thin layer of food grade silicone grease around the top edge where it contacts the portafilter, then press it into the groove and refit the screen.
Soak Times and Concentrations
For routine monthly deep cleaning, mix one level tablespoon (roughly 15 milliliters) of powdered cleaner per liter of hot tap water and soak parts for 15 to 30 minutes. If your machine sees daily use in a small café or home office, increase soak time to 30 minutes as a baseline.
When you encounter heavy scale (white or gray mineral crust rather than brown coffee oils), you can add a 15 minute presoak in a mild citric acid solution. 10 grams of food grade citric acid powder per liter of water, but only for metal parts like screens and dispersion plates. Don’t soak rubber gaskets in acid for more than 5 minutes because prolonged exposure dries and hardens the rubber. After any acid treatment, rinse parts under hot water for 30 seconds, then follow with the detergent soak to remove oils.
Diagnosing Dirty or Worn Group Head Gaskets

A failing gasket announces itself through leaks, but a dirty gasket can mimic the same symptoms and confuse the diagnosis. If you see water seeping around the portafilter ears during extraction, check the gasket surface first for visible residue. Brown or black gummy buildup, white scale rings, or tiny grounds embedded in the rubber. Run your fingertip along the gasket. If it feels slick or sticky instead of dry and slightly tacky, oils have coated the sealing surface and reduced friction, which prevents a tight lock.
Extraction problems follow close behind. Channeling and uneven flow happen when old coffee oils harden into lumps that press against the shower screen or create high spots in the gasket groove. Water finds the path of least resistance and rushes through weak zones in the puck, leaving the rest of the coffee under extracted. You’ll taste this as sour, weak espresso with thin crema and sometimes a papery or grassy note.
Visual cues include a wet, muddy center in the spent puck, fast dripping from one side of a bottomless portafilter, or uneven color in the crema. Pale streaks mixed with darker patches. If you also notice a bitter, burnt aftertaste even when grind and dose are dialed in, trapped oils are likely oxidizing during each brew and adding rancid flavors.
A gasket that’s lost its springiness will feel hard when you press it with your thumb, or it may show permanent compression where the portafilter ears contact the rubber. In that case, cleaning won’t restore the seal and replacement’s the only fix.
Replacement Guide: When Cleaning Isn’t Enough
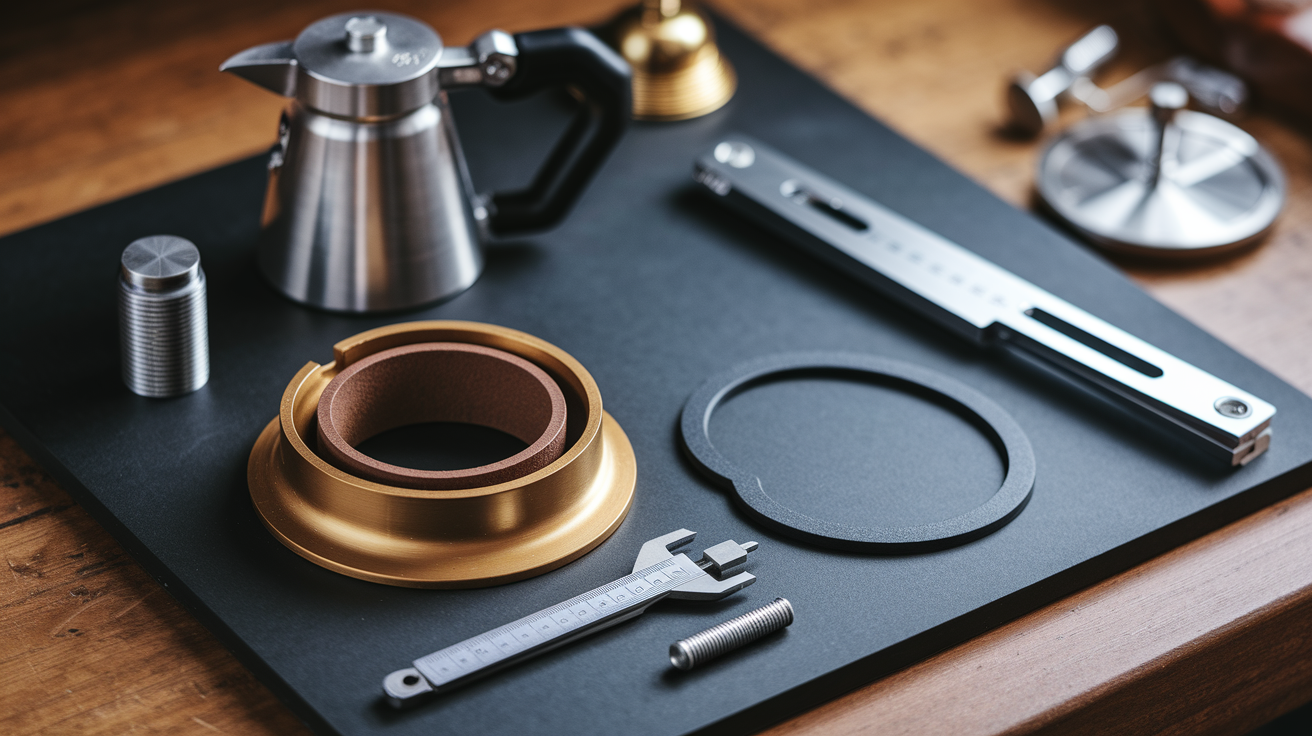
Even with weekly backflushing and monthly deep cleans, gaskets eventually wear out because heat, pressure, and cleaning chemicals gradually break down rubber and silicone. For home machines pulling 1 to 4 shots per day, plan to replace the group head gasket every 6 to 12 months. Commercial or high volume setups (10+ shots per day) should swap gaskets every 1 to 3 months. Price is low. Most gaskets cost $3 to $15, shower screens run $5 to $25, and combination kits with both parts plus screws range from $10 to $40.
Buy the correct size by checking your machine’s manual or measuring the old gasket’s inner diameter with a ruler. E61 groups typically use 8.5 mm thick gaskets with a 60 mm outer diameter, but sizes vary by manufacturer. OEM (original equipment manufacturer) gaskets from brands like La Marzocco or Rocket fit precisely and match factory specifications. Aftermarket gaskets from suppliers like Cafelat or Ascaso offer thicker or softer options that can improve sealing on older machines where the group head has worn slightly.
Visible cracks or splits: even hairline fractures let pressure escape and can’t be sealed with lubrication.
Permanent compression: if you remove the portafilter and the gasket stays flattened instead of returning to a round profile, the rubber’s lost elasticity.
Hard, brittle texture: aging gaskets turn rigid and may crumble when you try to remove them. They no longer compress enough to seal.
Persistent leaking after cleaning: if backflushing, soaking, and lubrication don’t stop water from seeping around the portafilter, the gasket’s likely thinned or deformed.
Portafilter won’t lock tightly: when the gasket’s too thin, the portafilter ears reach their stop point before compressing the seal, leaving a gap.
Maintenance Frequency and Preventive Routines to Protect the Gasket

Routine cleaning prevents the heavy buildup that shortens gasket life and disrupts extraction. Daily tasks take less than two minutes. Deeper monthly work adds another 15 to 20 minutes but extends the time between part replacements and keeps shots tasting clean. Match your schedule to shot volume. A home machine pulling one double per morning needs less frequent detergent backflushing than a small office setup running ten shots per day.
Daily backflushing with plain water (no detergent) rinses away loose grounds and surface oils before they harden. Lock in the blind basket, run the pump for 5 seconds, stop, and repeat 3 times. Once a week (or daily in commercial settings), add one teaspoon of cleaning powder to the blind basket and run the full 5 cycle backflush followed by 5 rinse cycles. Monthly, remove the shower screen and gasket, soak them in hot cleaning solution for 20 to 30 minutes, scrub, rinse, lubricate the gasket lightly, and reassemble.
Inspect the gasket every month by running your finger around the sealing surface and checking for cracks, hardness, or embedded grounds. If you notice any of the replacement signs listed in the previous section, order a new gasket and plan to swap it during your next deep clean so you’re not caught mid morning with a leaking group head.
| Frequency | Task | Time Required |
|---|---|---|
| Daily | Water only backflush (3 cycles of 5 seconds on, 5 seconds off) + wipe gasket with damp cloth | 2 minutes |
| Weekly (home) / Daily (commercial) | Detergent backflush (5 cycles with cleaner + 5 rinse cycles) + brush gasket surface | 8 to 10 minutes |
| Monthly | Remove screen and gasket, soak 20 to 30 min, scrub, rinse, lubricate, reassemble | 25 to 30 minutes |
| Every 6 to 12 months (home) / 1 to 3 months (commercial) | Replace gasket and inspect shower screen for wear. Replace screen if pocket is clogged or mesh is torn | 10 minutes |
Common Cleaning Mistakes That Damage Espresso Group Head Gaskets
Using the wrong brush or scraper’s the fastest way to ruin a gasket or scratch the group head’s sealing surface. Steel brushes, metal scrapers, and abrasive pads leave grooves in soft rubber and brass components, creating leak paths and rough spots that trap grounds. Always use nylon brushes on gaskets, stainless screens, and group head interiors. Brass brushes are safe only for brass dispersion plates. Never use them on rubber, plastic, or stainless parts.
Overtightening the shower screen screw’s another frequent error. The screw only needs to be snug, finger tight plus a quarter turn. Excessive force crushes the gasket unevenly, deforms the screen, or strips the threads in the group head, and a stripped thread often means a costly repair or complete group head replacement. When you’re reassembling after a deep clean, tighten the screw gradually and stop as soon as you feel resistance. Check the seal by locking in the portafilter and running a test shot. If there’s no leak, the screw’s tight enough.
Avoid soaking rubber gaskets in descaling acids or citric acid solutions for more than a few minutes. Prolonged acid exposure dries out the rubber, making it brittle and prone to cracking.
Troubleshooting Persistent Leaks and Flow Issues After Cleaning
If backflushing and gasket cleaning didn’t stop leaks or improve extraction, check the dispersion plate jet holes. Remove the shower screen and look at the brass or stainless plate behind it. Most plates have 4, 6, 8, or 10 small holes that distribute water across the coffee puck. Shine a flashlight through each hole. If any are blocked or only half open, use the narrow tip of a nylon group brush or a wooden toothpick to clear them. Don’t use metal wire or picks on brass jets because scratches create rough edges that trap grounds faster.
Verify that the gasket’s seated evenly in its groove. An off center or twisted gasket will compress unevenly when you lock the portafilter, leaving gaps on one side. Remove the gasket, inspect the groove for leftover debris or dried grease, wipe it clean, and press the gasket in slowly, rotating it as you go to ensure it sits flat all the way around. If the portafilter still leaks after reseating, the gasket may be too thin from wear or the group head threads may be damaged. Both require parts replacement.
For machines where the shower screen screw’s seized and won’t turn, wedge a screwdriver or spoon handle under the screen edge and bend it gently downward to break the coffee oil seal, then try the screw again. Bending the screen’s acceptable if you’re replacing it, and forcing a stuck screw risks stripping threads or cracking the group head casting.
Final Words
Start in the action: insert a blind basket, add one teaspoon or a tablet of detergent, run 5-second on/5-second off backflush cycles five times, then repeat five cycles with clean water, brush the gasket in place, flush and inspect the seal.
We covered why buildup happens, the tools to use, basic safety notes, safe removal tips, soak times, and when a gasket needs replacing.
Make this routine your standard for how to clean espresso group head gasket, one clear step at a time, and you’ll cut leaks, channeling, and wasted shots. Feels simple, and it works.
FAQ
Q: How to clean espresso group head?
A: Cleaning the espresso group head involves backflushing with a blind basket and detergent (5s on/5s off ×5), brushing the gasket and shower screen, then repeating rinse cycles to remove oils and debris.
Q: How to clean a group head gasket?
A: Cleaning a group head gasket means brushing it in place with a nylon group brush, backflushing with detergent (about 1 teaspoon or one tablet), rinsing, and visually inspecting the seal for residue or damage.
Q: How often should I clean the group head on an espresso machine?
A: You should clean the group head daily with a rinse/backflush, run a detergent backflush once weekly, remove the screen to inspect monthly, and clean commercial machines more often.
Q: What happens if the espresso machine group head is not properly cleaned?
A: If the espresso machine group head is not properly cleaned, leaks and poor seal cause weak or uneven extraction, channeling, off flavors from trapped oils, and faster gasket wear requiring replacement.