

Think you need a service tech to fix a spraying group head and messy counters?
You don’t.
Most shots leak because the gasket is worn, and swapping it takes minutes, not hours.
Do this wrong and you’ll jam the portafilter.
Do it right and you’ll get a tight seal, steady pressure, and fewer wasted shots.
This post gives a clear, safe workflow, with the tool list and simple checks so you can finish fast.
Essential Steps to Replace an Espresso Machine Group Head Gasket

Worn gaskets can’t seal the portafilter against the group head. Water sprays from the bayonet ring during extraction, drips after you unlock the portafilter, or the basket rim wobbles instead of sitting flush. Rubber and silicone gaskets both dry out and get brittle over time, especially with daily heat cycling. Once the seal breaks down, every shot risks inconsistent pressure and messy counters.
Turn the machine off, unplug it completely, and wait about 2 hours for the group head to cool before you start. Working on a hot group can burn your hands and damage the new gasket during installation. If you just finished a shift, let the machine sit overnight. It’s safer and easier.
- Remove the portafilter and set it aside on a clean towel.
- Remove the diffuser screw and shower screen using a flat head screwdriver. Place both in a container of hot water with 1 teaspoon of espresso cleaner to soak while you work.
- Use a gasket pick to pry out the old gasket by hooking the edge and pulling upward. Brittle gaskets may crumble into pieces, so run the pick around the entire groove to lift every fragment.
- Wipe the bayonet ring groove thoroughly with a microfiber towel. Any leftover rubber or debris will prevent the new gasket from seating evenly.
- Check for remnants by running your finger around the inside of the groove. It should feel smooth and completely clean.
- Orient the new gasket so the flat side faces up into the machine and the beveled side faces down toward the portafilter. A photo or video reference can confirm correct orientation for your model.
- For rubber gaskets, apply a thin layer of food-safe silicone grease (such as Molykote) to the flat side before insertion. Skip this step for silicone gaskets.
- Push the gasket into the groove using the back of your gasket pick. Work around the entire ring until the gasket sits evenly at the bottom.
- Insert the portafilter and lock it firmly into the group head. Rotate as far as it will go, then remove and repeat three or four times to fully seat the gasket against the basket rim.
- Rinse the diffuser screen and screw, dry them, and reinstall. Tighten the screw fingertip tight. Over tightening can strip threads or crack the screen.
Orient the new gasket carefully. The flat side must face up so it mates cleanly with the group head’s internal surface. If you’re using a rubber gasket, spread a thin, even layer of Molykote on the flat side. This helps the gasket slide into place and form an airtight seal. Push the gasket down with the back of your pick, checking that no high spots or gaps remain. Insert your portafilter and turn it as far as it will go, then pull it out and repeat. Each cycle compresses the gasket and makes sure the basket rim engages the rubber evenly.
Expect the portafilter to feel snug at first. A fresh gasket may clock to around 6:00 on the group head instead of your usual 9:00 or 3:00. This is normal. The gasket will loosen slightly over the first few shots as it conforms to the basket rim and group geometry. If the portafilter won’t lock at all, remove the gasket and check for debris in the groove or incorrect orientation. If it locks easily with no resistance, the gasket may be too thin or the wrong size. Confirm your part number and measure the recess depth before pulling a shot.
Tools and Supplies Needed for a Group Head Gasket Replacement
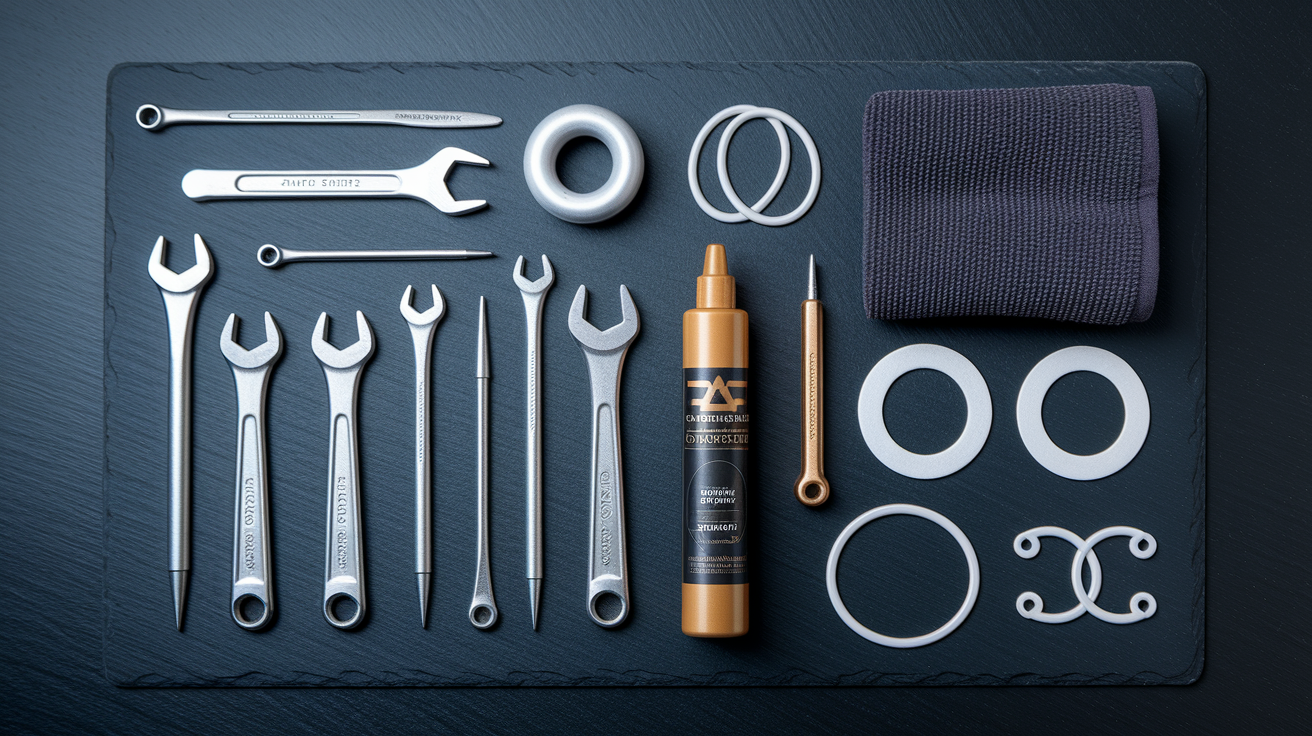
Most gasket swaps need only a handful of basic tools, but machine specific designs can add one or two extras. Home semi automatics like the Gaggia Classic need an Allen wrench to remove an internal holding plate. Commercial machines with E61 groups rarely need more than a screwdriver and pick. Gather everything before you start so you’re not hunting for a wrench with wet hands and a portafilter in the other.
- Microfiber towel for wiping the bayonet ring groove and cleaning up water or old gasket bits
- Flat head screwdriver to remove the diffuser screw and shower screen
- Gasket pick (also called a dental pick or O ring pick) to pry out the old gasket and push the new one into place
- Replacement gasket in the correct size and material, rubber (Standard Black) or silicone (Orange)
- Food safe silicone grease such as Molykote, for rubber gaskets only
- Short Phillips head screwdriver for machines that use Phillips fasteners on the shower screen
- 5 mm Allen wrench to remove the two Allen screws that secure the shower holding plate on Gaggia style machines
- Needle nose pliers to extract a stuck holding plate or pull out brittle gasket fragments
- Stiff brush and descaler (for example, Urnex CleanCaf) to scrub built up coffee oils from the group slot and screen
Keep all screws in a small bowl or magnetic tray. Diffuser screws and Allen bolts are easy to lose, and if one rolls into a drain or behind a counter, your repair stops. Lay a clean towel on your work surface, set each part on it as you remove it, and take a quick photo with your phone if you’re working on an unfamiliar machine. You’ll thank yourself when it’s time to reassemble.
How to Identify the Correct Espresso Group Head Gasket Size

Gasket dimensions vary by machine brand, model year, and group head design. Installing the wrong size leaves gaps that leak or creates excess compression that prevents the portafilter from locking. A gasket that’s even 1 mm too thick can jam the bayonet mechanism. A gasket that’s too thin lets water spray past the basket rim mid shot.
Measure the recess diameter and depth with a caliper if you no longer have the original part number. Most home machines use gaskets between 8 mm and 9 mm thick and 58 mm to 73 mm in diameter, but those ranges overlap with entirely different group designs. Check your machine’s manual, look for a part number stamped on the old gasket, or search your model name plus “group gasket part number” to find the OEM spec. Gaggia Classic machines use part number GA NG01/001, which seats to about 5/16 inch depth. La Marzocco and similar commercial machines often reference gasket thickness in millimeters and include orientation photos in their service documentation.
Material choice affects durability and feel. Rubber gaskets (Standard Black) are softer, create a tighter initial seal, and cost less. They dry out faster and may need replacement every 6 to 12 months in high volume settings. Silicone gaskets (Orange) resist heat and moisture longer, stay flexible through more heat cycles, and typically last 12 to 18 months or more. Silicone feels firmer during installation and may require a few extra portafilter cycles to fully seat. Either material works as long as you match the correct dimensions and follow the orientation guidelines.
| Model Series | Typical Gasket Size/Part | Notes |
|---|---|---|
| Gaggia Classic / Gaggia Semi Auto | GA NG01/001, ~5/16″ depth | Requires removal of shower holding plate with 5 mm Allen wrench |
| E61 Group Machines (La Marzocco, ECM, Rocket, etc.) | 8.5 mm or 8 mm thick, 73 mm diameter (varies by model) | Gasket sits in exposed groove; no holding plate |
| Breville / Sage Home Machines | Proprietary size, often 54 mm or 58 mm basket specific | Check manual or order OEM part; aftermarket fit is inconsistent |
Types of Espresso Machines and How Gasket Replacement Differs

E61 group heads, compact home semi automatics, and commercial machines all use gaskets, but the path to reach them isn’t identical. E61 groups expose the gasket in a visible groove just inside the group face. You remove the shower screen with a single screw, pull the old gasket out with a pick, and push the new one in by hand. No internal plates, no hidden fasteners. This makes E61 gasket swaps the fastest and most straightforward.
E61 Groups
Remove the center screw that holds the dispersion screen in place. The screen lifts out, exposing the gasket groove. Use a gasket pick to hook the old gasket and pull it free. Wipe the groove clean, orient the new gasket flat side up, and press it into the channel using the back of the pick. Reinstall the screen, tighten the screw fingertip tight, and seat the gasket by locking the portafilter several times. The entire job takes 10 to 15 minutes once the machine has cooled.
Home Semi Automatics
Gaggia Classic and similar aluminum boiler machines hide the gasket behind a shower holding plate secured by two 5 mm Allen screws. Lay the machine on its back after removing the drip tray, reservoir, and drip pan. Use a short Phillips screwdriver to remove the shower screen, then remove both Allen screws and lift out the holding plate. The plate may stick. Insert needle nose pliers into the Allen bolt holes and rotate hard to break the seal. Pull the old gasket with a pick, clean the slot, and slide the new gasket into place. Reinstall the holding plate and screen, tip the machine upright, and seat the gasket with the portafilter. Allow 20 to 45 minutes for a typical swap, longer if the holding plate is heavily scaled.
Commercial Machines
La Marzocco, Slayer, Synesso, and similar commercial groups use a diffuser screw that threads into the center of the group face. Remove the screw and diffuser screen with a flat head screwdriver. The gasket sits in a groove similar to E61 machines, but the bayonet ring diameter and gasket thickness may differ. Soak the diffuser and screw in hot water with espresso cleaner while you remove and replace the gasket. Reinstall the diffuser screen and tighten the screw fingertip tight. Seat the gasket by locking the portafilter into each group head three or four times.
Tool and part differences matter. Gaggia style machines require an Allen wrench and more disassembly. E61 and commercial machines need only a screwdriver and pick. Part numbers vary even within the same brand depending on model year and group revision. Always confirm your gasket size and material before ordering.
Portafilter alignment expectations shift by design. E61 groups typically clock to 9:00 or 3:00 when fully locked, while many home machines clock to 6:00. A new gasket may change your usual position by 30 to 60 degrees until it seats fully. This isn’t a problem, it’s normal compression. If the portafilter won’t engage the bayonet lugs at all, recheck gasket thickness and orientation.
Diagnosing a Worn or Leaking Espresso Group Head Gasket

A failing gasket shows up fast. Water sprays from the joint between the portafilter and group head during extraction, or you see drips on the counter after you unlock the handle. The portafilter basket rim may sit loose in the bayonet ring instead of locking firmly. When you pull the portafilter out, the puck surface might show uneven wetting or a dry ring around the edge where the seal failed.
- Water leaking from the bayonet ring during a shot, especially visible with a bottomless portafilter
- Drips or puddles under the group head after removing the portafilter
- Portafilter that wobbles or feels loose even when fully locked
- Visible cracks, brittleness, or missing chunks when you inspect the gasket with a flashlight
- Coffee grounds or oily residue collecting in the bayonet ring groove
- Uneven extraction or channeling that starts suddenly after months of consistent shots
Any one of these signs means the gasket has lost its ability to form an airtight seal. Rubber gaskets harden and crack after six to twelve months of daily heat cycles. Silicone gaskets last longer but still degrade, especially if the machine runs at high temperatures or the group isn’t cleaned regularly. Replace the gasket as soon as you confirm the leak source. Delaying the repair wastes coffee, creates a mess, and can let grounds migrate into the group head’s internal passages.
Cleaning the Group Head and Shower Screen Before Installing the New Gasket
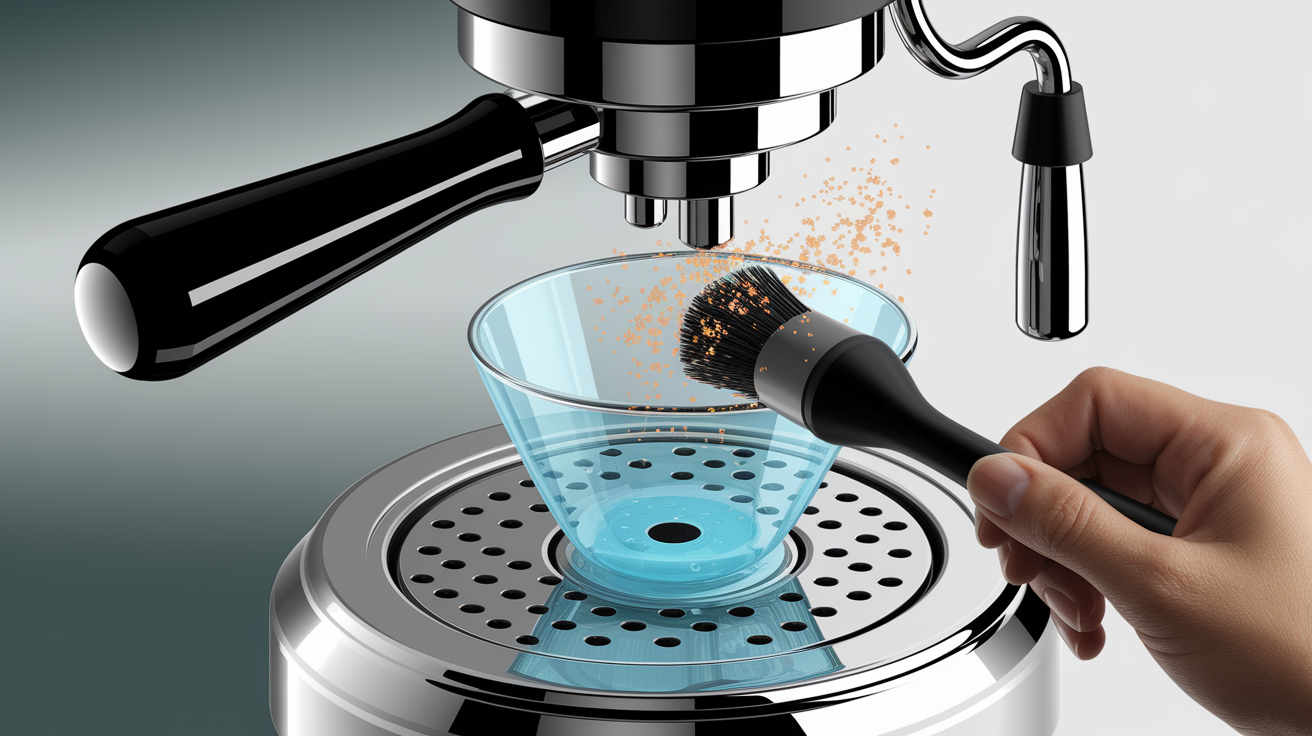
A clean groove makes sure the new gasket seats evenly and forms a complete seal. Old coffee oils, mineral deposits, and gasket fragments left in the bayonet ring create high spots that prevent uniform compression. Even a tiny piece of rubber can cause a leak or uneven extraction once you start pulling shots.
- Remove the diffuser screw and shower screen using the appropriate screwdriver. Place both in a container of hot water from the machine with 1 teaspoon of espresso cleaner and let them soak while you work on the gasket.
- Scrub the shower screen with a stiff brush to remove caked coffee grounds and oils. Rinse under running water until it’s completely clean.
- Wipe the bayonet ring groove thoroughly with a microfiber towel. Run the towel around the entire channel, checking for sticky residue or small gasket pieces. If the groove feels rough or gritty, scrub it with a brush dipped in hot water and cleaner.
- Inspect for mineral scale inside the group head. If you see white or brown buildup, apply a small amount of descaler (such as Urnex CleanCaf) to a brush and scrub the affected areas. Rinse with a wet towel and dry completely.
- Make sure the groove is dry before installing the new gasket. Moisture trapped under the gasket can interfere with seating and promote mold growth in machines that sit idle for days.
Descaling helps when the group head hasn’t been cleaned in months. Heavy buildup can prevent the gasket from sitting flat against the metal surface, creating microscopic gaps that leak under pressure. Use a dedicated espresso descaler or a citric acid solution. Never use vinegar, which can leave odors that migrate into your shots. Scrub until the metal feels smooth, rinse thoroughly, and dry the slot with a clean towel.
Common cleaning mistakes create new problems. Skipping the soak step leaves oils on the shower screen that bake onto the gasket during the first shot. Failing to dry the groove can cause the gasket to slip out of position during installation. Reusing dirty water or a grimy towel just moves debris from one spot to another. Take an extra two minutes to do it right. You’re already waiting for the machine to cool anyway.
Troubleshooting Leaks After Replacing an Espresso Machine Group Head Gasket
A properly installed gasket should seal immediately, but new gaskets feel snug and may shift the portafilter’s final locked position. If the handle clocks to 6:00 instead of your usual 9:00, that’s normal. The gasket is compressing and will loosen slightly over the next few shots. Let it settle before deciding something is wrong.
- Debris left in the bayonet ring groove creates gaps that break the seal. Remove the portafilter, pull the gasket, and rewipe the groove with a clean microfiber towel. Check for tiny rubber fragments or coffee grounds.
- Incorrect gasket orientation (beveled side up instead of down) prevents the portafilter rim from engaging properly. Remove the gasket, flip it so the flat side faces up, and reseat it with the pick.
- Loose or missing diffuser screw lets water bypass the shower screen and leak around the gasket edge. Remove the portafilter, check that the screw is fingertip tight, and lock the portafilter again.
- Over tightening the diffuser screw can warp the shower screen or crack the group threads, creating new leak paths. Back the screw out and retighten just until snug.
- Gasket not fully seated in the groove may leave a high spot or gap. Remove the portafilter, press the gasket down evenly around the entire ring using the back of your pick, then reinsert the portafilter and lock it firmly three or four times.
If the leak persists, remove the portafilter and inspect the basket rim for damage. A bent or dented rim won’t compress the gasket evenly, no matter how new the gasket is. Check the bayonet lugs on the portafilter ears. If one is worn or misshapen, the handle won’t lock fully and the seal will fail under pressure.
Reseat the gasket by locking and unlocking the portafilter at least five times. Each cycle compresses the rubber or silicone and helps it conform to the basket rim and group geometry. If the portafilter still leaks after reseating, pull the gasket and confirm you ordered the correct size and thickness. A gasket that’s even 0.5 mm off spec can cause sealing problems that no amount of reseating will fix.
Reinstall the gasket only if you find debris in the groove, confirm incorrect orientation, or discover the wrong part was used. Removing and reinstalling a gasket multiple times can stretch or damage it, so inspect carefully before you pull it out. Most first time leaks come from incomplete cleaning or a gasket that needs a few more lock cycles to settle, not from defective parts.
Post Replacement Testing and Extraction Calibration

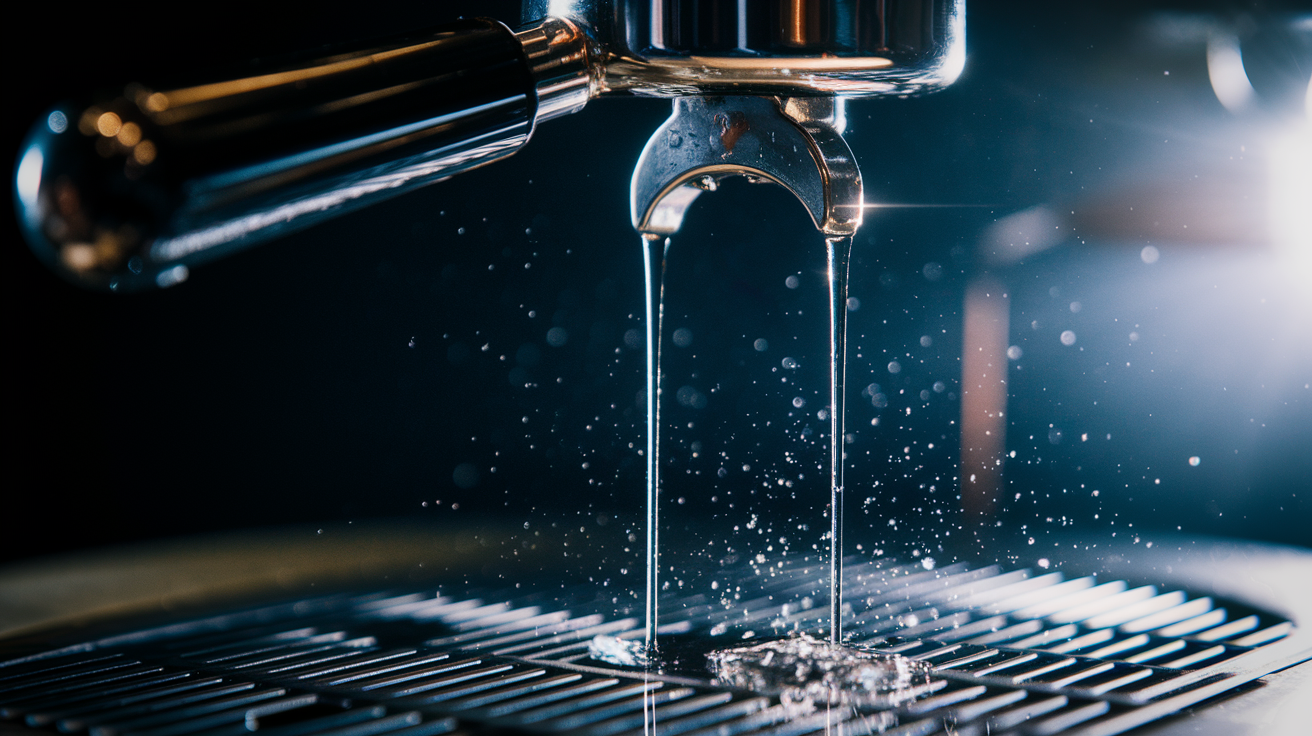
Once the gasket is installed and the shower screen is back in place, confirm the seal holds pressure before you dose coffee. A blind basket test lets you check for leaks without wasting a shot. Insert a blind basket (or use a regular basket with the holes taped over), lock the portafilter, and run the brew cycle for five seconds. Watch the bayonet ring. No water should appear. If you see drips or spray, stop immediately and revisit the installation steps.
- Run a backflush cycle with a blind basket and a small amount of espresso cleaner. This pressurizes the group fully and flushes any remaining debris from the gasket groove and internal passages.
- Observe the portafilter handle position after locking. It should feel firm and clock consistently to the same position each time. A handle that shifts or wobbles indicates incomplete gasket seating.
- Pull a test shot with fresh coffee and watch the flow with a bottomless portafilter. The stream should begin evenly across the basket, with no spraying or dripping from the group joint.
- Check for channeling signs like fast breakthrough on one side or a puck with deep craters. While channeling often results from grind or distribution issues, a poorly seated gasket can create uneven pressure around the basket rim.
Extraction observation confirms the gasket is working as a system component, not just a static seal. Watch the first few seconds of flow. If you see water pooling on top of the puck or breaking through unevenly, the pressure may be escaping sideways instead of pushing through the coffee bed. A gasket that isn’t seated fully can tilt the basket slightly, changing how water enters the puck. Lock and unlock the portafilter two or three more times, then pull another test shot.
Recalibration is rarely needed after a gasket swap, but if your shots suddenly taste sour or extract faster than usual, check your grind setting and dose. A new gasket creates a tighter seal, which can increase effective pressure slightly and shift extraction speed. This is most noticeable on machines with marginal pumps or restrictive baskets. Grind one small step coarser if shots choke, or one step finer if they run too fast. Track the result and adjust again if necessary.
Maintenance Tips to Extend Group Head Gasket Life

Gaskets degrade from repeated heat cycles, not just from age or shot count. Every time the machine heats up and cools down, the rubber or silicone expands and contracts. Over months, this cycling causes the material to harden, crack, and lose flexibility. Cleaning routines and water quality also affect how long a gasket lasts before it stops sealing reliably.
- Inspect the gasket monthly by shining a flashlight into the bayonet ring. Look for cracks, hardening, or visible gaps between the gasket and the groove. If the material feels brittle when you press it with a fingertip, plan to replace it soon.
- Backflush weekly if your machine supports it. Backflushing removes oils that migrate into the gasket groove and speed up rubber breakdown. Use a blind basket and espresso cleaner, and run two or three cycles.
- Wipe the group head daily after your last shot. Coffee oils and fine grounds collect in the bayonet ring and bake onto the gasket during the next heat cycle. A quick wipe with a damp towel takes five seconds and prevents buildup.
- Use filtered or softened water to reduce mineral deposits inside the group. Scale speeds up gasket wear by creating abrasive particles that scratch the sealing surface during each lock and unlock cycle.
- Avoid reusing old gaskets even if they look intact. Once a gasket has been removed, it may not reseat with the same compression profile. The cost of a new gasket is lower than the cost of leaked shots and wasted coffee.
Heat cycling effects are cumulative. A machine that runs all day in a café sees hundreds of cycles per month. A home machine used twice daily still experiences enough thermal stress to dry out a rubber gasket within a year. Silicone gaskets tolerate more cycles before they harden, but they aren’t immune. Plan to inspect every six months and replace when flexibility decreases.
Long term performance depends on small, consistent actions. Monthly checks catch problems before they cause leaks. Weekly backflushing keeps oils from embedding in the gasket groove. Daily wiping prevents the buildup that turns a two minute gasket swap into a 20 minute cleaning session. These habits don’t add significant time to your routine, and they reliably extend gasket life by months. The result is fewer mid shift repairs, more consistent extraction, and less frustration at the machine.
Final Words
Seeing leaks, a loose portafilter, or a brittle gasket that crumbles? Unplug the machine and let the group cool about 2 hours before you begin.
Follow these steps: remove the diffuser screw and shower screen, use a gasket pick to clear debris, wipe the bayonet ring/groove, fit the new gasket flat side up (beveled down), apply food‑safe silicone grease only to rubber gaskets, seat with the portafilter and reinstall screws fingertip tight. Expect a snug portafilter fit.
Do a blind flush/backflush to confirm the seal. Knowing how to replace espresso machine group head gasket gets you steady, waste‑free shots again.
FAQ
Q: Why is my espresso machine leaking from the grouphead?
A: Leaking from the grouphead is usually caused by a worn or misseated gasket, debris in the bayonet groove, a loose diffuser screw, or a damaged shower screen—clean and inspect; replace brittle gaskets.
Q: Can I replace the head gasket myself?
A: Replacing the head gasket yourself is doable if you’re handy: unplug and cool ~2 hours, remove diffuser screw and shower screen, use a gasket pick, seat new gasket flat-side up, and grease rubber with food-safe silicone.
Q: How often should I replace a group head gasket?
A: You should replace a group head gasket every 6–12 months for regular home use, or sooner if you see leaks, brittle crumbling, poor portafilter fit, or flow inconsistencies; inspect monthly.
Q: Is it worth repairing an espresso machine?
A: Deciding if repairing an espresso machine is worth it depends on repair cost versus machine value; gasket replacement is cheap and extends life for quality machines, so often worth repairing rather than replacing.