

Did you know a one-millimeter mistake in your gasket can turn a clean shot into a leaky, uneven mess?
If your group head sprays, the portafilter won’t lock, or your shots channel, the gasket size is often the cause.
This post shows exactly what to measure, inner diameter, outer diameter and thickness, how wear changes those numbers, and the single measurement correction that stops repeat orders.
You’ll learn the tools to use, what thickness gets the portafilter to 6 o’clock, and how to confirm fit before you buy.
How to Identify the Correct Gasket Size for Your Espresso Machine

Getting the gasket size wrong by even 1 mm causes water spray, uneven extraction, or portafilter misalignment. Too small and it leaks around the basket rim. Too large and the portafilter won’t lock in fully, or you’re forced to crank it tight until the lugs wear out. Precision matters because the gasket creates the seal between group head and portafilter. If that seal isn’t tight, pressure escapes and water takes the path of least resistance instead of flowing evenly through your puck.
Three measurements define every espresso gasket: Inner Diameter (ID), Outer Diameter (OD), and Thickness. ID is the diameter of the hole in the center, the opening that lets water through. OD is the full width across the outside, the part that sits in the group head recess. Thickness is the depth when measured from top to bottom. All three numbers need to match your group head’s specs, or you’ll chase leaks and uneven shots.
Wear distorts dimensions over time. A flattened, cracked, or compressed gasket shrinks in thickness and stretches slightly in diameter. If you measure a worn gasket without accounting for compression, you’ll order a replacement that’s too thin and repeat the same leak problems. When the old gasket shows visible flattening or surface cracks, add 0.5 mm to your measured thickness before ordering. That correction brings you closer to the original factory size and restores proper sealing force.
You need either a digital caliper or a precise metric ruler. Digital calipers give you millimeter accuracy and make depth easy to measure. A ruler works if you can read the tick marks clearly and hold the gasket steady on a flat surface. Remove the gasket completely before measuring. Trying to measure while it’s still seated in the group head introduces error and makes it hard to get a clean read on thickness.
How to Measure an Espresso Group Gasket with Digital Calipers:
-
Remove the old gasket from the group head using a gasket pick or flat hook tool, working carefully around the recess to avoid scratching metal.
-
Clean the gasket and lay it flat on a hard, level surface so it’s not tilted or resting on debris.
-
Set your digital calipers to zero, then measure the Inner Diameter by placing the inside jaws across the center hole and reading the display in millimeters.
-
Switch to the outside jaws and measure the Outer Diameter across the widest part of the gasket’s outer edge, making sure the jaws are parallel and not angled.
-
Use the depth probe or close the jaws gently on the gasket’s cross-section to measure Thickness, then add 0.5 mm if the gasket is visibly compressed, cracked, or hardened.
Where to Buy the Correct Espresso Gasket Size (and How to Confirm Compatibility Before Ordering)

After you have ID, OD, and thickness in hand, the next step is confirming that the replacement you’re about to order actually fits your machine. Many online suppliers and parts vendors list gaskets by brand and model, but relying only on a brand name isn’t enough. Two machines from the same manufacturer can use different group head designs, and a gasket that works on one model may be 1 mm off on another. Double check compatibility using your machine’s model number, the manufacturer part number stamped on the old gasket (if visible), and your own caliper measurements before you click buy.
Common mistakes? Assuming all E61 groups use identical gaskets. Ordering based on a forum post without verifying dimensions. Trusting a generic “universal” gasket listing that doesn’t specify ID, OD, and thickness. A mismatch of even 1 mm in any dimension leads to leaks, poor portafilter lock, or inconsistent brew pressure. Some brands also require specific hardness ratings or materials (silicone, nitrile rubber, EPDM) to handle heat cycles or cleaning chemicals, so note any material specs listed in your machine’s service manual.
How to confirm compatibility before ordering:
- Look up your machine’s model number on the manufacturer’s parts diagram or service manual and cross reference the gasket part number listed.
- Measure your old gasket’s ID, OD, and thickness with calipers and compare those numbers to the replacement listing’s specifications.
- Use the supplier’s compatibility chart or model lookup tool if available, entering your exact machine brand and model.
- Contact the vendor’s support team with your measurements and model number if the listing doesn’t provide all three dimensions or if you’re between two sizes.
Common Espresso Machine Gasket Sizes and Brand Specific Ranges

Most commercial espresso machines rely on gasket thicknesses between 8.5 mm and 9 mm to compensate for group head wear and maintain correct portafilter lock position. Home machines and smaller prosumer setups often use gaskets in the 7 mm to 8.5 mm range. Inner and outer diameters vary more widely depending on group head design. E61 style groups, heat exchanger groups, and saturated groups each use different ID/OD combinations even when thickness is similar.
Size mismatches as small as 1 mm cause water to leak around the portafilter basket, prevent the portafilter from locking at the correct angle, or allow channeling because pressure isn’t evenly distributed across the puck. Always verify all three dimensions before ordering. Aftermarket “universal” gaskets rarely account for the specific ID/OD tolerance your group head requires. For details on individual gasket measurements by brand and model, see the Espresso Group Gasket Measurement Chart.
| Brand | Typical ID/OD (mm) | Typical Thickness Range (mm) |
|---|---|---|
| E61 Group (Rocket, ECM, Profitec) | 60 / 73 | 8.5–9.0 |
| La Marzocco Linea | 56 / 71 | 8.0–8.5 |
| Rancilio Silvia | 58 / 72 | 7.0–8.0 |
| Gaggia Classic | 60 / 72 | 7.5–8.5 |
| Nuova Simonelli | 62 / 74 | 8.5–9.0 |
Choosing the Correct Gasket Thickness for a Proper Portafilter Lock

Thickness determines how far the portafilter rotates when you lock it into the group head. If the portafilter stops too early or swings too far past center, extraction pressure won’t be even and you’ll fight leaks or poor puck contact. Most home and prosumer machines work best with gaskets in the 7 to 9 mm range. Commercial group heads, especially older ones with visible wear in the locking cam, often need 8.5 to 9 mm to bring the portafilter back to the correct position.
When you install a new gasket and lock in the portafilter (empty, no coffee), watch where the handle ends up. That position tells you whether the gasket thickness is right. The goal is a firm lock with the handle pointing straight down or just slightly to the right.
Portafilter lock position guide:
- Portafilter locks at 3 o’clock or 4 o’clock (pointing right): gasket is too thin. Water pressure will push the portafilter loose and you’ll see leaks or spray.
- Portafilter locks at 6 o’clock (pointing straight down): gasket thickness is correct. You get even seal force and consistent extraction.
- Portafilter locks at 7 o’clock or 8 o’clock (pointing left): gasket is too thick. You’re straining the lugs and may crack the portafilter ears or wear out the group head cam.
Portafilter Lock Reference Points
Think of the group head like a clock face. When the portafilter handle is at 6 o’clock, you’ve hit the sweet spot. Enough compression to seal without over stressing the metal. If the handle stops at 3 o’clock or 4 o’clock, the gasket isn’t thick enough to fill the recess, so pressure escapes. If you have to force the handle all the way to 7 o’clock or 8 o’clock, the gasket is taking up too much space and you’re bending or cracking parts with every pull.
Material Differences: Silicone vs Rubber vs EPDM Espresso Gaskets

Nitrile rubber (Buna N or NBR) is the standard material for home espresso gaskets. It handles typical brew temperatures, resists coffee oils, and costs less than specialty compounds. Nitrile works well for machines that see a few shots per day and don’t run continuous back to back service. It degrades faster under constant heat cycles, so expect to replace it every 6 to 12 months in a home setup.
Silicone gaskets hold up better in high volume café environments. Silicone tolerates higher temperatures without hardening and stays flexible longer when the machine runs all day. The trade off is slightly lower compression strength, which means you may need to check fit more carefully during installation. Silicone is recommended when you’re pulling dozens of shots per shift and the group head stays hot for hours at a time.
EPDM (ethylene propylene diene monomer) offers the best chemical resistance, especially if you backflush daily with detergent or use aggressive descaling agents. EPDM also handles steam and high heat without breaking down as quickly as nitrile. It’s common in commercial machines where cleaning protocols are strict and gasket longevity directly affects uptime. Durometer hardness, the measure of how firm the material is, affects how much force is needed to compress the gasket and create a seal. Softer gaskets (lower durometer) conform more easily but wear faster. Harder gaskets (higher durometer) last longer but require correct thickness to avoid over compression.
Signs Your Espresso Machine Needs a New Gasket

Water leaking from the group head around the portafilter basket is the most visible sign of gasket failure. You’ll see drips or spray during extraction, and the counter or drip tray fills faster than it should. Even a slow seep means the gasket isn’t sealing completely, and some of your brew pressure is escaping instead of pushing through the coffee.
A gasket that’s gone hard, brittle, or cracked has lost its ability to compress and conform to the portafilter rim. You’ll feel this when you lock in the portafilter. It takes more force than it used to, or it won’t stay locked without constant hand pressure. Inconsistent extraction, especially when the same coffee and grind setting suddenly produces sour or uneven shots, can trace back to uneven seal force allowing water to channel around the puck edge instead of flowing evenly through the center.
Five signs to replace the gasket:
- Water drips or sprays around the portafilter during extraction.
- The gasket surface is hard, shiny, cracked, or visibly flattened.
- You have to over tighten the portafilter to stop leaks, and the handle locks past 6 o’clock.
- Shots taste sour, thin, or uneven even when grind size and dose are correct.
- Your machine is in commercial use and the gasket is more than 6 months old.
Step by Step Removal and Installation of a New Espresso Gasket
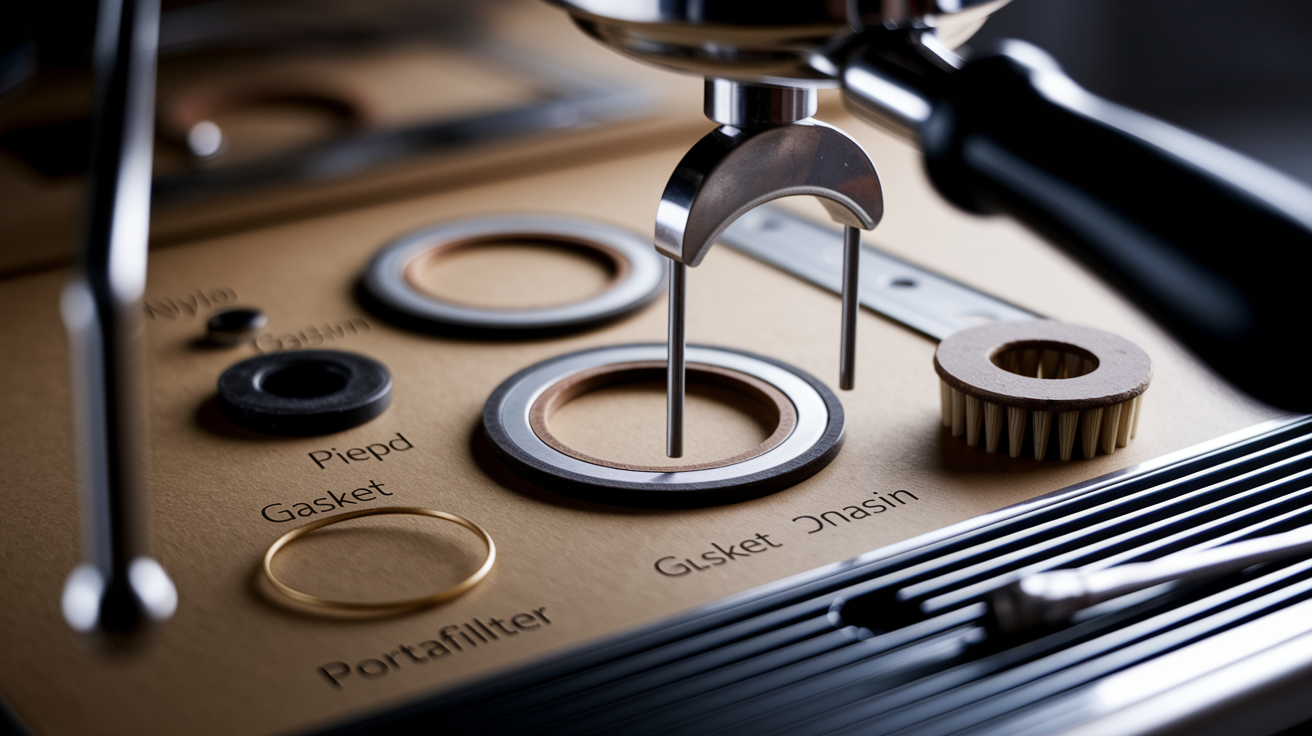
Removing the old gasket without scratching the group head recess takes patience and the right tool. A gasket pick, small flat hook, or even a bent paper clip works. Avoid using a screwdriver or anything with sharp edges that can gouge the metal. Once the gasket is out, clean the recess thoroughly with a nylon brush and wipe away old coffee oils, scale, and residue. A clean seating surface ensures the new gasket sits flat and seals evenly. Some manufacturers recommend a thin layer of food grade silicone lubricant on the gasket or group head threads, but check your service manual first. Many modern gaskets install dry. For details on attachment types and alignment, including machines where the gasket integrates with the shower screen, see Selecting the Correct Group Seal.
Installation steps:
-
Turn off the machine and let the group head cool enough to touch safely, then remove the portafilter.
-
Use a gasket pick or hook tool to pry out the old gasket, working gently around the perimeter to avoid scratching the recess.
-
Scrub the group head recess with a nylon brush and wipe it clean with a damp cloth, removing all coffee residue and old gasket fragments.
-
Check the new gasket’s ID, OD, and thickness one more time with calipers to confirm it matches your measurements.
-
Press the new gasket into the recess by hand, starting at one edge and working around until it sits flat and even with no gaps or twists.
-
If your machine uses a gasket with alignment tabs or a specific orientation, match the tab position to the corresponding notch in the group head.
-
Apply food grade lubricant sparingly to the gasket surface if your manufacturer recommends it, or install dry if the manual specifies that.
-
Lock in an empty portafilter and check the handle position. It should stop at 6 o’clock. If it’s off, remove the gasket and verify thickness or check for installation errors.
After installation, run a blank shot (no coffee) to let the gasket warm up and seat fully. Check for leaks around the portafilter rim and confirm the handle stays locked without needing extra force. If everything holds steady and no water escapes, the gasket is properly sized and seated.
Troubleshooting Incorrect Gasket Fit After Installation

Persistent leaks after installing a new gasket usually mean the ID or OD is wrong, the gasket isn’t seated flat, or the portafilter basket rim is damaged. Double check that the gasket dropped fully into the recess with no sections sitting proud or twisted. Run your finger around the inside edge. If you feel any high spots or gaps, pull the gasket out and reseat it. If the gasket feels correct but water still sprays during a shot, inspect the portafilter basket for dents or bends along the rim. A damaged basket won’t seal even with a perfect gasket.
Portafilter misalignment or locking at the wrong clock position points to incorrect thickness or worn portafilter lugs. If the handle stops too early (3 to 4 o’clock), the gasket is too thin or the lugs are worn down and need replacing. If the handle won’t lock without extreme force and ends up at 7 to 8 o’clock, the gasket is too thick. Swap it for a thinner size (usually 0.5 mm or 1 mm less). Channeling and uneven extraction after a gasket change can happen if the new gasket compresses unevenly, allowing water to favor one side of the puck. This often clears up after a few warm up shots as the gasket seats in, but if it continues, recheck your installation and thickness.
Four troubleshooting steps for post install problems:
- Remove and reseat the gasket, checking that it sits flat in the recess with no twists or gaps.
- Measure the installed gasket thickness again with calipers to confirm it matches your order and that you didn’t accidentally install the wrong size.
- Inspect the portafilter basket rim and lugs for damage, dents, or wear, and replace the basket or handle if needed.
- Run three to five blank shots to let the gasket compress and conform, then retest with coffee to see if leaks or channeling resolve.
How Often to Replace Espresso Gaskets and How to Track Wear
Home machines that pull a few shots per day should get a new gasket every 6 to 12 months. Heat cycles compress the gasket slowly over time, and even if it doesn’t look cracked, the seal weakens and you’ll start to see minor leaks or need more force to lock the portafilter. Cafés running continuous service should inspect gaskets monthly and replace them every 3 to 6 months depending on shot volume. High volume commercial setups can flatten a gasket in three months. Gaskets don’t announce failure with a loud pop. They degrade gradually, so regular inspection is the only way to catch problems before they affect extraction.
Keeping spare gaskets on hand saves downtime. Store them in a cool, dry place away from direct sunlight and heat sources. Rubber and silicone compounds degrade faster when exposed to UV light or high temperatures, even when new. If you’re ordering gaskets, buy two or three so you have a backup ready when you need it.
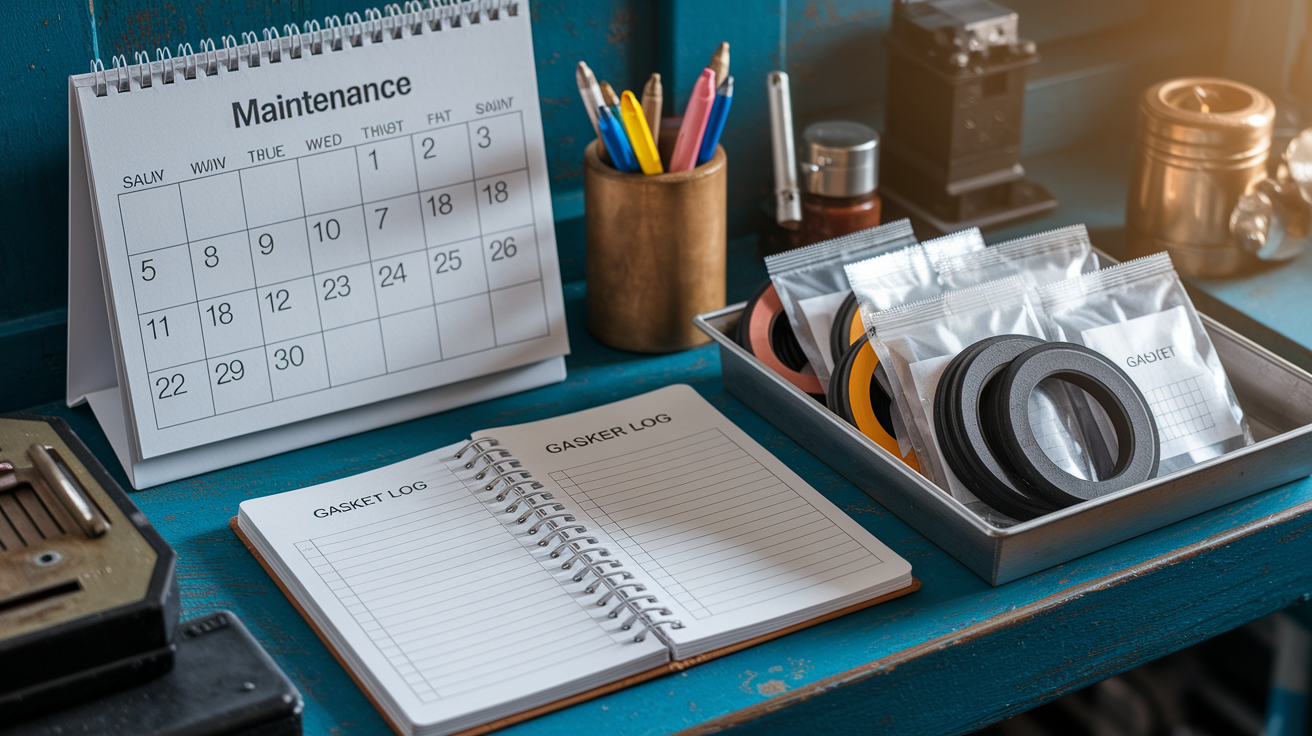
Three maintenance tips to track gasket wear:
- Set a calendar reminder every three months to inspect the gasket for cracks, hardness, or visible flattening, and note any increase in locking force or minor leaks.
- Keep a log of installation dates (write it on a label stuck inside the drip tray or tape a note under the machine) so you know exactly how long the current gasket has been in service.
- Store spare gaskets in a sealed bag or container in a cabinet or drawer, not on top of the machine or near the boiler where heat accelerates aging.
Final Words
Measure the gasket now: ID, OD, and thickness with digital calipers, and add 0.5 mm if the old ring is flattened. Precision here stops leaks and spray.
Confirm compatibility using model or part numbers and a size chart, then install and test the portafilter lock (aim near 6 o’clock).
Following this guide to choosing the right replacement gasket size for your espresso machine makes replacements quick and gets you reliable, leak-free shots.
FAQ
Q: How do I figure out what size gasket I need? What size Bialetti or head gasket do I need?
A: To figure out the gasket size for your machine (including Bialetti or group‑head gaskets), remove the seal and measure ID, OD, and thickness with digital calipers. Add about +0.5 mm for flattened gaskets; 1 mm matters.
Q: How often should I replace my espresso gasket?
A: You should replace your espresso gasket every 6–12 months at home; inspect monthly and replace every 3–6 months in busy cafés. Replace sooner if you notice leaks, cracks, or if the portafilter won’t lock properly.