

Think your precision tamper will hold calibration forever?
It won’t.
Dirt, moisture, drops and poor storage quietly bend springs, gum up triggers, and make your shots inconsistent.
This post gives simple, repeatable steps you can do now, like a daily wipe, dry storage, gentle handling and regular force checks, so your tamper keeps its crisp click and your shots stay consistent.
Read on to learn the exact cleaning moves, storage setup, and quick test you can do in minutes.
Key Practices for Protecting Precision Tamper Calibration
Precision tampers use internal springs or impact mechanisms calibrated to trigger around 30 lbs. When that calibration shifts, your tamping consistency vanishes. Shots turn unpredictable, and troubleshooting becomes a mess of variables you can’t isolate.
What breaks calibration? Contamination, moisture, drops, and bad storage. Coffee oils and fine particles creep into moving parts. Moisture rusts springs and corrodes contact points. A single hard drop can deform a spring or knock components out of alignment. And storing your tamper somewhere damp, unstable, or high traffic quietly compounds all three over time.
Here’s what matters every time you use or put away your calibrated tamper:
- Keep it clean.
- Keep it dry.
- Don’t drop it.
- Store it somewhere stable and protected.
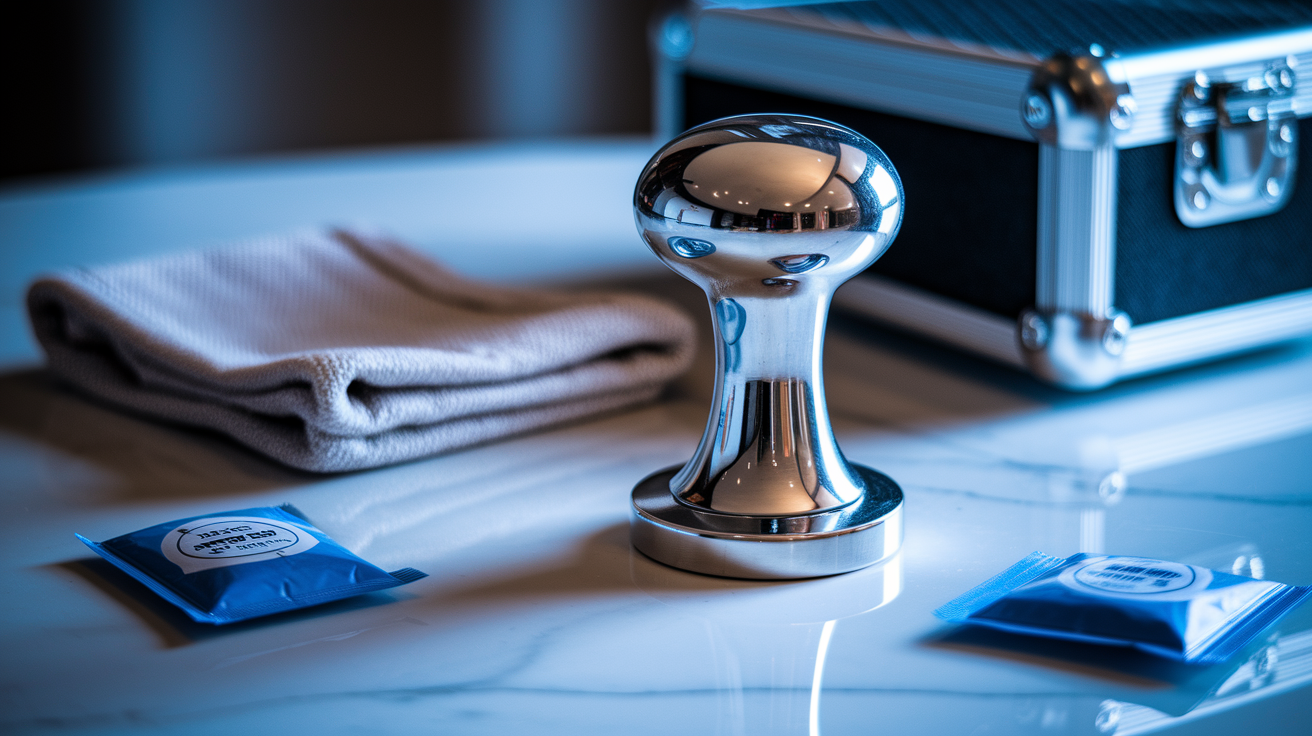
Cleaning Procedures That Protect Precision Tamper Calibration

Daily cleaning stops espresso residue and fine grounds from working their way into moving parts. Start with a clean microfiber cloth and wipe the base, body, and any exposed metal. For tampers with visible seams or adjustment points, use short bursts of compressed air to clear threads, springs, or indicator windows. Hold the can upright and keep the nozzle at least three inches away so you don’t force moisture inside.
Use only mild cleaners that are safe for your tamper’s materials—usually stainless steel, aluminum, or anodized coatings. Test any new cleaner on a small hidden spot first. Avoid harsh solvents, bleach, or acidic descalers unless your manual says it’s fine. For digital or impact tampers with sealed mechanisms, never submerge the body or spray directly into moving parts. If the base is removable and solid metal, you can use an ultrasonic cleaner with a neutral solution, but confirm there’s no electronics, adhesives, or plastic that might degrade.
After any wet cleaning, dry everything completely. Use a fresh cloth and follow up with low-pressure compressed air to clear moisture from threads, springs, and seams. Leave the tamper out at room temperature for at least 10 minutes before you reassemble or store it. Trapped moisture is the fastest way to rust a spring coil or corrode a calibration screw, and both will silently shift your force setting.
Cleaning best practices:
- Wipe daily with a dry cloth after each use.
- Use compressed air on seams and adjustment points.
- Apply only approved mild cleaners to metal surfaces.
- Dry all parts fully before reassembly or storage.
- Only use ultrasonic cleaning on solid metal components.
Storage Conditions That Help Maintain Precision Tamper Accuracy

Calibrated springs and impact mechanisms don’t like environmental swings. Too much heat weakens spring tension over time. Cold makes lubricants sluggish or causes condensation when the tamper warms back up. High humidity accelerates rust on springs and corrodes metal contact points. Direct sunlight can degrade plastic parts, fade calibration markings, and heat metal unevenly.
Store your tamper indoors somewhere stable, ideally between 60–75 °F with relative humidity below 60 percent. Use a protective case with foam inserts cut to fit the tamper snugly. Movement during storage or transport is a hidden source of drift. Even small repeated impacts can shift spring preload or loosen set screws. If your tamper didn’t come with a case, a small hard-shell tool box with custom foam works well. Drop a silica gel desiccant pack inside and replace it every 3–6 months, or sooner if it changes color. Make sure the case closes securely and doesn’t let dust or moisture creep in.
Don’t store tampers in high-traffic areas, near vibrating equipment like grinders, or on shelves above espresso machines where steam and temperature fluctuations are constant. A dedicated drawer, closed cabinet, or tool chest away from water sources and heat vents works best. If you’re storing multiple precision tools together, keep each in its own compartment or padded slot so they can’t bang into each other.
| Storage Factor | Recommended Range/Action |
|---|---|
| Temperature | 60–75 °F (15–24 °C), stable indoor environment |
| Humidity | Below 60% RH; use desiccant packs in storage case |
| Shock/Vibration | Foam inserts, secure case closure, low-traffic location |
| Protective Casing | Hard-shell case with custom foam; silica gel desiccant replaced every 3–6 months |
Handling Guidelines That Prevent Calibration Drift in Precision Tampers
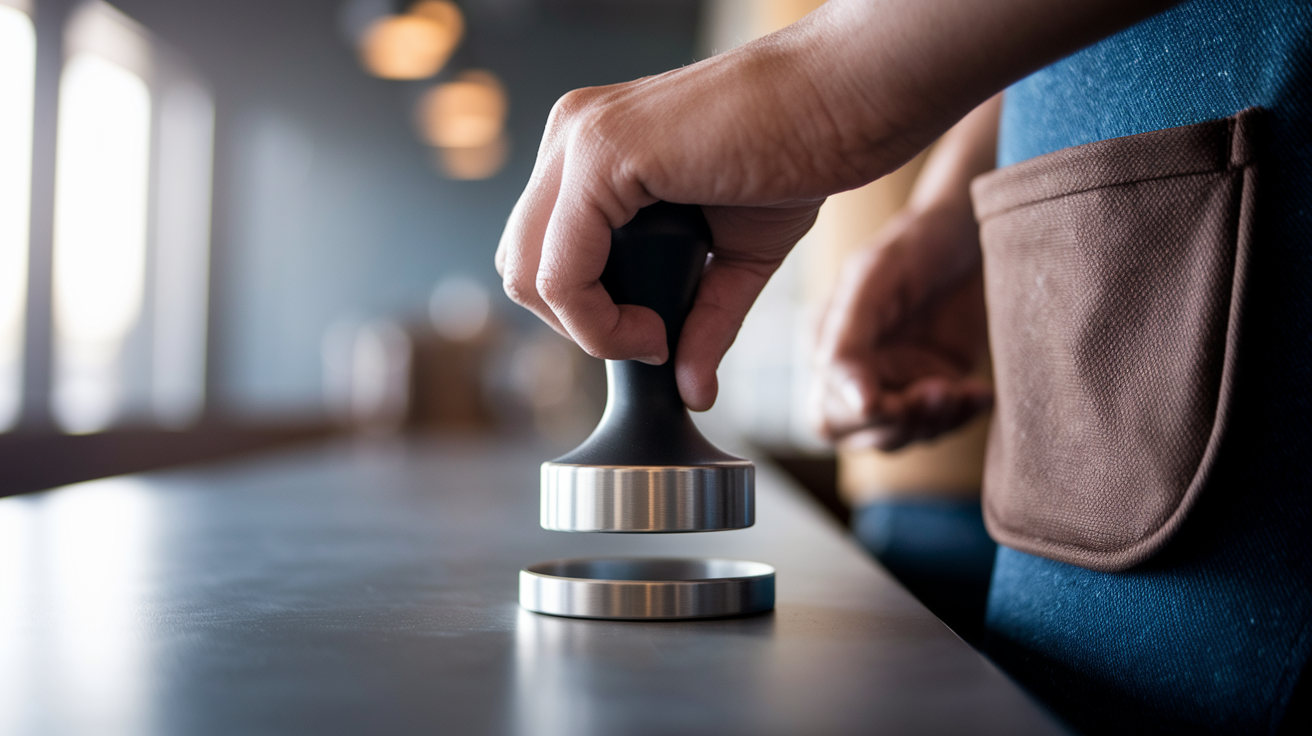
Grip your tamper by the handle, never the base or calibration collar. The base is the working surface and any torque or bending force can deform springs or shift alignment. When you set the tamper down, do it gently on a stable, flat surface away from the edge. Accidental drops are the most common cause of sudden calibration failure. A single fall can compress springs unevenly or crack internal components.
If you’re moving between stations, carry the tamper in a padded pouch or a designated slot in your apron. Make sure all staff follow the same handling routine so every user protects the tool consistently. For digital tampers with screens or electronics, don’t grip near the display or control buttons with wet or oily hands. Use clean, dry hands or food-safe nitrile gloves to prevent contamination and moisture transfer.
Safe handling checklist:
- Hold only the handle, never the base or calibration ring.
- Place the tamper gently on stable, flat surfaces.
- Don’t carry it loose in apron pockets or leave it near sink edges.
- Train all users on the same careful handling procedures.
Calibration Verification and Scheduling for Precision Tampers

Calibration checks confirm your tamper still triggers at the intended force. Most calibrated tampers give you tactile feedback—a click, sudden resistance shift, or travel stop—when you hit the preset pressure. Over time, springs fatigue, set screws loosen, or wear changes the trigger point. Regular checks catch drift before it ruins shot consistency.
For home use, verify calibration monthly. In a busy café or training environment, check weekly or after every 500 tamps, whichever comes first.
Start by doing a series of controlled test presses on a stable surface, like an empty portafilter basket or a small digital scale with a flat plate adapter. Press slowly and note exactly when the tactile feedback happens. Repeat five times and check for consistency. The feedback should trigger at the same point each time. If you notice variation—sometimes early, sometimes late—the mechanism may be wearing or contaminated.
Compare your tactile observations to actual force measurements using a small kitchen scale or postal scale that can read up to 40 lbs. Place a flat, rigid disk on the scale, zero it, then tamp down until feedback triggers. The scale should read close to your tamper’s rated force, typically 30 lbs. If readings drift more than ±2 lbs over multiple tests, recalibration or service is due.
Document every calibration check in a simple log: date, measured force, consistency notes, and any adjustments made. This record helps you spot gradual drift trends and provides proof of regular maintenance if you’re running a commercial operation. For tampers with user-adjustable calibration (usually via a set screw or collar), follow the manufacturer’s procedure to reset the trigger point. If your tamper doesn’t offer field adjustment or if you’re unsure, contact the manufacturer or a certified service provider for professional recalibration.
Practical Calibration Check Steps
- Place a flat, rigid disk on a scale rated for at least 40 lbs and zero the scale.
- Tamp down slowly until you feel the calibrated feedback (click or resistance stop).
- Note the force reading on the scale and repeat the test four more times.
- Record the average force, note any variation, and compare to your tamper’s rated pressure. If readings drift beyond ±2 lbs, schedule service or adjust per manufacturer instructions.
Identifying Wear, Damage, and Early Failures in Precision Tampers

Inspect your tamper visually before each use and do a detailed check weekly. Look for cracks in the handle, dents or scratches on the base, and any looseness in threaded connections. Gently twist the base and collar to confirm they’re snug. Wobble or play means loosening that can shift calibration. Check springs or impact mechanisms for visible corrosion, deformation, or foreign material. If your tamper has a clear window or indicator, make sure it’s clean and legible. Cloudy or scratched indicators can hide calibration drift.
Inconsistent tactile feedback is an early warning. If the click happens earlier or later than usual, or if it feels mushy instead of crisp, the internal mechanism is degrading. Unusual sounds—grinding, rattling, or squeaking—also signal contamination or wear. When you notice any of these symptoms, stop using the tamper for production work and verify calibration immediately.
Warning signs that maintenance or replacement is needed:
- Click or resistance feedback occurs at inconsistent points.
- Visible cracks, dents, or worn surfaces on the base or body.
- Loose threads, wobble, or play in the base or collar.
- Corrosion, rust spots, or discoloration on metal parts.
- Grinding, rattling, or other new sounds during use.
Long-Term Maintenance Routines for Precision Tampers

Build a simple maintenance schedule tied to your usage level. For daily home use, wipe the tamper after each session, check calibration monthly, and deep clean quarterly. In a café pulling 50+ shots per day, wipe after every shift, verify calibration weekly, and schedule professional service or deep cleaning every three months. Write the schedule down and post it near your espresso station so everyone follows the same routine.
Create a short standard operating procedure document that covers cleaning steps, storage location, handling rules, and calibration check frequency. Train all users on the SOP during onboarding and refresh training quarterly. Consistent care across multiple baristas prevents one careless mistake from compromising accuracy. Keep a maintenance log with entries for cleaning, calibration checks, and any repairs or adjustments. This log helps you spot patterns—such as drift accelerating after a particular event—and provides documentation for warranty claims or resale.
Plan for lifecycle replacement. Even well-maintained tampers eventually fatigue. Springs lose tension, threads wear, and metal surfaces develop micro-pitting. If calibration drift becomes frequent despite regular service, or if the manufacturer discontinues support, budget for a replacement. Investing in a durable, well-engineered tamper from the start extends useful life and reduces long-term maintenance costs.
Long-term maintenance checklist:
- Establish and document a cleaning, inspection, and calibration schedule based on usage.
- Write a short SOP covering handling, storage, and care procedures.
- Train all users on the SOP and refresh training quarterly.
- Keep a maintenance log tracking cleaning, calibration, and service.
- Monitor lifecycle indicators and budget for eventual replacement.
- Prioritize purchasing high-quality, repairable tampers with manufacturer support.
Final Words
Start by treating the tamper like a precision tool: keep it clean, dry, and protected from knocks. Focus on the essentials, cleaning that won’t push debris into the mechanism, stable storage with desiccant, safe handling, and gentle transport. Schedule simple calibration checks and look for dents, loose parts, or changes in resistance.
Follow a few steady habits, daily wipe, proper case, and monthly verification, and you’ll avoid drift and wasted shots. Learning how to maintain and store precision tampers to preserve calibration keeps your shots reliable and makes dialing in less stressful.
FAQ
Q: How should precision measuring tools be stored?
A: Precision measuring tools should be stored clean, dry, and protected in padded cases or dedicated compartments, away from vibration, temperature swings, and moisture; use desiccants and avoid stacking or direct sunlight.
Q: What is the 4 1 rule calibration?
A: The 4 1 rule calibration is the guideline that a reference standard should be at least four times more accurate than the device under test, keeping calibration uncertainty small and results meaningful.
Q: How often should a precision measuring device be calibrated?
A: A precision measuring device should be calibrated per manufacturer guidance and actual use; typical intervals are 6–12 months, shorter (monthly–quarterly) for heavy or critical use, and always after shocks or suspect readings.
Q: Are calibrated tampers worth it?
A: Calibrated tampers are worth it when consistent tamping force and repeatable shots matter; they cut variability, training time, and wasted coffee—highly valuable for busy shops or precision-focused home baristas.