

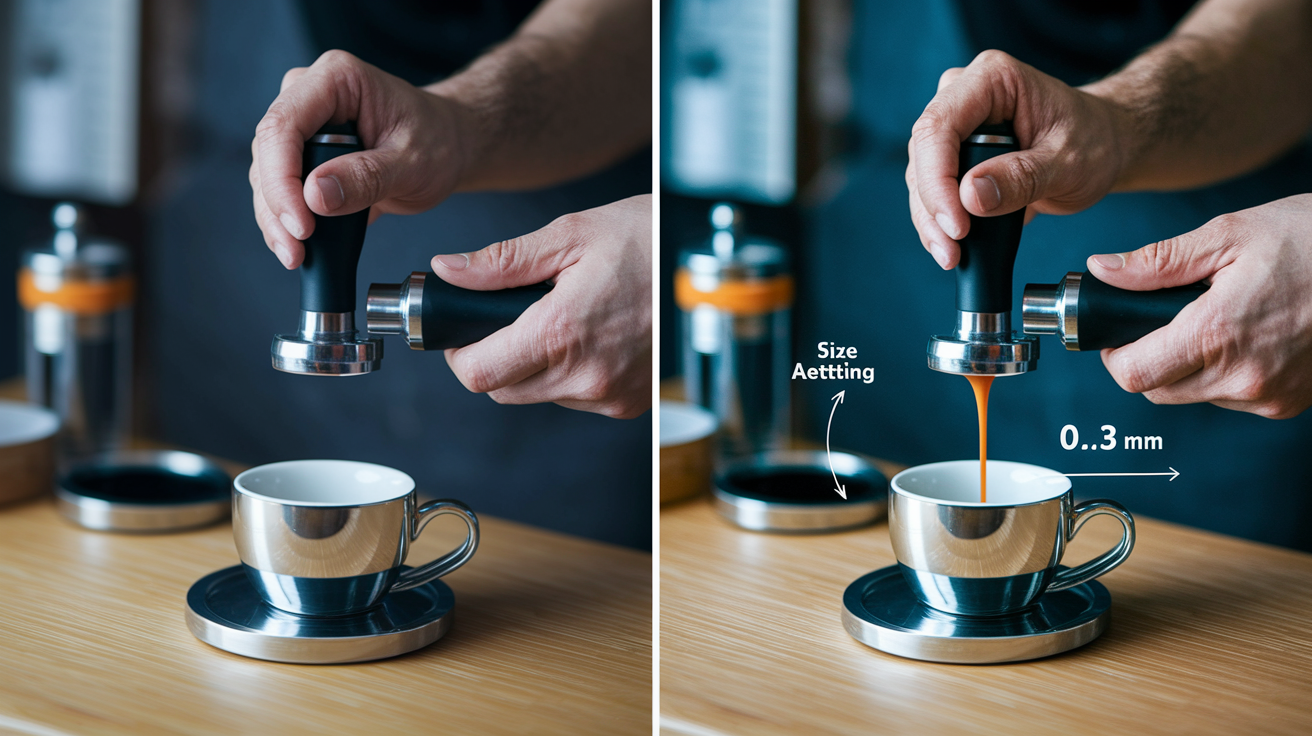
Did you know a 0.3 mm mismatch between tamper and basket can wreck your espresso?
Measuring tamper diameter and checking fit takes five minutes and stops channeling, uneven extraction, and wasted beans.
This post gives a clear, step-by-step method you can do with basic tools: measure the basket rim and 5 mm down, measure the tamper base, then run a dry-fit and foil test – so your tamps are repeatable and shots stay consistent.
Read on and fix the fit before you blame the grinder.
Step‑By‑Step Method to Measure Tamper Diameter and Check Fit Accurately
Getting the diameter right takes maybe five minutes. Most people mess it up because they measure once and call it done.
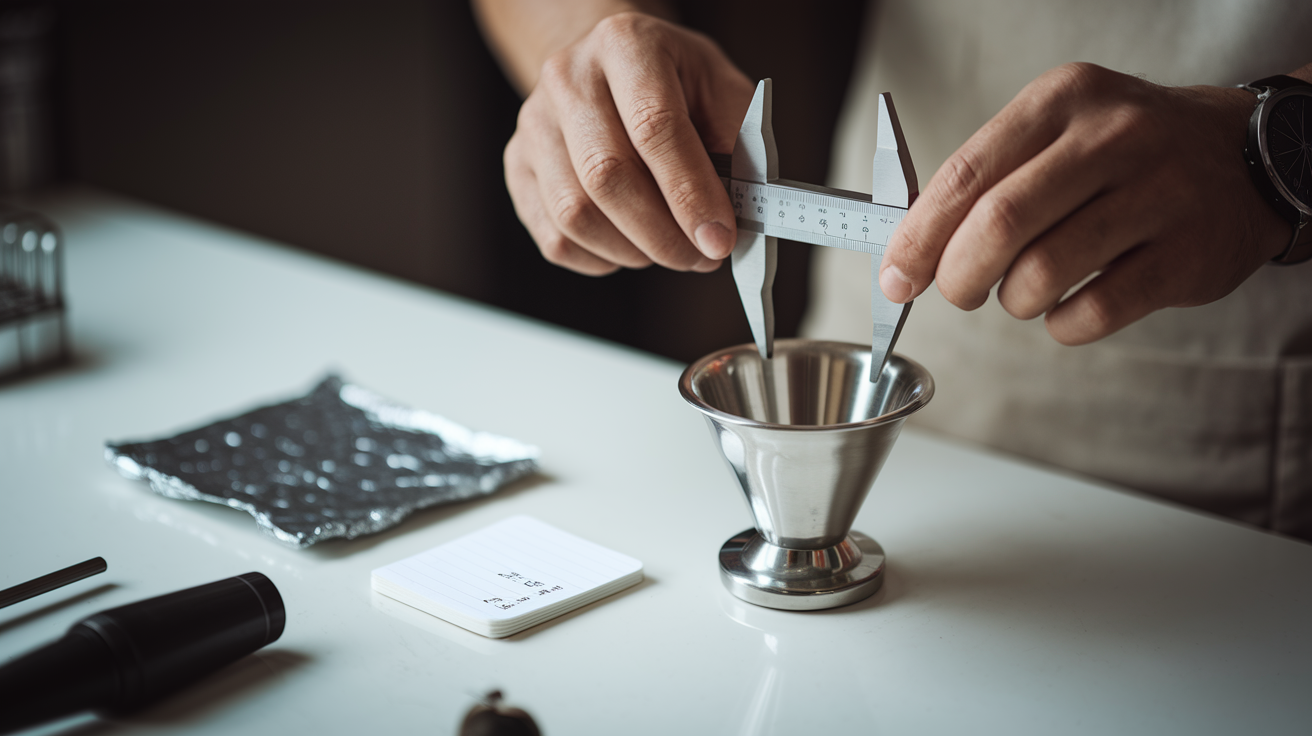
Grab an empty basket and a clean tamper. Measure the basket’s internal diameter at the rim, then drop down about 5 mm and measure again. A lot of baskets taper inward, and that second number tells you if your tamper’s going to bind or leave gaps when you press. Next, measure the tamper base straight across at its widest point. If the base is convex or shaped at all, focus on where it’ll actually touch the coffee. Write everything down in millimeters, one decimal place.
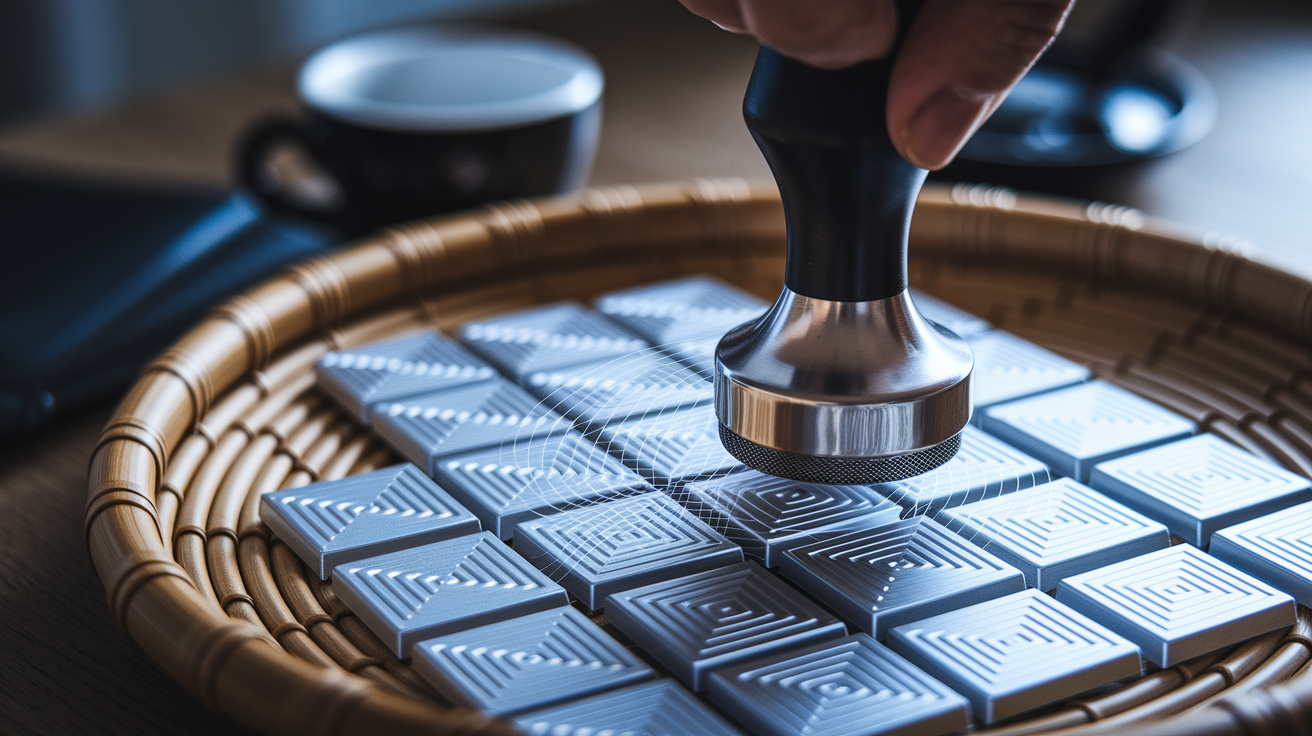
Now test the fit. Drop the tamper into the dry basket without forcing it. It should slide in smooth, sit flat (or close, depending on the basket), and spin a full 360 with just a whisper of resistance. If you feel scraping or see gaps at the edges, something’s off. Final check: lay a small square of foil or parchment on the basket floor, press the tamper down gently, pull it out. The foil should show even contact all the way across. No light spots, no torn edges.
Here’s the sequence:
- Clean and dry the basket so nothing throws off your numbers.
- Measure basket internal diameter at the rim with calipers positioned straight across.
- Measure again 4 to 6 mm below the rim to catch taper or lip shape.
- Measure tamper base diameter where it makes contact.
- Insert tamper into empty basket and check for smooth entry, flush seating, free rotation.
- Do the foil or paper test to confirm even compression across the full diameter.
- Write everything down for later.
Understanding Tamper Diameter Standards and Common Size Groups
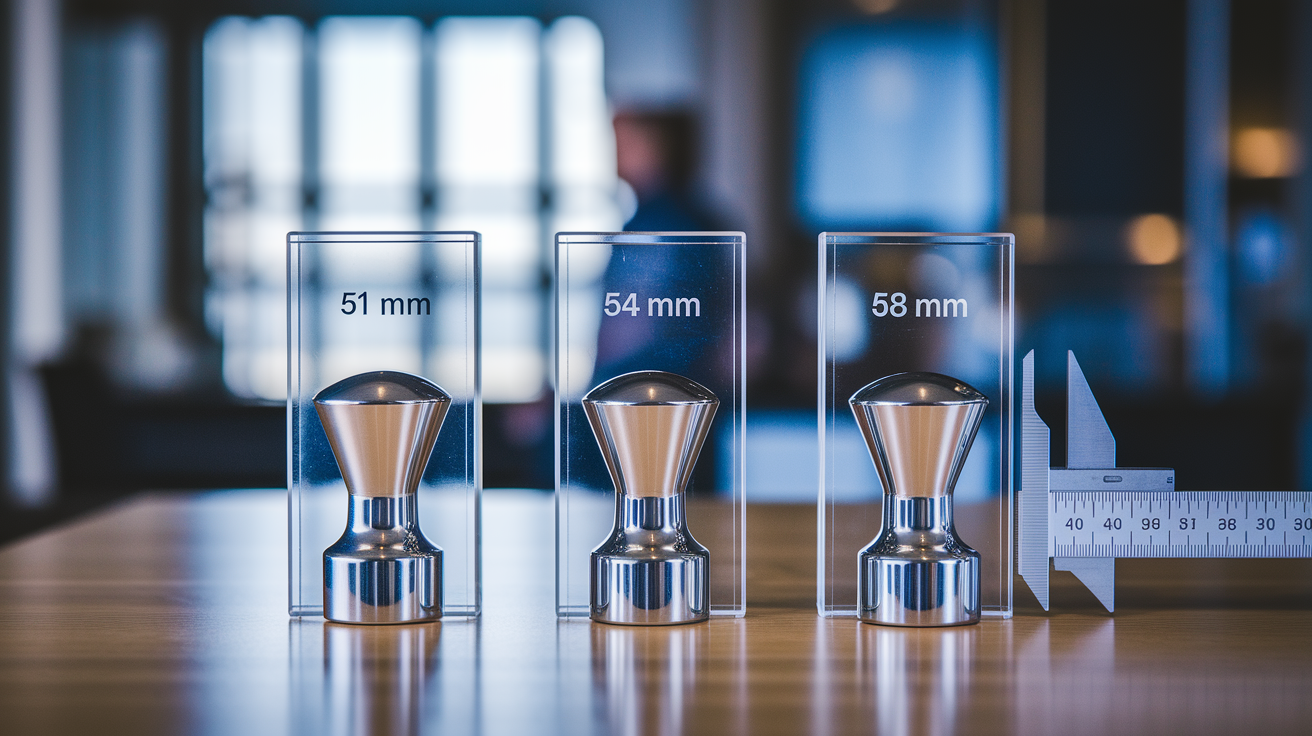
Tamper sizes bunch around a few standard groups, but the labels don’t always match reality. A “58 mm” portafilter might actually measure 58.3, 58.5, or even 58.74 mm at the rim. A tamper sold as “58 mm” is often closer to 57.8 or 58.0 mm. That gap matters once you’re packing coffee and trying to get consistent flow.
Entry machines from De’Longhi (Dedica, Stilosa, La Specialista) usually take 51 mm baskets and tampers. Mid-range home machines, especially Breville and Sage like the Barista Express or Pro, land somewhere between 53.3 and 54 mm. Professional E61 group heads (Rocket, ECM, Profitec, La Marzocco, most Gaggia units) use 58 mm portafilters, and a lot of aftermarket tampers for these are sized at 58.5 mm to engage the basket rim properly. For more on matching tamper size to your setup, see How To Choose The Right Coffee Tamper Size (+ Bonus Tamper Size Chart).
Nominal sizing can trick you. Here’s what those numbers usually mean in practice:
- 51 mm group: Basket internal diameter typically 51.0 to 51.3 mm, tampers sized 50.5 to 51.0 mm.
- 53.3 to 54 mm group: Basket ID often 53.6 to 54.2 mm, tampers available in 53.3 mm (tight fit) or 54.0 mm (standard fit).
- 58 mm group: Basket ID commonly 58.3 to 58.5 mm, tampers range from 58.0 mm (undersized for some baskets) to 58.5 mm (recommended for most aftermarket precision baskets).
- Outliers: Some La Pavoni models use 49 mm or 57 mm. Cimbali machines may use 57 mm. Older Faema E61 originals call for true 58.0 mm, not 58.5 mm.
Even a basket measured at 58.74 mm can work with a 58 mm tamper if the taper and base shape create enough edge compression, but you’ll get better consistency with a tamper closer to 58.3 or 58.5 mm for that basket.
Tools for Measuring Tamper and Basket Diameter with Precision
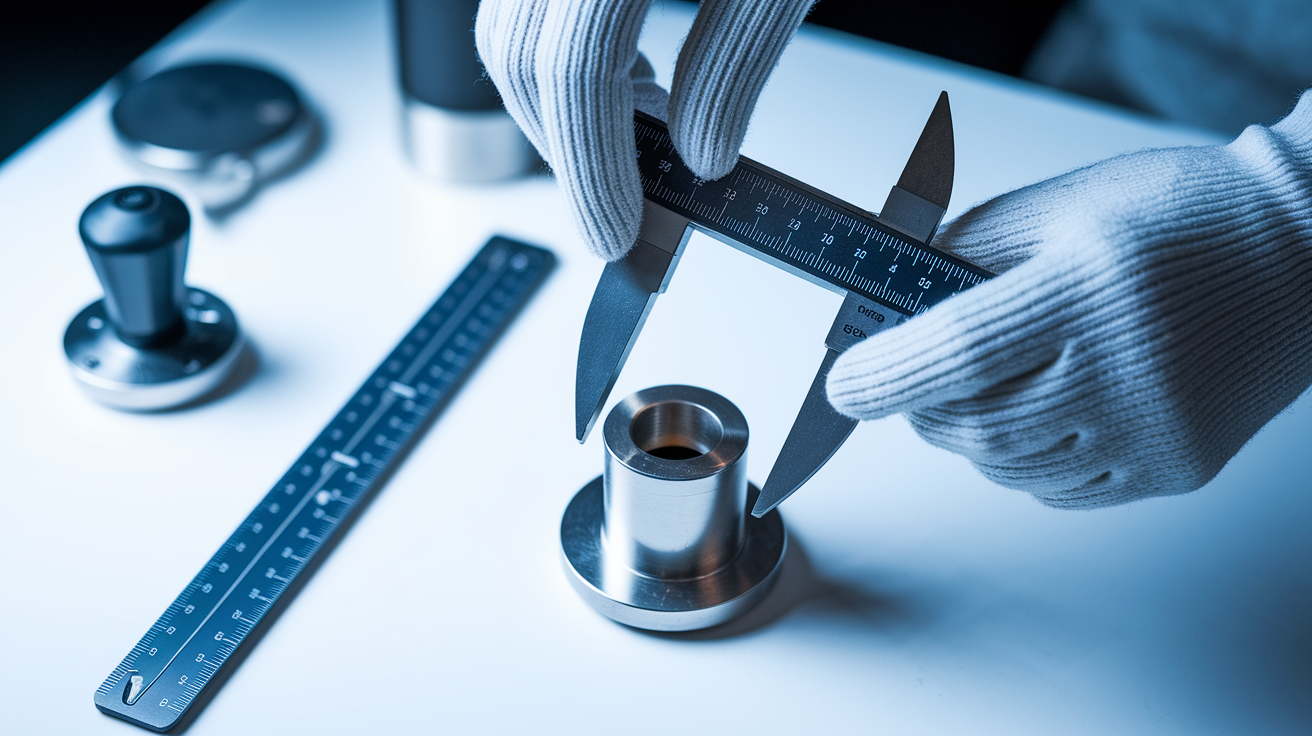
The tool sets your margin of error. Digital calipers deliver accuracy within 0.01 to 0.02 mm, which is enough to catch the 0.3 mm differences that cause edge gaps. Vernier calipers offer similar precision without batteries. A metal ruler or tape measure can get you within 0.5 mm, useful for quick checks but not enough to catch the small mismatches that show up under brew pressure.
Digital calipers cost less than a bag of decent beans and handle basket rims, tamper bases, even curved surfaces if you know what you’re doing. Vernier calipers are tougher and work in wet environments, but the scale takes practice to read fast. Metal rules work fine for confirming a tamper is “around 58 mm” before you order, but don’t rely on them for final fit verification. In a shop where you’re testing multiple baskets or tracking tamper wear, digital calipers are standard. At home, if you’re only measuring once when you buy a new tamper, a vernier or even a careful ruler check can work.
| Tool Type | Typical Accuracy | Best Use Case |
|---|---|---|
| Digital calipers | ±0.01 to 0.02 mm | Precise fit verification, taper detection, professional workflow |
| Vernier calipers | ±0.02 to 0.1 mm | Reliable precision without power, durable for shop use |
| Metal ruler or tape | ±0.5 mm | Quick checks, rough size confirmation before ordering |
Basket Geometry Factors That Influence Tamper Fit
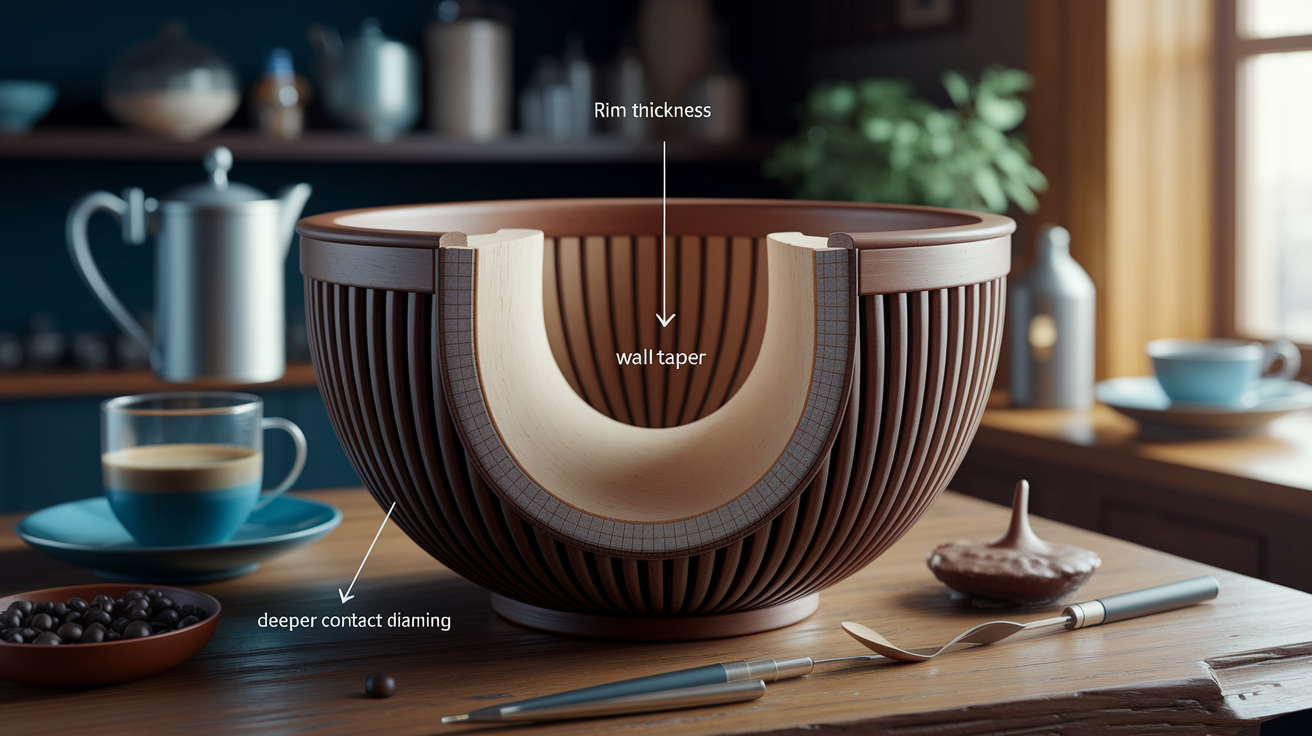
Basket shape does more than hold coffee. Rim thickness, internal lip design, how the walls taper, all of it changes where the tamper makes contact and how much clearance you actually have. A basket with a thick rolled rim might measure 58.3 mm at the top but drop to 58.0 mm just 3 mm down, so a 58.0 mm tamper that seemed tight at the rim suddenly has room to wobble once it’s pressed into the bed. Baskets with a pronounced internal step or bevel (common in pressurized “crema enhancer” designs) can create a false diameter reading at the rim that doesn’t reflect the compression zone where the tamper actually works.
Pressurized baskets tolerate looser fits because the restriction happens below the puck, not at the surface. Unpressurized baskets rely entirely on even puck density to control flow, so any gap at the edges lets water bypass the compressed coffee and carve channels. Some OEM baskets have irregular interior finishes, spot welds, or slight out-of-round sections a caliper might not catch on the first pass. Rotate the caliper and take two or three readings 90 degrees apart to see if the basket’s truly circular.
Precision baskets from IMS or VST are machined to tighter tolerances, with straighter walls and more consistent internal diameters. They’re often slightly larger internally than the OEM baskets they replace. An IMS basket rated “58 mm” might measure 58.4 or 58.5 mm, and they need closer tamper fits to take advantage of that precision. If you’re upgrading to a precision basket, re-measure and consider stepping up tamper size by 0.3 to 0.5 mm to keep edge compression tight.
Advanced Tamper Fit Diagnostics Beyond Basic Dry‑Fit Tests
A tamper that passes the drop-in test can still have micro-wobble or uneven base contact that only shows up under pressure. Concentricity analysis checks whether the tamper sits centered in the basket or favors one side. Hold it vertical in the basket and look straight down. If the gap around the edge varies by more than a sliver of light, the tamper base or the basket rim is out of round. Diagnosing uneven base contact means taking a closer look at how the tamper’s bottom surface meets the coffee bed. Some tampers have a slight dish or crown that’s invisible but creates pressure hotspots.
Run these when a standard dry-fit looks fine but your shots still channel:
- Multi-height foil test: Place foil squares at the basket rim, 3 mm down, and 6 mm down. Tamp each one separately and compare contact patterns to see where the tamper engages most.
- Tilt detection: Press the tamper down and apply light side pressure in four directions (north, south, east, west). Any movement larger than 0.1 mm means clearance issues.
- Side-pressure response: Push the tamper handle sideways while it’s seated. If the base tilts or the handle flexes without the base moving, the fit is tight. If the whole tamper shifts, there’s play.
- Rim-contact mapping: Use a pencil to mark the basket rim at 12, 3, 6, and 9 o’clock, insert the tamper, and check which marks show scuffing or contact. Uneven marks mean the tamper isn’t concentric.
- Micro-clearance evaluation: Slide a 0.1 mm feeler gauge (or a single sheet of paper) between tamper edge and basket wall at multiple points. If it goes in easily at some spots but not others, the basket or tamper is out of spec.
Advanced test results reveal what basic checks miss. Uneven foil contact at different depths means the basket tapers more than expected, or the tamper base has a profile that doesn’t match the basket’s geometry. Tilt or side-pressure movement confirms undersizing even when visual inspection looks fine. Rim-contact mapping catches out-of-round baskets or tampers with off-center bases, both of which cause inconsistent compression and shot-to-shot variation.
Ideal Clearance Tolerances and How They Affect Extraction
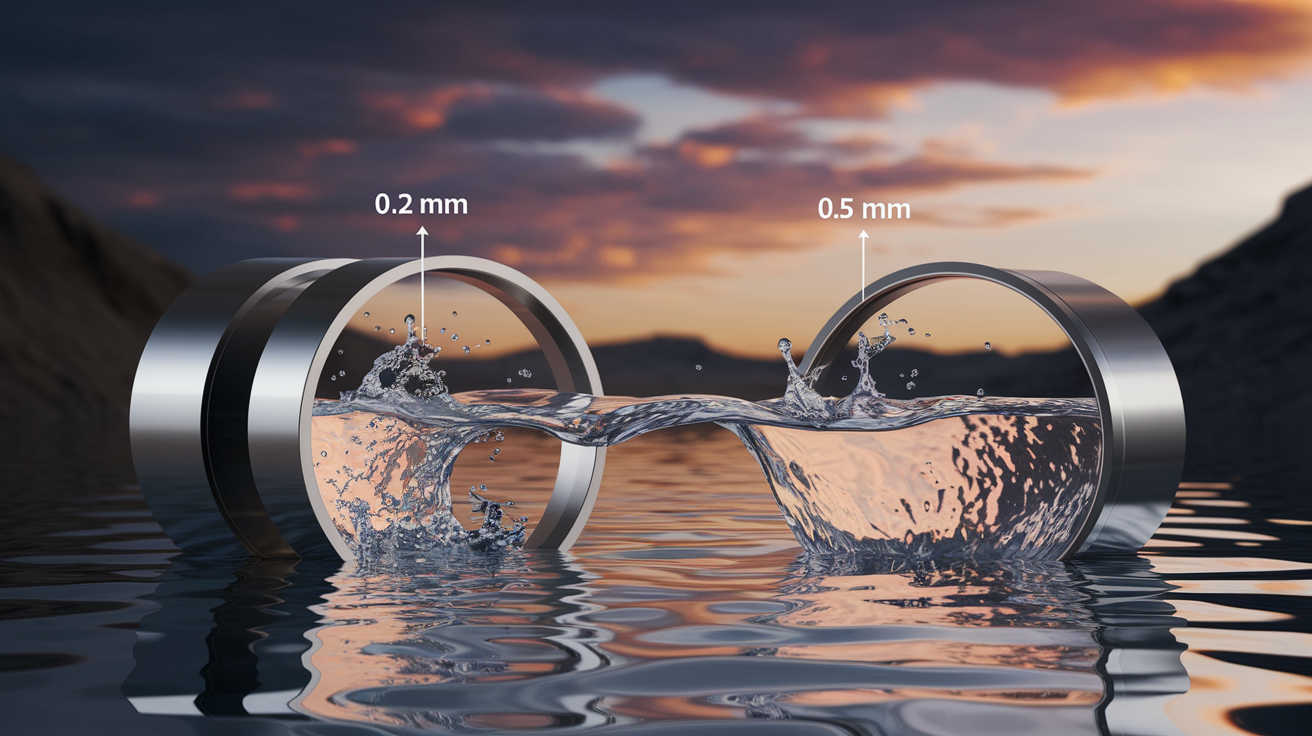
Clearance controls how tamping pressure spreads across the puck. A 0.5 mm radial gap (the space between tamper edge and basket wall) lets the tamper compress the center and most of the bed evenly, while leaving a thin ring at the edge slightly less dense. Water follows the path of least resistance, so that low-density ring becomes the first place flow speeds up and channels form. Tighten the clearance to 0.2 mm and the edge compression improves, reducing the density difference and slowing down bypass flow.
Extraction defects linked to clearance show up in predictable ways. Too much clearance creates a visible ring of lighter, under-extracted coffee around the puck edge after the shot, and you’ll taste sour, thin notes even when the center of the puck is properly extracted. Too little clearance (or an oversized tamper forced into the basket) can chip the basket rim, deform the puck as you pull the tamper out, or create uneven compression if the tamper binds and tilts during the tamp. Rim compression (when the tamper edge digs into the coffee at the basket wall) matters more than center pressure because that’s where water first contacts the puck in most group head designs.
Precision baskets and OEM baskets need different clearance strategies. Precision baskets with straight walls and consistent internal diameters perform best with 0.2 to 0.4 mm radial clearance, which usually means a tamper only 0.4 to 0.8 mm smaller than the measured basket ID. OEM baskets with tapered walls or irregular interiors tolerate 0.5 to 1.0 mm clearance because the taper itself provides some edge compression as the tamper descends. If you’re using a precision basket and seeing edge channeling, step up tamper size by 0.3 mm before you adjust grind or dose.
Troubleshooting Tamper Fit Problems and How to Fix Them
Undersized tampers leave a visible gap you can see when you lift the tamper out of a dosed basket. The coffee at the edges looks fluffier and less compressed than the center. Shots pull fast on one side or show multiple thin streams early in the extraction. The fix is straightforward: move up 0.5 mm in tamper diameter and re-test. If a 58.0 mm tamper leaves gaps in a 58.5 mm basket, try a 58.3 mm or 58.5 mm tamper. Small steps keep you from overshooting into a too-tight fit.
Oversized tampers either won’t seat at all or require force that damages the basket rim or bends the tamper handle. You’ll feel resistance as the tamper enters the basket, and pulling it out can drag coffee up the walls or dent the puck surface. Don’t force it. Return or exchange the tamper, or switch to a basket with a wider internal diameter. Some baskets sold as “58 mm” are actually closer to 57.5 mm internally, especially older or budget models, and they need a true 57.0 or 57.5 mm tamper.
Paper or foil tests show uneven compression when one side of the circle has heavier marking or tears while the other side barely touches. That points to a tilted tamp, an out-of-round basket, or a tamper base that isn’t flat. Check the tamper on a known-flat surface like a granite countertop or machinist’s square. If it rocks, the base is dished or warped. If the basket is out of round, you’ll see the same uneven contact no matter which tamper you use. Replace the basket.
Puck screens and dosing rings add 0.1 to 0.3 mm effective diameter and can compensate for a slightly undersized tamper, but they’re a workaround, not a fix. Use them when you’re between sizes and can’t source the exact diameter you need, or when a model-specific basket has an unusual internal diameter. For model-specific size guidance and compatibility, see How do I find the right barista tools for my machine?.
Most measurement mistakes come from measuring at only one height, rounding to the nearest whole millimeter, or assuming all baskets labeled “58 mm” are identical. Measure twice at different depths, record decimals, and test fit before you commit.
Quick Brand Size Reference for Correct Tamper Selection
Brand and model give you a starting point, but always confirm with a measurement. De’Longhi machines (Dedica, Stilosa, La Specialista) use 51 mm baskets and tampers across nearly the entire range. Breville and Sage split into two groups: the Barista Express, Barista Pro, Duo-Temp, Bambino, and Infuser use 54 mm portafilters (some aftermarket tools are sized 53.3 mm for a tighter fit), while the Barista Touch, Dual Boiler, Oracle, and Oracle Touch use 58 mm portafilters with 58.5 mm accessories.
E61 group machines from ECM, Profitec, Rocket, and most La Marzocco models use 58 mm portafilters, and the recommended tamper size is 58.5 mm to match the basket’s actual internal diameter. Gaggia machines mostly follow the 58 mm standard, but Gaggia-specific portafilters sometimes fit better than generic E61 parts because of subtle differences in basket depth and handle angle. Flair lever machines use 58 mm baskets with 58.5 mm tampers. La Pavoni sizing varies wildly by model and era (some use 49 mm, others 51, 54, 57, or 58 mm), so measure before ordering anything.
| Brand / Model Group | Typical Portafilter Size | Recommended Tamper Size |
|---|---|---|
| De’Longhi (Dedica, Stilosa, La Specialista) | 51 mm | 51 mm |
| Breville / Sage (Barista Express, Pro, Bambino) | 54 mm | 53.3 to 54 mm |
| Breville / Sage (Dual Boiler, Oracle, Barista Touch) | 58 mm | 58.5 mm |
| ECM, Profitec, Rocket (E61 group) | 58 mm | 58.5 mm |
| La Marzocco (most models) | 58 mm | 58.5 mm |
| Gaggia (Classic Pro, most models) | 58 mm | 58.5 mm |
| Flair (all models) | 58 mm | 58.5 mm |
| La Pavoni (varies by model) | 49, 51, 54, 57, or 58 mm | Measure first |
Aftermarket precision baskets (IMS, VST) often measure 0.2 to 0.5 mm larger internally than the OEM basket they replace, even when sold under the same nominal size. If you upgrade your basket, re-measure and consider stepping up tamper size to keep edge compression tight. Bottomless portafilters use the same basket sizes as spouted versions, so tamper sizing doesn’t change, but a bottomless makes it easier to see when your tamper fit or technique is causing problems.
Tamper Base Shapes and How They Influence Fit
Flat-base tampers compress the coffee bed evenly from edge to edge, and they’re the easiest to measure and fit because the diameter is consistent across the entire contact surface. Most people start here, and most troubleshooting assumes a flat base. Convex bases have a slight curve (typically 1 to 3 mm of rise from edge to center) that was historically used to reduce edge channeling by letting the puck relax slightly at the walls. Modern precision baskets and better puck-prep tools make convex bases less necessary, and they’re harder to measure because the effective diameter changes depending on how deep the tamper sits in the basket.
Ripple or textured bases add fine grooves (usually 0.1 to 0.3 mm deep) that reduce micro-slippage between the tamper and coffee during compression and create small channels on the puck surface that some people believe improve water distribution. The grooves don’t change the nominal diameter, but they do increase the effective contact area slightly and can mask small fit issues by gripping the puck better than a smooth flat base.
When measuring tampers with profiled bases:
- Flat base: Measure straight across at the widest point. That’s your true working diameter.
- Convex base: Measure the diameter at the edge where the curve begins. That’s the size that interacts with the basket wall, not the center diameter.
- Ripple or textured base: Measure across the peaks of the texture, not the grooves, to get the effective contact diameter.
Base shape won’t fix a bad fit, but it can make a borderline fit feel more consistent or expose a fit problem that was hidden. For a detailed explanation of how size and shape interact, see Espresso Tamper Size Guide.
Professional Barista Fit Checklist Before Buying or Using a Tamper

Run through this whenever you’re verifying a new tamper, switching baskets, or troubleshooting inconsistent shots. It takes three minutes and catches most fit problems before they show up in the cup.
- Measure basket internal diameter at the rim using calipers.
- Measure basket ID again 5 mm below the rim to check for taper.
- Record both measurements to 0.1 mm precision.
- Measure tamper base diameter at its widest point.
- Confirm target clearance: 0.5 to 1.0 mm for OEM baskets, 0.2 to 0.4 mm for precision baskets.
- Do a dry-fit test. Tamper should drop in smoothly, sit flush, and rotate freely.
- Run foil or paper contact test and check for even compression across the full diameter.
- Write everything down for later.
If the tamper passes all checks but shots still channel at the edges, the problem’s likely puck prep (clumps, uneven distribution) or an out-of-spec basket, not tamper fit.
Final Words
Measure the basket at the rim and again 4–6 mm down, then measure the tamper outside diameter. Use digital calipers when you can; a ruler is a fallback. Dry-insert the tamper, rotate it, rock it, and do a foil test to check contact.
Aim for about 0.5–1.0 mm clearance. Wobble means too small. Sticking means too big. Precision baskets need tighter checks.
One clear step: grab calipers and record rim and 5 mm measurements. Following how to measure tamper diameter and check fit will cut waste and give steadier shots.
FAQ
Q: How do I find out what size tamper I need?
A: To find out what size tamper you need, measure the basket internal diameter at the rim and 4–6 mm down, then pick a tamper about 0.5–1.0 mm smaller for a snug, non‑sticking fit.
Q: Is 53.3 espresso tamper the same as 54 mm?
A: A 53.3 mm tamper is not the same as 54 mm; the 0.7 mm difference can affect fit. Measure your basket ID and perform a dry‑fit before buying.
Q: Will a 51mm tamper fit a 51mm portafilter?
A: A 51 mm tamper should fit a 51 mm portafilter, but check for basket taper or lip steps; it should drop in without force, sit flush, and have minimal wobble.
Q: Does Breville use a 53mm tamper?
A: Breville commonly uses 53.3–54 mm tampers on many home models; check your specific model’s basket internal diameter or the manual to confirm.