
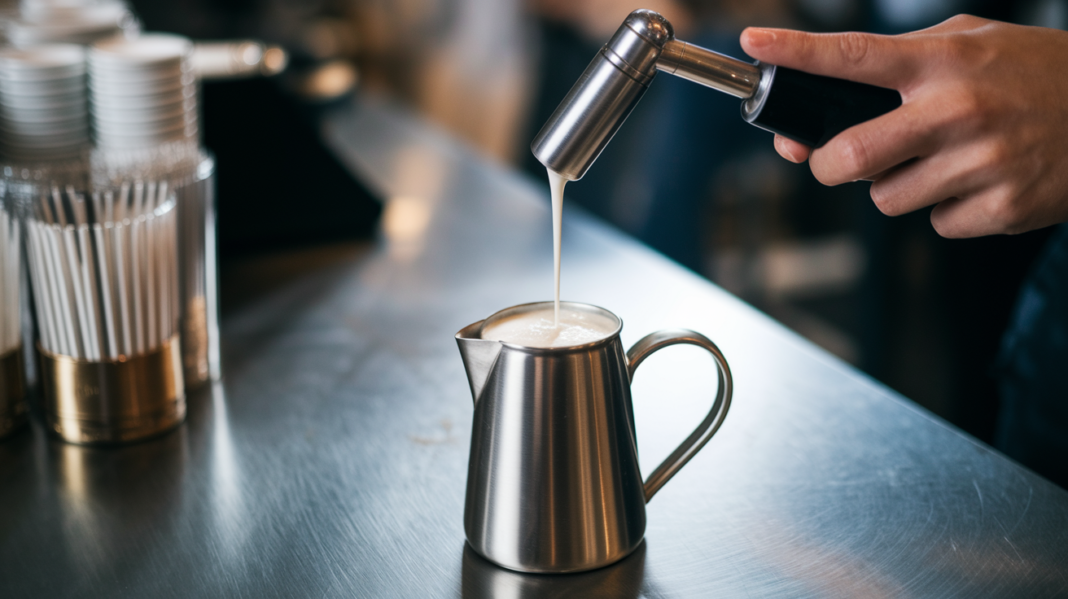

Think frothing milk is just kitchen showmanship?
Great microfoam is the difference between a flat, thin latte and a rich, creamy cup you actually want to drink.
This guide gives simple, repeatable steps for home: start cold, learn stretching and texturing, hit 55-65°C, and use basic tools that cut mistakes.
You’ll get clear checks you can see and feel, and one small tweak to try first.
Try one 3-6 second stretch on your next steam and listen for the soft hiss.
Mastering Milk Frothing Techniques for Perfect Coffee Drinks
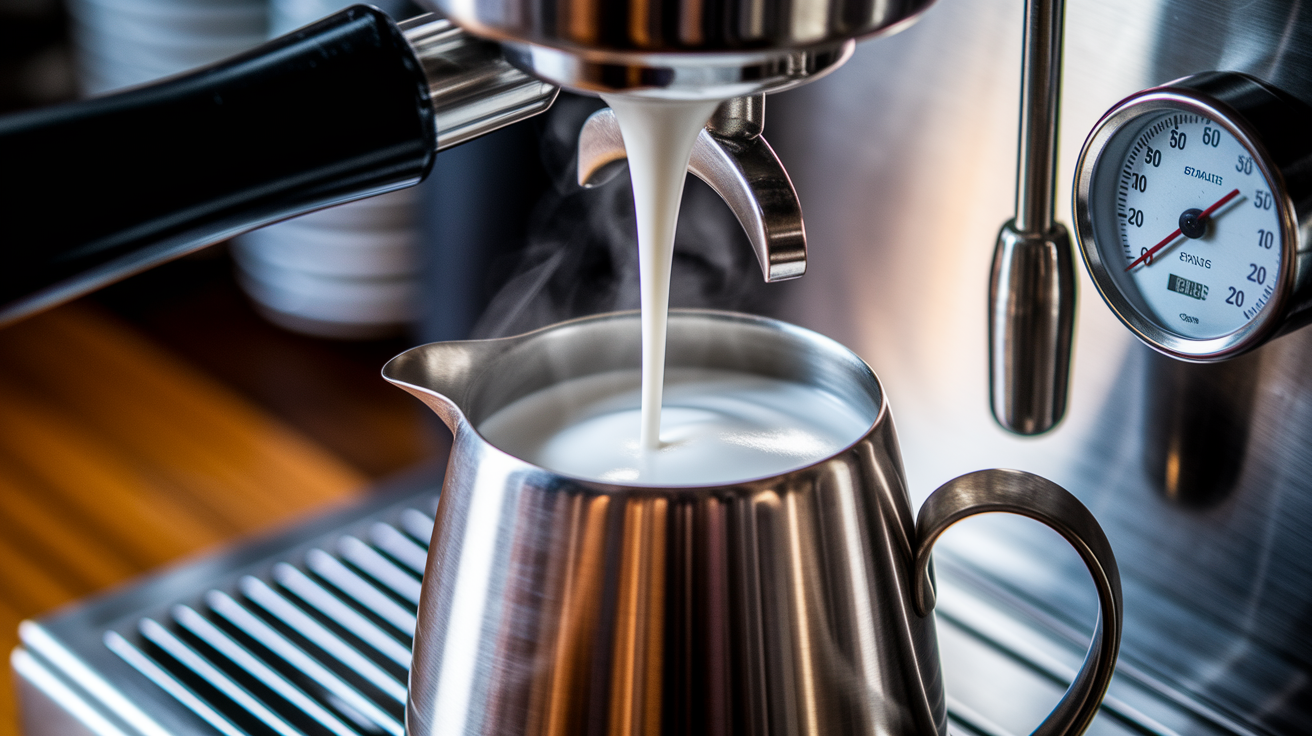
Frothing milk means whipping tiny air bubbles into cold liquid until you get smooth, velvety foam for lattes, cappuccinos, flat whites, and macchiatos. You’re either forcing steam through it or using mechanical tools to beat air in. A latte is mostly steamed milk with a thin microfoam layer on top, a cappuccino splits roughly into thirds (espresso, steamed milk, foam), and a flat white demands ultra-fine microfoam with almost no visible bubbles.
Start with cold milk. It gives you more working time before the proteins break down and the fat melts. Pull milk straight from the fridge at 3–5°C (37–41°F). Stretching means holding the steam wand tip just below the surface to pull air in for 3–6 seconds, creating gentle hissing sounds. Texturing means submerging the wand slightly deeper to spin the milk into a rolling vortex that breaks large bubbles and blends everything into uniform microfoam. Total steaming typically takes 20–40 seconds, and the milk volume should increase by roughly 20–40% depending on how much air you introduced.
Finished microfoam looks glossy and paint-like, with bubbles so small (under 100 micrometers) that you can’t see them individually. When you tilt the pitcher, the milk should flow like thick paint and settle quickly without separating into layers. Your target final temperature is 55–65°C (130–150°F), measured with a thermometer clipped to the pitcher or inserted into the milk just below the surface.
- Purge the steam wand for 1–2 seconds to clear any water trapped inside.
- Submerge the wand tip just below the milk surface and open the steam valve fully.
- Stretch for 3–6 seconds by keeping the tip near the surface, listening for occasional rips as air enters.
- Lower the wand slightly to create a rolling spin and texture the milk until your thermometer reads 55–65°C.
- Close the steam valve with the tip still submerged, pull the pitcher away, then immediately wipe the wand and purge again for 1–2 seconds.
- Tap the pitcher firmly on the counter 3–5 times and swirl to remove any lingering large bubbles, then pour right away.
Choosing the Best Milk for Frothing and Foam Quality
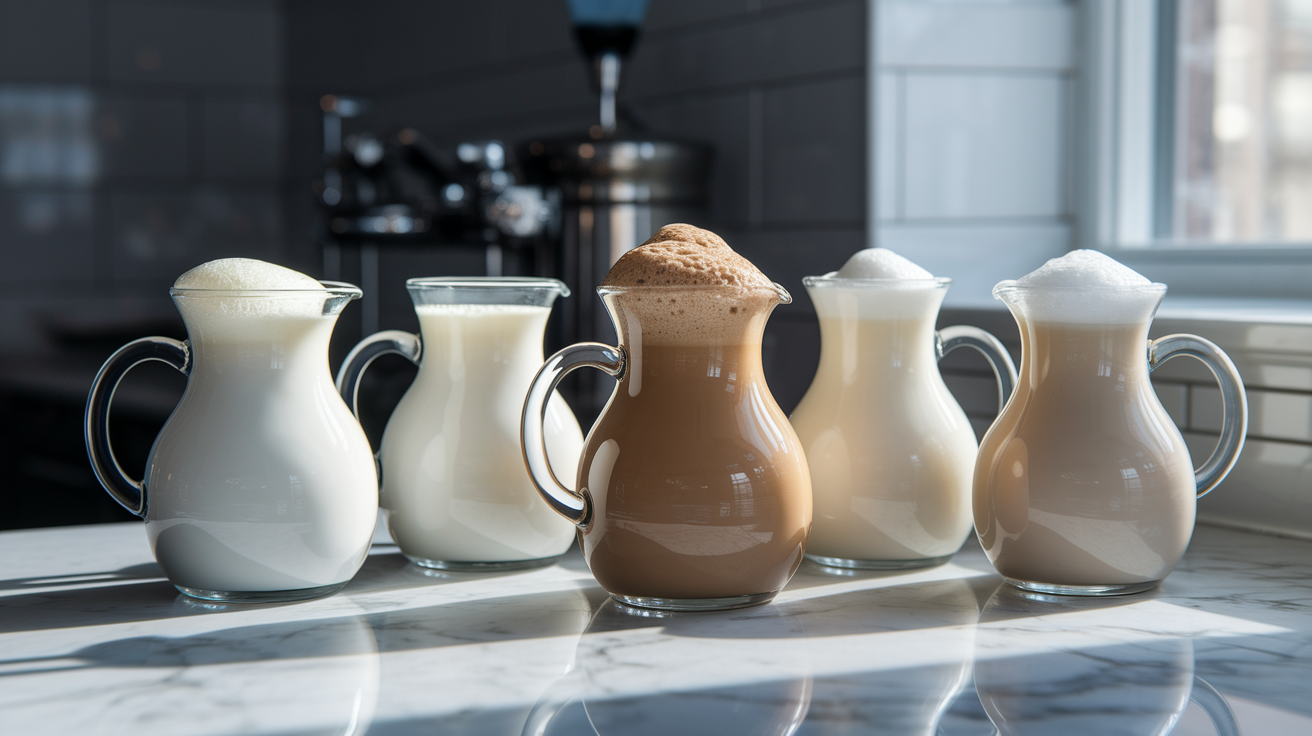
Milk fat and protein both shape foam behavior. Fat adds creaminess and stabilizes tiny bubbles, while proteins (mostly casein and whey) form elastic films around each air pocket. Whole milk at roughly 3.5% fat produces the richest, most stable microfoam with a glossy sheen and earned a perfect 15/15 score in blind tests for frothing ease, pouring control, and taste. Two percent milk scored 13/15, delivering slightly more volume and less richness but still reliable microfoam. Skim milk froths easily and produces the most volume, but the bubbles feel airier and the mouthfeel is thinner because there’s no fat to coat your tongue. Lactaid whole milk, which is lactose-free but otherwise identical to regular whole milk, scored 14/15 and works nearly as well as standard whole milk.
Plant milks vary wildly because their protein and fat sources differ, and most lack the natural emulsifiers found in dairy. Barista versions add stabilizers like gellan gum or sunflower lecithin to mimic dairy’s foaming properties. In side-by-side tests, macadamia milk scored 11/15 and produced the best plant-based microfoam, followed by almond at 8/15 and soy at 7/15. Oat milk also performs well when labeled “barista blend,” though plain oat milk can separate or produce large, unstable bubbles. Goat milk froths beautifully thanks to its protein structure, but the strong, tangy flavor overwhelms most espresso drinks.
| Milk Type | Frothability | Notes |
|---|---|---|
| Whole dairy (3.5% fat) | 15/15 | Creamiest microfoam, best latte art, most stable |
| Lactaid whole | 14/15 | Lactose-free, nearly identical performance to whole |
| 2% dairy | 13/15 | Slightly more volume, less richness than whole |
| Macadamia (barista) | 11/15 | Best plant option tested, mild flavor |
| Almond, soy, oat (standard) | 7–8/15 | Variable; choose barista blends with stabilizers |
Equipment for Frothing Milk at Home and in Cafés
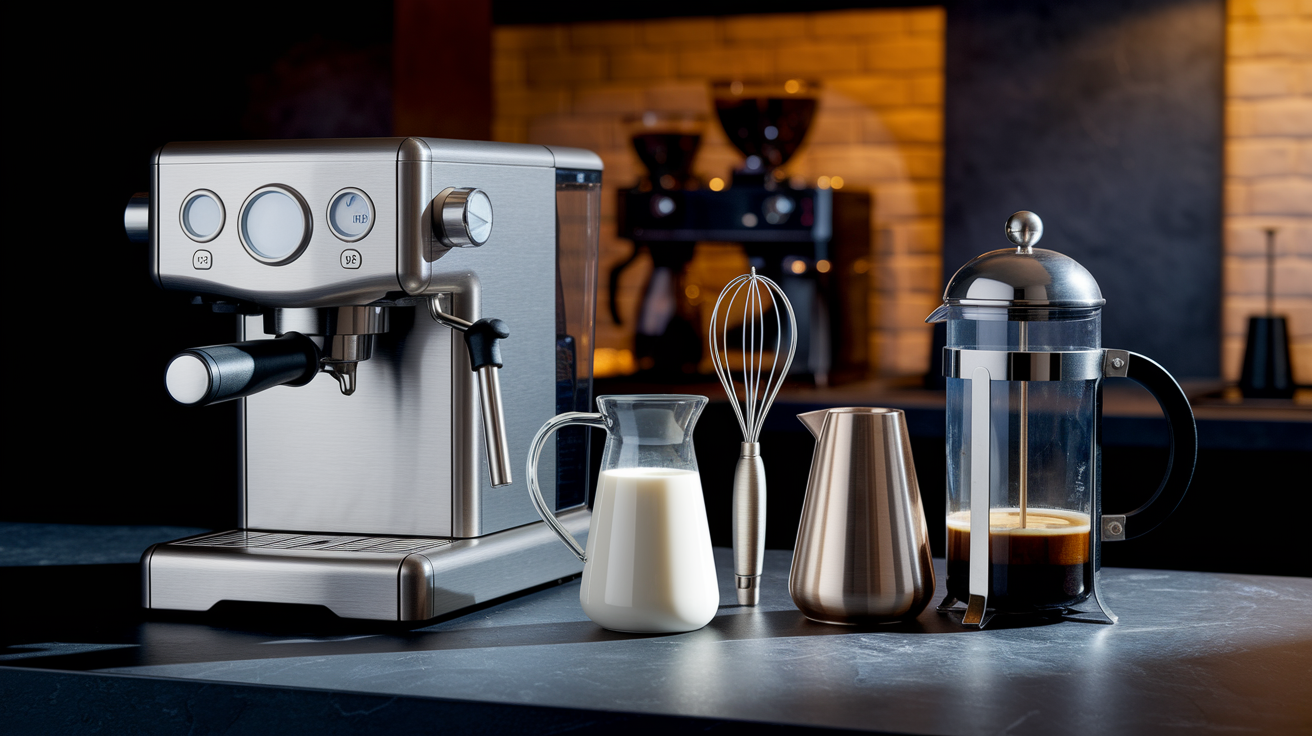
Steam wands built into espresso machines are the gold standard because live steam heats and froths in one motion, giving you precise control over texture and temperature. Entry-level home machines with steam wands start around $200, while semi-automatic models run $400–$1,500, and commercial-grade units reach $2,000–$5,000 or more. Electric frothers heat and whip milk automatically, typically costing $30–$200 depending on capacity and build quality. They’re consistent and beginner-friendly but limit your ability to adjust texture mid-process. Handheld battery-operated frothers run $10–$50 and work well for small batches, though you’ll need to heat the milk separately in a microwave or on the stove. Manual tools like French presses or pump frothers cost $20–$60, produce decent foam through rapid plunging, and require no electricity, but again you must heat the milk first.
Pitcher size determines how much milk you can froth at once and how much headroom you have for expansion. A 12-ounce (350 ml) pitcher is perfect for single or double lattes and gives beginners enough space to practice without overfilling. A 20-ounce (600 ml) pitcher handles two drinks comfortably, and a 32-ounce (950 ml) pitcher suits cafés or groups. Fill the pitcher just below the spout, typically 5–6 ounces of liquid milk in a 12-ounce jug. Narrow pour spouts help with latte art by giving you better flow control, and stainless steel conducts heat evenly so you can feel temperature rise through the metal.
Thermometers with clips attach to the pitcher rim and sit just below the milk surface, reading real-time temperature without holding anything. Instant-read probe thermometers also work but require a free hand. Expect thermometer lag: after you shut off the steam, the milk temperature can climb another 5°C (roughly 10°F) as residual heat spreads. If you don’t have a thermometer, use the feel test. Stop steaming when the pitcher becomes just uncomfortable to hold, which usually lands you near 60°C (140°F).
Steam wand (espresso machine): Best microfoam and control. Higher upfront cost. Requires practice to master stretching and texturing phases.
Electric frother with heater: Automatic and consistent. Limited texture customization. Heating cycles run 60–90 seconds. Good for beginners.
Handheld whisk frother: Cheap and portable. No heating function (heat milk separately). Works well for small volumes. Battery life varies.
French press or manual pump: No electricity needed. Heat milk first. Pump 15–30 times for foam. Foam tends to be less dense than steam-wand microfoam.
Pitcher and thermometer: Essential accessories regardless of method. 12 oz / 350 ml pitcher is the most versatile starting size. Clip-on thermometers simplify one-handed steaming.
Step-by-Step Methods for Frothing Milk Without a Steam Wand
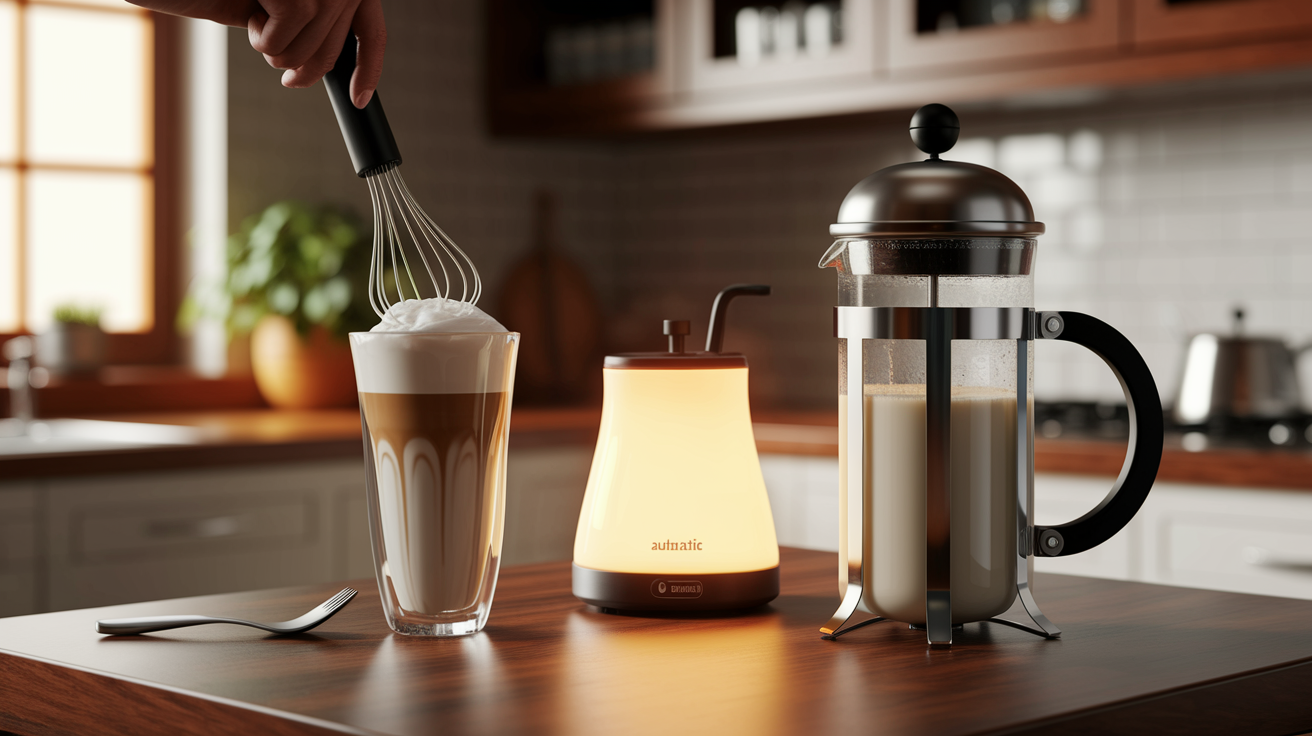
If you don’t own an espresso machine with a steam wand, handheld, electric, and manual tools can still produce usable foam for lattes and cappuccinos. Each method has timing quirks and technique adjustments, but all rely on the same principle: introducing air while keeping bubbles small and evenly distributed. Cold foam for iced drinks skips the heating step entirely and uses vigorous mechanical agitation to whip cold milk into airy foam that floats on top of iced coffee or cold brew.
Handheld Electric Frother
Heat your milk separately in a microwave or small saucepan to around 55–65°C (130–150°F), pour it into a tall, narrow container (a large mug or small pitcher works), then insert the handheld frother’s whisk all the way to the bottom. Turn it on and slowly lift the whisk toward the surface over 20–40 seconds, letting the spinning coil pull air down and break bubbles as it moves. If you want more foam, hold the whisk just below the surface for a few extra seconds to introduce more air, then plunge it back down to blend. The finished texture won’t match steam-wand microfoam, but it’s glossy enough for a simple latte and takes up almost no counter space.
Automatic Frothers with Heating
These countertop devices combine a heating element and a spinning whisk in a non-stick jug. Pour cold milk up to the fill line (usually 100–250 ml depending on model), close the lid, press the button, and wait 60–90 seconds while the machine heats and froths. Some models offer separate buttons for hot foam, cold foam, or hot milk without foam. The results are very consistent shot to shot, which is helpful if you’re new or making multiple drinks back to back, but you can’t adjust mid-cycle. Foam density is fixed by the machine’s whisk speed and heating curve, so drier cappuccino foam or ultra-fine latte microfoam may not be achievable depending on your model.
French Press / Manual Pump Method
Heat milk on the stove or in the microwave to 55–65°C (130–150°F), pour it into a clean French press (fill no more than halfway to leave room for expansion), then pump the plunger rapidly up and down 15–30 times. Each stroke forces air into the milk and breaks larger bubbles against the mesh screen. After pumping, let the milk sit for 10–20 seconds so the foam settles and any remaining large bubbles float to the top. Tap the press gently on the counter and give it a quick swirl, then pour immediately. The foam tends to be lighter and less stable than steam-wand microfoam, so it works better for cappuccinos or drinks where you want visible foam layers rather than silky latte art.
Temperature Targets and Milk Texture Control When Frothing
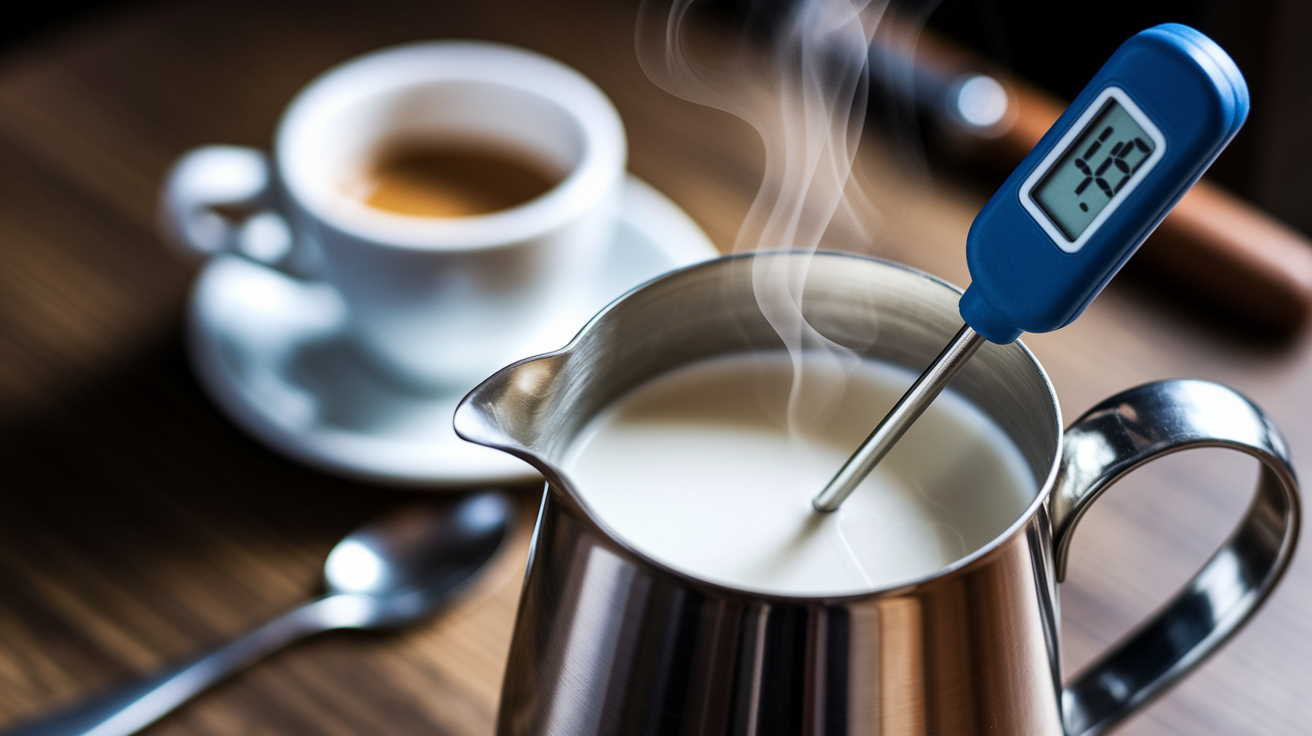
Milk tastes sweetest and feels creamiest when heated to 55–65°C (130–150°F) because the lactose becomes more soluble and your taste receptors pick up more of the natural sugar. Pushing past 70°C (160°F) starts to scald the milk, denaturing proteins and producing a flat, slightly burnt flavor that most people describe as “cooked” or “off.” Professional baristas often stop steaming at 60–62°C to account for the 5°C temperature rise that happens after the steam shuts off, ensuring the final drinking temperature lands right in the sweet spot without any scorched notes.
If you’re using a thermometer, insert the probe or clip it to the pitcher so the tip sits just below the milk surface, not touching the bottom or sides of the metal. Stainless steel conducts heat fast, so the jug itself will feel warm before the milk’s core reaches target temperature. If you don’t have a thermometer, use the tactile test: when the pitcher becomes too hot to hold comfortably for more than a second or two, you’re usually around 60–65°C. Pull your hand away immediately if it’s painful. That means you’ve likely crossed 70°C and should stop steaming right away.
Glossy, paint-like surface: Microfoam should look wet and reflective, not dry or bubbly. When you tilt the pitcher, the milk flows smoothly and settles quickly without separating into liquid and foam layers.
Tiny, invisible bubbles: Finished foam has bubbles smaller than 100 micrometers. You shouldn’t see individual pockets unless you’re intentionally making dry cappuccino foam.
No hissing or squealing after stretching phase: If you still hear loud noise late in the texturing phase, your wand tip is too shallow and you’re adding too much air.
Overheating symptoms: Milk above 70°C loses sweetness, develops a cooked smell, and feels thin on the tongue. If the pitcher is painfully hot to touch or you see steam rising from the milk surface before pouring, you’ve gone too far.
Troubleshooting Common Frothing Milk Problems
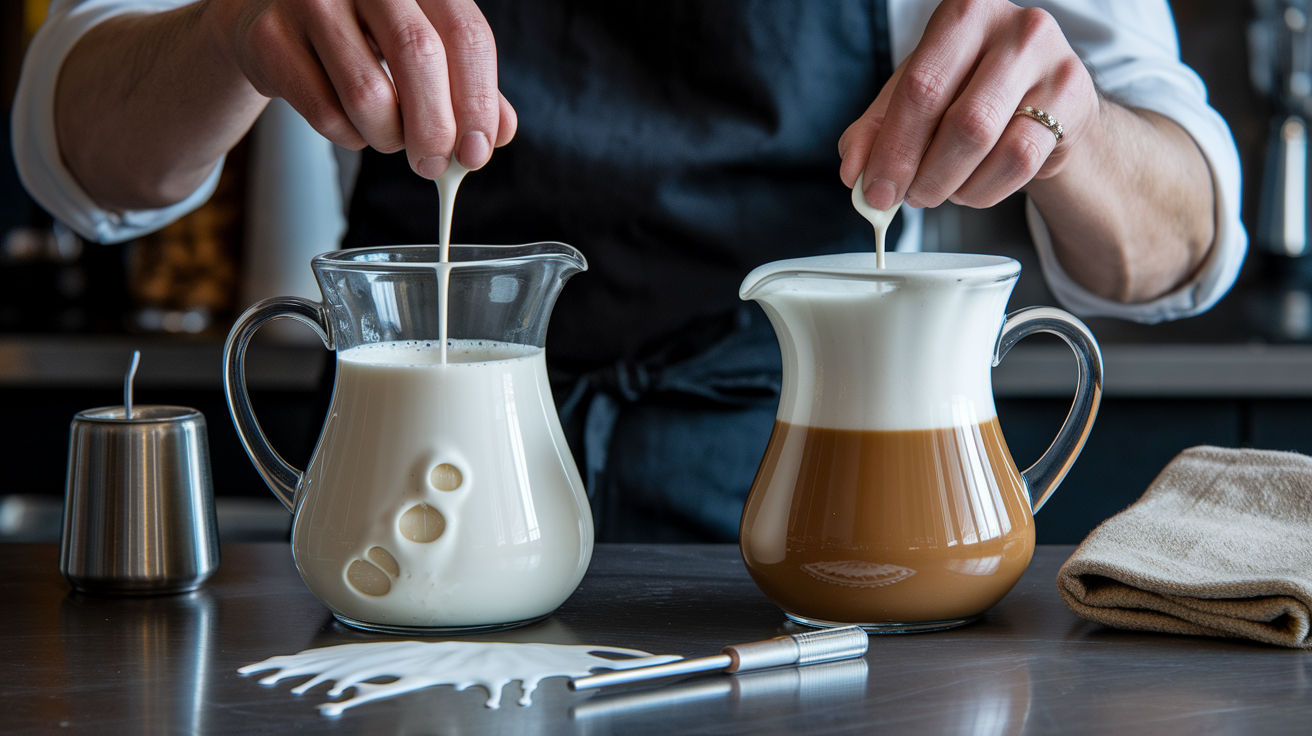
When large bubbles appear on the surface after steaming, it usually means the steam wand tip was held too high during the stretching phase or you introduced air too aggressively. Fix it by tapping the pitcher firmly on the counter 3–5 times to pop the largest bubbles, then swirl the milk in a circular motion to pull the foam back down and reincorporate it. If you still see visible bubbles after swirling, the milk is over-aerated and won’t pour smooth latte art, but it’s fine for a cappuccino where you want a thicker foam cap.
Flat milk with little or no foam happens when the wand tip stays too deep throughout steaming, never giving air a chance to enter, or when the milk was already warm when you started. Always begin with fridge-cold milk at 3–5°C and position the wand tip just below the surface for the first 3–6 seconds. If you’re using an automatic frother and getting flat results, check that you’re using the foam setting rather than the hot-milk-only setting, and make sure your milk is fresh and cold.
Overheated or scalded milk smells slightly burnt and tastes flat or bitter. Once milk crosses 70°C, the damage is done and there’s no way to reverse the cooked flavor. If you catch it early, you can cool the pitcher under cold running water and try again with fresh milk, but if you’ve already poured the shot, the drink is compromised. To prevent this, stop steaming at 60–62°C and let carryover heat bring the final temperature to 65°C. Plant milk can separate into watery liquid and curdled solids if overheated or if the formulation lacks stabilizers. Switch to barista-grade oat or soy milk and keep temperatures in the 55–65°C range.
| Problem | Likely Cause | Recommended Fix |
|---|---|---|
| Large bubbles on surface | Wand tip too high or too much air introduced | Tap pitcher 3–5 times, swirl to reincorporate; next time stretch less aggressively |
| No foam / flat milk | Wand too deep, milk too warm, or insufficient steam pressure | Start with cold milk, hold tip just below surface for 3–6 seconds, check steam pressure |
| Overheated / scalded flavor | Temperature exceeded 70°C (160°F) | Stop steaming at 60–62°C to allow for 5°C carryover rise; use thermometer |
| Plant milk separation or curdling | Poor stabilizer formulation or excessive heat | Use barista-blend plant milk; keep temperature under 65°C; avoid over-stretching |
| Burnt smell from machine | Milk sucked into steam wand/boiler after steaming | Always purge wand immediately after steaming (purge-wipe-purge routine); backflush weekly |
Frothing Milk for Latte Art and Café-Style Presentation

Latte art relies on high-contrast microfoam that’s glossy, smooth, and free of visible bubbles. The milk should pour like wet paint and blend seamlessly with espresso crema when you tilt the cup. A standard latte uses a ratio of roughly 1 part espresso to 3 parts milk by volume, meaning a double shot (60 ml) gets 150–220 ml of steamed milk with a thin microfoam cap. Flat whites use even less foam and a slightly higher espresso-to-milk ratio, while cappuccinos split into roughly equal thirds: espresso, steamed milk, and thick foam.
Achieving the Right Microfoam for Art
Start steaming with the wand tip just below the surface to introduce 3–6 seconds of gentle air, listening for a soft hissing or occasional rip sound. Once the milk starts to feel warm on the side of the pitcher, lower the wand slightly to create a rolling vortex that spins the milk in a continuous whirlpool. This motion breaks large bubbles and folds air into the liquid, creating uniform microfoam with bubbles so small they’re invisible. The finished texture should look shiny and wet, and when you stop swirling the pitcher, the surface should settle into a smooth, reflective pool within a second or two. If you see dry, bubbly foam or separated layers, the milk is over-aerated and won’t pour clean patterns.
Pouring Fundamentals
Hold the pitcher spout 6–12 cm above the cup at the start of the pour and tilt the cup toward you at about a 45-degree angle. Pour a steady, thin stream into the center of the espresso to combine the milk and crema without breaking the surface. As the cup fills to about two-thirds, lower the pitcher spout close to the coffee surface (within 1–2 cm) and increase the flow rate slightly. The heavier microfoam will now begin to float on top and form visible white shapes. Finish by lifting the pitcher and pouring a thin stream through the center of the pattern to cut and define the design, then give the pitcher a quick swirl (called a polish) to keep any remaining foam smooth and glossy.
Basic Patterns
A heart is the simplest design: pour a steady stream into the center, lower the pitcher when the cup is two-thirds full, let a white dot form, then cut through the middle by pouring a thin line forward. A rosetta (also called a leaf) requires gentle side-to-side wiggling as you pour and pull the pitcher backward, creating stacked curves that resemble a fern. A tulip stacks multiple white dots by pouring a spot, stopping briefly, pouring another spot slightly forward, and repeating two or three times before cutting through the center. All three patterns demand the same foundational skill: controlling pour height, flow rate, and pitcher movement while the microfoam stays glossy and fluid.
Cleaning and Maintenance After Frothing Milk
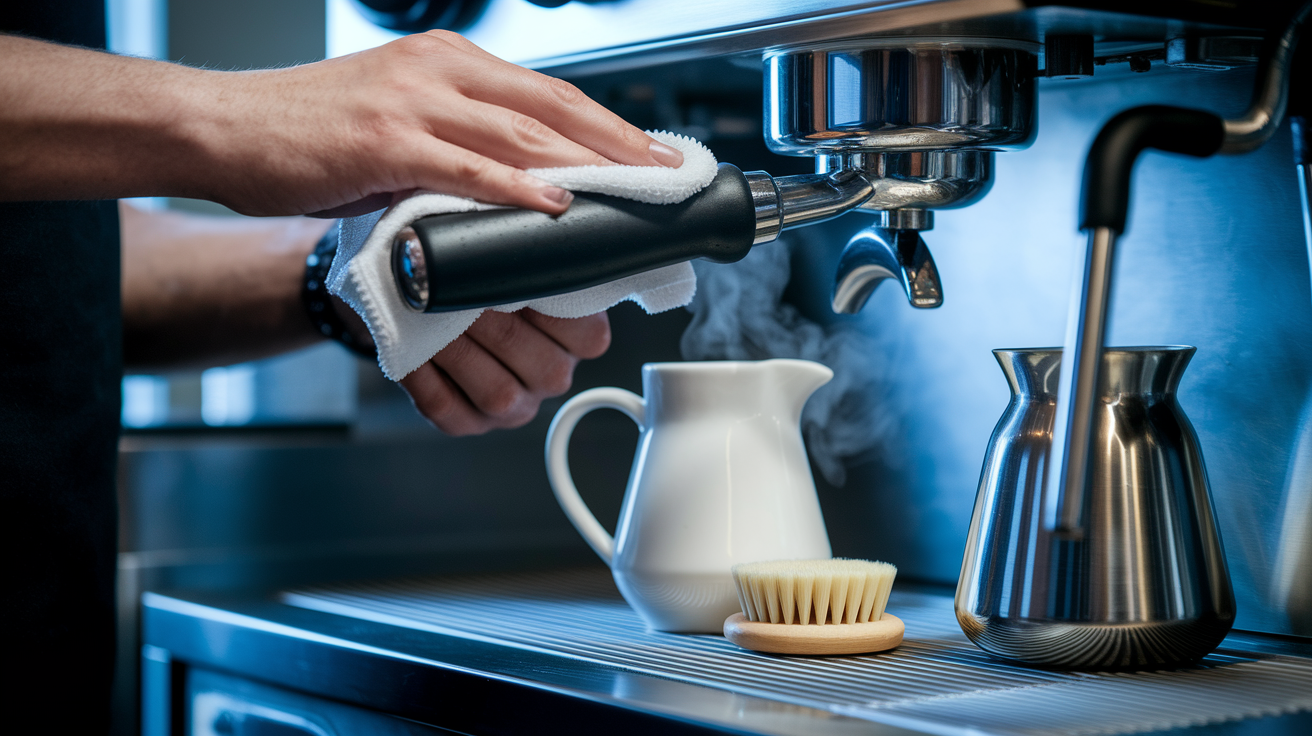
Milk residue left on a steam wand, in a pitcher, or inside an electric frother degrades future foam quality and introduces sour, off flavors. Proteins and fats dry into a sticky film that’s harder to remove the longer it sits, and any milk sucked back into the boiler or heating element can scorch and produce a burnt smell that contaminates your next few drinks. The purge-wipe-purge routine prevents this: immediately after steaming, purge the wand for 1–2 seconds to blow out any milk trapped inside the tip, wipe the wand clean with a damp cloth, then purge again to clear the internal steam channel and prevent vacuum suction from pulling milk backward into the boiler.
For handheld frothers, rinse the whisk head under hot running water right after use and wipe it dry. If you see dried milk caked onto the coil, soak it in warm soapy water for a few minutes, then scrub gently with a small brush. Electric frothers with non-stick jugs should be rinsed and wiped immediately. Most models have removable whisks that you can wash separately. Stainless steel pitchers need a quick rinse and wipe after every use, and a deeper scrub with dish soap weekly to remove any invisible fat buildup that can turn rancid.
- Turn off the steam immediately after reaching target temperature, with the wand tip still submerged in the milk.
- Purge the wand for 1–2 seconds to blow out trapped milk.
- Wipe the wand clean with a damp cloth, removing all visible milk from the tip and shaft.
- Purge the wand one final time for 1–2 seconds to clear the internal channel and prevent milk from being sucked backward into the boiler.
Quick Recipes and Drink Ratios Using Frothed Milk

A classic cappuccino splits roughly into thirds by volume: one part espresso (30 ml for a single shot or 60 ml for a double), one part steamed milk, and one part thick foam. Use 120–150 ml of cold whole milk in a 12-ounce pitcher and stretch aggressively for 5–6 seconds to build a drier, airier foam cap that sits visibly on top of the drink. A standard latte uses the same espresso base but a much higher milk ratio, roughly 1 part espresso to 3 parts steamed milk, so a double shot (60 ml) gets 150–220 ml of milk with only a thin microfoam layer. Flat whites land between the two: double ristretto espresso (about 40 ml), 100–120 ml of milk, and ultra-fine microfoam with almost no visible foam layer, creating a velvety texture and stronger coffee flavor.
Cappuccino (double shot): 60 ml espresso + 120–150 ml milk, stretched 5–6 seconds for thick foam. Roughly 1/3 espresso, 1/3 steamed milk, 1/3 foam.
Latte (double shot): 60 ml espresso + 150–220 ml milk, stretched 3–4 seconds for thin microfoam layer. Ratio approximately 1:3 espresso to milk.
Flat white: 40 ml ristretto espresso + 100–120 ml milk, stretched 2–3 seconds for ultra-fine microfoam with minimal visible foam.
Macchiato (single shot): 30 ml espresso + 30–60 ml milk, mostly foam spooned on top. Milk is stretched heavily to create dry foam.
Mocha (double shot): 60 ml espresso + 15–20 g chocolate syrup + 150–180 ml milk, stretched 3–4 seconds. Stir chocolate into espresso before pouring milk.
Iced latte with cold foam: 60 ml espresso over ice + 150–200 ml cold milk, topped with 50–80 ml cold foam (frothed without heating for 30–40 seconds).
Final Words
Steam wand hisses, pitcher tilted, and you know what to aim for: cold milk (3–5°C), a 3–6 second stretch, then texture to 55–65°C for glossy microfoam. You’ve got step-by-step timing: purge, stretch, texture, tap, swirl, pour.
You also learned which milk gives the best foam, the right tools (handheld, electric, or steam wand), quick no-wand methods, and simple fixes for big bubbles or scalding while frothing milk.
Try one change at a time. You’ll get consistent, café-style results soon.
FAQ
Q: How do you properly froth milk?
A: Properly frothing milk involves starting cold (3–5°C), purging the wand 1–2 seconds, stretching 3–6 seconds, texturing until 55–65°C within 20–40 seconds, then tap, swirl, and pour.
Q: Do you froth cold or warm milk?
A: You froth cold milk at about 3–5°C so you can stretch and build microfoam, then heat it to 55–65°C for glossy texture and ideal sweetness.
Q: How long should you foam milk?
A: You should foam milk with a total steaming time of about 20–40 seconds, including a 3–6 second stretch phase, finishing at 55–65°C for proper microfoam.
Q: How to steam milk on smeg?
A: To steam milk on a Smeg, purge the wand 1–2 seconds, place the tip just below the surface for a 3–6 second stretch, texture to 55–65°C in 20–40 seconds, then tap, swirl, wipe, and purge.