
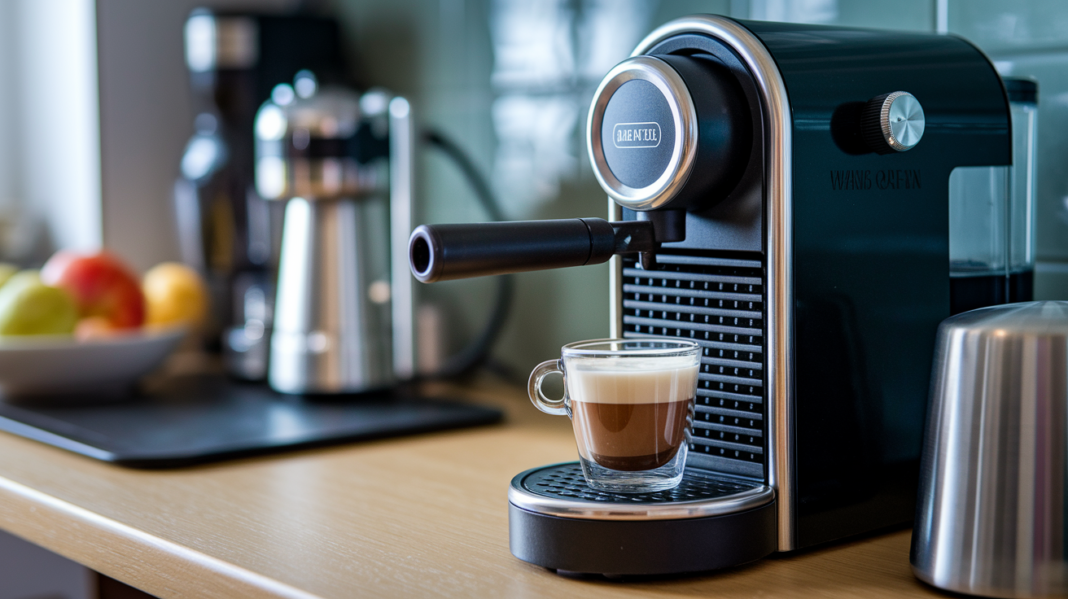

Do you need a steam wand to make barista-quality milk at home?
Short answer: no.
Modern milk steamers can give you silky microfoam fast, without a long learning curve.
This post matches the right tool to your routine—automatic frothers for easy daily lattes, handhelds for travel and small kitchens, and steam wands when you want café-level texture.
We also recommend top models for each use case and explain how to get consistent results every time.
Read on to find the steamer that saves time, reduces waste, and makes better drinks.
Top Milk Steamers at a Glance
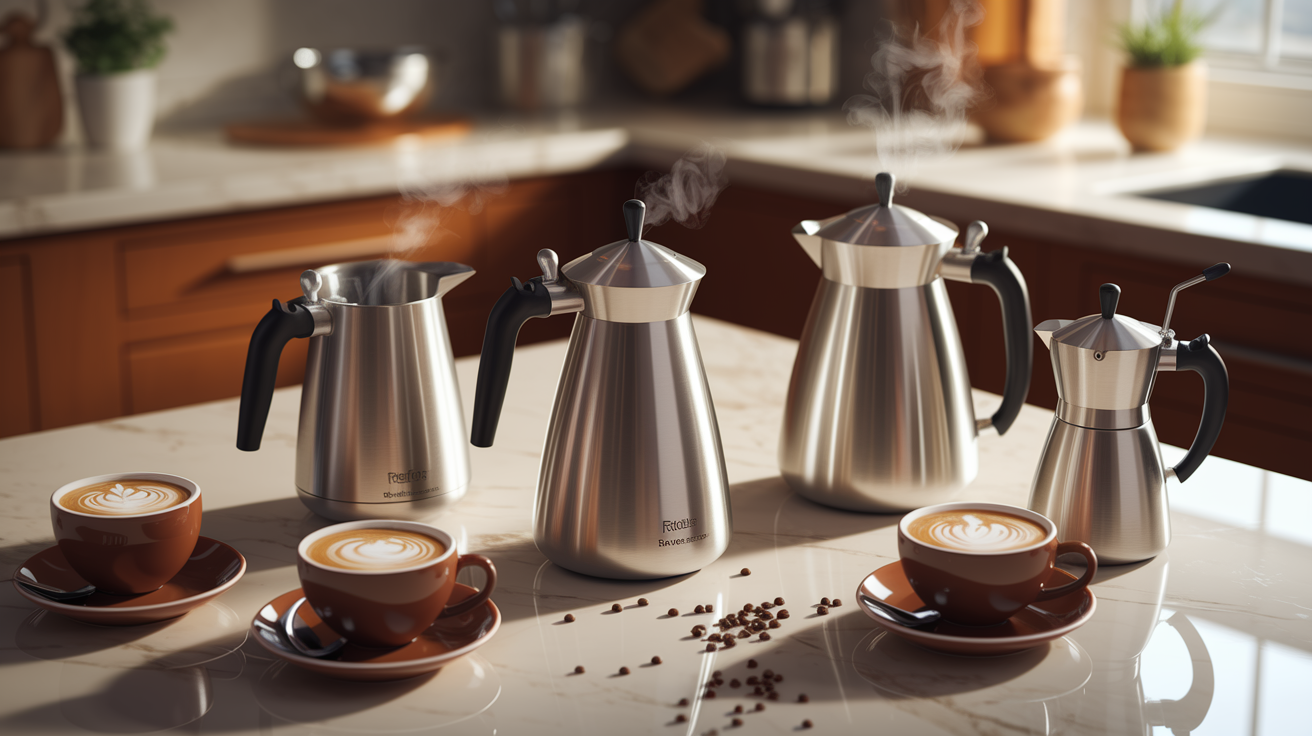
If you want quick microfoam without babysitting a thermometer, grab an automatic electric steamer. The Breville Milk Café heats and froths in one cycle, landing at 140–155°F on its own. Keurig’s K‑Froth runs about $70, includes three dishwasher-safe carafes, and keeps the presets simple. For latte art, the Subliminal NanoFoamer PRO gets you drizzle-ready microfoam in under two minutes.
Handheld steamers don’t eat counter space and they’re cheap. The Maestri House LunaFro Max costs $35, recharges over USB‑C, and froths in 15–30 seconds if you’ve already warmed your milk in the microwave. You’re doing more of the work yourself, but you get portability and total control over where the air goes.
Multifunction machines like the Instant Pot MagicFroth 9‑in‑1 warm up to 17 ounces and offer nine functions with adjustable temp. They’re versatile. But you’ll be dialing in your own settings instead of pressing a single cappuccino button.
- Best overall: Breville Milk Café. Induction heating, 25 oz capacity, precise temp control.
- Best value: Keurig K‑Froth. $70, four presets, three carafes in the box.
- Best for latte art: Subliminal NanoFoamer PRO. Three aeration paddles, six programs, 7.8 oz.
- Best handheld: Maestri House LunaFro Max. Rechargeable, rotary dial, $35.
Comparing Milk Steamer Types
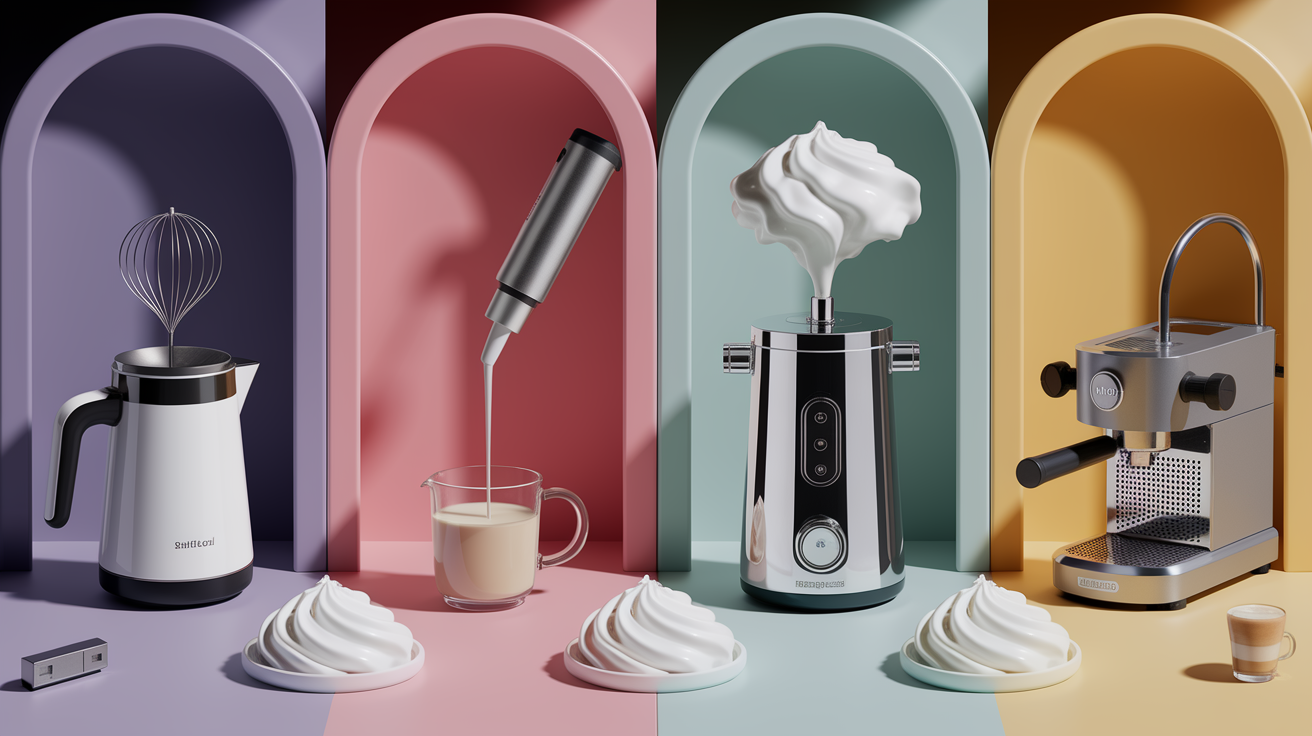
Four categories cover nearly every home setup. Automatic electric frothers heat and froth with one press, using an induction base or heating element plus a magnetic whisk. Handheld frothers are battery or USB‑powered wands you dip into a pitcher of milk you’ve already warmed. Standalone electric steamers are premium pitchers with built‑in heaters and precise temperature dials. Espresso‑machine steam wands use boiler pressure to inject steam directly into cold milk, creating the densest microfoam. They also ask the most of you technique-wise.
| Type | How It Works | Best For | Price Range |
|---|---|---|---|
| Automatic Electric Frother | Heats milk with induction or element, whisks automatically | Daily lattes with zero skill needed | $40–$250 |
| Handheld Frother | Battery/USB whisk; requires separate heating | Budget single servings, travel use | $10–$40 |
| Standalone Electric Steamer | Premium pitcher with heater and precise temp control | Microfoam for latte art, higher volumes | $150–$350 |
| Espresso‑Machine Steam Wand | Uses boiler steam pressure; manual technique | Café‑quality microfoam, requires practice | $300–$2,500+ (machine included) |
Match your pick to how often you make drinks and whether you’re willing to practice. If you’re pulling two lattes every morning and want consistency without learning steam‑wand angles, go automatic. If you make occasional cappuccinos and already have a way to heat milk, a handheld saves counter space and cash. Steam wands deliver the best texture. They just demand repetition to nail stretching and whirlpool timing.
Milk Steamer Buying Guide
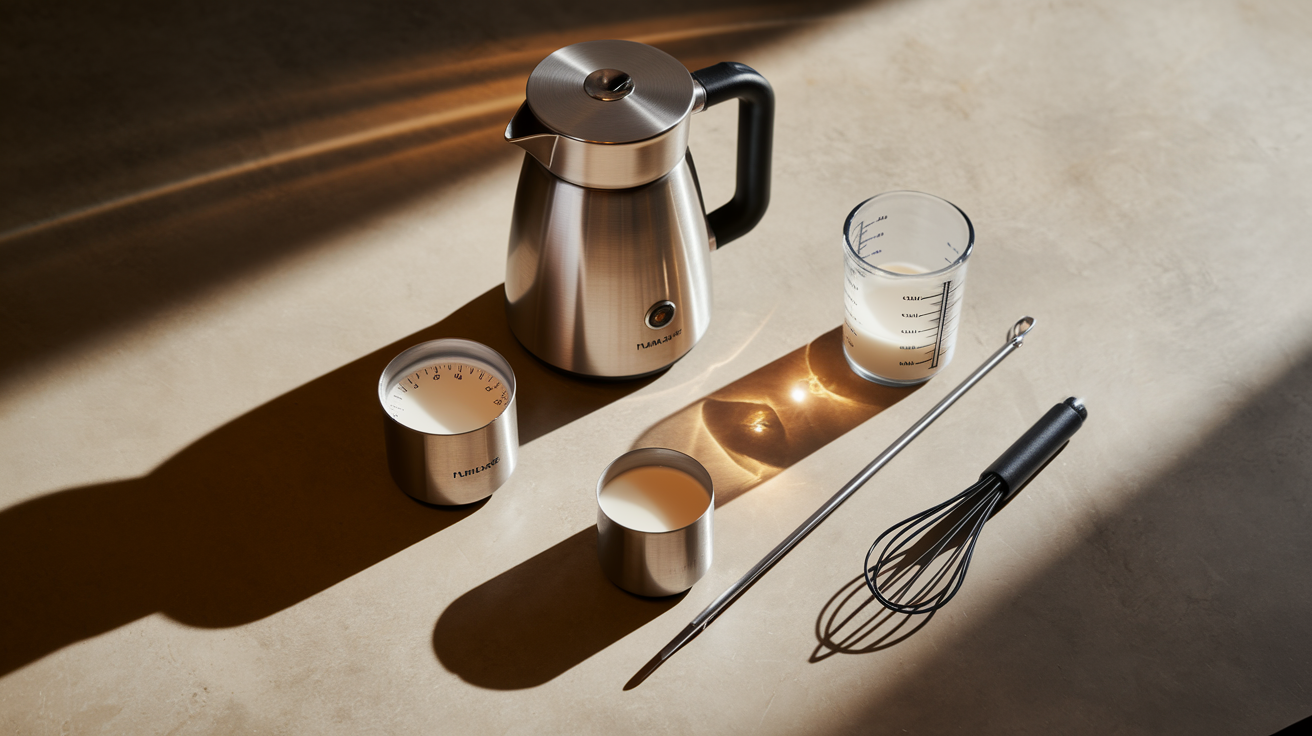
Start with capacity. Single‑drink users need 120–250 mL. Families making back‑to‑back lattes want 300–500 mL. Underfill and you waste cycles. Overfill and foam spills or stays too thin because the whisk can’t grab enough air.
Temperature control separates good from frustrating. You want models that hit 140–155°F and stop there. The Breville Milk Café has a dial you can set to 140°F, the sweet spot where milk stays naturally sweet and microfoam holds together. Cheaper models with no temp control often overshoot to 165°F, scalding the milk and flattening flavor. Presets help, but adjustable temp beats one‑size‑fits‑all buttons.
Power matters for speed. Electric frothers rated 300–600 watts take 60–90 seconds per cycle. Higher‑wattage units (700–1,200 watts) finish in 30–50 seconds. If you’re making drinks for two people before work, those 40 saved seconds add up.
Material quality shows up in longevity. Stainless steel carafes last years. Plastic interiors stain and retain odors. Removable parts that go in the dishwasher cut daily cleanup to a rinse. Check whether the whisk, carafe, and lid are all dishwasher‑safe or if you’re stuck hand‑washing the heating base.
- Capacity: choose 240–400 mL for 1–2 drinks; 400+ mL for larger volumes.
- Temperature control: adjustable 130–160°F beats fixed presets.
- Froth modes: hot foam, cold foam, and plain heated milk cover lattes, cappuccinos, iced drinks.
- Materials: stainless steel interior resists stains and lasts longer than plastic.
- Cleaning: dishwasher‑safe whisk and carafe save time. Avoid models with sealed heating chambers.
How to Use a Milk Steamer Correctly
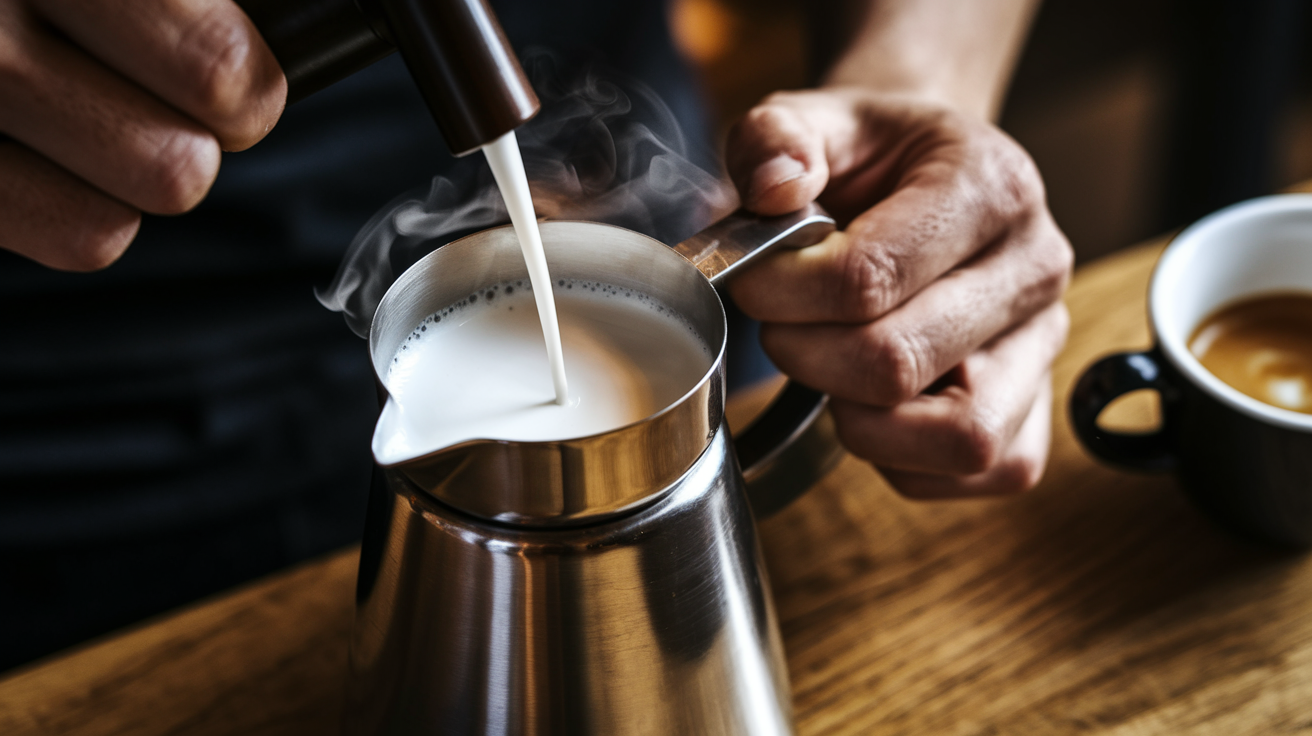
Start with cold milk straight from the fridge. Whole milk (3–3.5% fat) froths easiest and tastes sweetest. Pour to the minimum fill line for your frother or one‑third up a steam pitcher if you’re using a wand. Overfilling leaves no room for foam to expand.
- Choose your setting: hot latte foam for silky microfoam, hot cappuccino foam for thicker peaks, cold foam for iced drinks.
- Start the cycle or wand: automatic frothers run 30–90 seconds. Steam wands ask you to position the tip just below the surface and introduce air for 5–10 seconds.
- Watch the temperature: stop at 140–150°F if your frother has a display. With a wand, listen for the pitch to rise and feel the pitcher get warm but not too hot to touch.
- Lower the tip (wand users): after stretching, drop the wand deeper to create a whirlpool that breaks large bubbles into microfoam.
- Let it settle briefly: give foam 5–10 seconds to integrate. Tap the pitcher once on the counter to pop any remaining large bubbles.
- Pour immediately: microfoam separates if it sits. Swirl once and pour into your espresso within 30 seconds.
Common mistakes: heating past 155°F kills sweetness and makes foam unstable. Introducing air for too long creates stiff, dry peaks instead of pourable microfoam. Skipping the whirlpool step leaves you with bubbly foam that won’t pour latte art.
If you’re using a handheld frother, move the wand in small circles near the surface for 10–15 seconds, then plunge deeper for another 10–15 seconds to texturize before the milk gets too warm.
Troubleshooting Milk Steaming Issues
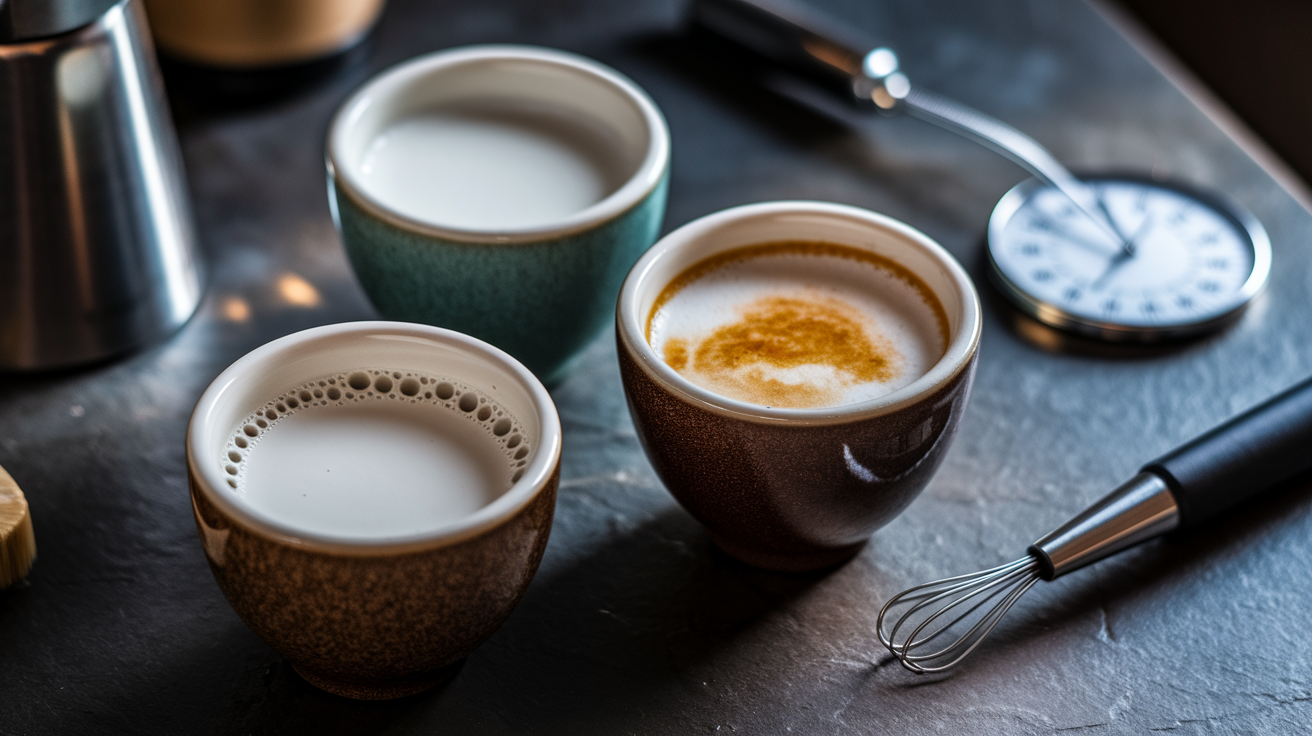
Weak or flat foam usually means the milk was too warm when you started or you didn’t aerate enough. Cold milk holds more air. If your automatic frother produces thin, soupy results, check the fill line. Overfilling dilutes foam density. With a steam wand, position the tip higher during the stretch phase and listen for a light hissing sound, not a screeching roar.
- Large bubbles instead of microfoam: you introduced air too fast or for too long. Reduce aeration time to 5–8 seconds and increase whirlpool time to break bubbles down.
- Milk tastes scalded or flat: temperature went above 160°F. Stop heating at 140–150°F and use a thermometer or a frother with a precise temp cutoff.
- Foam collapses within seconds: likely skim or low‑fat milk with not enough protein and fat to stabilize. Switch to whole milk or a barista‑formulated plant milk.
- Residue or burnt smell: calcium buildup from hard water or milk protein stuck to the heating element. Descale the frother every 1–3 months and rinse the whisk immediately after each use.
Milk type changes everything. Whole dairy holds foam longest. Skim makes tall, dry peaks good for cappuccinos but terrible for latte art. Oat milk labeled “barista” froths nearly as well as dairy because of added oils and stabilizers. Regular almond or rice milk often splits or stays thin no matter how long you froth. If plant milk keeps failing, try a different brand before blaming your steamer.
Final Words
Grab a pitcher, set your thermometer to 140–155°F, and aim for silky microfoam. This guide gave quick picks for budget, premium, and multifunction choices, explained steamer types, laid out a buying checklist, walked a 6-step steaming routine, and covered common fixes.
Change one thing at a time—temperature, milk, or technique—and use the checklists so you can repeat what works.
With the right milk steamer, consistent café-style foam is doable. Keep it clean, measure, taste, and enjoy better drinks every day.
FAQ
Q: Is a milk steamer the same as a milk frother?
A: A milk steamer is not the same as a milk frother. Steamers use hot steam to heat and create microfoam for lattes, while frothers mainly aerate milk and may not reach café temperatures.
Q: Are milk steamers worth it?
A: Milk steamers are worth it if you want café-style microfoam, consistent temperatures, and make milk drinks often; they speed up prep and improve texture compared with handheld frothers for daily lattes.
Q: How can I steam my milk?
A: You can steam milk by heating and texturing it with a steam wand or automatic steamer: fill the pitcher one-third, purge the wand, stretch near the surface, then submerge to create velvety microfoam at 140–155°F.
Q: What is the best at home milk steamer?
A: The best at-home milk steamer depends on your needs: choose an automatic electric for easy, consistent foam; a steam-wand espresso machine for café-quality microfoam; or a handheld for occasional, portable use.